
In an age dominated by sophisticated computing, the humble calculator remains an indispensable tool, from basic arithmetic to complex engineering equations. Yet, like any digital device, calculators require proper management to maintain accuracy and performance. Understanding “how to clear a calculator” goes far beyond simply pressing a button; it’s a fundamental aspect of ensuring data integrity, resolving operational glitches, and optimizing your device for every task. This guide delves into the various methods of clearing a calculator, covering everything from basic entries to comprehensive factory resets, empowering users to master their computational companion.

The Imperative of a Clean Slate: Why Clearing Your Calculator Matters
A calculator’s utility hinges on its precision. Without a clear understanding of its reset functions, users risk inaccuracies and inefficiencies that can have significant repercussions in academic, professional, and personal contexts. The act of clearing is a proactive measure for device hygiene and operational excellence.
Ensuring Accuracy for Critical Calculations
One of the primary reasons to clear a calculator is to prevent carry-over errors. Residual values from previous calculations, unintended memory entries, or even lingering operational flags can subtly influence subsequent computations, leading to incorrect results. Imagine a scenario in finance where a slight miscalculation, due to a forgotten memory value, could alter investment projections or loan repayments. A clear calculator guarantees that each new problem starts with a clean slate, free from the ghost of past inputs, thus upholding the sanctity of numerical accuracy. This is particularly crucial in high-stakes environments like examinations, scientific research, or engineering design, where even minor discrepancies can have profound implications.
Resolving Glitches and Performance Issues
Like any electronic gadget, calculators can occasionally suffer from minor software anomalies or temporary data conflicts. An unresponsive button, a flickering display, erratic calculations, or a general slowdown in processing can often be attributed to such transient issues. In these instances, clearing the calculator — whether partially or entirely — acts as a soft reboot. It purges temporary data, resets internal registers, and often resolves these minor glitches without the need for more drastic troubleshooting. This simple reset can restore the device’s responsiveness and prevent frustrating interruptions during critical tasks, ensuring a smooth and reliable user experience.
Protecting Privacy and Data Integrity
For shared calculators, or devices used to handle sensitive financial, academic, or personal data, clearing is an essential aspect of digital security. Stored equations, complex variables, or even recent entry histories could inadvertently expose information if the calculator falls into the wrong hands. A thorough clear ensures that all previous entries, memory states, and potentially sensitive stored data are erased, safeguarding user privacy and preventing unauthorized access or misuse of information. This is particularly relevant in educational institutions, workplaces, or within a household where multiple individuals might use the same device.
Preparing for New Tasks and Users
Clearing a calculator is also a preparatory ritual. Whether commencing a new exam section, starting a fresh engineering project, or simply handing the device over to another user, a reset establishes a dedicated workspace. This eliminates potential confusion arising from previous settings, stored data, or active functions. It ensures that the calculator is in a predictable, default state, ready to accept new inputs without any inherited biases, thereby streamlining workflow and enhancing user confidence. This act of preparation not only benefits the current user but also cultivates good device management habits.
Fundamental Clearing Techniques Across Calculator Types
The method for clearing a calculator varies significantly depending on its type and sophistication. Understanding these nuances is key to effective device management.
Mastering the Basics: Standard and Simple Calculators
Most basic calculators feature intuitive clearing functions, but knowing the difference between their primary buttons is crucial.
- AC (All Clear) vs. CE (Clear Entry): These are the two most common clearing buttons. CE (Clear Entry) is designed for immediate error correction; it clears only the last number entered or the current operation being input, allowing the user to correct a mistake without wiping out the entire ongoing calculation. For instance, if you type
150 + 25and accidentally type3instead of2for25, pressing CE will clear the3, letting you input25correctly. Conversely, AC (All Clear) performs a comprehensive wipe. It clears the display, any active calculation, and often any simple memory registers, essentially resetting the calculator to a blank, default state. It’s the go-to for starting a new calculation from scratch or resolving minor hang-ups. - On/Clear Button Combinations: Some older or very simple calculators combine the power on/off function with the clear function, typically labeled “On/C”. In such cases, pressing it once might clear the current entry (acting like CE), while pressing it twice rapidly, or holding it down, might perform a full clear (acting like AC). Familiarity with your specific model’s manual is always recommended.
Navigating Scientific Calculators: Beyond Basic Resets
Scientific calculators introduce more complex memory and operational modes, requiring more granular clearing approaches.
- Specific Reset Functions (CLR, MODE, RESET): Beyond AC/CE, scientific calculators often feature dedicated buttons or menu options for specific resets. A “CLR” button might specifically clear the display, while deeper reset options are often found within a “MODE” or “SETUP” menu. For instance, you might encounter options to clear specific variables, equations, or statistical data. Some models have a “RESET” function, usually a secondary function (accessed with “SHIFT” or “2nd”), which can reset all modes and temporary data without performing a full factory reset. This allows users to revert to default calculation modes (e.g., degrees vs. radians, normal vs. scientific notation) without losing stored programs or permanent memory.
- Clearing Memories (STO, RCL, M+, M-): Scientific calculators feature robust memory functions (e.g.,
M+,M-,STO,RCL) for storing numbers. To clear these specific memory registers, you often need to use a combination of “SHIFT” or “2nd” with a memory button, or access a dedicated “Memory” menu. For example,SHIFT + CLR -> Memorymight be a sequence to clear all stored memory variables (A, B, C, X, Y, etc.) without affecting other settings. Understanding these functions is vital for complex problems involving multiple variables or intermediate results.
Graphing Calculators: A World of Data Management
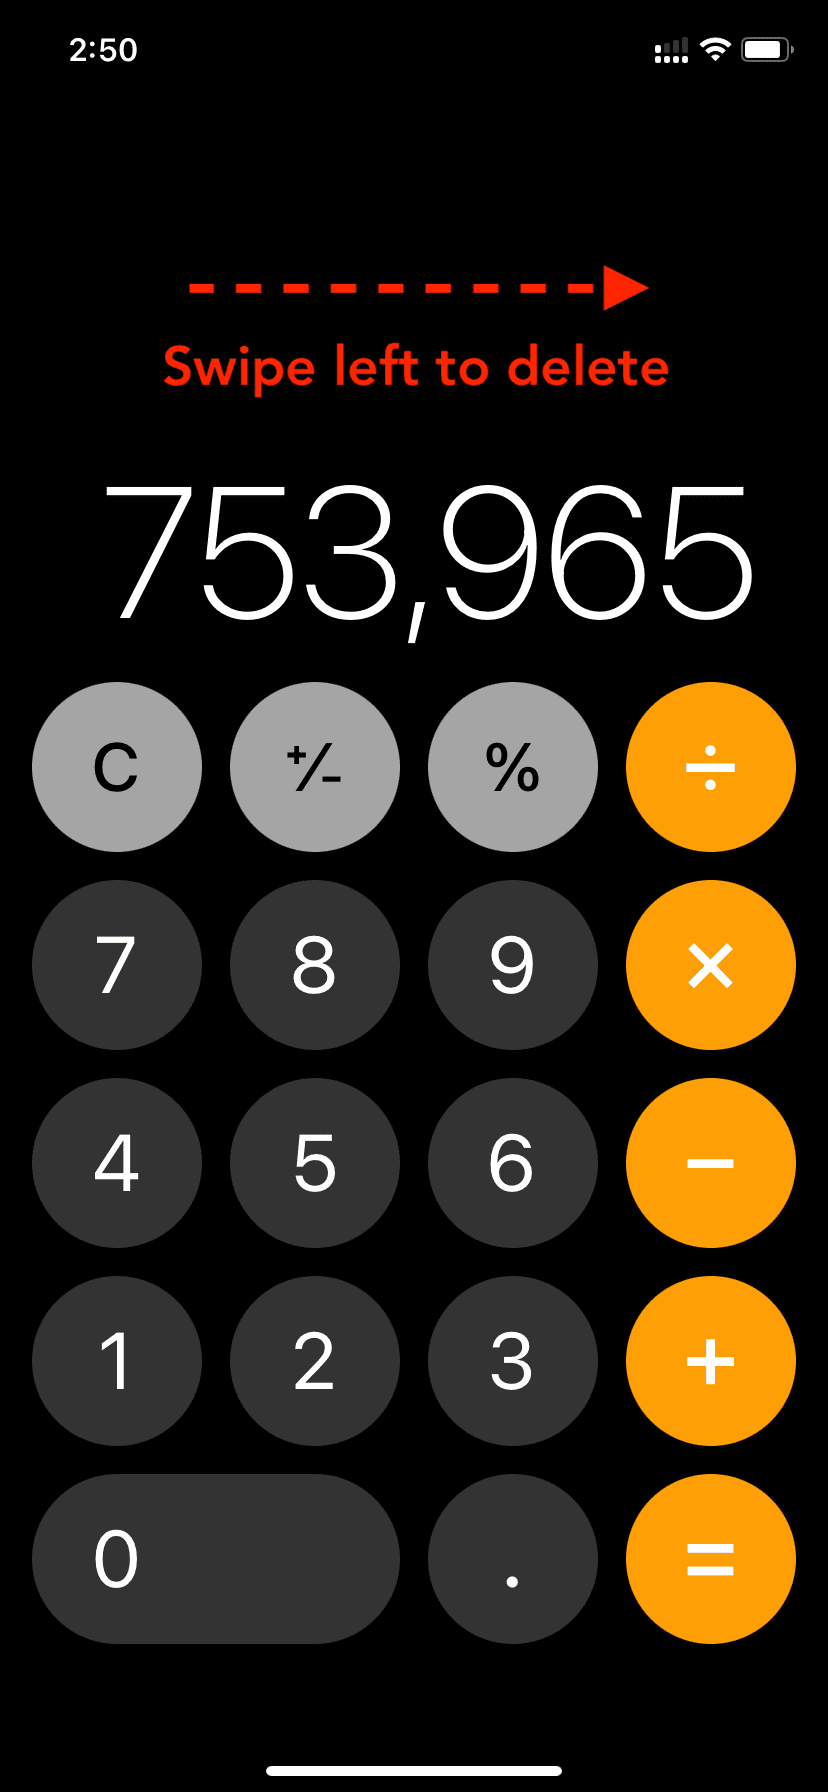
Graphing calculators are essentially specialized computers, capable of storing vast amounts of data, programs, and settings. Clearing them effectively requires a deeper dive into their memory management systems.
- Resetting RAM and Memory: Graphing calculators, like those from TI (Texas Instruments), Casio, or HP, have volatile RAM (Random Access Memory) that stores active variables, temporary data, and often user-defined programs and lists. Clearing RAM is frequently the first step to resolving persistent glitches or freeing up space. For TI calculators (e.g., TI-83/84 series), this typically involves navigating to
2nd + MEM (or +) -> Reset -> RAM -> All RAM -> Yes. This purges most user-generated data and settings but usually leaves pre-installed applications intact. - Clearing Graphs and Variables: To avoid clutter when working on new graphical problems, it’s essential to clear previously plotted functions, statistical data sets, and user-defined variables. This is usually done through specific menus:
- Functions (Y=): Navigate to the
Y=editor and clear all entered equations. - Statistical Data (STAT): Go to
STAT -> Editand clear lists (L1, L2, etc.) using theCLRListcommand (STAT -> 4:ClrList L1, L2). - Variables: Some models allow clearing individual variables through a memory management menu.
- Functions (Y=): Navigate to the
- Factory Reset Procedures for TI, Casio, HP Models: A factory reset is the most drastic clearing method for graphing calculators, restoring the device to its “out-of-the-box” state. It deletes all user data, programs, settings, and memory.
- TI Calculators (e.g., TI-84 Plus CE): Typically
2nd + MEM (or +) -> Reset -> All RAM & Archive -> Reset. Be aware that “All RAM & Archive” is a full reset. - Casio Calculators (e.g., fx-991EX, graphing models): Often involves
SHIFT + 9 (CLR) -> 3:All -> = (Yes). For graphing models, there might be a “System Reset” option within the main menu. - HP Calculators (e.g., HP Prime): Usually found within the “System” or “Settings” menu, looking for options like “Reset All” or “Factory Reset.”
Always consult your specific calculator’s manual for precise instructions, as procedures can vary even within the same brand. Crucially, if you have important programs or data, back them up to a computer before performing a factory reset.
- TI Calculators (e.g., TI-84 Plus CE): Typically
Advanced Troubleshooting and Deep Resets
Sometimes, the standard clearing methods simply aren’t enough. When a calculator exhibits persistent problems, it’s time to consider more advanced solutions.
When Basic Clears Aren’t Enough: Identifying Persistent Issues
If an AC or even a memory clear fails to resolve issues like a frozen display, consistently incorrect calculations, specific unresponsive buttons, or inexplicable battery drain, it suggests a deeper problem. These persistent glitches could indicate corrupted internal software, critical memory errors, or even a nascent hardware fault. Identifying these symptoms is crucial, as they point towards the need for a more comprehensive reset rather than simply repeating basic clearing actions. Before moving to a factory reset, users should confirm the problem isn’t due to simple user error or low battery.
The Full Factory Reset: A Last Resort Solution
A factory reset is the nuclear option for calculator troubleshooting. It’s powerful but comes with significant implications.
- Understanding the Implications of a Factory Reset: A factory reset wipes everything. This includes all user-defined programs, variables, lists, settings, and any data stored in archive memory. The calculator reverts to the exact state it was in when it left the factory. While this is highly effective for resolving deep-seated software issues, it is an irreversible process for lost data if not backed up. Users should only perform this reset after exhausting all other options and ensuring any critical information has been preserved, if possible.
- Step-by-Step Guidance for Different Brands: As outlined for graphing calculators, the general process involves navigating through a “Memory,” “System,” or “Reset” menu, often requiring multiple confirmations to prevent accidental execution. For simpler scientific calculators, it might be a button combination like
SHIFT + CLR + 3 (All) =. Always double-check your specific model’s manual. For many graphing calculators, connecting to a computer via a dedicated cable and using proprietary software (like TI-Connect) allows for backing up programs and data before a wipe, offering a crucial layer of data preservation.
Addressing Hardware-Related Glitches (Battery pulls, physical resets)
Not all problems are software-related. Sometimes, a hardware intervention is necessary to force a full internal reset.
- Battery Pulls: For many calculators, a temporary removal of the batteries (and often pressing a button like “ON” while they’re out to discharge any residual current) can perform a “hard reset.” This completely cuts power to the internal logic, forcing the system to re-initialize from scratch when power is restored. This can be surprisingly effective for resolving deep freezes or persistent display issues that software resets can’t touch.
- Physical Reset Buttons: Some calculator models feature a small, recessed “reset” button, often located on the back and requiring a paperclip or a thin pin to activate. Pressing this button typically triggers a hardware-level reset, similar to a factory reset but initiated externally. This is particularly useful if the calculator is completely unresponsive and navigating through menus is impossible. Always check your device for such a button before assuming it doesn’t exist.
Optimizing Calculator Longevity and Performance
Beyond troubleshooting, proactive measures and contextual awareness enhance a calculator’s lifespan and utility.
Best Practices for Regular Maintenance
Maintaining a calculator extends its life and prevents many common issues. This includes:
- Physical Cleaning: Regularly wipe the casing and screen with a soft, dry cloth to prevent dust and grime buildup from affecting buttons or obscuring the display.
- Safe Storage: Store your calculator in a protective case or a dedicated drawer to shield it from impacts, extreme temperatures, and spills.
- Proactive Battery Replacement: Replace batteries before they completely drain, as low power can lead to erratic behavior, data corruption, and memory loss, particularly in devices without robust battery backup systems. For rechargeable models, follow manufacturer guidelines for charging cycles.
Understanding Different Clearing Contexts
The “best” way to clear a calculator depends entirely on the situation:
- Quick Input Error: Use
CE. - New Calculation, No Saved Data Needed: Use
AC. - Starting a New Exam Section/Problem Set: Clear memory, variables, and potentially previous mode settings (e.g.,
MODE -> Reset). - Persistent Glitches, Preparing for Resale, or Major Troubleshooting: Perform a full
Factory Reset.
Aligning the clearing method with the task at hand ensures efficiency without unnecessary data loss.
When to Consider an Upgrade or Replacement
While clearing and maintenance can extend a calculator’s life, there comes a point where an upgrade or replacement is more practical. Frequent, unresolvable errors, significant physical damage, or the inability of the device to handle modern computational requirements (e.g., outdated operating system, lack of required functions) are strong indicators. Keeping an eye on technological advancements and your evolving computational needs can help you determine when your trusted calculator has reached the end of its practical lifecycle.
In conclusion, mastering the art of clearing your calculator is a fundamental skill for anyone relying on these essential digital tools. By understanding the different levels of reset—from clearing a single entry to performing a comprehensive factory wipe—users can ensure accuracy, resolve technical glitches, protect their data, and optimize their device for peak performance. A well-maintained and properly cleared calculator is not just a tool; it’s a reliable partner in navigating the complexities of the numerical world.
aViewFromTheCave is a participant in the Amazon Services LLC Associates Program, an affiliate advertising program designed to provide a means for sites to earn advertising fees by advertising and linking to Amazon.com. Amazon, the Amazon logo, AmazonSupply, and the AmazonSupply logo are trademarks of Amazon.com, Inc. or its affiliates. As an Amazon Associate we earn affiliate commissions from qualifying purchases.