
The quest for a streamlined and private operating system installation experience is a common one among tech enthusiasts and IT professionals alike. For those leveraging Microsoft’s robust Hyper-V virtualization platform, the desire to deploy Windows 11 without the mandatory Microsoft account requirement is particularly strong. This guide will walk you through the process of achieving precisely that, ensuring a local-only setup from the get-go. We’ll delve into the nuances of Hyper-V, the intricacies of Windows 11 installation media, and the essential steps to bypass the online account creation prompt, all while keeping in mind the broader context of technology, brand perception, and even the financial implications of such a setup.
Understanding the Landscape: Hyper-V and Windows 11 Installation
Before diving into the practical steps, it’s crucial to grasp why this process requires a specific approach. Microsoft has increasingly integrated its cloud services into the Windows ecosystem, making an online account practically a prerequisite for a full-featured experience. However, for numerous reasons – ranging from enhanced privacy and security to managing isolated development or testing environments, or even simply preferring a localized operating system – many users seek to circumvent this requirement.
The Role of Hyper-V
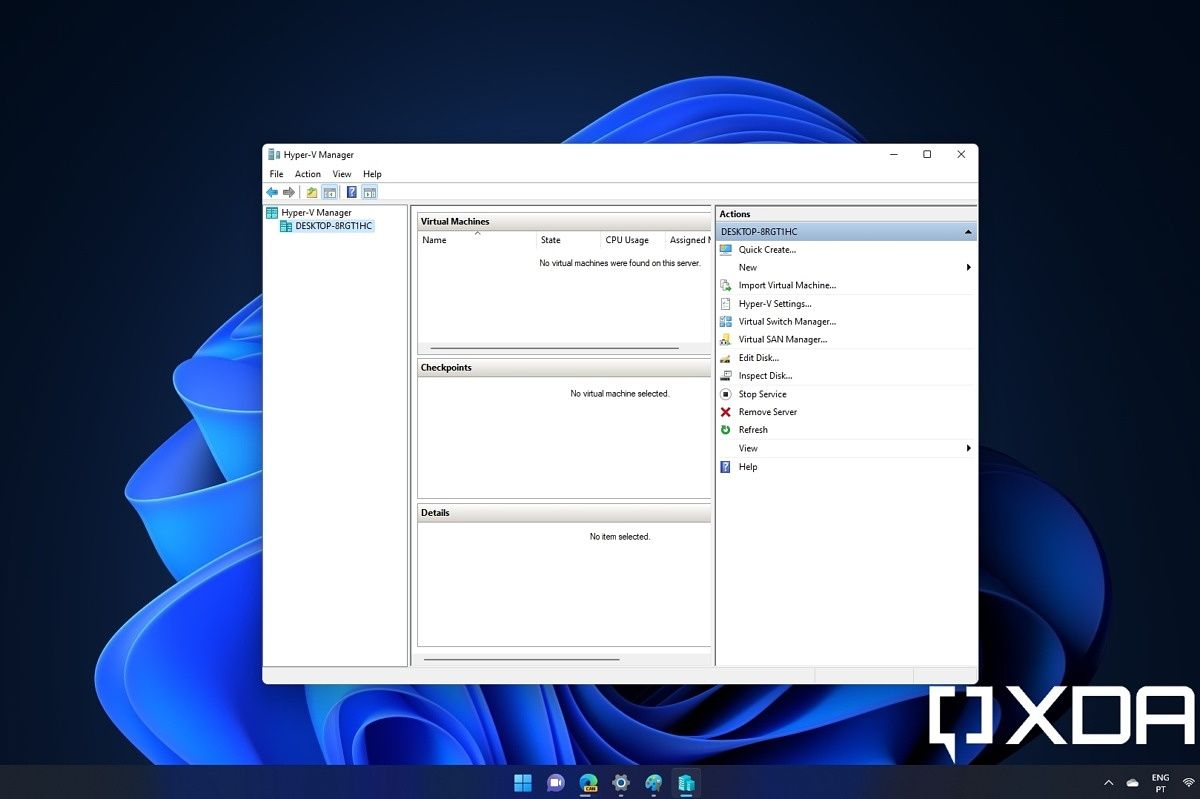
Hyper-V, Microsoft’s native hypervisor, is a powerful tool for creating and managing virtual machines (VMs) on Windows operating systems. It allows users to run multiple operating systems simultaneously on a single physical machine. When it comes to installing Windows 11, Hyper-V provides a safe and controlled environment to experiment with different configurations and bypass potential conflicts with your host system. The flexibility it offers makes it an ideal platform for custom OS installations, including those that aim to bypass standard account requirements.
Windows 11’s Account Mandate
Windows 11 Home edition, in particular, has a strict requirement for an internet connection and a Microsoft account during the initial setup (Out-of-Box Experience or OOBE). This is a significant departure from previous Windows versions. While Windows 11 Pro and Enterprise editions offer more flexibility and allow for local accounts, even these can be nudged towards Microsoft accounts during installation. Our goal here is to install Windows 11 in a way that avoids the online account altogether, regardless of the edition, within the confines of Hyper-V.
Why Install Without an Account?
The motivations for wanting a Windows 11 installation without a Microsoft account are diverse and touch upon several core themes relevant to our website’s pillars:
- Tech (Privacy and Control): For many, the primary driver is privacy. Linking an OS to a Microsoft account means sharing telemetry data, browsing habits, and potentially other personal information with Microsoft. A local account offers greater control over data sharing and reduces the digital footprint. Furthermore, for developers or testers working with sensitive code or data, an isolated VM with no external account links provides an extra layer of security and containment.
- Brand (Digital Sovereignty and Identity): From a branding perspective, especially for individuals or companies building a distinct digital identity, relying solely on a Microsoft account can feel like an external dependency. Maintaining a purely local OS installation allows for a sense of digital sovereignty, where the user is in complete control of their digital environment without being intrinsically tied to a third-party service. This aligns with the idea of a strong personal or corporate brand built on self-reliance and control.
- Money (Cost and Resource Management): While Windows 11 itself is a product, the associated cloud services that often come with a Microsoft account can have indirect financial implications. Moreover, for those running multiple VMs for testing or development, avoiding account creation can sometimes simplify licensing management and prevent unexpected costs associated with linked services. Efficient resource management in a virtualized environment is key to optimizing performance and potentially reducing hardware strain.
Preparing for the Installation
Before you can begin the installation, several preparatory steps are necessary. This includes obtaining the Windows 11 installation media and ensuring your Hyper-V environment is ready.
Acquiring Windows 11 Installation Media
The most straightforward way to get Windows 11 installation media is to download the official ISO file directly from Microsoft. You can typically find this on the Microsoft website under their “Download Windows 11” section. It’s crucial to download the correct version you intend to install (e.g., Windows 11 Home, Pro).
Setting Up the Hyper-V Virtual Machine
- Create a New Virtual Machine: Open Hyper-V Manager, right-click on your Hyper-V host, and select “New” > “Virtual Machine.”
- Configure VM Settings:
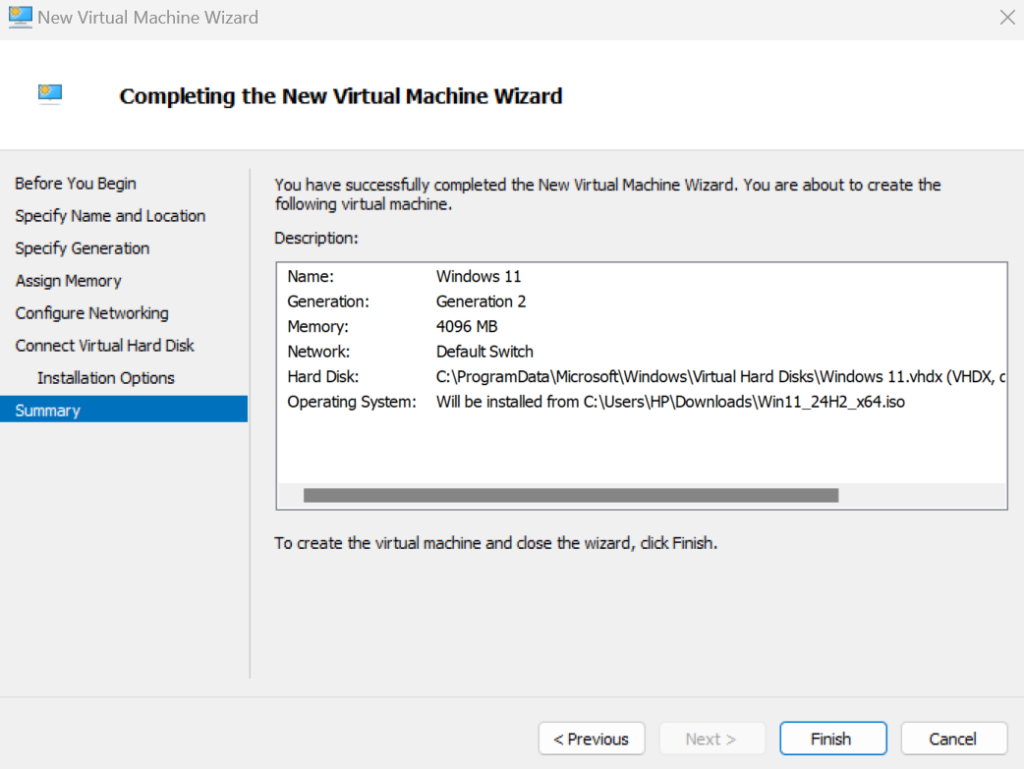
- Name and Location: Give your VM a descriptive name and choose a location for its files.
- Generation: For Windows 11, Generation 2 is recommended as it supports UEFI firmware, which is standard for modern operating systems.
- Memory: Allocate sufficient RAM. 4GB (4096MB) is the minimum recommended, but 8GB or more will provide a smoother experience.
- Networking: Connect the virtual machine to an appropriate virtual switch. An “External” switch will give it internet access (useful for updates post-installation), while an “Internal” or “Private” switch can isolate it.
- Virtual Hard Disk: Create a new virtual hard disk or use an existing one. Allocate an adequate size (e.g., 60GB or more) to accommodate Windows 11 and any applications you plan to install.
- Mount the ISO: Once the VM is created, right-click on it in Hyper-V Manager and select “Settings.” Navigate to “SCSI Controller” > “DVD Drive,” and select “Image file (.iso)” to browse and select the Windows 11 ISO file you downloaded.
- Enable Secure Boot (if applicable): For Generation 2 VMs, ensure Secure Boot is enabled in the VM’s firmware settings, as Windows 11 requires it.
The “No Account” Installation Trick
The core of this guide lies in circumventing the mandatory Microsoft account requirement during Windows 11’s OOBE. Microsoft has made this increasingly difficult, but there are reliable methods that leverage the setup process itself.
Method 1: The “Offline Account” Command Prompt Trick
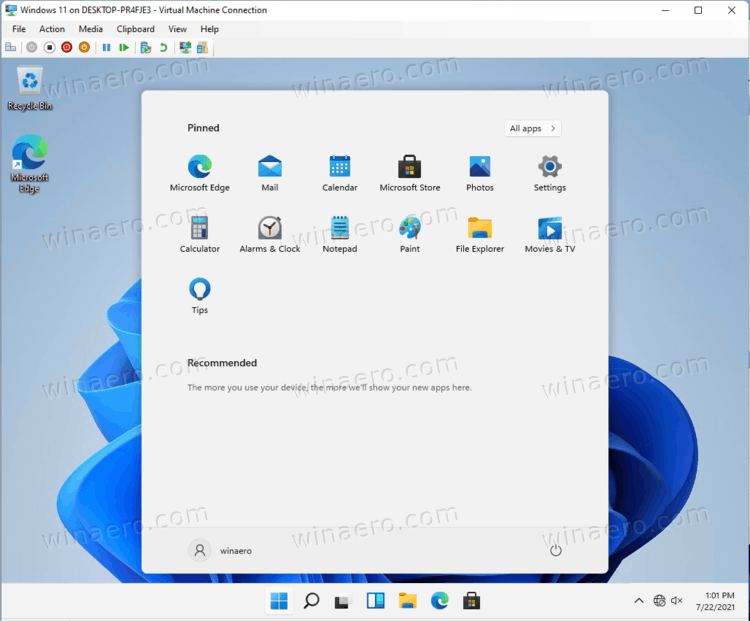
This is the most common and effective method for bypassing the Microsoft account prompt for Windows 11 Home and Pro editions.
During the Out-of-Box Experience (OOBE)
-
Boot the VM from the ISO: Start your newly created Hyper-V VM. It should boot from the Windows 11 ISO you mounted.
-
Proceed Through Initial Setup: Select your language, time format, and keyboard layout, and click “Next.”
-
“Install now”: Click the “Install now” button.
-
Product Key: When prompted for a product key, you can click “I don’t have a product key.” (If you have a valid key for the edition you’re installing, you can enter it here, but it’s not necessary for bypassing the account prompt).
-
Select Operating System: Choose the edition of Windows 11 you want to install (e.g., Windows 11 Pro).
-
Accept License Terms: Agree to the license terms.
-
Installation Type: Select “Custom: Install Windows only (advanced).”
-
Partition Selection: Choose the unallocated space on your virtual hard disk and click “Next.” Windows will begin installing.
-
The Crucial Moment – Network Connection: Windows will proceed through several setup stages. Eventually, it will reach a point where it requires an internet connection and prompts you to sign in with a Microsoft account. This is where the trick comes in.
- If the VM has no network connection configured, it might proceed to offer a local account option. However, most setups will have a network.
- If you are connected to the network and see the Microsoft account prompt:
- Press
Shift + F10on your keyboard. This will open a Command Prompt window within the setup environment. - In the Command Prompt, type the following command and press Enter:
OOBEBYPASSNRO
- Your VM will restart automatically after executing this command.
- Press
-
Post-Restart – Local Account Option: After the restart, Windows setup will continue. When it reaches the network configuration screen again, you should now see an option that says “I don’t have internet.” Click on this.
-
Continue with Limited Setup: You will then be presented with a screen that might warn you about the benefits of being online. Click “Continue with limited setup.”
-
Create a Local Account: Now, you will be prompted to create a local user account. Enter a username, password (optional, but recommended for security), and security questions.
-
Complete Setup: Proceed through the remaining setup screens (privacy settings, etc.). You will now have a Windows 11 installation running on your Hyper-V drive with a local account, completely independent of a Microsoft account.
Method 2: Disabling Network Adapter During Initial Setup (Less Reliable for Modern Builds)
This method was more effective in earlier builds of Windows 11. While Method 1 is generally preferred, it’s worth understanding this approach for completeness.
- Before starting the VM for the first time: In Hyper-V Manager, right-click on your VM, select “Settings,” then navigate to the “Network Adapter.”
- Remove or Disable: You can either remove the Network Adapter entirely from the VM’s settings or, if you want to add it back later, select “Not connected” from the “Virtual switch” dropdown.
- Proceed with Installation: Boot the VM and go through the initial setup steps as described above.
- Local Account Prompt: Because the VM has no network connectivity, Windows setup will likely default to offering the option to create a local account.
- Re-enable Network: Once Windows is installed and you’re logged into your local account, you can go back into the VM’s settings in Hyper-V Manager and re-add or reconfigure the Network Adapter to give it internet access.
Important Considerations:
- Windows Updates: After installation, it’s highly recommended to connect your VM to the internet and run Windows Update immediately. This will ensure you have the latest security patches and critical updates.
- Feature Updates: Be aware that major feature updates for Windows 11 might sometimes revert or re-introduce the Microsoft account requirement. If this happens, you may need to repeat the
OOBEBYPASSNROcommand after the feature update is applied. - Edition Specifics: While the
OOBEBYPASSNROmethod is generally effective across Windows 11 Home and Pro, Microsoft can change installation behaviors with new builds. Always ensure you’re using a recent ISO.
Post-Installation Configuration and Management
Once Windows 11 is installed without a Microsoft account, you’ll want to configure it for optimal performance and security within your Hyper-V environment.
Securing Your Local Account
Even though you’ve bypassed the Microsoft account, it’s crucial to secure your local account:
- Strong Password: Use a complex and unique password.
- Security Questions: Answer the security questions carefully.
- BitLocker (if applicable): If you are using Windows 11 Pro or Enterprise, consider enabling BitLocker for full disk encryption on the virtual hard disk. This adds a significant layer of data protection.
Managing Hyper-V Settings for the VM
- Checkpoints: Regularly take checkpoints (snapshots) of your VM. This is invaluable for quickly reverting to a previous state if something goes wrong during updates or software installations.
- Resource Allocation: Monitor your VM’s resource usage (CPU, RAM) through Hyper-V Manager or Task Manager within the VM. Adjust the allocated resources in the VM’s settings if performance is lagging.
- Virtual Machine Integration Services: Ensure that Hyper-V Integration Services are up-to-date. These services enhance the performance and functionality of the VM by allowing better communication between the host and the guest OS. They are usually installed automatically with modern Windows versions, but it’s good to verify.
The Brand and Money Aspects Revisited
The successful installation of Windows 11 without a Microsoft account, achieved through careful technical steps, reinforces several key principles:
- Brand Control: By maintaining a local-only OS, you assert greater control over your digital identity and data. This aligns with building a robust personal or corporate brand that emphasizes independence and self-sufficiency. Your digital workspace is yours, unburdened by default cloud integrations.
- Financial Prudence: For individuals and businesses managing multiple VMs, avoiding unnecessary cloud dependencies can simplify cost management. It ensures that your virtualized environments are solely focused on the task at hand, without incurring hidden costs from bundled services or cloud storage that you might not actively use or need. This is a form of financial optimization within your tech infrastructure.
Conclusion
Installing Windows 11 without a Microsoft account on a Hyper-V drive is an achievable goal, offering enhanced privacy, control, and a more localized computing experience. By utilizing the OOBEBYPASSNRO command within the setup process, you can effectively steer the installation towards a local-only account. This technical maneuver not only satisfies the desire for a private computing environment but also aligns with broader principles of digital sovereignty and efficient resource management. As technology continues to evolve, understanding and leveraging these methods empowers users to tailor their digital infrastructure to their specific needs and values, ensuring their tech stack remains a tool that serves them, rather than dictating their digital interactions.