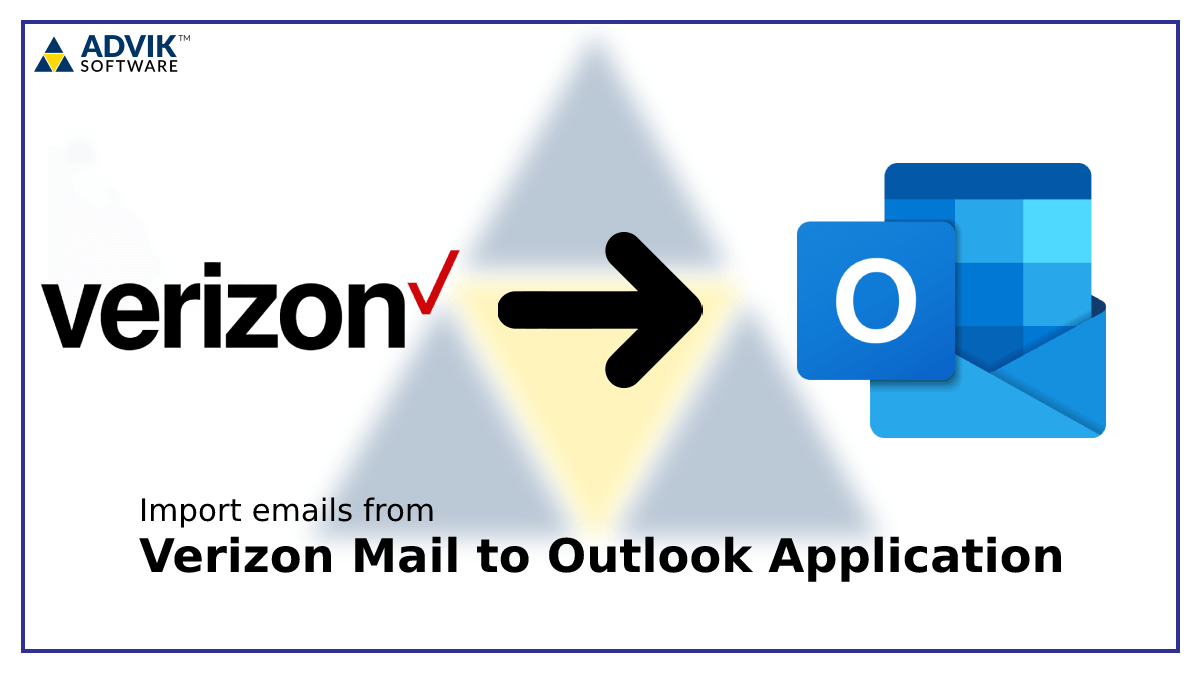
In today’s digitally interconnected world, managing your email effectively is paramount. For many, the convenience of consolidating all their important communications into a single, robust application like Microsoft Outlook is highly desirable. If you’re a Verizon.net email user looking to streamline your workflow and enjoy the advanced features Outlook offers, this comprehensive guide will walk you through the process of setting up your Verizon email account. This involves understanding the necessary server settings and ensuring a smooth integration, allowing you to send and receive emails from your Verizon address directly within Outlook.
The process itself is straightforward, requiring you to input specific server information into Outlook’s account setup wizard. This information, often referred to as IMAP or POP and SMTP settings, acts as the bridge between your Verizon email service and the Outlook application. While it might seem a little technical, we’ll break down each step, providing clarity and ensuring you don’t encounter unnecessary hurdles. By the end of this guide, you’ll have your Verizon.net email up and running in Outlook, ready to manage your digital correspondence with greater efficiency and organization.
Understanding the Benefits of Integrating Verizon.net Email with Outlook
Before diving into the technicalities of installation, it’s beneficial to understand why many users opt to integrate their Verizon.net email with a desktop client like Outlook. This decision often stems from a desire for enhanced productivity, improved organization, and a more feature-rich email management experience than what might be offered by a web-based interface alone.
Enhanced Productivity and Centralized Management
One of the most significant advantages of integrating your Verizon.net email with Outlook is the ability to centralize your communication. Instead of constantly switching between browser tabs to check your Verizon email, your work emails, and perhaps other personal accounts, you can manage everything from one application. This reduces context switching, a known productivity killer, and allows for a more seamless workflow. You can quickly scan your inbox, prioritize messages, and respond to emails without leaving the Outlook environment.
Furthermore, Outlook offers robust features for organizing your emails. You can create custom folders, set up rules to automatically sort incoming messages, flag emails for follow-up, and utilize powerful search capabilities to find specific messages quickly. For a Verizon.net user who receives a significant volume of email, these organizational tools can be a game-changer, preventing important messages from getting lost and ensuring timely responses.
Advanced Features and Offline Access
Outlook provides a suite of advanced features that go beyond basic email sending and receiving. These include:
- Calendar Integration: Seamlessly manage your appointments, meetings, and events. You can even share your calendar with colleagues or family members.
- Contact Management: Keep all your contacts organized in one place, with detailed information and easy access for sending emails.
- Task Management: Create and track your to-do lists directly within Outlook, linking tasks to specific emails or calendar events.
- Offline Access: A major benefit of using a desktop client is offline access. Once your email account is set up and synchronized, you can view, compose, and even send emails even when you don’t have an internet connection. These outgoing emails will be sent automatically once your connection is restored. This is particularly useful for those who travel frequently or work in areas with unreliable internet access.
- Advanced Filtering and Rules: Outlook’s rules engine is highly sophisticated, allowing you to automate a wide range of actions based on sender, subject, keywords, and more. This can include moving emails to specific folders, marking them as read, forwarding them, or even deleting them, significantly reducing inbox clutter.
By bringing your Verizon.net email into Outlook, you’re essentially upgrading your email management experience, leveraging these advanced functionalities to become more efficient and organized in your digital communications.
Gathering the Necessary Information: Verizon.net Email Server Settings
To successfully install your Verizon.net email on Outlook, you will need specific server details provided by Verizon. These details tell Outlook how to connect to your Verizon email servers to send and receive messages. There are two primary protocols for receiving email: IMAP and POP. IMAP is generally recommended as it synchronizes your emails across all devices where you access your account. POP, on the other hand, typically downloads emails to a single device and can remove them from the server.
The information you’ll need typically includes:
- Incoming Mail Server (IMAP or POP): This is the server that receives your emails.
- Outgoing Mail Server (SMTP): This is the server that sends your emails.
- Username: This is usually your full Verizon.net email address.
- Password: This is the password for your Verizon.net email account.
- Port Numbers: These are specific numbers that the servers use for communication.
- Encryption Method: This ensures secure communication between Outlook and the servers.
Verizon.net Incoming Mail Server Settings (IMAP Recommended)
For most users, IMAP is the preferred protocol because it allows you to access your emails from multiple devices, and any changes you make on one device (like reading an email, deleting it, or moving it to a folder) will be reflected on all other devices.
IMAP Settings:
- IMAP Server Name:
imap.verizon.net - IMAP Port:
993 - IMAP Encryption:
SSL/TLS(orSSLdepending on Outlook version)
Verizon.net Incoming Mail Server Settings (POP Alternative)
If you prefer to download your emails to a single device and have them removed from the server, you can use POP. Be aware that this method can lead to emails being lost if the device is lost or if you switch devices and forget to back them up.
POP Settings:
- POP Server Name:
pop.verizon.net - POP Port:
995 - POP Encryption:
SSL/TLS(orSSLdepending on Outlook version)
Verizon.net Outgoing Mail Server Settings (SMTP)
The outgoing mail server is responsible for sending your emails to their recipients.
SMTP Settings:
- SMTP Server Name:
smtp.verizon.net - SMTP Port:
465(often used with SSL/TLS) or587(often used with STARTTLS) - SMTP Encryption:
SSL/TLS(orSTARTTLSif using port 587) - Authentication: Most setups require authentication for the SMTP server, meaning you need to use your email address and password to send mail. This is a security measure to prevent spam.
Important Note on Authentication: For both incoming and outgoing servers, you will likely need to authenticate using your full Verizon.net email address and your email account password. Ensure you have the correct password. If you have forgotten your password, you will need to reset it through Verizon’s account management portal before proceeding.
Step-by-Step Guide: Installing Verizon.net Email on Outlook
Now that you have gathered the necessary server settings, you are ready to configure your Verizon.net email account within Microsoft Outlook. The exact steps may vary slightly depending on the version of Outlook you are using (e.g., Outlook 365, Outlook 2019, Outlook 2016), but the general process remains the same.
This guide will focus on adding a new email account. If you are upgrading or changing settings for an existing account, you might need to navigate to account settings within Outlook.
Adding a New Email Account in Outlook
-
Open Outlook: Launch the Microsoft Outlook application on your computer.
-
Navigate to Account Settings:
- For newer versions of Outlook (Outlook 365, 2019, 2016):
- Click on the
Filetab in the top-left corner. - Click on
Add Account.
- Click on the
- For older versions of Outlook:
- Click on the
Filetab. - Click on
Account Settings, and then selectAccount Settingsagain from the dropdown. - In the Account Settings window, click the
New...button.
- Click on the
- For newer versions of Outlook (Outlook 365, 2019, 2016):
-
Enter Your Email Address:
- In the “Add Account” window, you will typically see an option to “Set up your account automatically.” Enter your full Verizon.net email address in the provided field.
- Click
Connect.
-
Choose Manual Setup:
- Outlook will attempt to automatically configure your account. If it fails or if you prefer to manually enter the settings (which is often more reliable), look for an option that says something like
Let me set up my account manuallyorChange account type. Click on this option.
- Outlook will attempt to automatically configure your account. If it fails or if you prefer to manually enter the settings (which is often more reliable), look for an option that says something like
-
Select Account Type (IMAP or POP):
- You will be presented with options to choose your account type. Select
IMAP(recommended) orPOPbased on the settings you gathered earlier. ClickConnect.
- You will be presented with options to choose your account type. Select
-
Enter Server Details:
- You will now see fields for your incoming and outgoing server settings. This is where you will input the specific Verizon.net details:
- Incoming mail server: Enter
imap.verizon.net(orpop.verizon.netif you chose POP). - Outgoing mail server (SMTP): Enter
smtp.verizon.net.
- Incoming mail server: Enter
- You will now see fields for your incoming and outgoing server settings. This is where you will input the specific Verizon.net details:
-
Enter Login Information:
- Username: Enter your full Verizon.net email address (e.g.,
yourname@verizon.net). - Password: Enter the password for your Verizon.net email account.
- Require logon using Secure Password Authentication (SPA): This option should generally be unchecked unless specifically instructed by Verizon.
- Username: Enter your full Verizon.net email address (e.g.,
-
More Settings (Crucial Step):
- After entering the server names and login details, you will usually need to access advanced settings to configure ports and encryption. Look for a button labeled
More Settings...or a similar option. - In the “Internet Email Settings” window that appears, navigate to the
Advancedtab. - Incoming server (IMAP or POP):
- IMAP:
This server requires an encrypted connection (SSL/TLS): Check this box.- Port: Ensure the port is set to
993.
- POP:
This server requires an encrypted connection (SSL/TLS): Check this box.- Port: Ensure the port is set to
995.
- IMAP:
- Outgoing server (SMTP):
- This server requires an encrypted connection (SSL/TLS): Check this box.
- Port: Ensure the port is set to
465for SSL/TLS, or587if you are using STARTTLS. The wizard might auto-select the correct port based on the encryption type.
- Delivery Options (for POP accounts): If you are using POP, you may see an option like “Leave a copy of messages on the server.” If you want to keep emails on the server, check this box. You can also set how long to keep them.
- After entering the server names and login details, you will usually need to access advanced settings to configure ports and encryption. Look for a button labeled
-
Test Account Settings:
- Before closing the “More Settings” window, it’s a good practice to test your account settings. There is usually a button labeled
Test Account Settings. Click this button. - Outlook will attempt to send a test email and receive a test email. If all settings are correct, you should see checkmarks next to both tasks. If there are errors, carefully review the server names, ports, encryption settings, and your username/password. Common issues include typos in server names or incorrect port numbers.
- Before closing the “More Settings” window, it’s a good practice to test your account settings. There is usually a button labeled
-
Complete the Setup:
- Once the test is successful, click
Closeon the “Test Account Settings” window. - Click
NextorFinishon the “Add Account” wizard. - Outlook will finish configuring your account. You may be prompted to close and restart Outlook for the changes to take effect.
- Once the test is successful, click

Troubleshooting Common Issues
- Incorrect Password: This is the most frequent problem. Double-check your Verizon password and ensure it’s entered correctly. Consider resetting it if you’re unsure.
- Wrong Server Settings: Verify that you have entered the correct server names, ports, and encryption methods. Small typos can cause failure.
- Firewall or Antivirus Interference: Sometimes, security software on your computer can block Outlook from connecting to the email servers. Temporarily disabling your firewall or antivirus to test if this is the cause can be helpful. Remember to re-enable them afterward.
- Two-Factor Authentication: If you have two-factor authentication enabled for your Verizon account, you might need to generate an “app password” specifically for Outlook. This is a unique password that allows applications to access your account without compromising your main password. Check Verizon’s support for information on generating app passwords.
- Outlook Version Compatibility: Ensure your version of Outlook is up-to-date. Older versions might not support newer security protocols.
By meticulously following these steps and paying attention to the details, you should be able to successfully install and configure your Verizon.net email account on Microsoft Outlook, enjoying a more integrated and productive email experience.
aViewFromTheCave is a participant in the Amazon Services LLC Associates Program, an affiliate advertising program designed to provide a means for sites to earn advertising fees by advertising and linking to Amazon.com. Amazon, the Amazon logo, AmazonSupply, and the AmazonSupply logo are trademarks of Amazon.com, Inc. or its affiliates. As an Amazon Associate we earn affiliate commissions from qualifying purchases.