
Minecraft, the pixelated sandbox phenomenon, has captivated millions worldwide with its boundless creativity, adventurous exploration, and engaging survival gameplay. Whether you’re a seasoned gamer looking to dive into its blocky depths for the first time on PC, or a curious newcomer eager to build your dream world, installing Minecraft is your essential first step. This comprehensive tutorial will guide you through every stage of the process, ensuring a smooth and successful setup. We’ll cover everything from understanding the different editions and checking system requirements to secure purchasing, step-by-step installation instructions for both Java and Bedrock editions, and even common troubleshooting tips. By the end of this guide, you’ll be ready to embark on your unique Minecraft journey, digging deep into caves, constructing magnificent structures, and exploring endless, procedurally generated landscapes.
Preparing for Your Minecraft Adventure: System Requirements and Editions
Before you download anything, it’s crucial to understand the two primary versions of Minecraft available for PC and to ensure your computer meets the necessary specifications. This foresight will prevent potential compatibility issues and ensure a smooth gaming experience, directly aligning with best practices in software installation and productivity.
Understanding Minecraft Editions: Java vs. Bedrock
Minecraft offers two distinct editions for PC players, each with unique features and advantages. Choosing the right one depends largely on your preferences regarding modding, cross-platform play, and community features.
- Minecraft: Java Edition: This is the original version of Minecraft, renowned for its incredible modding community. If you dream of adding custom content, intricate shaders, or complex gameplay modifications, Java Edition is your go-to. It supports cross-play with other Java Edition players on Windows, macOS, and Linux. This edition is historically significant and offers a deep dive into the technical aspects of the game, appealing to users interested in exploring the full breadth of software customization.
- Minecraft for Windows (Bedrock Edition): Often referred to as Bedrock Edition, this version is built on a different codebase and is optimized for performance across various platforms. It offers seamless cross-play with players on Xbox, PlayStation, Nintendo Switch, mobile devices, and other Windows 10/11 PCs. Bedrock Edition also features the in-game Marketplace for purchasing skins, textures, and worlds, and often receives updates in sync with console and mobile versions. If you prioritize playing with friends on diverse devices or appreciate a streamlined, often more graphically performant experience, Bedrock is an excellent choice.
It’s important to note that purchasing one edition generally does not grant you access to the other. However, Microsoft occasionally offers bundles or promotions where you can acquire both. As of writing, new purchases of Minecraft on PC through the official channels typically include both the Java and Bedrock editions in a single package, offering the best of both worlds.
Checking Your PC’s Readiness: System Requirements
Meeting the minimum system requirements is non-negotiable for a playable experience. While Minecraft is known for its relatively low barrier to entry, ensuring your PC can handle it will prevent frustrating lag or crashes, a common issue for users unaware of software-hardware compatibility.
Here’s a general overview of the recommended system specifications for both editions. Keep in mind that “recommended” provides a smoother experience, especially if you plan on using higher graphics settings or playing on complex servers.
Minecraft: Java Edition (Recommended Specifications):
- CPU: Intel Core i5-4690 / AMD A10-7800 or equivalent. A modern multi-core processor will ensure smooth chunk loading and processing complex game mechanics.
- RAM: 8 GB RAM. While 4GB might technically run it, 8GB is crucial for running the game smoothly, especially with mods or on larger servers, preventing memory-related performance bottlenecks.
- GPU: NVIDIA GeForce 700 Series / AMD Radeon Rx 200 Series (integrated graphics: Intel HD Graphics 4000 / AMD Radeon R5 with OpenGL 4.4). A dedicated graphics card significantly improves frame rates and visual fidelity.
- Storage: 4 GB (SSD recommended). An SSD will drastically reduce game loading times and improve asset streaming.
- OS: Windows 10/11, macOS 10.14.5 Mojave or newer, or any modern Linux distribution. Ensure your operating system is up-to-date for optimal driver compatibility and security.
- Internet: Broadband connection for downloading game files, multiplayer, and updates.
Minecraft for Windows (Bedrock Edition) (Recommended Specifications):
- CPU: Intel Core i5-4690 / AMD A10-7800 or equivalent.
- RAM: 8 GB RAM.
- GPU: NVIDIA GeForce 700 Series / AMD Radeon Rx 200 Series (integrated graphics: Intel HD Graphics 4000 / AMD Radeon R5 with DirectX 11 Feature Level 9.3). Bedrock relies on DirectX for its rendering.
- Storage: 4 GB (SSD recommended).
- OS: Windows 10 (version 1607 or newer) or Windows 11. Bedrock Edition is deeply integrated with the Windows Store and operating system features.
- Internet: Broadband connection for downloading game files, multiplayer, and updates.
To check your PC’s specifications on Windows, right-click on the Start button, select “System,” and you’ll find details about your processor, installed RAM, and operating system. For graphics card information, type “dxdiag” into the Windows search bar and open the DirectX Diagnostic Tool, then navigate to the “Display” tab. Ensuring these align with the requirements is a fundamental aspect of digital security and productivity, as it prevents unnecessary system strain and potential software conflicts.
Acquiring Minecraft: Purchasing and Downloading
Once you’ve decided on your preferred edition (or if you’re getting the bundle) and confirmed your system meets the requirements, the next step is to securely purchase the game and download the necessary files. This process, while straightforward, involves financial transactions and downloading software, making digital security and using official sources paramount.
Securely Purchasing Minecraft
The only official and recommended places to purchase Minecraft for PC are the official Minecraft website or the Microsoft Store. Using third-party key sellers or unofficial download sites carries significant risks, including receiving invalid keys, downloading malware, or compromising your personal financial information. This directly relates to financial security and protecting your personal data, a core concern when dealing with online transactions.
- Visit the Official Minecraft Website: Open your web browser and navigate to
www.minecraft.net. This is the primary portal for all things Minecraft. - Navigate to the Buy Page: Look for a prominent “Get Minecraft” or “Buy Now” button. You’ll typically be directed to a page where you can select your platform.
- Choose Your PC Edition: Select “Computer” or “PC” as your platform. You will then see the option to purchase the “Minecraft Java & Bedrock Edition for PC” bundle.
- Create/Log in to a Microsoft Account: Minecraft purchases are now tied to a Microsoft account. If you don’t have one, you’ll be prompted to create one. If you already use services like Xbox, Outlook, or Windows, you likely have one. Ensure you use a strong, unique password and enable two-factor authentication for enhanced digital security.
- Complete the Purchase: Follow the on-screen prompts to enter your payment information. The website supports various payment methods, including credit/debit cards, PayPal, and more, depending on your region. Always verify that the connection is secure (look for “https://” in the URL and a padlock icon in your browser’s address bar) before entering sensitive financial details. Review your order and confirm the purchase.
Once the purchase is complete, you will receive a confirmation, and the system will register the game to your Microsoft account. There’s no physical disc or separate product key to worry about; your account serves as your license.
Downloading the Minecraft Launcher
After purchasing the game, you won’t immediately download Minecraft itself. Instead, you’ll download the official Minecraft Launcher, a central application that manages both Java and Bedrock editions, updates, and allows you to launch the game.
- Post-Purchase Download Link: Immediately after your purchase is confirmed on
minecraft.net, you will usually be presented with a “Download Launcher” button or a link. Click this to begin the download. - Alternatively, from Minecraft.net: If you miss the direct link, you can always go to
www.minecraft.net/downloadand select the appropriate installer for your operating system (Windows 10/11, macOS, or Linux). For Windows, it’s typically an.exefile. - Microsoft Store (for Bedrock-focused users): If you primarily intend to play Bedrock Edition, you can also open the Microsoft Store app on your Windows PC, search for “Minecraft,” and download it from there. The Microsoft Store automatically manages the download and installation of Bedrock Edition, and often, the unified launcher as well.
- Save the Installer: Save the downloaded
.exefile to a location you can easily find, such as your Downloads folder. The file size is relatively small, as it’s just the launcher, not the entire game.
This launcher acts as your gateway, streamlining the process of installing and managing the actual game files, making it a robust piece of software for avid players.
Step-by-Step Installation Guide
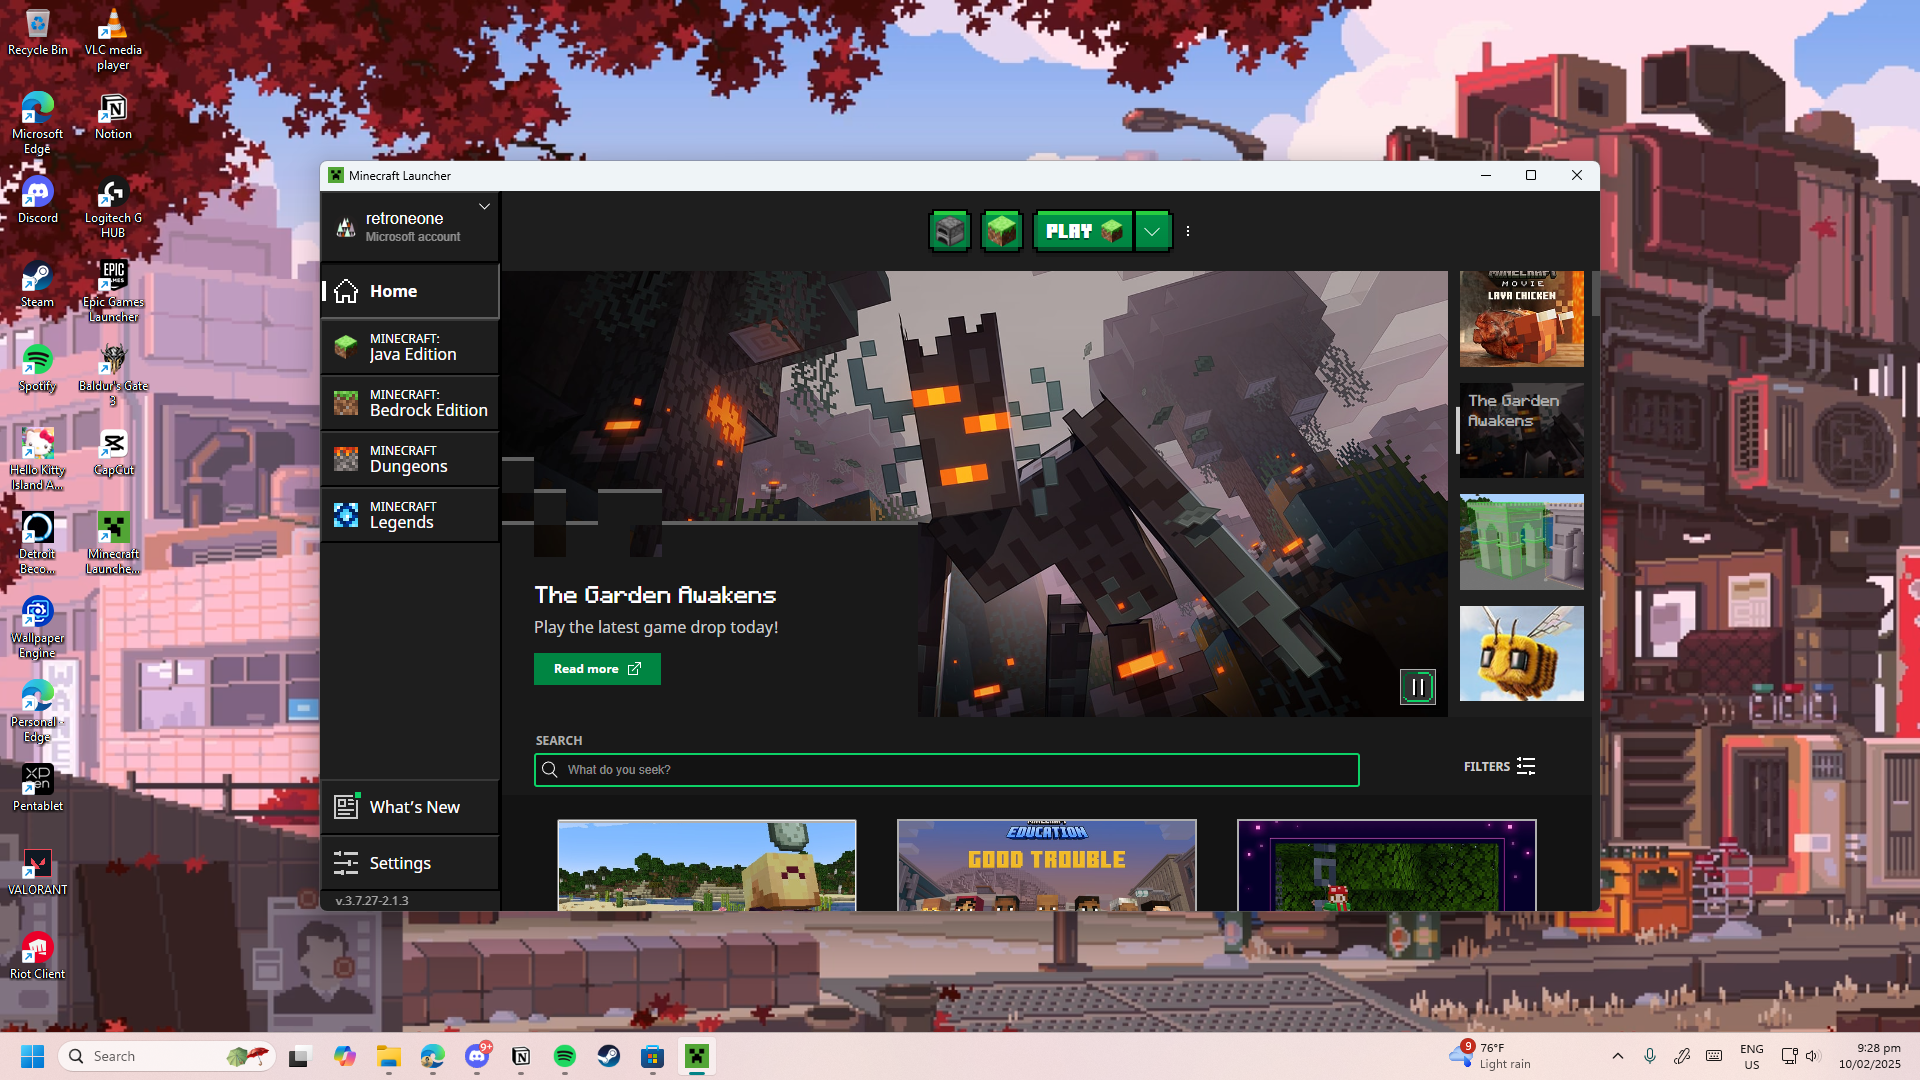
With the Minecraft Launcher downloaded, you’re now ready for the actual installation. The process is remarkably straightforward, but we’ll detail it for both Java and Bedrock paths for absolute clarity.
Installing Minecraft Java Edition
The Java Edition installation goes through the unified Minecraft Launcher.
- Run the Minecraft Launcher Installer: Navigate to where you saved the
MinecraftInstaller.exefile (or similarly named executable) and double-click it. - Follow the Installation Wizard: A setup wizard will appear.
- Click “Next” to begin.
- Choose your installation directory. The default location is usually fine (C:Program FilesMinecraft Launcher).
- Click “Install” to proceed.
- The wizard will install the necessary files for the launcher.
- Once complete, click “Finish.” The launcher might automatically start, or you can launch it from your desktop shortcut or Start menu.
- Log in to the Minecraft Launcher: When the launcher opens, you’ll be prompted to log in. Use the Microsoft account you used to purchase Minecraft. This is a critical step, as it authenticates your ownership and grants you access to both editions.
- Download Game Files: After logging in, the launcher will recognize your purchase. You’ll see options for both “Minecraft: Java Edition” and “Minecraft for Windows” (Bedrock Edition).
- Select “Minecraft: Java Edition” from the left-hand menu.
- Click the large green “Install” button. The launcher will begin downloading all the necessary game files, which can be several gigabytes. This step requires a stable internet connection and can take some time depending on your speed.
- Launch and Play: Once the download is complete, the “Install” button will change to a “Play” button. Click “Play” to start Minecraft: Java Edition. The game will launch, and you can create a new world, join a server, or customize your experience.
Installing Minecraft Bedrock Edition (Windows 10/11)
While the unified launcher can initiate the Bedrock download, the most direct and integrated way to install Bedrock Edition on Windows 10/11 is often through the Microsoft Store.
- Open the Microsoft Store: Click on the Start button and search for “Microsoft Store” or find its icon in your taskbar.
- Search for Minecraft: In the Microsoft Store, use the search bar at the top to type “Minecraft” and press Enter.
- Select “Minecraft for Windows”: Find the listing for “Minecraft for Windows” (not “Minecraft: Java & Bedrock Edition for PC” which is the bundle page). If you’ve already purchased it through
minecraft.netusing your Microsoft account, the store should recognize your license. - Install the Game:
- If you’ve purchased it, the button will say “Install” or “Get” (if it’s a free item you own). Click it.
- If you haven’t purchased it, you’ll see a price, and you can purchase it directly from the Store using your Microsoft account balance or linked payment methods.
- Automatic Download and Installation: The Microsoft Store will automatically download and install Minecraft Bedrock Edition. You’ll see a progress bar indicating the status.
- Launch and Play: Once the installation is complete, the “Install” button will change to “Play.” You can launch Minecraft directly from the Store, from your Start menu, or even through the unified Minecraft Launcher by selecting “Minecraft for Windows” and clicking “Play.”
The Minecraft Launcher: Your Gateway to Both Worlds
The unified Minecraft Launcher is a powerful tool designed to streamline your experience. It not only allows you to launch both Java and Bedrock editions from a single interface but also manages updates, profile switching, and provides access to Minecraft Dungeons and Minecraft Legends if you own them. Familiarizing yourself with its interface will improve your overall productivity and access to all your Minecraft products. It’s an example of how modern software applications centralize user experience for diverse product offerings, a key trend in technology.
Troubleshooting Common Installation Issues
Even with the clearest instructions, technology can sometimes present unexpected hurdles. Here’s how to tackle some common issues you might encounter during or after your Minecraft installation, ensuring your digital security and continued productivity.
Resolving Download and Installation Errors
- “Failed to download files” / Network Issues:
- Check Internet Connection: Ensure your Wi-Fi or Ethernet connection is stable and active. Try restarting your router.
- Firewall/Antivirus: Temporarily disable your firewall or antivirus software during the download. Sometimes these tools can mistakenly flag game files as threats. Remember to re-enable them afterward for digital security. You might need to add exceptions for the Minecraft Launcher and game directories.
- VPN: If you’re using a VPN, try disabling it, as it might interfere with connection to Minecraft servers.
- Insufficient Disk Space:
- Minecraft (especially with multiple versions, mods, and worlds) can take up significant space. Check your drive’s available space (Right-click drive in File Explorer > Properties). Free up space by uninstalling unused programs, deleting temporary files, or moving large media files.
- Corrupted Files:
- If the launcher or game files appear corrupted, try uninstalling the Minecraft Launcher completely (via “Add or remove programs” in Windows Settings) and then re-downloading and reinstalling it from
minecraft.net.
- If the launcher or game files appear corrupted, try uninstalling the Minecraft Launcher completely (via “Add or remove programs” in Windows Settings) and then re-downloading and reinstalling it from
- Outdated Graphics Drivers:
- Outdated drivers can cause crashes or graphical glitches. Visit your GPU manufacturer’s website (NVIDIA, AMD, Intel) to download and install the latest drivers for your specific graphics card model. This is a crucial maintenance step for any PC gamer.
Optimizing Performance After Installation
Once installed, you might want to optimize your game for the best possible experience, especially if you’re running close to the minimum system requirements.
- Update Graphics Drivers: As mentioned, this is paramount. Modern drivers often include performance enhancements and bug fixes for popular games.
- Allocate More RAM (Java Edition): For Java Edition, the launcher allows you to allocate more RAM to the game.
- Open the Minecraft Launcher.
- Go to “Installations” at the top.
- Hover over your Java installation profile and click the three dots (…), then “Edit.”
- Click “More Options.”
- Find “JVM Arguments” and change the
-Xmx2Gpart to-Xmx4Gor-Xmx6G(for 4GB or 6GB of RAM, respectively), provided your system has enough RAM (e.g., 8GB or 16GB total). Do not allocate more than half of your total system RAM.
- Adjust In-Game Video Settings:
- In both editions, go to “Options” > “Video Settings.”
- Reduce “Render Distance” (chunks) to a lower number. This is often the biggest performance hog.
- Turn off “Smooth Lighting,” “Fancy Graphics” (set to Fast), and “Clouds.”
- Reduce “Particle” effects.
- Lower “Max Framerate” if your monitor has a lower refresh rate (e.g., 60 FPS).
- Close Background Applications:
- Before playing, close any unnecessary programs running in the background (web browsers, other games, streaming apps) to free up CPU and RAM resources.
Enhancing Your Minecraft Experience
With Minecraft successfully installed and running, the real adventure begins. But the journey doesn’t have to stop at vanilla gameplay. Both editions offer unique avenues for expanding your experience, diving deeper into the “Tech” aspects of the game and fostering community engagement.
Exploring Mods, Resource Packs, and Servers (Java Edition)
Minecraft Java Edition truly shines when it comes to customization and community-driven content. This is where the game transcends its original form, thanks to passionate developers and an open modding ecosystem.
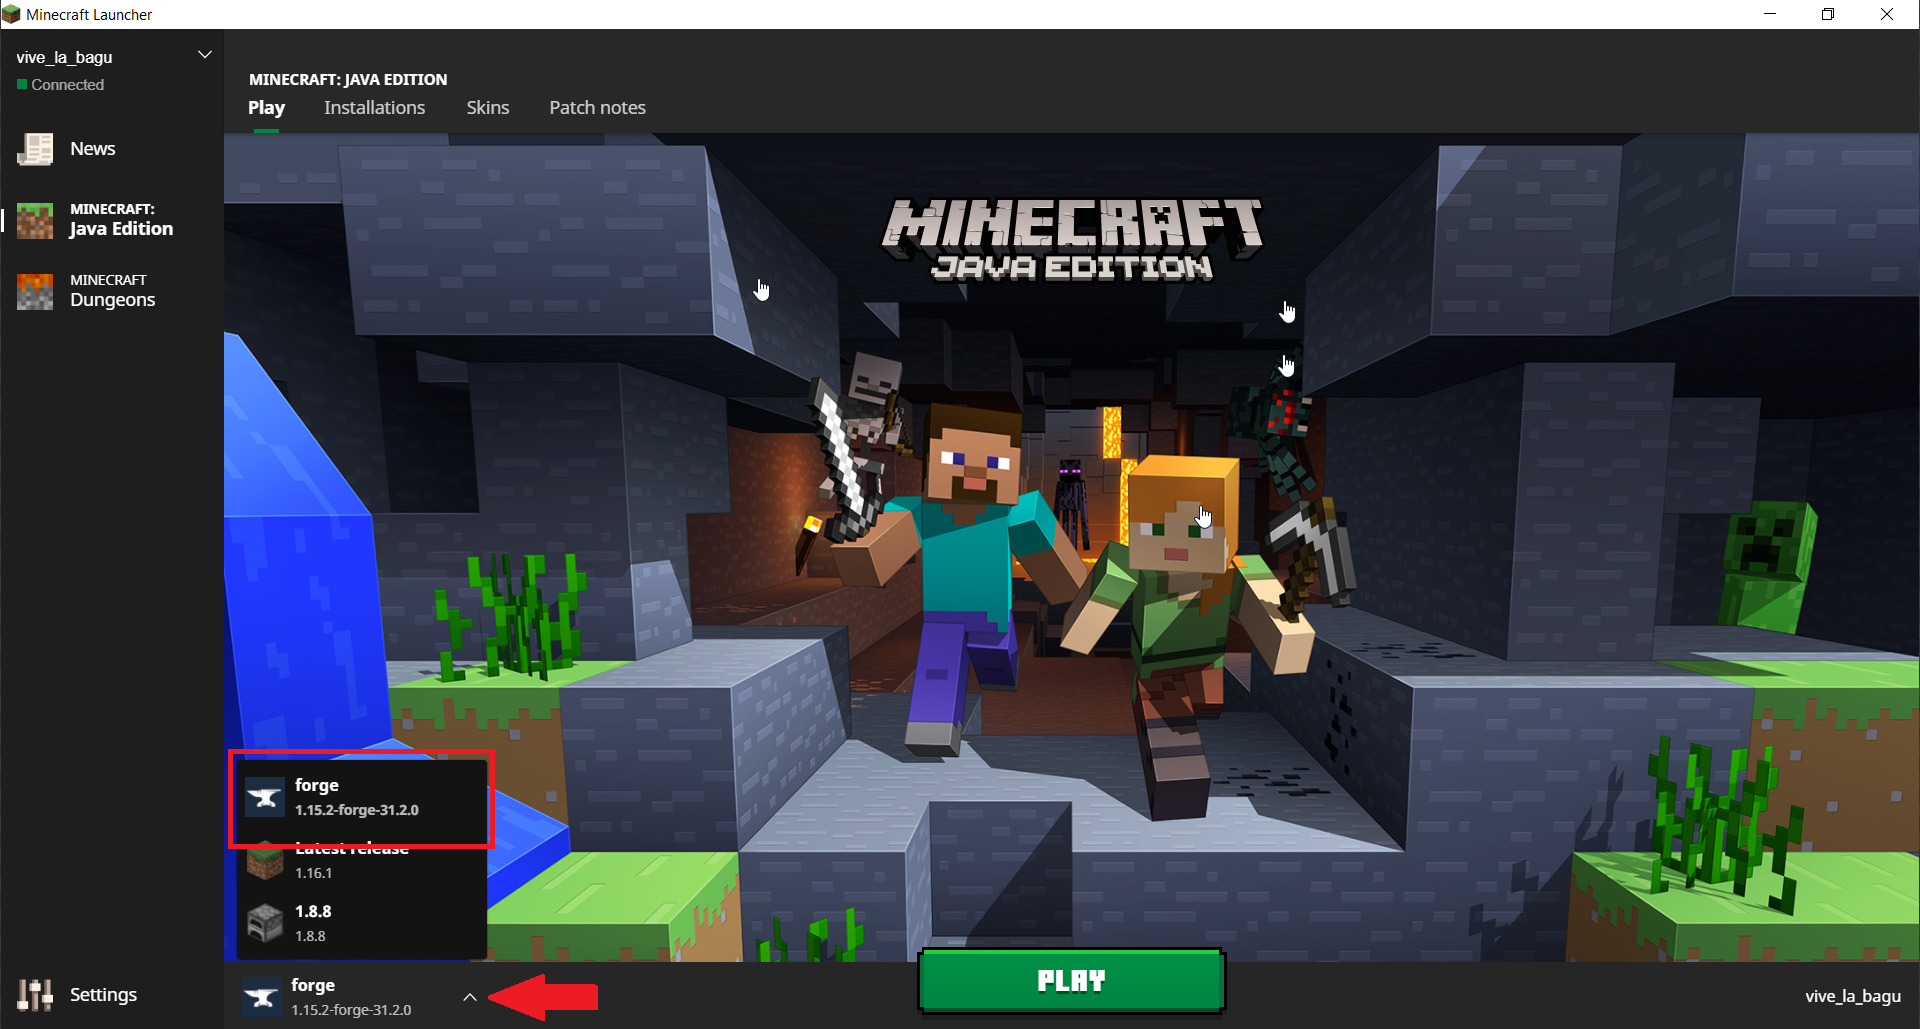
- Mods (Modifications): Mods can range from minor quality-of-life improvements (like minimaps or inventory tweaks) to massive content additions that introduce new dimensions, creatures, or complex magic systems. Popular mod loaders like Forge and Fabric are essential tools for installing and managing mods. Always download mods from trusted sources like CurseForge to ensure digital security and avoid malware.
- Resource Packs (Texture Packs): These packs alter the visual appearance of the game, changing everything from block textures to item icons and user interfaces. You can find packs that make Minecraft look hyper-realistic, cartoonish, or even completely different. Like mods, download from reputable sites to ensure compatibility and safety.
- Custom Maps: Players create incredible custom adventure maps, puzzle maps, and survival challenges that offer unique experiences outside the standard game generation.
- Multiplayer Servers: Java Edition boasts a massive ecosystem of public and private servers, each offering distinct game modes (survival, creative, minigames, roleplay, factions, etc.). Joining a server allows you to play with friends or connect with a global community of players, fostering social interaction and collaborative building.
Exploring these additions requires a bit of tech-savvy, but the rewards are immense, offering virtually endless replayability and customization options, a testament to the game’s enduring appeal as a platform for creativity and technological exploration.
Cross-Play and Realms (Bedrock Edition)
Minecraft Bedrock Edition excels in its accessibility and seamless multiplayer capabilities, particularly through cross-platform play and its integrated server system.
- Cross-Platform Play: The biggest draw of Bedrock Edition is the ability to play with friends no matter what device they’re on – Xbox, PlayStation, Nintendo Switch, mobile, or other Windows PCs. This makes organizing multiplayer sessions incredibly easy and inclusive.
- Minecraft Realms: Mojang offers “Realms,” which are personal, always-online servers that you can subscribe to. Realms are designed for small groups of friends (up to 10 players simultaneously) and are incredibly easy to set up and manage directly from within the game. They provide a safe, private space for you and your friends to build and explore together without the complexities of setting up your own dedicated server. Realms simplify the multiplayer experience, making it highly accessible, which is a key productivity feature for casual gamers.
- Featured Servers: Bedrock Edition also has a list of “Featured Servers” accessible from the main menu, offering large, professionally run multiplayer experiences with various minigames and communities.
Both editions provide unique ways to extend the core Minecraft experience, catering to different playstyles and technical preferences, solidifying its place as a versatile and continually evolving game.
With your Minecraft adventure now successfully set up on your PC, you’re equipped to dive into a world of endless possibilities. Whether you choose the highly moddable Java Edition or the cross-platform friendly Bedrock Edition, a universe of crafting, exploration, and limitless creativity awaits. Enjoy building your legacy, one block at a time!
aViewFromTheCave is a participant in the Amazon Services LLC Associates Program, an affiliate advertising program designed to provide a means for sites to earn advertising fees by advertising and linking to Amazon.com. Amazon, the Amazon logo, AmazonSupply, and the AmazonSupply logo are trademarks of Amazon.com, Inc. or its affiliates. As an Amazon Associate we earn affiliate commissions from qualifying purchases.