
The allure of Linux – its open-source nature, unparalleled customization, robust security, and often impressive performance – is undeniable. For many, it represents a refreshing alternative to the ubiquitous Windows or macOS operating systems. If you’re a Lenovo laptop owner curious about making the switch or dual-booting, you’re in the right place. This comprehensive guide will walk you through the process of installing Linux on your Lenovo machine, transforming it into a powerful and personalized computing experience.
We’ll cover everything from choosing the right Linux distribution to the final boot-up, ensuring you have the knowledge and confidence to embark on this exciting technological journey. Given the diverse range of Lenovo laptops and Linux distributions, we’ll focus on general principles that apply broadly, while also highlighting potential considerations specific to your hardware.
Understanding Your Options: Choosing the Right Linux Distribution
Before you dive into the installation process, the most crucial step is selecting a Linux distribution (or “distro”) that best suits your needs and technical proficiency. Think of a distro as a complete operating system built around the Linux kernel. They differ in their package management, desktop environment, included software, and overall philosophy. For a Lenovo laptop, you have a vast array of excellent choices.
Beginner-Friendly Distributions
If you’re new to Linux, it’s wise to start with a distro known for its user-friendliness, clear documentation, and active community support. These distributions often mimic the look and feel of Windows or macOS, making the transition smoother.
-
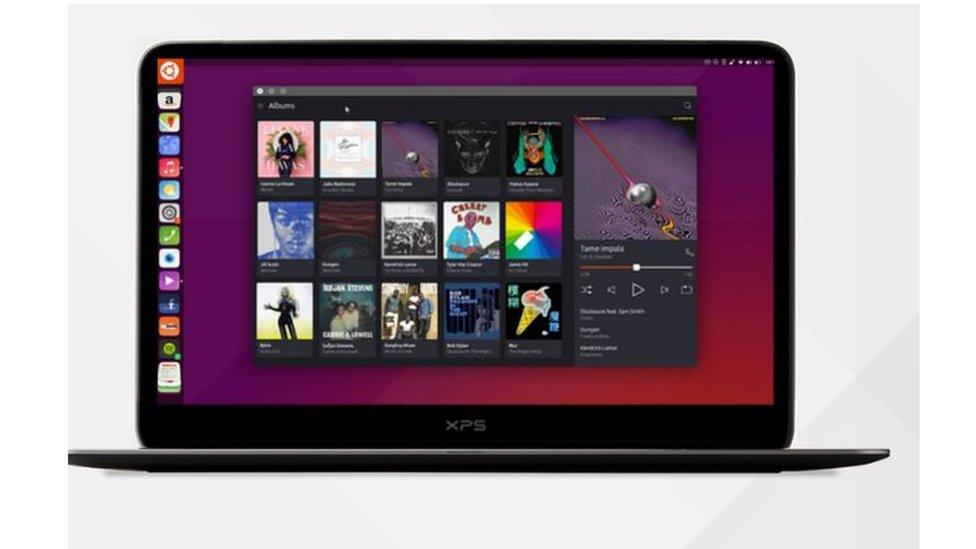
Ubuntu: Arguably the most popular Linux distro, Ubuntu is renowned for its ease of use, extensive software repositories, and strong community support. Its graphical installer is straightforward, and it generally has excellent hardware compatibility, which is a big plus for Lenovo laptops. Ubuntu offers a polished desktop experience with its GNOME desktop environment by default, but you can also explore “flavors” like Kubuntu (KDE Plasma), Xubuntu (Xfce), or Lubuntu (LXQt) for different desktop environments and resource usage profiles. This makes it adaptable to a wider range of Lenovo hardware, from high-end workstations to older, more resource-constrained models.
-
Linux Mint: Based on Ubuntu, Linux Mint focuses on providing a classic, familiar desktop experience, often with Cinnamon or MATE as its default desktop environments. It includes many proprietary codecs and media players out-of-the-box, which can be convenient. Linux Mint is often praised for its stability and user-friendly approach, making it an excellent choice for those transitioning from Windows. Its consistent updates and focus on user experience make it a reliable option for any Lenovo device.
-
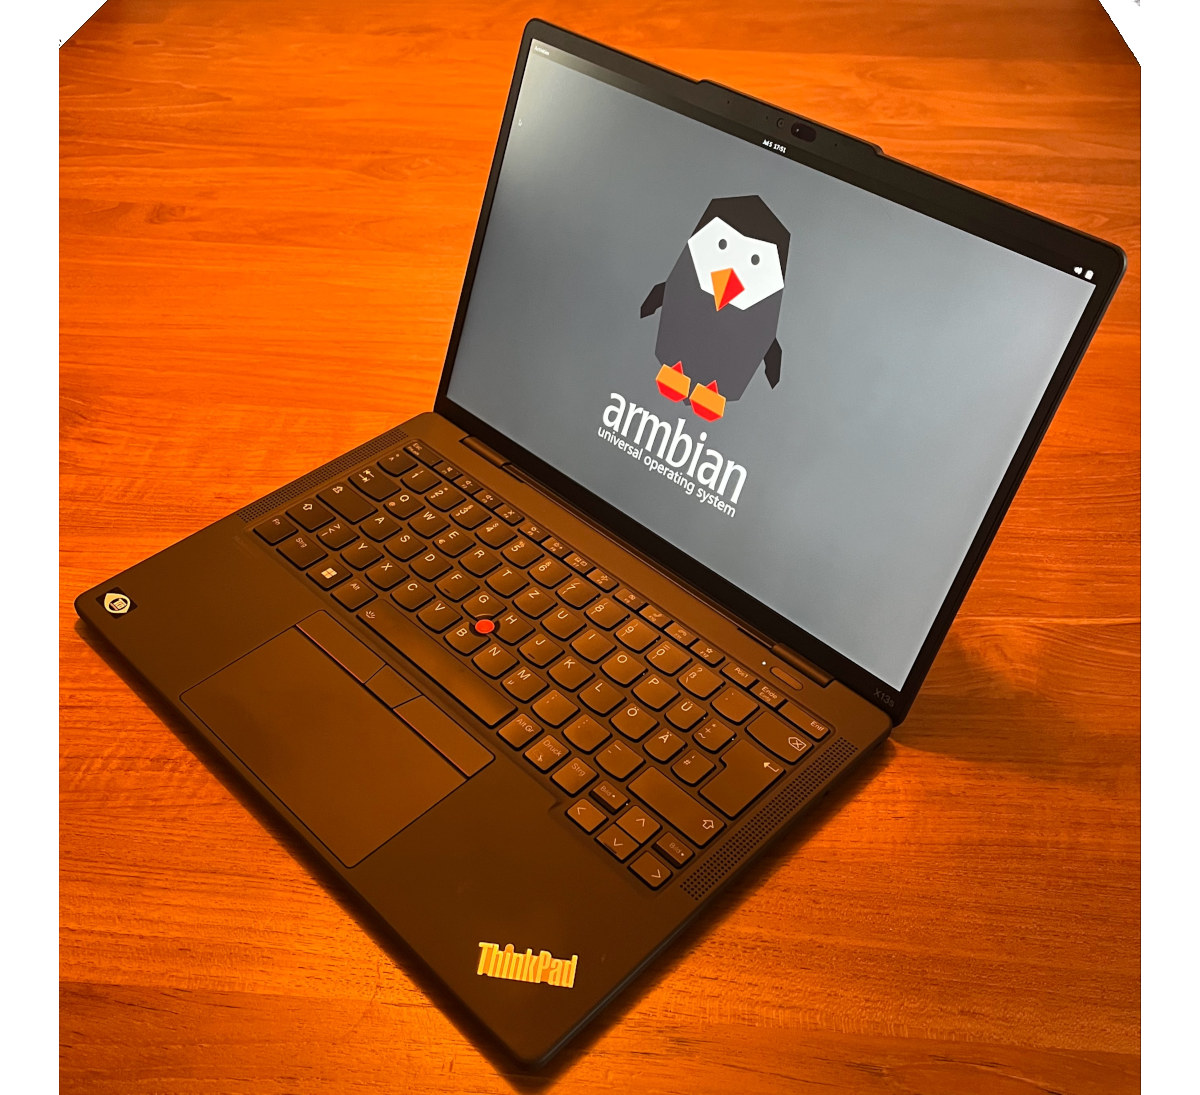
Pop!_OS: Developed by System76, Pop!_OS is based on Ubuntu and is specifically designed for developers, makers, and creative professionals. It offers a streamlined workflow, excellent out-of-the-box hardware support, and a unique tiling window manager that can significantly boost productivity once mastered. Pop!_OS also provides NVIDIA drivers pre-installed, which can be a significant advantage if your Lenovo laptop features an NVIDIA graphics card. This makes it an attractive choice for Lenovo users seeking a modern, performance-oriented Linux experience.
Advanced and Customizable Distributions
If you’re comfortable with the command line, eager to learn more about the inner workings of your system, or require highly specialized configurations, these distros might be more appealing.
-
Fedora: Known for its cutting-edge software and focus on open-source innovation, Fedora is a great choice for those who want the latest features and are comfortable with a slightly faster release cycle. It’s sponsored by Red Hat and often serves as a testing ground for technologies that eventually make their way into enterprise Linux. Fedora’s strong emphasis on upstream projects means you’ll be getting the newest versions of software, which can be beneficial for developers and tech enthusiasts.
-
Arch Linux: For the ultimate in customization and control, Arch Linux is the go-to. It follows a “rolling release” model, meaning you get continuous updates rather than major version upgrades. Arch Linux is known for its simplicity (in design, not necessarily in usage), its comprehensive documentation (the Arch Wiki is legendary), and its minimalist approach. You build your system from the ground up, installing only what you need. This offers unparalleled flexibility but requires a deeper understanding of Linux. While installing Arch on a Lenovo laptop can be more challenging, the level of control you gain is immense.
Considerations for Lenovo Laptops
When choosing a distro, consider the specific hardware in your Lenovo laptop.
-
Wi-Fi and Bluetooth: Most modern Linux distros have excellent support for common Wi-Fi and Bluetooth chipsets found in Lenovo laptops. However, if you have a very new or obscure model, it’s always a good idea to check the forums or documentation of your chosen distro for any known compatibility issues. Ubuntu and its derivatives generally have a very high success rate.
-
Graphics Cards (Integrated vs. Dedicated): Most Lenovo laptops come with either integrated Intel graphics or a dedicated NVIDIA or AMD graphics card. Most distros handle integrated Intel graphics seamlessly. For NVIDIA and AMD, while open-source drivers are often included and work well, you might consider distros that offer proprietary driver installation options during or after the installation if you need maximum graphics performance for gaming or demanding applications. Pop!_OS and Ubuntu are good examples here.
-
Touchscreen and Trackpad: If your Lenovo laptop has a touchscreen, ensure the distro you choose has good touchscreen support. Most modern desktop environments like GNOME and KDE Plasma are increasingly touch-friendly. Trackpad gestures are also generally well-supported, especially in popular distros.
Preparing for Installation: Backups and Bootable Media
Once you’ve chosen your Linux distribution, it’s time to prepare your Lenovo laptop for the installation. This phase is critical and involves backing up your data and creating a bootable USB drive.
The Indispensable Step: Backing Up Your Data
Before making any significant changes to your operating system, backing up all your important data is paramount. While Linux installations are generally safe, accidents can happen. A data loss scenario can be extremely frustrating, so take this step seriously.
-
External Hard Drives or Cloud Storage: Copy all your documents, photos, videos, music, and any other personal files to an external hard drive, a USB flash drive, or a cloud storage service (like Google Drive, Dropbox, or OneDrive).
-
System Image (Optional but Recommended): For a more comprehensive backup, you can create a full system image of your current Windows installation. This allows you to restore your entire system to its previous state if something goes wrong. Tools like Macrium Reflect (free for personal use) or AOMEI Backupper can help with this. Save this image to an external drive as well.
Creating a Bootable USB Drive
A bootable USB drive is essential for installing Linux. It contains the installation files for your chosen distribution, allowing you to boot your Lenovo laptop directly from the USB without affecting your existing operating system (yet).
-
Download the ISO Image: Go to the official website of your chosen Linux distribution (e.g., Ubuntu, Linux Mint, Pop!_OS) and download the ISO image file. This is a disk image that contains the entire operating system.
-
Choose a USB Writing Tool: You’ll need software to write the ISO image to your USB drive. Popular and reliable options include:
- Rufus (Windows): A free and open-source utility that’s very popular for creating bootable USB drives. It’s straightforward to use and offers various options for formatting and partition schemes.
- balenaEtcher (Windows, macOS, Linux): Etcher is known for its simplicity and user-friendly interface. It’s cross-platform and generally foolproof.
- Ventoy (Windows, Linux): Ventoy is a unique tool that allows you to put multiple ISO files on a single USB drive. You simply copy the ISOs to the Ventoy USB, and it provides a boot menu to select which one you want to boot from. This is incredibly convenient if you want to try out several Linux distros.
-
Write the ISO to USB:
- Insert your USB drive (ensure it’s at least 8GB, though 16GB is recommended). All data on the USB drive will be erased, so make sure it doesn’t contain anything important.
- Open your chosen USB writing tool.
- Select the downloaded ISO image file.
- Select your USB drive as the target device.
- Start the writing process. This can take several minutes depending on the speed of your USB drive and computer.
The Installation Process: Step-by-Step Guide
With your backup secured and your bootable USB drive ready, you’re prepared to install Linux on your Lenovo laptop. This section will guide you through the typical installation steps. The exact screens and options might vary slightly depending on your chosen distribution, but the core process remains similar.
Booting from the USB Drive
The first hurdle is to get your Lenovo laptop to boot from the USB drive instead of its internal hard drive.
-
Restart Your Laptop: With the bootable USB drive plugged in, restart your Lenovo laptop.
-
Access the Boot Menu or BIOS/UEFI: As your laptop starts to boot, you’ll need to press a specific key to enter the boot menu or BIOS/UEFI settings. This key varies by manufacturer and even by model. For Lenovo laptops, common keys include:
- F2: Often enters BIOS/UEFI setup.
- F12: Often brings up the boot menu directly.
- Novo Button: Some Lenovo laptops have a small “Novo” button (often on the side or under the display) that, when pressed while the laptop is off, can bring up a recovery or boot menu.
Watch the screen carefully during startup – it usually displays a message like "Press F12 for Boot Menu" or "Press F2 to enter Setup." If you miss it, restart and try again.
-
Select the USB Drive: Once in the BIOS/UEFI or boot menu, navigate to the boot order or boot device selection. You’ll see a list of available devices. Find your USB drive (it might be listed by its brand name or as “USB HDD,” “Removable Device,” etc.) and select it as the primary boot device.
-
Save and Exit: Save the changes you’ve made in the BIOS/UEFI settings and exit. The laptop will restart again. This time, it should boot from your USB drive, and you’ll see the welcome screen of your Linux distribution’s installer.
The Installation Wizard
Once you’ve booted from the USB, you’ll typically see an option to “Try [Distribution Name]” or “Install [Distribution Name].”
-
“Try” Option: This is a great way to test drive the Linux distribution without making any changes to your hard drive. You can explore the desktop environment, test hardware compatibility (Wi-Fi, sound, display), and get a feel for the system.
-
“Install” Option: This will launch the actual installation wizard.
The installation wizard will typically guide you through several steps:
-
Language Selection: Choose your preferred language for the installation process and the installed operating system.
-
Keyboard Layout: Select your keyboard layout.
-
Network Connection: If possible, connect to your Wi-Fi network. This allows the installer to download updates and additional software during the installation process.
-
Installation Type: This is a crucial step where you decide how Linux will be installed on your Lenovo laptop.
- “Install alongside Windows” / “Dual Boot”: This option is ideal if you want to keep your existing Windows installation and have the choice to boot into either Windows or Linux when you start your laptop. The installer will attempt to resize your Windows partition to make space for Linux. This is often the safest option for beginners.
- “Erase disk and install Linux”: This will wipe your entire hard drive and install Linux as the sole operating system. Only choose this if you have backed up all your data and want a clean slate.
- “Something else” / “Manual Partitioning”: This option gives you full control over your disk partitions. You’ll need to manually create partitions for the root file system (
/), swap space, and potentially a separate home partition (/home). This is for advanced users who understand partitioning.
For most Lenovo users wanting to try Linux without losing Windows, the “Install alongside Windows” option is the recommended path.
-
Partitioning (if choosing manual): If you select “Something else,” you’ll need to create partitions. A basic setup includes:
- Root partition (
/): Where the operating system files are stored. Typically formatted as Ext4. - Swap partition: Acts as virtual RAM when your physical RAM is full. Generally, a swap partition the size of your RAM is sufficient, but this can vary.
- Home partition (
/home): Where your personal files and user settings are stored. Keeping this separate can make it easier to reinstall or upgrade Linux in the future without losing your data.
- Root partition (
-
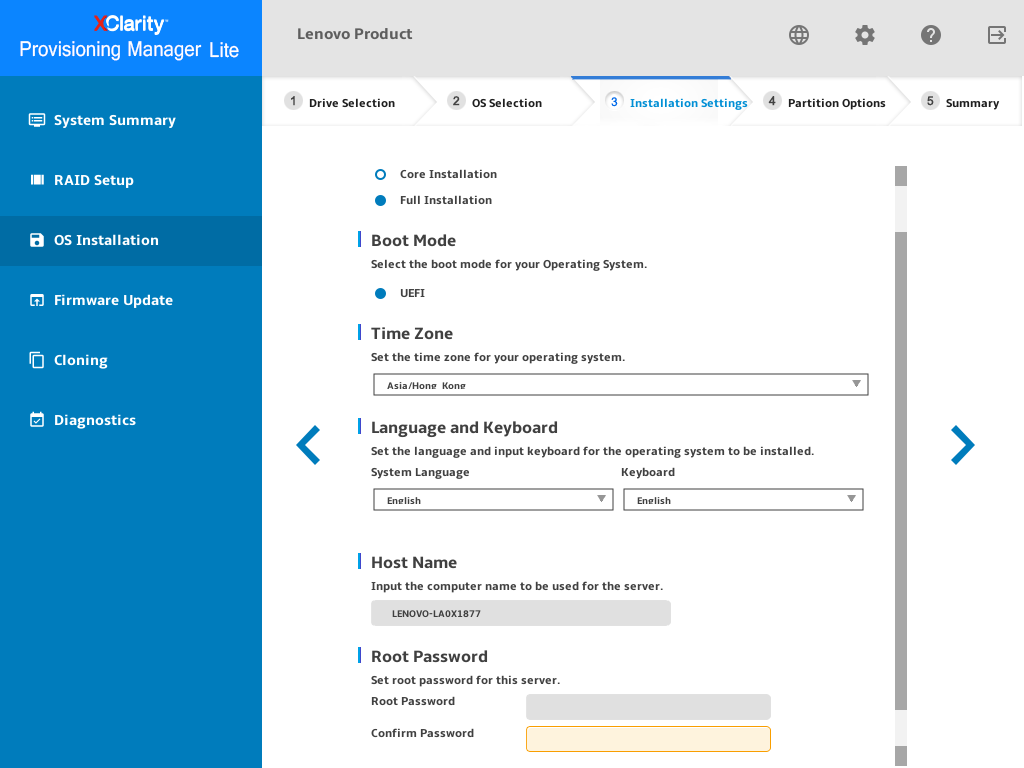
User Account Creation: You’ll be prompted to create a username, computer name (hostname), and a password. Choose a strong password, as it’s essential for system security.
-
Location and Timezone: Select your geographical location to set the correct timezone.
-
Installation Progress: The installer will now copy files and configure your system. This can take anywhere from 15 minutes to an hour or more, depending on your internet speed and the performance of your Lenovo laptop.
-
Installation Complete: Once the installation is finished, you’ll be prompted to restart your computer. Remember to remove the USB drive before restarting so that your laptop boots from the hard drive.
Post-Installation: Updates, Drivers, and Customization
Congratulations! You’ve successfully installed Linux on your Lenovo laptop. The journey doesn’t end here; there are a few essential steps to ensure your system is running optimally and tailored to your preferences.
System Updates and Driver Installation
Keeping your system updated is crucial for security and performance.
-
Run System Updates: Open the terminal (usually found by searching for “Terminal” or “Konsole” in your applications menu) and run the following commands (for Debian/Ubuntu-based systems like Ubuntu and Linux Mint):
sudo apt update
sudo apt upgrade
For Fedora-based systems:
sudo dnf upgradeThis will download and install any available software updates and security patches.
-
Install Additional Drivers (if needed): While most hardware is supported out-of-the-box, some components, like Wi-Fi cards, graphics cards, or specific multimedia codecs, might benefit from additional proprietary drivers.
- Ubuntu/Pop!_OS: These distributions usually have a “Software & Updates” tool with a “Additional Drivers” tab that can automatically detect and install proprietary drivers for your hardware. Look for this in your system settings.
- Other Distros: You might need to refer to your distribution’s documentation or forums for specific instructions on installing proprietary drivers.
Customizing Your Desktop Environment
Linux is synonymous with customization, and your desktop environment is your primary interface.
-
Changing the Look and Feel: Explore your distribution’s settings to change themes, icons, wallpapers, and fonts. Most desktop environments allow for significant visual personalization.
-
Installing New Software: Use your distribution’s package manager to install new applications.
- Ubuntu/Linux Mint (using apt):
sudo apt install <package-name> - Fedora (using dnf):
sudo dnf install <package-name> - Software Centers: Many distros come with a graphical “Software Center” or “App Store” that makes installing applications as easy as clicking a button.
- Ubuntu/Linux Mint (using apt):
-
Configuring Peripherals: Ensure your webcam, microphone, speakers, and any other peripherals are recognized and working correctly. Most settings can be found in your system’s “Settings” or “Control Center.”
Getting Used to the Linux Way
As you continue to use your Lenovo laptop with Linux, you’ll discover new workflows and tools. Don’t be afraid to explore the command line – it’s incredibly powerful. Websites like Stack Overflow, Reddit’s Linux communities (e.g., r/linuxquestions, r/Ubuntu), and the official documentation for your chosen distro are invaluable resources for troubleshooting and learning.
Installing Linux on your Lenovo laptop is a rewarding experience that opens up a world of possibilities for customization, security, and performance. Whether you’re a seasoned tech enthusiast or a curious newcomer, this guide should provide a solid foundation for your Linux journey. Enjoy the freedom and flexibility that Linux offers!
aViewFromTheCave is a participant in the Amazon Services LLC Associates Program, an affiliate advertising program designed to provide a means for sites to earn advertising fees by advertising and linking to Amazon.com. Amazon, the Amazon logo, AmazonSupply, and the AmazonSupply logo are trademarks of Amazon.com, Inc. or its affiliates. As an Amazon Associate we earn affiliate commissions from qualifying purchases.