In the modern landscape of fintech, peer-to-peer (P2P) payment applications have transitioned from luxury utilities to essential digital tools. Among these, Venmo stands as a titan of the user-centric software world, blending social networking elements with robust financial encryption. For the tech-savvy user or the digital novice, understanding the mechanics of how to set up Venmo is the first step in streamlining one’s digital wallet. This guide provides a deep dive into the technical configuration, security protocols, and interface optimization required to master the platform.
Initial Configuration and System Requirements
Before diving into the software interface, it is imperative to ensure that your hardware and operating system are prepared for the installation. Venmo is optimized for mobile environments, meaning the setup process begins not in a web browser, but within the ecosystem of your smartphone’s app store.
Downloading and OS Compatibility
Venmo is designed to operate on the two primary mobile architectures: Apple’s iOS and Google’s Android. To ensure a glitch-free installation, users should verify that their device is running the latest stable version of its respective firmware. For iPhone users, this typically means iOS 13.0 or later; for Android enthusiasts, version 5.0 (Lollipop) or higher is required.
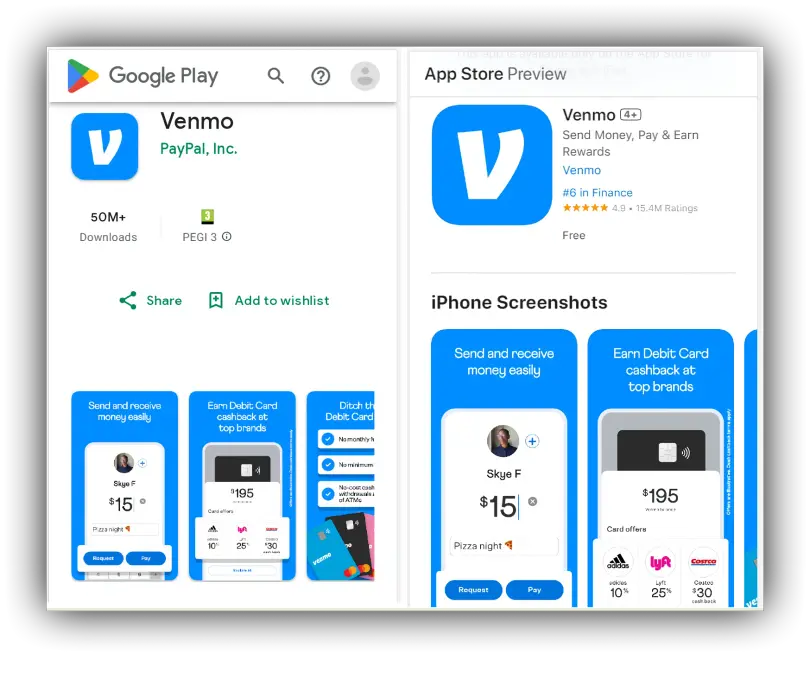
Once the device compatibility is confirmed, navigate to the Apple App Store or Google Play Store. Search for “Venmo” and verify the developer is “PayPal, Inc.” to avoid third-party clones. Upon clicking “Install,” the application will download the necessary binaries and assets to your device, occupying approximately 150-200 MB of storage space.
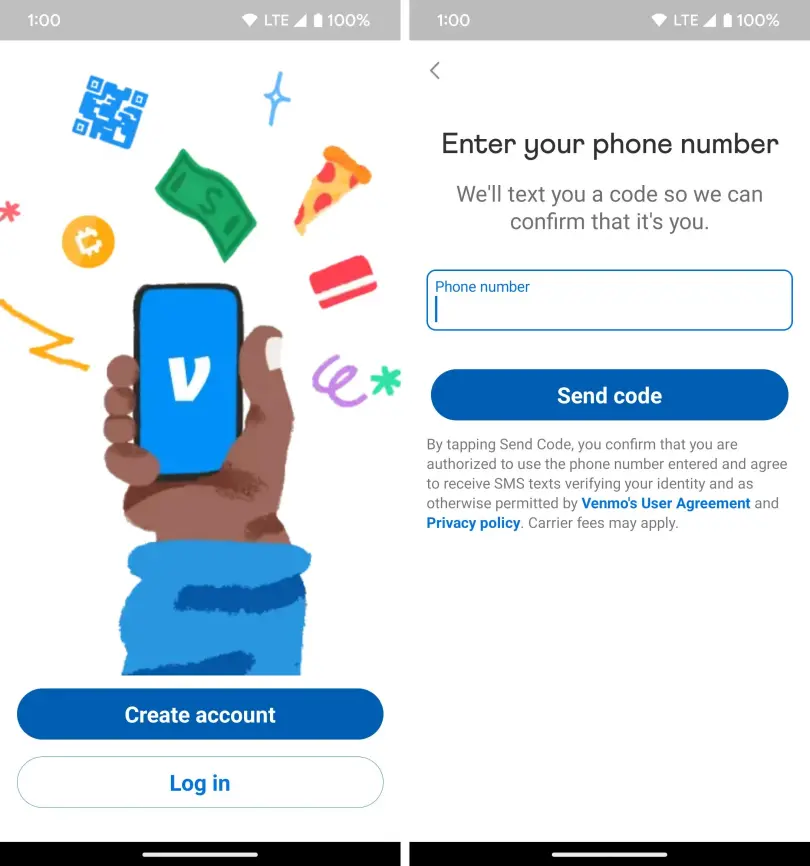
Creating Your Digital Identity: Account Registration
After launching the app, the onboarding process begins. You will be prompted to choose between a “Personal” or “Business” profile. For the vast majority of users, the Personal profile offers the standard suite of P2P features. The registration flow requires a unique email address and a mobile phone number.
The technical importance of the phone number cannot be overstated. Venmo utilizes this for SMS-based identity verification, a critical layer of the initial setup. After entering your digits, the system sends a short-code via the cellular network. Inputting this code back into the app establishes a handshake between your hardware and the Venmo servers, confirming the device’s authenticity.
Securing the Digital Pipeline: Linking Accounts and Verification
The core utility of Venmo lies in its ability to move capital across the digital ether. To facilitate this, the app must be integrated with your existing financial infrastructure. This process involves sophisticated back-end API calls and data encryption.
Integrating Bank Accounts and Credit Cards
To send or receive money, you must link a funding source. Venmo offers two primary methods: Instant Verification via Plaid and Manual Verification.
- Instant Verification (Plaid): This is the most efficient technical route. Venmo uses the Plaid interface, a secure third-party middleware that connects the app to your bank’s server. By logging into your bank through the Plaid portal, you grant Venmo a secure token that allows for immediate fund transfers. This bypasses the need for manual routing numbers and reduces the risk of typographical errors.
- Manual Verification: If your financial institution is not supported by Plaid, you must enter your routing and account numbers manually. This triggers a traditional banking protocol where Venmo sends two micro-deposits (usually less than $1.00) to your account. You must monitor your bank statement, identify these amounts, and input them into the Venmo app to verify ownership. This process typically takes 1–3 business days.
The Verification Protocol: Ensuring KYC Compliance
As a regulated financial service, Venmo must adhere to “Know Your Customer” (KYC) regulations. This means that as you set up your account, you may be prompted to provide your Social Security Number (SSN) or a government-issued ID.
From a technical perspective, this data is encrypted and transmitted to identity verification databases. Completing this step is essential for users who wish to maintain a “Venmo Balance”—a digital ledger within the app that allows you to hold funds without immediately transferring them to a bank. Without this verification, you may be restricted to “Pass-through” transactions, where the app acts merely as a bridge between your bank and the recipient.
Advanced App Security and Privacy Architecture
Once the functional components are in place, the focus must shift to the technical security of the application. Given that Venmo handles sensitive financial data, configuring the built-in security features is a mandatory step for any responsible user.
Configuring Multi-Factor Authentication (MFA) and Biometrics
The most significant vulnerability in any mobile app is unauthorized access via a lost or stolen device. Venmo mitigates this through biometric integration. Within the “Settings” menu under the “Security” tab, users can enable FaceID, TouchID, or fingerprint scanning.
By enabling these features, the app requires a biometric handshake every time it is opened. Furthermore, you should activate “Remember This Device” only on hardware you own. If you log in from a new IP address or a different device, Venmo’s security algorithm will trigger a mandatory MFA prompt, sending a unique code to your registered mobile number to prevent account hijacking.
Managing Social Visibility and Transaction Privacy Settings
Venmo is unique among P2P apps for its social feed. However, from a digital privacy standpoint, many users prefer to limit the visibility of their transaction metadata. During setup, the app defaults to “Public” visibility, meaning anyone on the platform can see who you paid and the accompanying note.
To optimize your privacy architecture, navigate to Settings > Privacy. Here, you can select from three levels of visibility:
- Public: Visible to the entire Venmo network.
- Friends: Visible only to your confirmed contacts.
- Private: Visible only to the sender and the recipient.
Technical experts recommend the “Private” setting for maximum security. This prevents data scrapers or malicious actors from mapping your social graph or spending habits based on your transaction history.
Troubleshooting and Optimizing the User Experience
Setting up the app is often seamless, but technical hurdles can arise. Understanding the common friction points in the software’s logic can help you resolve issues without external support.
Resolving Common Syncing and Connectivity Issues
If the app fails to launch or transactions stall, the issue is often related to cache data or network latency. Modern P2P apps rely on persistent WebSocket connections to update balances in real-time. If you are on a restrictive public Wi-Fi or a weak 4G/5G signal, the handshake may fail.
A common technical fix is to clear the app’s cache (on Android) or perform an “Offload and Reinstall” (on iOS). This refreshes the local database without deleting your account information. Additionally, ensure that “Background App Refresh” is enabled in your phone’s system settings; this allows Venmo to sync transaction notifications even when the app is not actively in the foreground.
Utilizing Venmo for Business: Tech Implementation
For users who are independent contractors or small business owners, the “Business Profile” setup is a critical extension. Within the existing app, you can toggle a switch to create a professional sub-account.
The technical advantage here is the generation of a unique QR code. Venmo’s software allows you to display this code on a physical or digital storefront. When a customer scans the QR code with their smartphone camera, the app uses deep-linking technology to open the payment portal directly to your business profile, prepopulating the recipient field. This minimizes user error and streamlines the digital checkout process.

Finalizing the Setup: The User Interface (UI) Calibration
The final step in setting up Venmo is customizing the UI to suit your workflow. This involves syncing your contact list and configuring notification parameters.
When you grant Venmo access to your contacts, the app runs a matching algorithm against its user database. It identifies which of your phone contacts already have active Venmo accounts, allowing you to populate your “Friends” list instantly. This reduces the need to manually search for usernames, which can often lead to “fat-finger” errors where money is sent to the wrong person.
Lastly, calibrate your “Push Notifications.” High-security users should enable notifications for both “Money Sent” and “Money Received.” This provides an immediate technical audit trail for every transaction, ensuring that you are alerted the millisecond any activity occurs on your account.
By following these technical steps—from OS verification and encrypted bank linking to privacy configuration and UI optimization—you transform Venmo from a simple app into a high-performance financial tool. The setup is not merely about entering a username; it is about building a secure, efficient, and private digital gateway for your modern economic life.
aViewFromTheCave is a participant in the Amazon Services LLC Associates Program, an affiliate advertising program designed to provide a means for sites to earn advertising fees by advertising and linking to Amazon.com. Amazon, the Amazon logo, AmazonSupply, and the AmazonSupply logo are trademarks of Amazon.com, Inc. or its affiliates. As an Amazon Associate we earn affiliate commissions from qualifying purchases.