
In the intricate ecosystem of modern computing, where seamless performance and stunning visuals are paramount, the role of your graphics processing unit (GPU) cannot be overstated. For users leveraging NVIDIA’s powerful hardware, from casual gamers to professional designers and AI researchers, maintaining optimal performance hinges significantly on one often-overlooked component: the display driver. This article serves as a comprehensive guide to understanding, preparing for, and executing NVIDIA display driver updates, ensuring your system operates at its peak potential.
The Indispensable Role of Display Drivers
At the heart of every visual experience on your computer lies a sophisticated piece of software known as a display driver. Far from being a mere formality, these drivers are the vital translators that bridge the complex communication gap between your operating system, applications, and your NVIDIA graphics card. Without them, your GPU would be little more than an inert circuit board.
What are Display Drivers?
Think of a display driver as a specialized instruction manual that tells your computer how to interact with your graphics card. It’s a software interface that allows the operating system (like Windows, macOS, or Linux) and various applications (games, video editors, CAD software) to send commands to the GPU, instructing it on how to render graphics, process visual data, and ultimately display images on your screen. Each GPU manufacturer, such as NVIDIA, develops its own proprietary drivers, meticulously crafted to maximize the performance and unlock the full capabilities of their hardware. These drivers interpret high-level software instructions into low-level commands that the GPU can understand and execute, orchestrating everything from rendering complex 3D environments to decoding video streams.
Why Regular Updates Matter
The dynamic nature of technology means that both hardware and software are in a constant state of evolution. New games are released with advanced graphical demands, professional applications introduce cutting-edge rendering techniques, and operating systems receive updates that can impact hardware compatibility. In this ever-changing landscape, regular driver updates are not just recommended; they are essential for a multitude of reasons:
- Performance Enhancements: NVIDIA routinely releases “Game Ready Drivers” that are specifically optimized for the latest AAA titles. These updates can provide significant frame rate improvements, reduce latency, and ensure smoother gameplay by fine-tuning how the GPU interacts with new game engines. Beyond gaming, professional applications like video editing suites or 3D rendering software also benefit from performance boosts and optimizations.
- Stability & Bug Fixes: Outdated or corrupted drivers are a leading cause of system instability, including crashes, freezes, visual artifacts, and bluescreens. Each driver update typically includes fixes for known bugs and vulnerabilities, enhancing overall system stability and reliability. This is particularly crucial for creative professionals who rely on uninterrupted workflows.
- Feature Unlocks: New NVIDIA driver versions often introduce support for groundbreaking technologies and features. This could include advancements in ray tracing capabilities, improvements to DLSS (Deep Learning Super Sampling) for enhanced image quality and performance, or new controls and options within the NVIDIA Control Panel. Without updating, you might miss out on these innovations that can dramatically improve your experience.
- Security Patches: Like any other software, display drivers can have security vulnerabilities that could potentially be exploited. NVIDIA regularly addresses these issues through driver updates, providing critical patches that safeguard your system against potential threats and maintain digital security.
- Hardware Compatibility: As new monitors (especially those with high refresh rates or G-SYNC technology), VR headsets, or other display peripherals enter the market, driver updates ensure seamless compatibility and unlock their full potential. This prevents frustrating compatibility issues and ensures your entire setup works in harmony.
Preparing for Your NVIDIA Driver Update
Before embarking on the update process, a little preparation can save you a significant amount of potential headache. Taking a few precautionary steps ensures a smooth transition and provides a safety net should anything unexpected occur.
Identifying Your Graphics Card
The first and most critical step is to accurately identify your NVIDIA graphics card. Installing the wrong driver can lead to performance issues, system instability, or even prevent your display from working correctly. There are several straightforward methods to do this:
- NVIDIA Control Panel: If you already have NVIDIA drivers installed, right-click on your desktop and select “NVIDIA Control Panel.” In the bottom-left corner, click on “System Information.” Your GPU model will be clearly listed under the “Display” tab.
- Device Manager (Windows): Press
Windows Key + Xand select “Device Manager.” Expand the “Display adapters” section. Your NVIDIA graphics card model will be listed there (e.g., NVIDIA GeForce RTX 3080). - Third-Party Tools: Utilities like GPU-Z or Speccy can provide a wealth of detailed information about your hardware, including your GPU model, VRAM, clock speeds, and driver version.
- Physical Inspection: If you built your PC or can easily access your GPU, the model number is usually printed on a sticker directly on the card or its cooling shroud.
Knowing your specific GPU model (e.g., GeForce RTX 4070, GTX 1660 Super, Quadro P5000) and your operating system (e.g., Windows 10 64-bit, Windows 11 64-bit) is essential for downloading the correct driver.
Backup and Precautionary Measures
While driver updates are generally safe, preparing for the worst-case scenario is always a wise strategy in tech maintenance. These steps provide peace of mind and an easy recovery path:
- Create a System Restore Point: This is perhaps the most crucial precautionary step. A system restore point creates a snapshot of your operating system’s files, registry, and settings. If the new driver causes instability or prevents your system from booting properly, you can revert to this restore point, effectively undoing the changes. To create one, search for “Create a restore point” in the Windows search bar, navigate to the “System Protection” tab, select your main drive, and click “Create.”
- Backup Important Data: While a driver update is unlikely to affect your personal files, general good practice dictates having recent backups of any critical documents, photos, or projects. This isn’t directly related to driver issues but is a fundamental aspect of responsible computing.
- Close Unnecessary Applications: Before initiating the update, close all open programs, especially those that heavily utilize the GPU, such as games, video editors, or web browsers. This minimizes potential conflicts during the installation process.
- Gather System Information: Jot down your current driver version (from NVIDIA Control Panel or Device Manager) and your Windows version. This information can be useful for troubleshooting if you encounter any issues and need to seek support.
Step-by-Step Guide to Updating NVIDIA Drivers
NVIDIA offers a few primary methods to update your display drivers, catering to different user preferences and levels of technical comfort. Each method has its advantages, from automated convenience to granular control.
Method 1: NVIDIA GeForce Experience (Recommended for Gamers/Consumers)
NVIDIA GeForce Experience is a comprehensive companion application designed to optimize game settings, record gameplay, and, crucially, manage driver updates. It’s the most convenient method for most users.
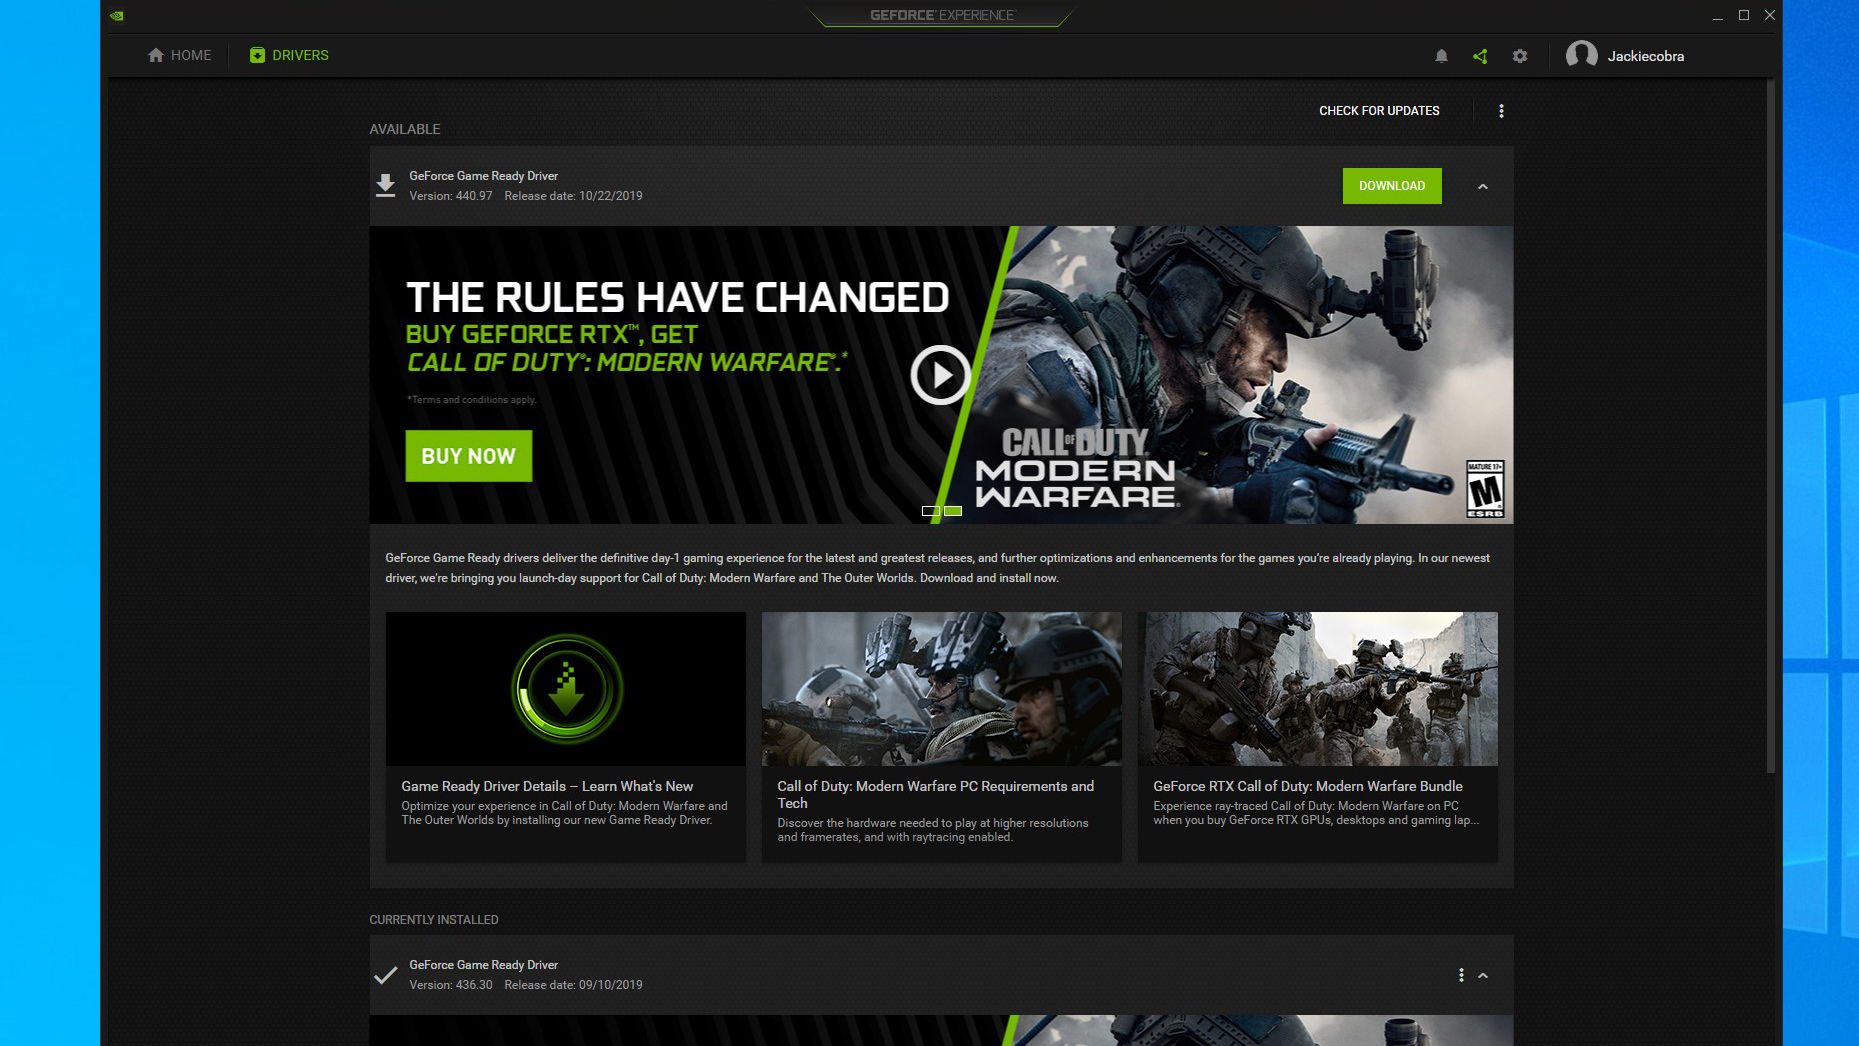
- Check for Installation: Ensure GeForce Experience is installed on your system. If not, you can download it from the official NVIDIA website.
- Open GeForce Experience: Launch the application. If prompted, log in with your NVIDIA account.
- Navigate to the Drivers Tab: In the main interface, click on the “Drivers” tab located in the top navigation bar.
- Check for Updates: GeForce Experience will automatically check for new drivers. If an update is available, you’ll see a notification and details about the new version (e.g., “Game Ready Driver”).
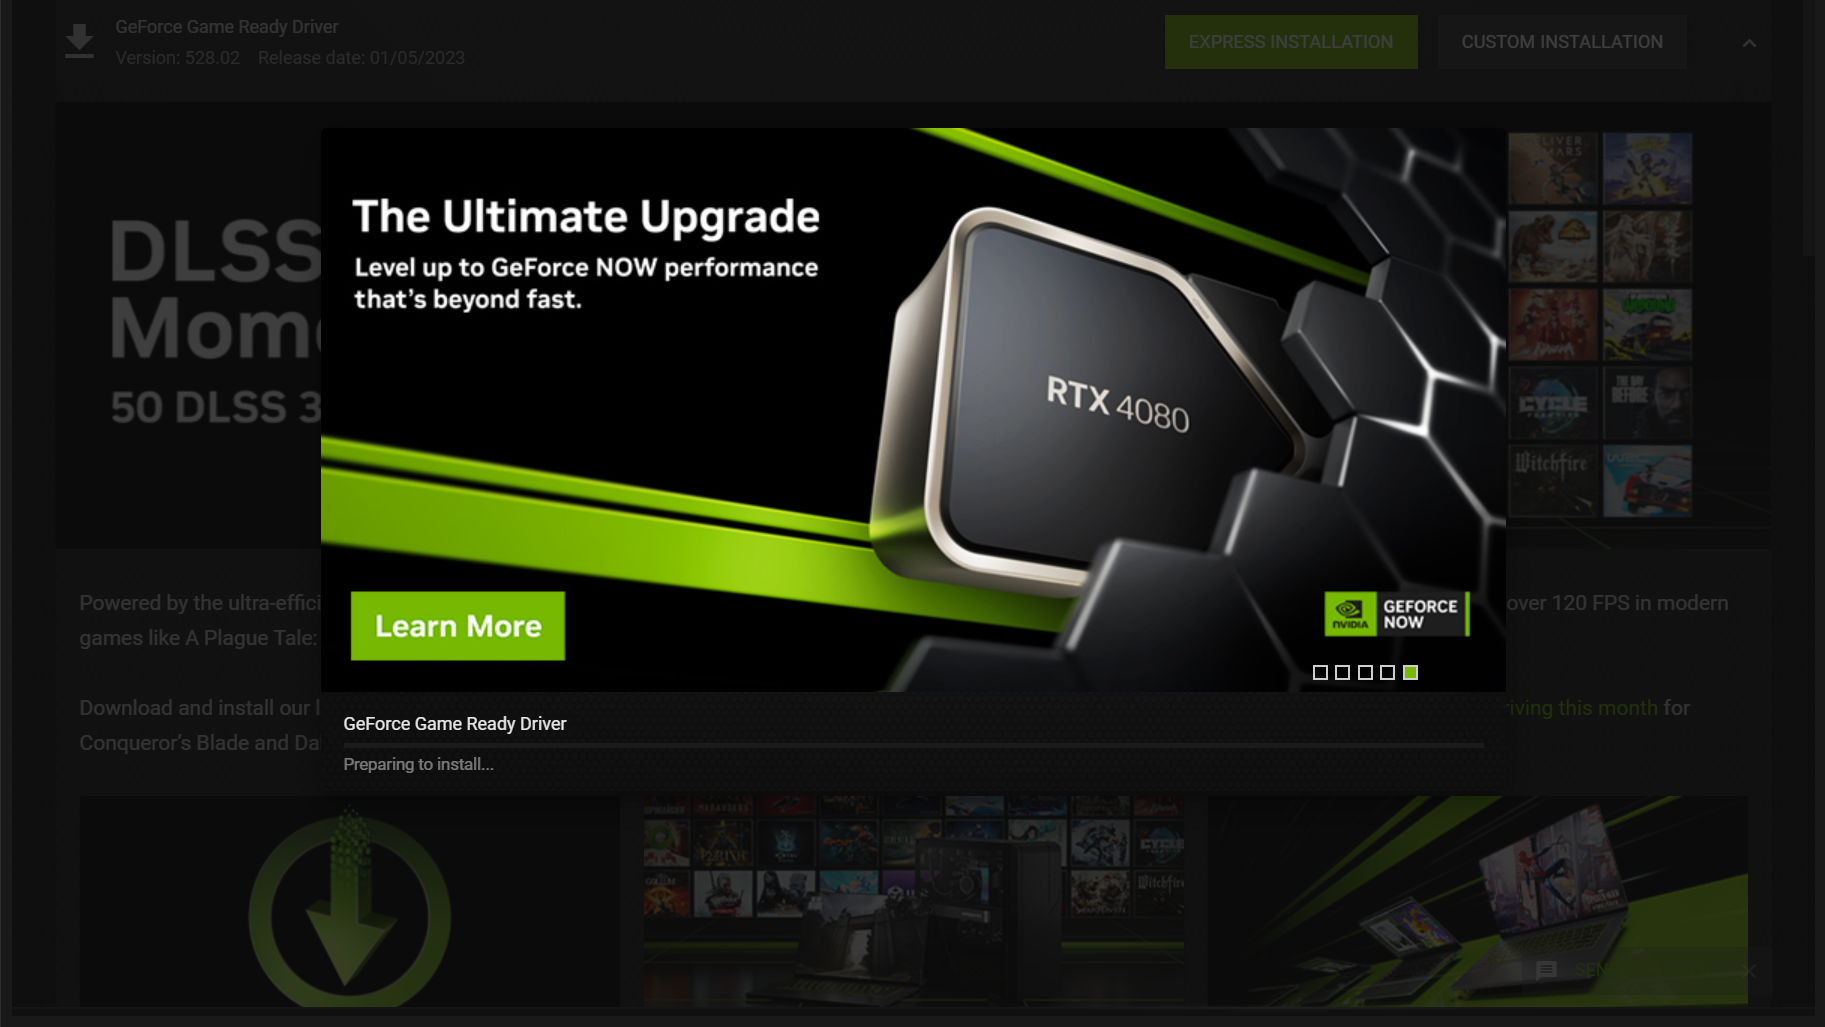
- Download and Install: Click the “Download” button. Once the download is complete, you will be presented with two installation options:
- Express Installation: This is the simplest option. It automatically installs all necessary components and updates your current driver without requiring much user input. It’s generally recommended for most users.
- Custom Installation: This option allows you to select specific components to install and offers the critical “Perform a clean installation” checkbox. A clean installation removes all previous driver files and settings before installing the new ones, which can resolve lingering issues from older driver versions and prevent conflicts. For troubleshooting or major driver version jumps, this is often the preferred choice.
- Follow Prompts: The installer will guide you through the process, which may involve your screen flickering or going black temporarily as the display driver is updated. Your system may also require a restart after the installation is complete.
Method 2: Manual Download from NVIDIA Website (For Precision & Troubleshooting)
The official NVIDIA driver download page provides direct access to every driver release. This method offers the most control and is ideal if GeForce Experience isn’t working, you need a specific older driver, or you prefer a completely clean install.
- Visit the Official NVIDIA Driver Download Page: Open your web browser and go to
www.nvidia.com/drivers. - Use the Manual Driver Search: You’ll see a section to manually search for drivers. Accurately input the following information:
- Product Type: (e.g., GeForce, Quadro, NVS)
- Product Series: (e.g., GeForce RTX 40 Series, GeForce GTX 16 Series)
- Product: (Your specific GPU model, e.g., RTX 4070, GTX 1660 Super)
- Operating System: (e.g., Windows 11 64-bit)
- Download Type: (Usually “Game Ready Driver (GRD)” for most users, or “Studio Driver (SD)” for creative professionals requiring maximum stability).
- Search and Download: Click “Search.” The website will present the latest compatible driver. Review the release notes to ensure it’s the version you want, then click “Download.”
- Run the Installer: Once the
.exefile is downloaded, locate it and double-click to run the installer. - Follow Installer Prompts:
- The installer will first extract the files.
- Agree to the license agreement.
- Similar to GeForce Experience, you’ll have the choice between Express Installation and Custom (Advanced). Again, “Custom” allows you to perform a clean installation, which is highly recommended when installing drivers manually to prevent potential conflicts.
- Select your preferred option and follow the remaining prompts. The screen may flicker, and a restart may be required upon completion.
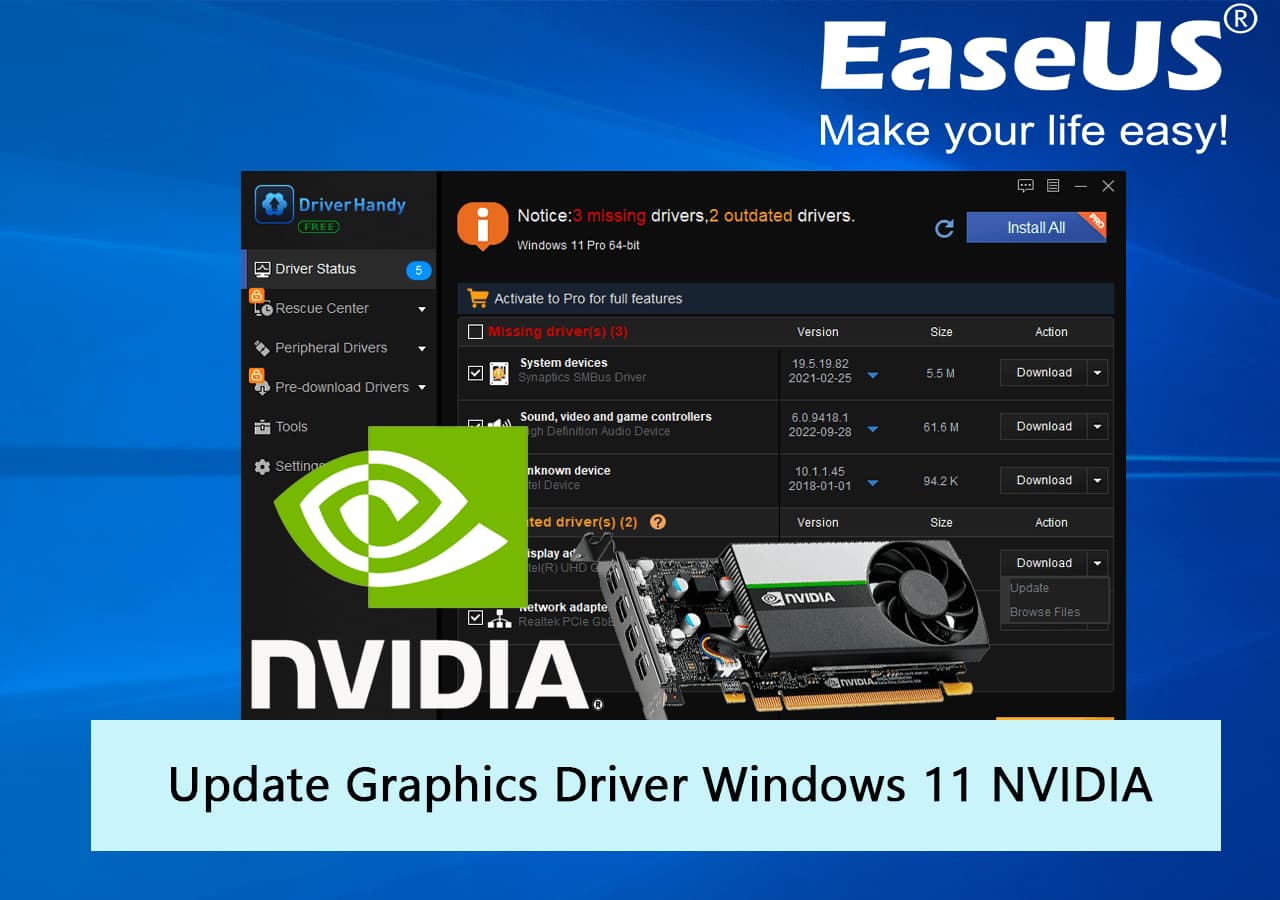
Method 3: Windows Device Manager (Least Recommended for Feature Updates)
While Windows Device Manager can technically update drivers, it is generally the least effective method for NVIDIA GPUs, as it often retrieves older, generic, or Microsoft-certified drivers rather than the latest, feature-rich NVIDIA releases.
- Open Device Manager: Press
Windows Key + Xand select “Device Manager.” - Locate Display Adapters: Expand the “Display adapters” section.
- Update Driver: Right-click on your NVIDIA graphics card and select “Update driver.”
- Search Automatically: Choose “Search automatically for updated driver software.” Windows will attempt to find a driver online or locally. More often than not, it will state that “The best drivers for your device are already installed” even if NVIDIA has a newer version available through GeForce Experience or their website.
- Limitations: This method is primarily useful for initial driver installation on a fresh OS install or for quickly trying to resolve basic display issues, but it will rarely get you the latest Game Ready or Studio drivers with all their performance and feature benefits.
Post-Update Verification and Troubleshooting
Once the driver update is complete, it’s crucial to verify that the installation was successful and to know how to address common issues that might arise.
Confirming Successful Installation
Several quick checks can confirm your new driver is correctly installed:
- NVIDIA Control Panel: Right-click on your desktop and open the NVIDIA Control Panel. Go to “Help” > “System Information.” The “Driver version” listed here should match the version you just installed.
- Device Manager: Open Device Manager, expand “Display adapters,” right-click your NVIDIA card, go to “Properties,” and then to the “Driver” tab. Check the “Driver Version” and “Driver Date.”
- Basic Testing: Launch a graphically intensive application or game that you frequently use. Check for any immediate performance improvements, visual glitches, or stability issues. If everything runs smoothly, your update was likely successful.
Common Issues and Solutions
Even with careful preparation, issues can sometimes occur. Here are some common problems and their remedies:
- Black Screen/No Display After Update: This is a rare but alarming issue.
- Solution: Restart your computer in Safe Mode (usually by repeatedly pressing F8 or Shift+Restart during boot, then navigating through troubleshoot options). Once in Safe Mode, you can either use System Restore to revert to your previous state or use a tool called Display Driver Uninstaller (DDU) (see below) to completely remove the problematic driver. Then, reboot normally and attempt a clean installation of the driver again.
- Installation Failure: The installer might crash or report an error.
- Solution: First, restart your computer. Temporarily disable your antivirus software, which can sometimes interfere. Re-download the driver (in case of a corrupted download) and try the installation again, ideally using the “Custom” option with “Perform a clean installation.”
- Performance Degradation or New Bugs: Sometimes a new driver can introduce new bugs or worsen performance for specific applications.
- Solution: This is where your System Restore Point becomes invaluable. Restore your system to the point you created before the update. Alternatively, you can download a previous, stable driver version from NVIDIA’s website and perform a clean installation using DDU.
- Compatibility Conflicts: Issues with specific software or hardware might emerge.
- Solution: Check the NVIDIA driver release notes for known issues. Ensure your operating system itself is fully updated. If the problem persists, rolling back the driver or contacting NVIDIA support might be necessary.
The Role of DDU (Display Driver Uninstaller)
Display Driver Uninstaller (DDU) is an essential utility for advanced users and for troubleshooting persistent driver-related issues. It’s a free, third-party tool designed to thoroughly remove all traces of display drivers (NVIDIA, AMD, Intel) from your system, including residual files, folders, and registry entries that standard uninstallers might miss.
- When to Use It:
- When performing a clean installation after experiencing performance issues or instability with previous drivers.
- When switching between different GPU brands (e.g., from AMD to NVIDIA).
- When a standard driver installation fails repeatedly.
- As a last resort for black screen or display issues.
- Brief Steps for Using DDU:
- Download DDU from a reputable source (like Guru3D).
- Boot your computer into Windows Safe Mode. This is crucial for DDU to work effectively without interference from active drivers.
- Run DDU, select “GPU” as the device type and “NVIDIA” as the vendor.
- Choose the “Clean and restart” option. DDU will meticulously remove the driver and reboot your system.
- Once your system restarts (without any NVIDIA drivers), proceed with a fresh, clean installation of your desired NVIDIA driver using either GeForce Experience or the manual download method.
Best Practices for Driver Maintenance
Maintaining your NVIDIA drivers effectively extends beyond just knowing how to update them. Adopting a proactive approach can significantly enhance your long-term computing experience.
How Often Should You Update?
The ideal frequency for driver updates varies depending on your primary use case:
- Gamers: If you’re a passionate gamer, it’s generally advisable to update regularly, especially when new “Game Ready Drivers” are released for major game titles. NVIDIA often releases these drivers around the launch of new AAA games, and they can provide significant performance benefits.
- Professionals (e.g., Video Editors, CAD Users): For those relying on their system for critical work, stability often trumps cutting-edge performance. NVIDIA provides “Studio Drivers” specifically tailored for creative applications, focusing on reliability and compatibility. While you still want to update periodically, it’s wise to test new versions cautiously and ensure they don’t disrupt your workflow or specific software. You might update less frequently than a gamer, perhaps every few months or when a specific update addresses an issue you’re experiencing.
- General Users: For everyday tasks like web browsing, office work, or casual media consumption, updating less frequently (e.g., once or twice a year, or when you encounter a display-related issue) is often sufficient. The performance gains might not be as noticeable, but you’ll still benefit from bug fixes and security patches.
Staying Informed
Knowledge is power when it comes to driver updates. Keep an eye on:
- NVIDIA Release Notes: Before updating, always check the release notes provided by NVIDIA. They detail what’s new, what’s fixed, and any known issues with the driver. This can help you decide if an update is beneficial for your specific setup.
- Tech News Sites and Forums: Reputable tech websites and community forums (like Reddit’s r/nvidia or hardware-specific subreddits) often provide early insights and user experiences with new driver releases, highlighting potential issues or unexpected benefits.
The “If It Ain’t Broke, Don’t Fix It” Fallacy (and when it applies/doesn’t)
The adage “if it ain’t broke, don’t fix it” is a common sentiment in tech, but it generally does not apply to display drivers, especially for modern systems. While a stable, older driver might work perfectly fine today, delaying updates can lead to:
- Missed Performance Gains: Your system might be running below its optimal potential.
- Security Vulnerabilities: You could be exposed to unpatched security flaws.
- Compatibility Issues: Newer games or applications might struggle to run or won’t launch at all with outdated drivers.
- Lack of New Features: You’ll miss out on innovations like improved ray tracing, DLSS versions, or new software capabilities.
However, there’s a nuanced exception for very specific, mission-critical professional environments where absolute stability with certified software versions is paramount. In such cases, organizations might only update drivers after extensive internal testing and validation, prioritizing uninterrupted operation over bleeding-edge features. For the vast majority of home users and even many creative professionals, keeping drivers reasonably up-to-date is the safer and more beneficial approach.
In conclusion, regularly updating your NVIDIA display drivers is a fundamental aspect of maintaining a high-performing, stable, and secure computing experience. By understanding their importance, preparing adequately, following the correct installation procedures, and adopting sound maintenance practices, you empower your NVIDIA GPU to deliver its full potential, ensuring you get the most out of your hardware investment.
aViewFromTheCave is a participant in the Amazon Services LLC Associates Program, an affiliate advertising program designed to provide a means for sites to earn advertising fees by advertising and linking to Amazon.com. Amazon, the Amazon logo, AmazonSupply, and the AmazonSupply logo are trademarks of Amazon.com, Inc. or its affiliates. As an Amazon Associate we earn affiliate commissions from qualifying purchases.