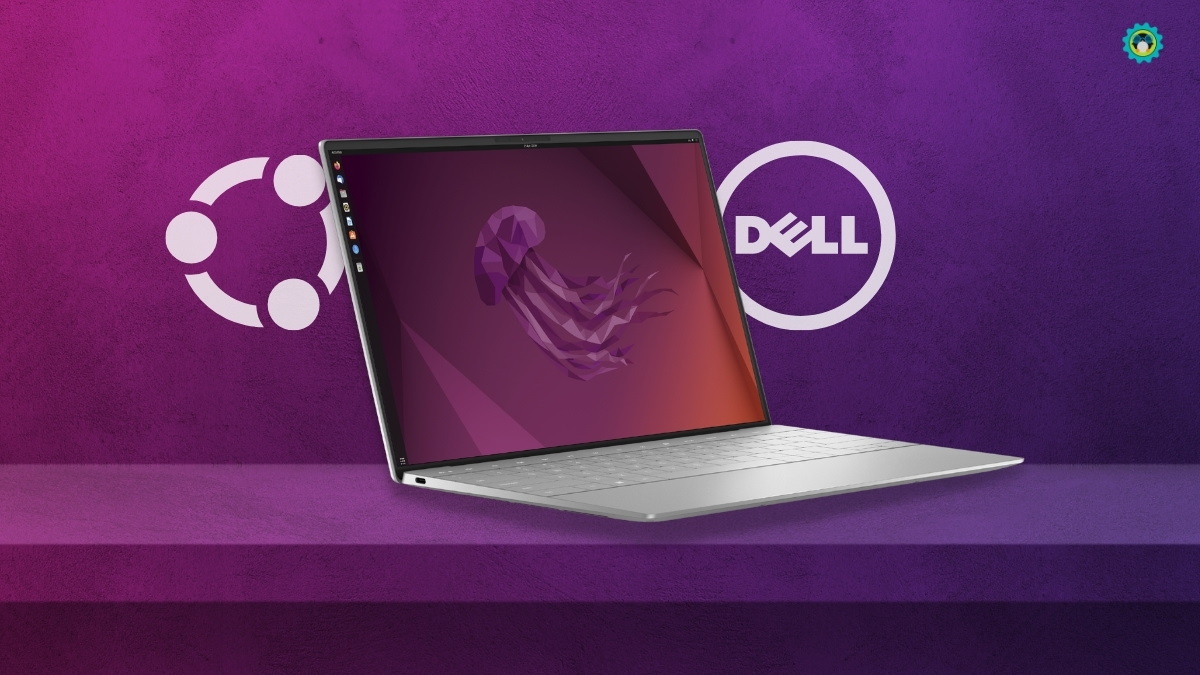
The Dell XPS 14z, a marvel of slim design and robust performance from its era, continues to be a capable machine even years after its release. While it shipped primarily with Windows, a natural question for many tech enthusiasts and budget-conscious users arises: “Will Ubuntu install on a Dell XPS 14z?” The emphatic answer is yes, absolutely. Not only is it possible, but installing Ubuntu can breathe new life into your XPS 14z, offering enhanced performance, superior security, and a highly customizable computing experience. This guide will walk you through everything you need to know, from preparation to post-installation optimization, ensuring a smooth transition to the world of open-source computing.

Why Ubuntu on Your Dell XPS 14z? Exploring the Advantages
The decision to move away from a pre-installed Windows operating system to a Linux distribution like Ubuntu is often driven by a desire for greater control, efficiency, and a fresh user experience. For a laptop like the Dell XPS 14z, which might be showing its age with resource-hungry modern Windows versions, Ubuntu presents a compelling alternative that aligns perfectly with modern technology trends and user preferences.
Performance and Resource Efficiency
One of the most immediate benefits of installing Ubuntu on your Dell XPS 14z is a noticeable improvement in performance. Ubuntu, especially its lighter desktop environments like Xfce (Xubuntu) or LXQt (Lubuntu), is designed to be less resource-intensive than Windows. This means your XPS 14z’s Intel Core i5 or i7 processor, 4-8GB of RAM, and even its older generation SSD or HDD can operate more efficiently. Applications launch faster, multitasking feels smoother, and overall system responsiveness is significantly enhanced. For users looking to extend the lifespan of their hardware and avoid the cost of a new machine, this efficiency translates directly into financial savings and improved productivity. You’ll find your laptop boots quicker, handles everyday tasks with less strain, and offers a snappier user interface, making it a powerful tool for work, study, or creative endeavors.
Enhanced Security and Privacy
In an era where digital security is paramount, Ubuntu stands out as a highly secure operating system. Its open-source nature means that countless developers constantly review its code, quickly identifying and patching vulnerabilities. The architecture of Linux-based systems also inherently makes them less susceptible to the vast majority of Windows-specific malware and viruses. For the Dell XPS 14z user, this translates to a computing environment where you’re less likely to encounter malicious software, ensuring your data and online activities remain private. Regular, automatic updates keep your system protected against the latest threats, offering peace of mind in an increasingly complex digital landscape. This enhanced security contributes to better digital hygiene, a crucial aspect of overall productivity and data protection in any tech-savvy individual’s toolkit.
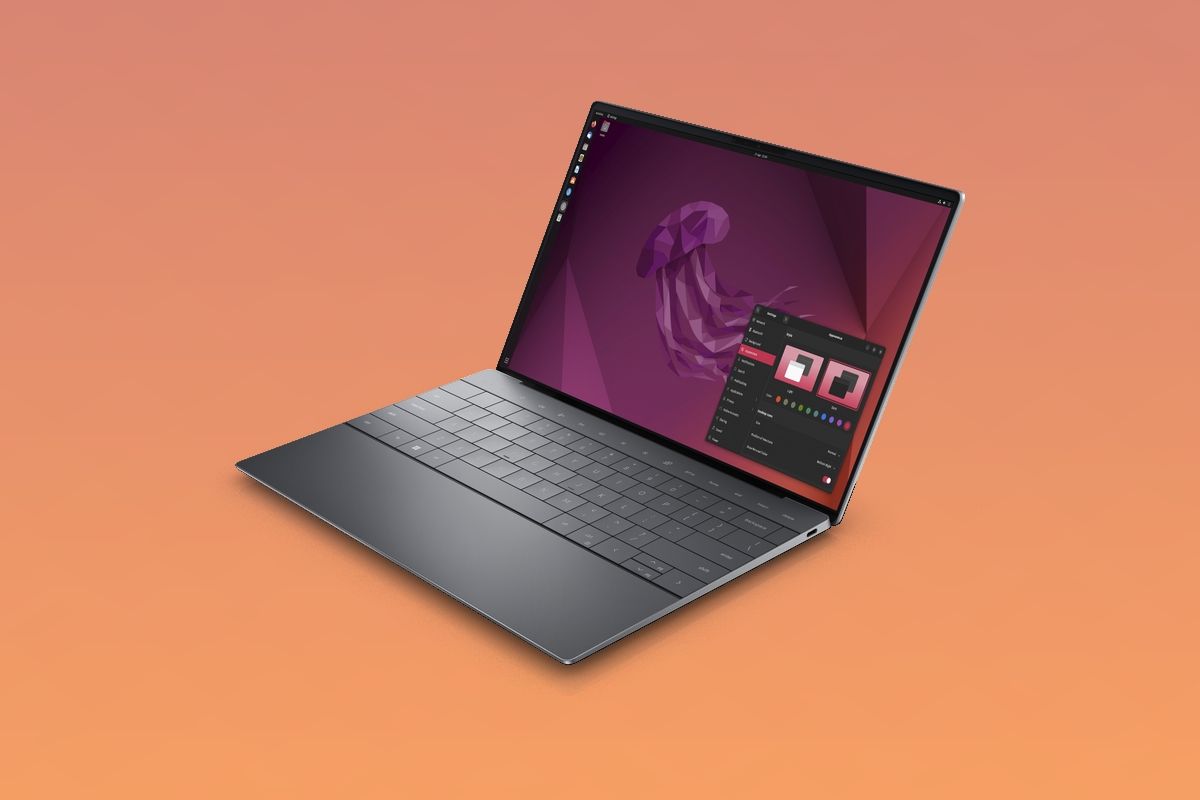
Customization and Open-Source Freedom
Ubuntu offers an unparalleled degree of customization. From changing the entire desktop environment to tweaking individual icons, fonts, and system behaviors, you have the freedom to tailor your operating system precisely to your preferences and workflow. This level of control is empowering, allowing you to create a truly personalized computing experience that boosts productivity by optimizing your digital workspace. The open-source philosophy also means you’re not locked into proprietary software ecosystems. A vast repository of free and open-source applications (FOSS) is available for virtually every task, from office suites like LibreOffice to graphic design tools like GIMP and video editors like Kdenlive. This freedom from expensive software licenses further reinforces the financial benefits of switching to Ubuntu.
A Thriving Community and Software Ecosystem
Beyond the technical advantages, Ubuntu boasts one of the largest and most supportive communities in the Linux world. Whether you’re a seasoned Linux user or a complete beginner, help is always readily available through forums, documentation, and online communities. This vibrant ecosystem not only provides technical support but also contributes to a continuous stream of innovative software and features. For the Dell XPS 14z, this means that even if you encounter a specific hardware compatibility quirk, there’s a high likelihood someone in the community has already found a solution or can guide you through it. This collective knowledge base makes learning and troubleshooting on Ubuntu a much less daunting task.
Breathing New Life into Older Hardware
The Dell XPS 14z, while well-built, is not a new machine. Its hardware, while still capable, might struggle with the demands of the latest versions of Windows. Ubuntu provides a fantastic opportunity to extend the useful life of your laptop. By reducing the overhead of the operating system, you can continue to use your XPS 14z for many years to come, performing tasks like web browsing, document editing, media consumption, and even light development work, without feeling the need for a costly hardware upgrade. This approach aligns with a sustainable tech philosophy, reducing e-waste and maximizing your initial investment.
Pre-Installation Checklist: Preparing Your XPS 14z for Ubuntu
Before embarking on the Ubuntu installation journey, thorough preparation is key to a seamless experience. This section will guide you through the essential steps to ready your Dell XPS 14z, mitigating potential issues and ensuring your data remains safe.
Backing Up Your Data: A Crucial First Step
This cannot be stressed enough: back up all your important data before proceeding. Whether you plan to dual-boot or completely replace Windows, there’s always a small risk of data loss during partitioning or installation. Use an external hard drive, cloud storage, or a network drive to save all your documents, photos, videos, and any other files you value. This simple step is your ultimate safety net and will prevent untold frustration should something unexpected occur.
Updating BIOS/UEFI Firmware
Ensure your Dell XPS 14z’s BIOS (Basic Input/Output System) or UEFI (Unified Extensible Firmware Interface) is updated to the latest available version. Dell regularly releases firmware updates that can improve hardware compatibility, stability, and sometimes even add new features. A more recent firmware version can significantly reduce the likelihood of encountering issues with Linux, especially regarding boot processes, power management, and hardware recognition. You can find the latest firmware on Dell’s official support website by entering your laptop’s service tag. Perform this update while still in Windows.
Disabling Secure Boot and Fast Boot (if applicable)
The Dell XPS 14z, depending on its exact revision and original OS, might feature UEFI with Secure Boot and Fast Boot options.
- Secure Boot: While some newer Linux distributions offer better support for Secure Boot, disabling it in your BIOS/UEFI settings is generally recommended for a trouble-free installation on older hardware like the XPS 14z. Secure Boot is designed to prevent unauthorized operating systems from loading, which can sometimes block Linux installers or bootloaders.
- Fast Boot (Windows Feature): This Windows feature can interfere with dual-boot setups by preventing a complete shutdown, leading to potential file system corruption if Linux tries to access partitions left in an inconsistent state. Ensure you perform a full shutdown in Windows (not just hibernate or sleep) and disable the “Fast Startup” option within Windows Power Options before attempting to install Ubuntu.
To access these settings, restart your XPS 14z and press F2 repeatedly during startup to enter the BIOS/UEFI setup utility. Navigate through the menus to find “Boot Options,” “Security,” or similar sections to locate and disable these features.
Creating Bootable Ubuntu Media
You’ll need a bootable USB drive (at least 8GB) or a DVD containing the Ubuntu installer.
- Download Ubuntu: Visit the official Ubuntu website (ubuntu.com) and download the latest Long Term Support (LTS) version. LTS versions are recommended for their stability and long-term support. Ubuntu 22.04 LTS (Jammy Jellyfish) or later would be suitable.
- Create Bootable Media: Use a tool like Rufus (for Windows) or Balena Etcher (for Windows, macOS, and Linux) to write the downloaded ISO image to your USB drive. These tools correctly configure the USB drive to be bootable.
Partitioning Your Drive (for Dual Boot or Single OS)
Decide whether you want to dual-boot Ubuntu alongside Windows or completely replace Windows with Ubuntu.
- Dual Boot: If dual-booting, you’ll need to shrink your existing Windows partition to create unallocated space for Ubuntu. This can be done using Windows’ built-in Disk Management tool (search “Create and format hard disk partitions”). Aim for at least 20-30GB for Ubuntu, though more is always better. It’s advisable to create partitions for
/(root),/home, andswapduring the Ubuntu installation for better organization and performance. - Single OS: If you plan to completely erase Windows, the Ubuntu installer can handle the entire disk partitioning process automatically.
Gathering Essential Information (Hardware Specs, Existing OS)
While not strictly a “step,” having a clear understanding of your XPS 14z’s specific hardware components can be incredibly helpful for troubleshooting. Note down details about your:
- CPU: Intel Core i5/i7 (specific generation)
- GPU: Intel HD Graphics (integrated) and NVIDIA GeForce GT 520M/GT 630M (dedicated, if present)
- Wi-Fi Card: Intel, Broadcom, or Atheros (most likely Intel or Broadcom). Knowing this helps with potential driver issues later.
- Storage: SSD or HDD, and its size.
Knowing your existing Windows version (e.g., Windows 7, 8, 10) can also be useful for context, especially if you’re planning a dual-boot setup.
The Installation Process: Step-by-Step on Your Dell XPS 14z
With your Dell XPS 14z prepared and your bootable Ubuntu media ready, you can now proceed with the installation. This section details the steps to guide you through installing Ubuntu successfully.
Booting from USB/DVD
- Insert Media: Plug in your bootable Ubuntu USB drive or insert the DVD into your XPS 14z.
- Restart and Access Boot Menu: Restart your laptop. As it starts up, repeatedly press
F12(the boot menu key for Dell) until you see a “Boot Menu” or “One-Time Boot Menu.” - Select USB/DVD: From the boot menu, select your USB drive (it might be listed as “USB-HDD,” “USB Storage Device,” or by its brand name) or DVD drive. Press Enter.
- Ubuntu Boot Screen: You should now see the Ubuntu boot menu. Choose “Try or Install Ubuntu.”
Trying Ubuntu Live (Optional but Recommended)
Once Ubuntu starts loading, you’ll be presented with a screen offering “Try Ubuntu” or “Install Ubuntu.”
- “Try Ubuntu”: This option loads Ubuntu into RAM, allowing you to experience the operating system without making any changes to your hard drive. It’s an excellent opportunity to test basic hardware functionality (Wi-Fi, touchpad, display, sound) before committing to a full installation. While in the live environment, you can launch the installer from the desktop icon if you decide to proceed.
- “Install Ubuntu”: If you’re confident, you can directly choose this option to start the installation.
Navigating the Ubuntu Installer
The Ubuntu installer is user-friendly and guides you through several screens:
- Language Selection: Choose your preferred language.
- Keyboard Layout: Select your keyboard layout.
- Network Connection: Connect to a Wi-Fi network (if available and working) or use an Ethernet cable. This allows the installer to download updates and third-party software during installation.
- Updates and Other Software:
- “Normal installation”: Recommended.
- “Download updates while installing Ubuntu”: Highly recommended to save time later.
- “Install third-party software for graphics and Wi-Fi hardware and additional media formats”: Crucial for the Dell XPS 14z. This option helps install proprietary drivers for your NVIDIA graphics (if present) and potentially Broadcom Wi-Fi, which often don’t work out-of-the-box with open-source drivers.
Choosing Installation Type (Dual Boot vs. Erase Disk)
This is the most critical step regarding your storage.
- “Install Ubuntu alongside Windows Boot Manager”: This option is for dual-booting. The installer will automatically detect your Windows installation and guide you through shrinking the Windows partition to make space for Ubuntu. You might be able to drag a slider to allocate space.
- “Erase disk and install Ubuntu”: This option will completely wipe your entire hard drive, deleting Windows and all its data, and then install Ubuntu. Only choose this if you are absolutely certain you want to remove Windows and have backed up all your data.
- “Something else”: This option is for advanced users who want to manually create and manage partitions. If you want to create separate partitions for
/(root),/home, andswap, you would choose this. For most users, options 1 or 2 are sufficient. If you are doing a dual-boot and want more control, you could use this to specify the unallocated space you created earlier.
Partitioning for XPS 14z (Manual – “Something else” example):
- Create a
/partition (e.g., 20-30GB, Ext4 filesystem, mount point/). - Create a
/homepartition (e.g., remaining space, Ext4 filesystem, mount point/home). - Create a
swap area(e.g., 4GB or equal to your RAM if you want hibernation, logical partition). - Ensure the “Device for boot loader installation” points to the primary hard drive (e.g.,
/dev/sda), not a specific partition number, especially if dual-booting.
Setting Up User Accounts and Locales
- Location: Select your geographical location for time zone settings.
- Who are you?: Enter your name, choose a username, and create a strong password. You can also opt for automatic login or require a password at startup. Choose “Encrypt my home folder” for added security (optional, but good for privacy).
The installation process will now begin, copying files and configuring your system. This can take some time, depending on your system’s speed.
The First Boot: Post-Installation Essentials
Once the installation is complete, you’ll be prompted to restart your computer. Remove the USB drive/DVD when instructed. Your XPS 14z should now boot into Ubuntu. If you set up dual-boot, you’ll see a GRUB boot menu where you can choose between Ubuntu and Windows.
Congratulations! You’ve successfully installed Ubuntu on your Dell XPS 14z.
Post-Installation Optimization and Troubleshooting for the XPS 14z
Installing Ubuntu is often just the first step. To truly optimize your Dell XPS 14z and address any hardware quirks, some post-installation steps are usually beneficial. This is where the website’s focus on tutorials and productivity truly shines.
Updating Your System and Installing Drivers (Graphics, Wi-Fi)
- System Updates: Immediately after the first boot, open the “Software Updater” application or run
sudo apt update && sudo apt upgrade -yin the terminal. This ensures all your software packages are up-to-date, including critical security patches and minor bug fixes. - Additional Drivers:
- NVIDIA Optimus (GT 520M/GT 630M): The XPS 14z often features NVIDIA Optimus technology. While the integrated Intel graphics will work out of the box, the dedicated NVIDIA card requires proprietary drivers for optimal performance. Open “Software & Updates,” go to the “Additional Drivers” tab. It should detect the NVIDIA card and offer proprietary drivers (e.g.,
nvidia-driver-XXX). Install the recommended stable version. After installation, you might need to installnvidia-prime(if not already installed) to switch between Intel and NVIDIA GPUs:sudo apt install nvidia-prime. - Wi-Fi: If you have a Broadcom Wi-Fi card (less common on XPS models, but possible), it might not work immediately. The “Additional Drivers” tab should offer a proprietary driver (e.g.,
bcmwl-kernel-source). Install it. If it doesn’t appear or doesn’t work, you might need to connect via Ethernet and search online forums for specific Broadcom drivers for your chip. Intel Wi-Fi cards usually work without issue.
- NVIDIA Optimus (GT 520M/GT 630M): The XPS 14z often features NVIDIA Optimus technology. While the integrated Intel graphics will work out of the box, the dedicated NVIDIA card requires proprietary drivers for optimal performance. Open “Software & Updates,” go to the “Additional Drivers” tab. It should detect the NVIDIA card and offer proprietary drivers (e.g.,
Addressing Common XPS 14z Specific Issues
While Ubuntu generally runs well on the XPS 14z, some common issues might arise:
- Suspend/Resume: Sometimes laptops, especially older ones, can have issues resuming from suspend. If you experience this, first ensure your system is fully updated. If problems persist, searching Ubuntu forums for “XPS 14z suspend issue” might reveal kernel parameters or power management tweaks specific to your model.
- Brightness Keys: The function keys for brightness might not work immediately. This is often resolved by system updates or by installing
acpi_backlight=vendoras a kernel parameter. Edit/etc/default/grub, find theGRUB_CMDLINE_LINUX_DEFAULTline, and addacpi_backlight=vendorinside the quotes. Then runsudo update-gruband reboot. - Touchpad Sensitivity: If the touchpad feels too sensitive or not sensitive enough, you can adjust its settings in “Settings” -> “Mouse & Touchpad.”
Enhancing Productivity with Ubuntu Software
Ubuntu’s rich software ecosystem offers a vast array of tools to maximize your productivity.
- Office Suite: LibreOffice is pre-installed and provides a full suite for word processing, spreadsheets, and presentations.
- Web Browsing: Firefox is the default, with Chrome/Chromium easily installable.
- Media: VLC Media Player is a highly recommended, versatile media player.
- Development Tools: Ubuntu is a preferred OS for developers, with easy installation of compilers (GCC), version control (Git), IDEs (VS Code, Eclipse), and various programming languages.
- Cloud Integration: Easily integrate with Dropbox, Google Drive, Nextcloud, and other cloud services.
- Productivity Apps: Explore the Ubuntu Software Center for note-taking apps (Simplenote, Joplin), task managers (Todoist via web app, local alternatives), and communication tools.
Digital Security Best Practices on Linux
While Linux is inherently more secure, following best practices further strengthens your digital defenses:
- Regular Updates: As mentioned, always keep your system updated.
- Strong Passwords: Use unique, strong passwords for your user account and any online services.
- Firewall: Ubuntu comes with
ufw(Uncomplicated Firewall) pre-installed. Enable it:sudo ufw enable. - Avoid PPA Overload: Only add Personal Package Archives (PPAs) from trusted sources.
- Data Encryption: Consider encrypting your entire disk during installation or your home folder for sensitive data.
Leveraging Ubuntu for Performance and Longevity
By migrating to Ubuntu, you’re not just changing an operating system; you’re adopting a computing philosophy that prioritizes efficiency, security, and user freedom. This move effectively upgrades your Dell XPS 14z, allowing it to perform tasks with a responsiveness that might have diminished under Windows. This enhances your daily productivity, ensures a more secure digital experience, and extends the financial return on your hardware investment. Moreover, the learning curve, while present, opens doors to a deeper understanding of technology and empowers you with skills increasingly valuable in the modern tech landscape.
The Broader Implications: Ubuntu, Technology, and Your Digital Lifestyle
Installing Ubuntu on a Dell XPS 14z is more than a technical procedure; it’s a statement about how you interact with technology, manage your finances, and perceive digital brands. It touches upon fundamental aspects of the tech world, from open-source philosophy to economic benefits and user empowerment.
Open Source as a Technology Trend
The act of choosing Ubuntu reflects an embrace of the open-source movement, a major technology trend emphasizing transparency, collaboration, and community-driven development. For your Dell XPS 14z, this means you’re benefiting from thousands of developers worldwide contributing to a robust, secure, and constantly evolving operating system. This is a stark contrast to proprietary software, and it offers significant advantages in terms of customization, adaptability, and long-term viability, particularly for hardware that might no longer receive official support from its original vendor. It positions you at the forefront of digital autonomy and innovation, an important aspect for any tech-savvy individual.
Cost-Effectiveness and Financial Benefits
From a “Money” perspective, installing Ubuntu is an incredibly smart financial decision. The operating system itself is free, eliminating the cost of Windows licenses. Furthermore, the vast majority of software available for Ubuntu is also free and open-source, allowing you to bypass expensive subscriptions for office suites, creative tools, and development environments. By extending the usable life of your Dell XPS 14z, you delay the need to purchase a new laptop, saving hundreds or even thousands of dollars. This strategy not only reduces your personal tech expenditure but also promotes a more sustainable approach to consumption, aligning with conscious spending and responsible technology ownership. It’s a clear demonstration of how smart software choices can significantly impact your personal finance.
Empowering Users Through Customization and Digital Security
The freedom to customize every aspect of your Ubuntu desktop empowers you to create a computing environment perfectly tailored to your personal branding and workflow. This level of control enhances productivity by reducing distractions and streamlining tasks. Beyond aesthetics, the inherent security and privacy features of Ubuntu provide a robust shield against digital threats. For individuals concerned about online security and data integrity, running Ubuntu on your Dell XPS 14z offers a significant upgrade in protection, contributing to a more secure and reliable digital lifestyle. This not only safeguards your personal information but also contributes to greater peace of mind, allowing you to focus on what matters most, whether it’s creative work, learning, or managing your online presence.
In conclusion, installing Ubuntu on your Dell XPS 14z is a highly rewarding endeavor. It’s a practical, performance-boosting, and financially astute decision that revitalizes older hardware, enhances security, and provides an unparalleled degree of control over your digital environment. By following this comprehensive guide, you can successfully transform your capable Dell XPS 14z into a powerful, efficient, and secure Linux machine, ready to tackle the challenges of modern computing.
aViewFromTheCave is a participant in the Amazon Services LLC Associates Program, an affiliate advertising program designed to provide a means for sites to earn advertising fees by advertising and linking to Amazon.com. Amazon, the Amazon logo, AmazonSupply, and the AmazonSupply logo are trademarks of Amazon.com, Inc. or its affiliates. As an Amazon Associate we earn affiliate commissions from qualifying purchases.