The Nintendo Switch has revolutionized the gaming landscape, blending the power of a home console with the portability of a handheld device. However, like any sophisticated piece of hardware, it is not immune to technical glitches. Perhaps the most frustrating issue a user can encounter is a console that refuses to power on—often referred to in the community as the “Black Screen of Death.”
When your Nintendo Switch becomes unresponsive, it can feel like a catastrophic hardware failure. Fortunately, in the vast majority of cases, the issue is rooted in software freezes, power management states, or minor charging inconsistencies rather than a permanent hardware “brick.” This guide provides a deep technical dive into why your Switch might not be turning on and the step-by-step procedures required to restore its functionality.
1. Primary Recovery: Mastering the Forced Reset and Power Cycle
The most frequent cause of a Nintendo Switch failing to wake up is a system freeze while in a low-power state or Sleep Mode. In these instances, the screen remains black, and the console may appear “dead,” but it is actually stuck in a software loop that prevents the OS from initializing the display.
The 12-Second Hard Reset
The first and most effective solution is a hard power cycle. Unlike a standard “Power Off,” a hard reset interrupts the electricity flow to the processor, forcing the firmware to restart from scratch. To perform this, hold down the circular Power Button on the top-left edge of the console for a full 12 to 15 seconds. It is vital to ignore any menus that might briefly appear. After releasing the button, wait a few seconds, and then press the Power Button once normally. If the Nintendo logo appears, the system has successfully bypassed the software hang.
Analyzing the Power Delivery System
If a hard reset fails, the issue likely lies with the Power Delivery (PD) handshake. The Nintendo Switch utilizes a specific USB-C PD protocol. If you are using a third-party charger or a low-voltage phone brick, the Switch may not receive enough “trickle charge” to jumpstart a depleted battery. To troubleshoot this, ensure you are using the official Nintendo AC Adapter (Model HAC-002). Disconnect the adapter from both the wall and the Switch for 30 seconds to reset the internal fuse of the charger itself, then plug it directly into a wall outlet and the console, bypassing the dock entirely.
2. Advanced Hardware Maintenance and Inspection
If the initial power cycle does not yield results, we must look closer at the physical interface and the environmental factors affecting the hardware. Hardware fatigue or debris can often simulate a total system failure.
Inspecting the USB-C Port and Pins
The USB-C port on the bottom of the Switch is a common point of failure. Using a high-intensity flashlight, peer into the port to check for bent pins, lint, or metallic debris. Because the Switch requires a precise handshake between the charger and the internal M92T36 Power Management IC, even a small amount of conductive dust can cause a short circuit that prevents charging. If debris is found, use compressed air or a non-conductive wooden toothpick to gently clear it. Never use metal tools, as these can permanently damage the 24-pin array.
Thermal Throttling and Environmental Hazards
The Nintendo Switch features an internal Tegra X1 processor that generates significant heat. If the console was used in a high-temperature environment or if the internal fan has failed, the system may enter a “Thermal Lockdown” state. In this mode, the console will refuse to power on until the internal thermistors register a safe operating temperature. If your console feels warm to the touch, place it in a cool, well-ventilated area for at least an hour before attempting another hard reset.
3. Software and Firmware Recovery Solutions
Sometimes, a failed system update or a corrupted cache can prevent the Horizon OS (the Switch’s operating system) from booting. In these scenarios, the hardware is functional, but the software path is blocked.
Accessing Maintenance Mode
The Nintendo Switch has a hidden “Maintenance Mode” (sometimes called Recovery Mode) that resides on a separate partition of the internal eMMC storage. To access this, ensure the console is powered off. Hold down both the Volume Up (+) and Volume Down (-) buttons simultaneously, then press the Power Button. Continue holding the volume buttons until the Maintenance Mode menu appears. From here, you can select “Initialize Console Without Deleting Save Data.” This refreshes the system files while keeping your game progress intact, often resolving boot-loop issues.
Resolving Post-Update “Bricking”
If your Switch stopped working immediately after a firmware update, it may be due to a desync between the battery’s fuel gauge IC and the actual charge level. During updates, the console consumes a significant amount of power. If the battery was low, the update might have been interrupted. In this case, the console might be in a “Pre-Boot” state. Connect the Switch to the official AC adapter and let it sit for a minimum of 24 hours. This allows the battery controller to recalibrate and provide enough voltage to resume the boot sequence.
4. Battery Management and Long-Term Longevity
The Switch utilizes a Lithium-Ion battery that can enter a “Deep Discharge” state if left uncharged for several months. When a battery’s voltage drops below a certain threshold, the internal protection circuit prevents the device from turning on to avoid a volatile chemical reaction.
The “Deep Discharge” Recovery Method
Recovering a deep-discharged battery requires patience. When the battery is this low, the standard charging animation might not even appear. The console may take several hours of being plugged in before it even registers enough power to display the low-battery icon. If your Switch has been sitting in a drawer for months, leave it on the charger for 48 hours uninterrupted. Periodically attempt the 12-second hard reset while it is still plugged into the wall.
Best Practices for Battery Health
To prevent future power-on issues, technical enthusiasts recommend keeping the Switch’s charge between 20% and 80% when possible. Furthermore, never leave the Switch in a completely discharged state for more than a few days. Even if you are not using the console, the system continues to draw a microscopic amount of power to maintain the internal clock and RAM state in Sleep Mode. If you plan to store the console long-term, charge it to approximately 50% and power it off completely via the Power Options menu rather than just putting it into Sleep Mode.
5. Identifying Component-Level Failure
When all user-level troubleshooting steps are exhausted, the issue may reside within the internal circuitry. Understanding these components can help you decide whether to pursue a professional repair or a DIY fix.
The M92T36 and PI3USB Chips
The most common internal hardware failures in the Nintendo Switch involve two specific chips: the M92T36 (Power Management) and the PI3USB (Video Output/USB Control). The M92T36 is responsible for negotiating the power intake; if this chip is blown—often due to using poor-quality third-party docks—the console will not charge or turn on. Similarly, a faulty PI3USB chip can cause a short circuit that prevents the system from booting. Identifying these requires a multimeter to check for shorts on the capacitors surrounding these chips.
Navigating the Nintendo Repair Ecosystem
If your console is still under its one-year manufacturer warranty, opening the device will void your coverage. Nintendo’s official support portals offer a streamlined “Repair Request” process. For out-of-warranty consoles, many independent tech repair shops specialize in “micro-soldering” to replace the aforementioned IC chips. When contacting support, be sure to specify that you have already attempted a 12-second reset and tested multiple official adapters, as this will fast-track your case to the secondary tier of technical support.
Conclusion
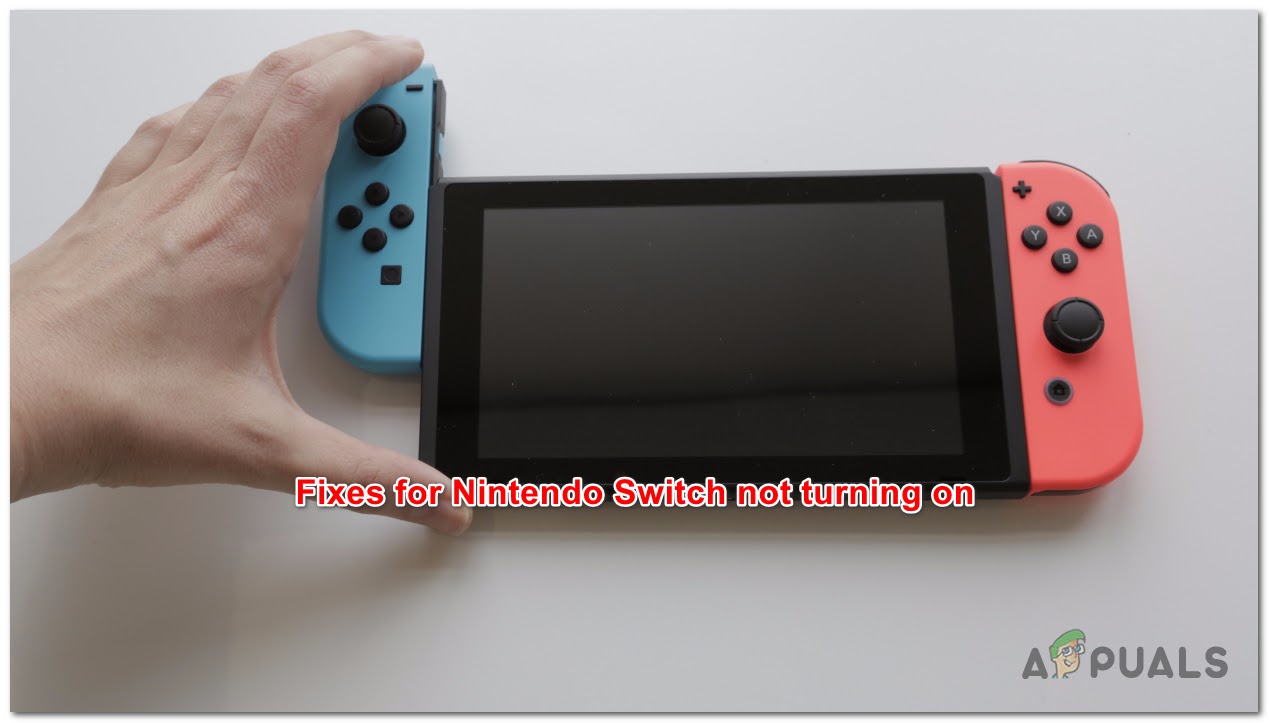
A Nintendo Switch that won’t turn on is a stressful experience for any gamer, but it is rarely a terminal diagnosis. By methodically working through power cycles, inspecting physical ports, attempting software recovery through Maintenance Mode, and addressing battery depletion, you can resolve the vast majority of issues at home.
In the modern era of portable electronics, the “Black Screen of Death” is often just a temporary software hang or a safety state triggered by the hardware’s internal protection circuits. By understanding the technical nuances of how the Switch manages power and software, you can ensure your console remains a reliable gateway to your favorite digital worlds for years to come.
aViewFromTheCave is a participant in the Amazon Services LLC Associates Program, an affiliate advertising program designed to provide a means for sites to earn advertising fees by advertising and linking to Amazon.com. Amazon, the Amazon logo, AmazonSupply, and the AmazonSupply logo are trademarks of Amazon.com, Inc. or its affiliates. As an Amazon Associate we earn affiliate commissions from qualifying purchases.