
Few technological inconveniences are as frustrating as a smartphone refusing to charge. In our hyper-connected world, a dead or dying phone isn’t just an annoyance; it’s a disruption to communication, productivity, and often, our sense of security. Before panic sets in, it’s crucial to approach the problem systematically. This guide will walk you through a series of logical steps, from the simplest checks to more advanced diagnostics, helping you pinpoint the issue and, hopefully, restore your device to full power.
The First Line of Defense: Basic Checks and Quick Fixes
Often, the solution to a phone not charging is surprisingly simple. Before diving into complex troubleshooting, it’s essential to rule out the most common and easily rectifiable causes. These initial checks can save you time, money, and unnecessary stress.
Power Source and Outlet Verification
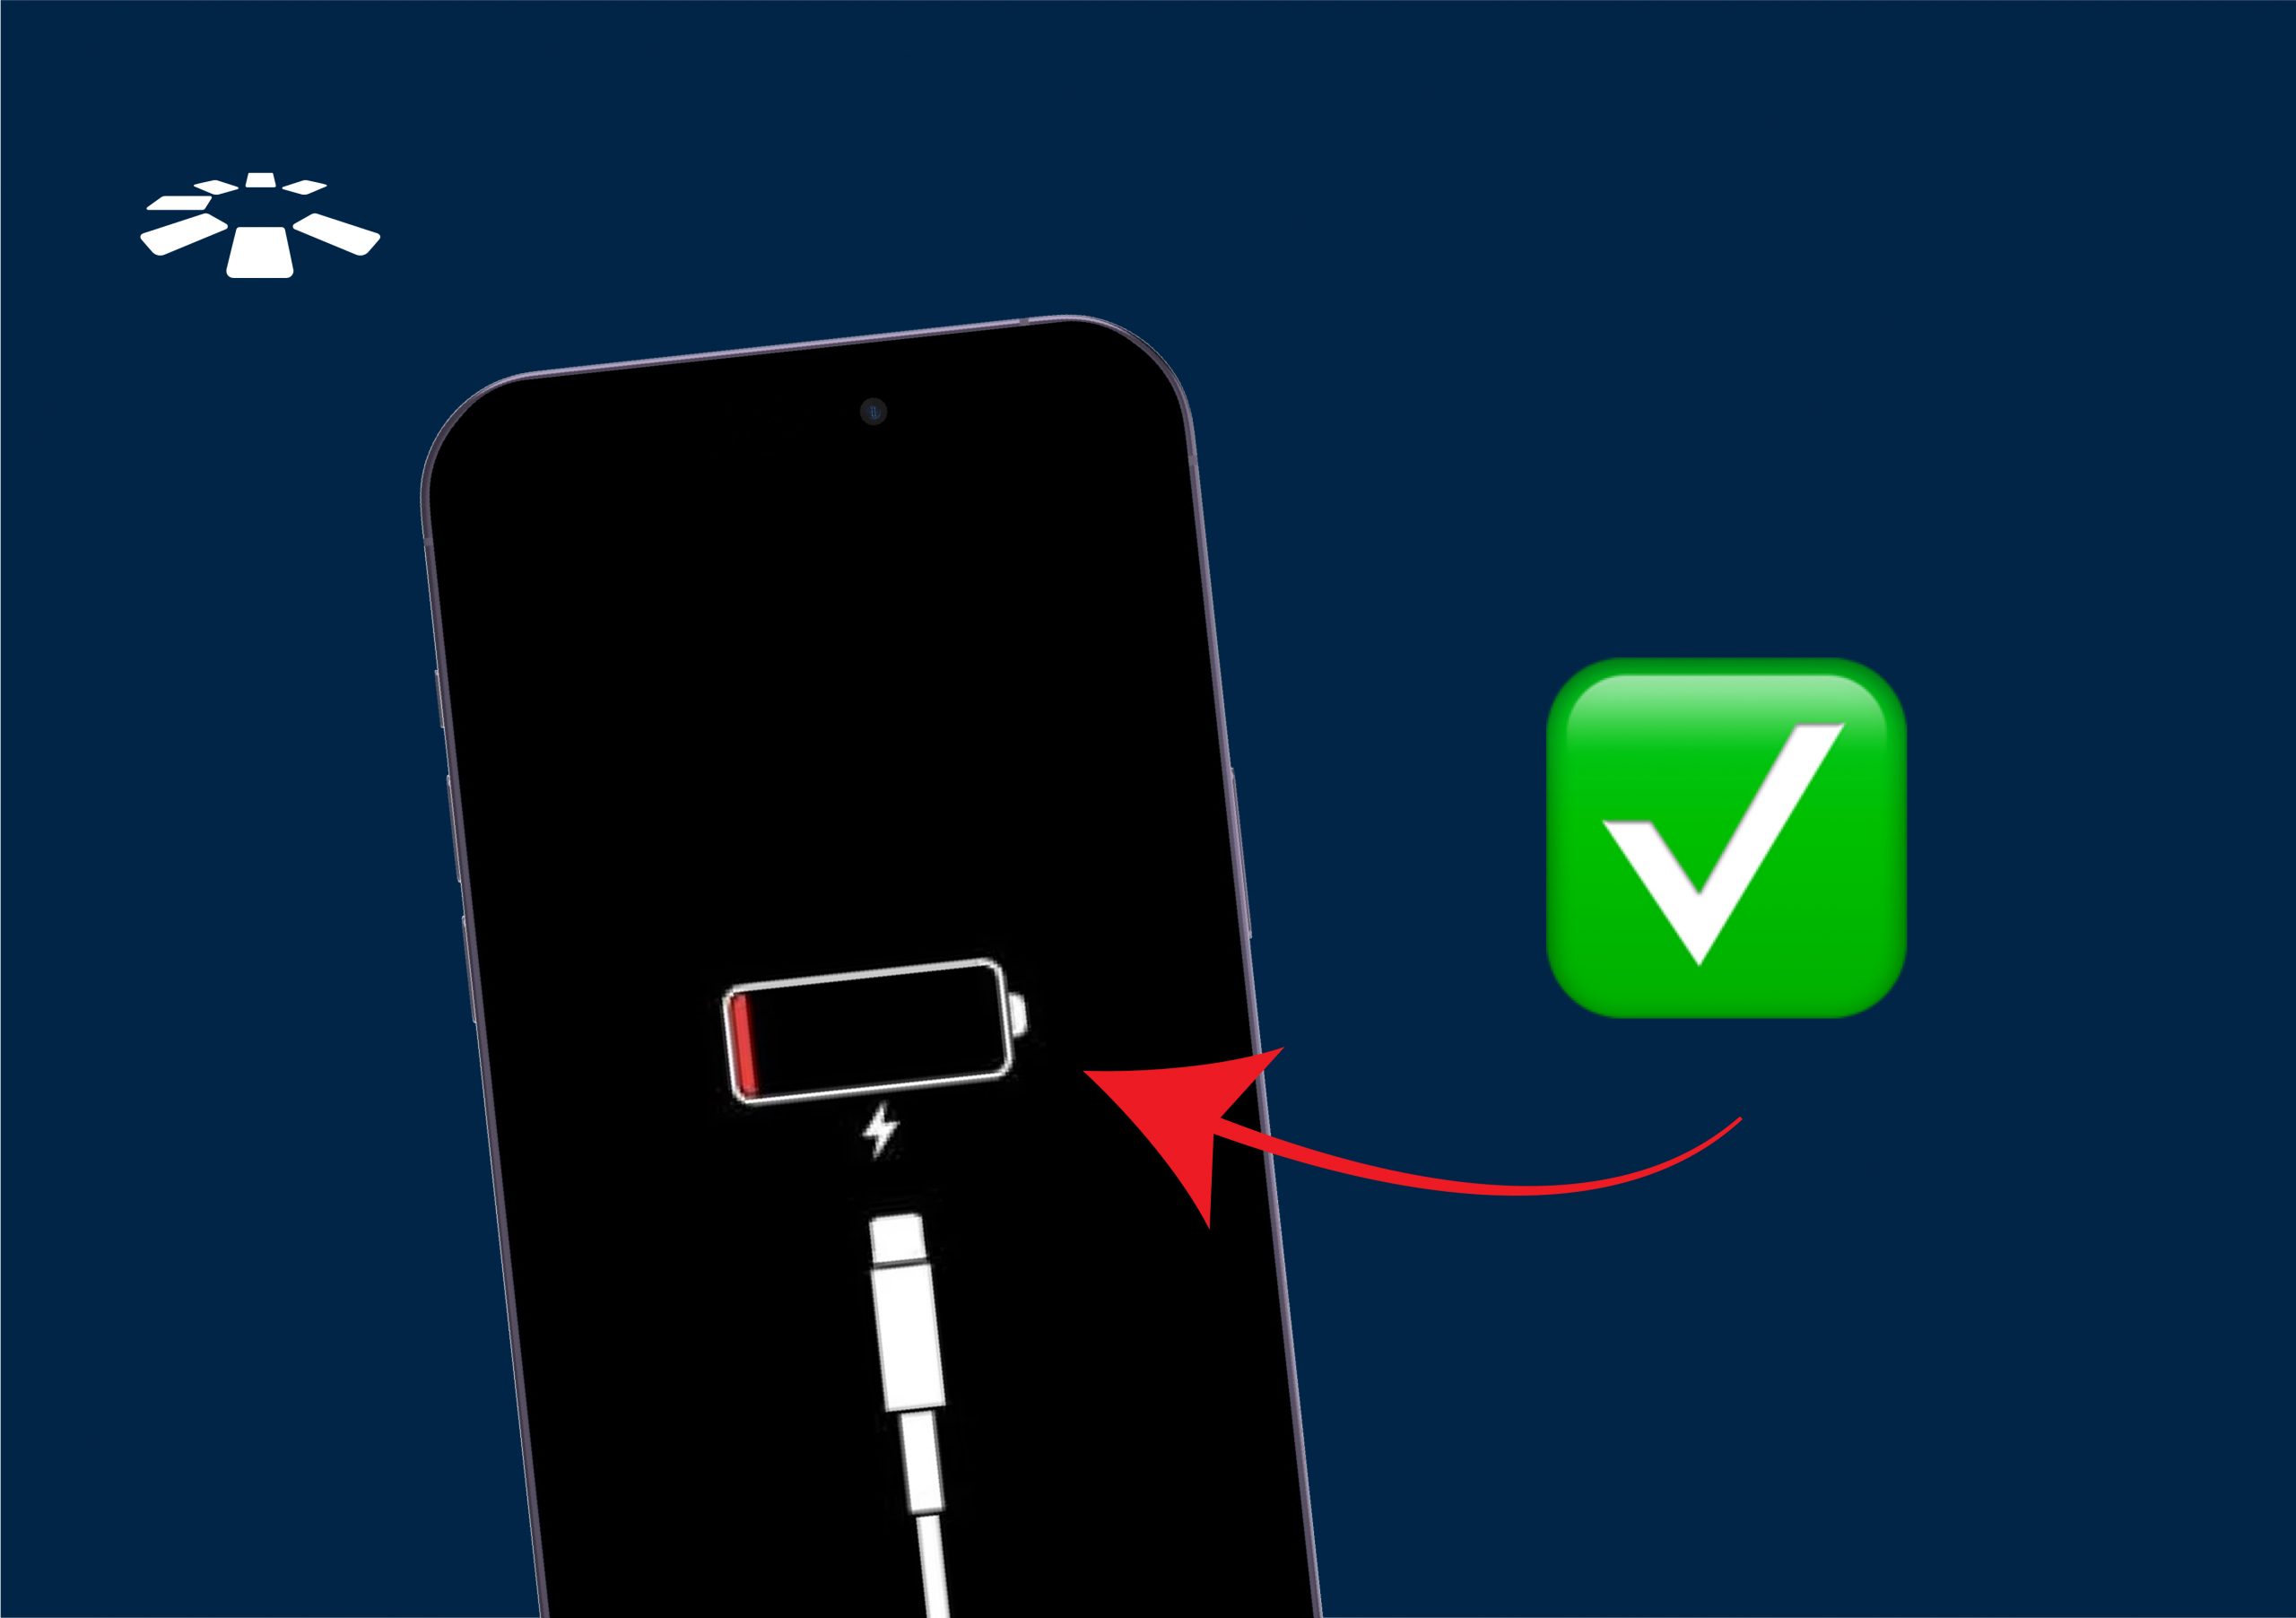
The very first step is to ensure that your power source is functional. Plug another device into the same wall outlet to confirm it’s live. If you’re using a power strip, surge protector, or USB hub, try plugging your phone charger directly into a wall outlet. Sometimes, these intermediary devices can be faulty or simply overloaded, preventing sufficient power from reaching your phone. A dead outlet or a tripped circuit breaker can be the silent culprit behind your charging woes.
Inspecting Cables and Adapters
Charging cables and power adapters are surprisingly fragile and prone to wear and tear. Visually inspect your charging cable for any fraying, kinks, or discoloration, particularly near the connectors. A damaged cable can either fail to deliver power or even pose a safety hazard. Similarly, examine the USB power adapter (the wall plug). Look for any signs of physical damage, bent prongs, or unusual smells. If you have access to another compatible cable and adapter, test them out. Often, a faulty cable, even one that appears fine, is the primary reason for charging failure. Using certified, high-quality accessories from reputable brands is always recommended, as generic or cheap alternatives can be unreliable and potentially harmful.
Cleaning the Charging Port: A Delicate Task
Over time, lint, dust, and other debris can accumulate inside your phone’s charging port, creating a barrier that prevents a solid connection between the cable and the phone’s internal charging pins. Using a flashlight, carefully inspect the port. If you see any foreign material, you can attempt to clean it gently. The safest method involves using a non-metallic tool, such as a wooden toothpick, a plastic dental pick, or a can of compressed air. Avoid using anything metallic, like a paper clip, as this can damage the delicate charging pins and potentially short-circuit your device. Be extremely gentle to avoid bending or breaking the internal components.
Rebooting Your Phone: The Universal Fix
Sometimes, a software glitch or a temporary operating system freeze can prevent your phone from recognizing the charger or initiating the charging process. A simple restart can often resolve these minor software hiccups. Perform a standard reboot by holding down the power button and selecting “Restart” or “Power Off” then turning it back on. If your phone is completely unresponsive, you might need to perform a “hard reset” or “force restart,” which typically involves holding a specific combination of buttons (e.g., power and volume down for Android, or specific sequences for iPhones) until the device reboots. This can clear temporary system errors without affecting your data.
Testing with Alternative Accessories
If the initial checks don’t yield results, it’s time to systematically eliminate the accessories as the source of the problem. Try charging your phone with a different compatible cable, a different wall adapter, and even a different power source (e.g., a computer USB port, a car charger, or a portable power bank). If your phone charges successfully with alternative accessories, it strongly suggests that your original cable or adapter was defective and needs to be replaced. This step is crucial for isolating the problem, determining whether it’s an accessory issue or a phone issue.
Delving Deeper: Hardware-Related Issues
When basic checks don’t resolve the charging problem, the issue often lies deeper within the phone’s hardware. These problems can range from subtle damage to critical component failures, requiring a more focused approach to diagnosis.
Assessing Cable and Adapter Integrity (Advanced)
While basic inspection covers visible damage, internal breaks in cables or adapters are harder to detect. Even if a cable looks fine externally, its internal wires could be broken from repeated bending or pulling. The same applies to adapters, which can suffer internal electronic failures. If you’ve tried multiple outlets and still no luck, and your phone charges with other cables/adapters, then it’s almost certain your original accessories are at fault. Consider investing in MFi-certified cables for Apple devices or reputable brands for Android to ensure compatibility and durability.
Examining the Charging Port for Damage
Beyond simple debris, the charging port itself can become physically damaged. The small, delicate pins inside the port can become bent, corroded, or broken, preventing a proper connection with the charging cable. This often happens from forcefully inserting cables, using incompatible chargers, or accidental drops. Using a magnifying glass and a bright light, carefully inspect the port for any misaligned pins, corrosion (which might appear as green or bluish residue), or cracks. If you spot significant damage, professional repair is likely necessary, as attempting to fix these delicate components yourself can lead to further, irreversible damage.
Understanding Battery Health and Degradation
Smartphone batteries are consumable components with a finite lifespan. Over time, and with repeated charge cycles, a battery’s capacity to hold a charge diminishes. This degradation can manifest as slower charging, rapid discharge, or in extreme cases, a complete inability to charge. Most modern smartphones have built-in features to check battery health (e.g., “Battery Health” under settings for iPhones, or third-party apps for Android). If your battery health is significantly degraded (e.g., below 80% maximum capacity), it might be struggling to accept a charge or showing incorrect charging indicators. While a degraded battery might still accept some charge, it won’t perform optimally, and eventually, replacement might be the only solution.
The Impact of Water Damage
Water and electronics are natural enemies. If your phone has recently been exposed to moisture, water damage could be the reason it’s not charging. Even if the phone initially seemed fine, corrosion can develop over time, affecting internal components, including the charging circuit. Signs of water damage include condensation under the screen, unusual behavior from other components, or a change in the color of the phone’s liquid damage indicator (LDI), typically a small sticker inside the SIM tray or battery compartment that changes color when exposed to liquid. If water damage is suspected, stop attempting to charge the phone immediately, as this could short-circuit components and cause further irreparable harm. Professional assessment is crucial in such cases.
Unmasking Software and System Culprits
While hardware issues are common, sometimes the problem lies within your phone’s operating system or an installed application. Software glitches can interfere with charging processes, leading to frustrating and often misleading symptoms.
Software Updates and Patches
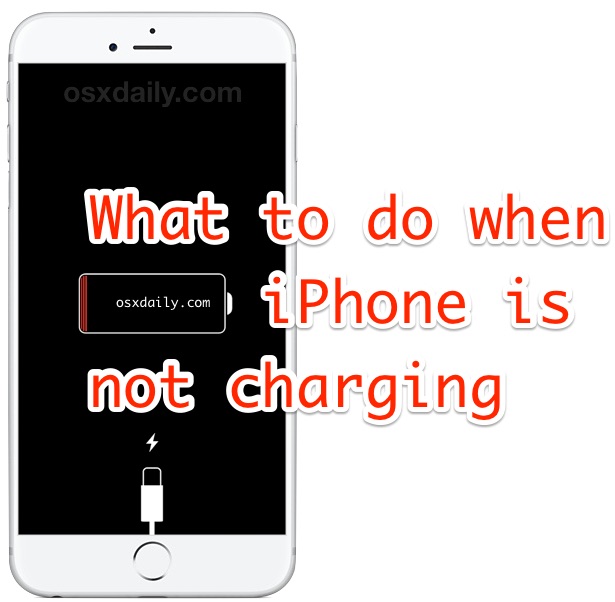
Operating system updates often include bug fixes and performance enhancements, some of which may address charging-related issues. If your phone is running an outdated version of its OS, check for pending updates and install them. Developers continuously release patches to improve stability and resolve known bugs, which could include glitches affecting power management or charging recognition. Before updating, ensure your phone has sufficient charge (if possible) or is connected to a stable power source to prevent it from dying during the update process.
Identifying Problematic Apps
Certain third-party applications, especially those poorly optimized or containing bugs, can drain battery excessively or interfere with the phone’s power management system, making it appear as though the phone isn’t charging effectively. This is particularly true for resource-intensive apps running in the background. If the charging problem started after installing a new app, try uninstalling it. You can also boot your phone into Safe Mode (available on most Android devices) or disable background app refresh to see if the charging issue persists. In Safe Mode, only system apps are active, which can help determine if a third-party app is the culprit.
The Role of Optimized Charging Features
Modern smartphones often include “optimized charging” or “adaptive charging” features designed to extend battery lifespan. These features learn your charging habits and might deliberately slow down or pause charging at certain percentages (e.g., holding at 80% overnight) to reduce battery stress. While beneficial for long-term battery health, they can sometimes cause confusion if you expect a constant, fast charge. Check your phone’s battery settings to see if such features are enabled. Temporarily disabling them can help determine if they are interfering with your perceived charging speed or consistency.
Hard Reset vs. Factory Reset: When and How
If software issues persist, more drastic measures might be required. A hard reset (or force restart) clears temporary memory and reboots the system without erasing any data. This is often the first step to fix persistent software glitches. However, if the problem remains, a factory reset might be necessary as a last resort. A factory reset wipes all data, apps, and settings from your phone, returning it to its original, out-of-the-box state. This can effectively eliminate any software conflicts, corrupted files, or persistent bugs that are preventing proper charging. Crucially, always back up all your data before performing a factory reset, as all information will be permanently deleted. This step should only be considered when all other troubleshooting methods have failed and you suspect a deep-seated software issue.
Advanced Troubleshooting and When to Seek Professional Help
When all DIY methods fail, it’s time to consider more advanced diagnostics or professional intervention. Some issues are beyond the scope of home repair and require specialized tools and expertise.
Diagnostic Tools and Apps
Several diagnostic tools and apps can provide deeper insights into your phone’s hardware and software health. For Android users, apps like AccuBattery or CPU-Z can monitor battery health, charging current, and temperature, helping you identify if the phone is drawing power correctly. For iPhones, connecting to a computer with iTunes or third-party tools can sometimes reveal error codes related to charging or power management. While these tools can offer valuable data, interpreting them correctly might require some technical understanding. They can help confirm if the issue is truly internal to the phone and not just a simple accessory fault.
Exploring Warranty and Repair Services
Before committing to potentially costly repairs, check your phone’s warranty status. Many manufacturers offer a one-year warranty that covers defects in materials or workmanship, which could include faulty charging components. Contact your phone’s manufacturer or your carrier to inquire about warranty coverage and repair options. If your phone is still under warranty, you might be eligible for a free repair or replacement. Be prepared to provide proof of purchase and a clear description of the problem.
Recognizing Irreparable Damage
Sometimes, the cost of repair outweighs the value of the phone, especially for older models. Severe water damage, extensive physical damage to the motherboard, or multiple component failures can render a phone economically “irreparable.” A professional technician can provide an assessment and advise whether a repair is viable or if it’s more sensible to consider replacing the device. Understanding this threshold can prevent you from spending money on a lost cause.
Data Backup Before Repair
If you decide to send your phone for professional repair, it is absolutely critical to back up all your important data beforehand. Technicians may need to perform a factory reset or replace components that could lead to data loss. Cloud services (like Google Drive, iCloud, or Dropbox) or a computer backup can ensure your photos, contacts, documents, and other vital information are safe. In some cases, if the phone is completely dead and won’t turn on, data recovery might be challenging or impossible, highlighting the importance of regular backups.
Proactive Measures: Preventing Future Charging Woes
Prevention is always better than cure. By adopting good habits and making informed choices, you can significantly reduce the likelihood of encountering charging problems in the future and extend the overall lifespan of your device.
Quality Accessories Matter
The adage “you get what you pay for” holds true for charging accessories. Cheap, uncertified cables and adapters might save a few dollars upfront but can lead to inefficient charging, damage to your phone’s charging port or battery, and even safety risks like overheating or electrical fires. Invest in original equipment manufacturer (OEM) accessories or certified third-party alternatives from reputable brands. Look for certifications like MFi (Made for iPhone/iPad) for Apple products or USB-IF certification for USB-C devices. These certifications ensure that the accessories meet safety and performance standards.
Best Practices for Charging Port Maintenance
Keeping your charging port clean is crucial. Make it a habit to periodically inspect the port for lint and debris. A quick puff of compressed air can dislodge loose particles. If you carry your phone in your pocket, consider using a phone case with a dust cover for the charging port. Avoid aggressively jamming the charging cable into the port; always ensure it’s oriented correctly before insertion. Gentle handling will prevent the delicate internal pins from bending or breaking.
Managing Battery Health Effectively
Good charging habits can significantly prolong your battery’s lifespan. Avoid regularly discharging your phone to 0% and charging it to 100%. Lithium-ion batteries generally prefer being kept between 20% and 80% charge. Many phones now offer optimized charging features that automatically manage this for you; utilize them. Avoid exposing your phone to extreme temperatures, especially while charging, as heat accelerates battery degradation. If your phone gets hot while charging, remove it from its case and place it in a cooler environment.
Avoiding Extreme Temperatures
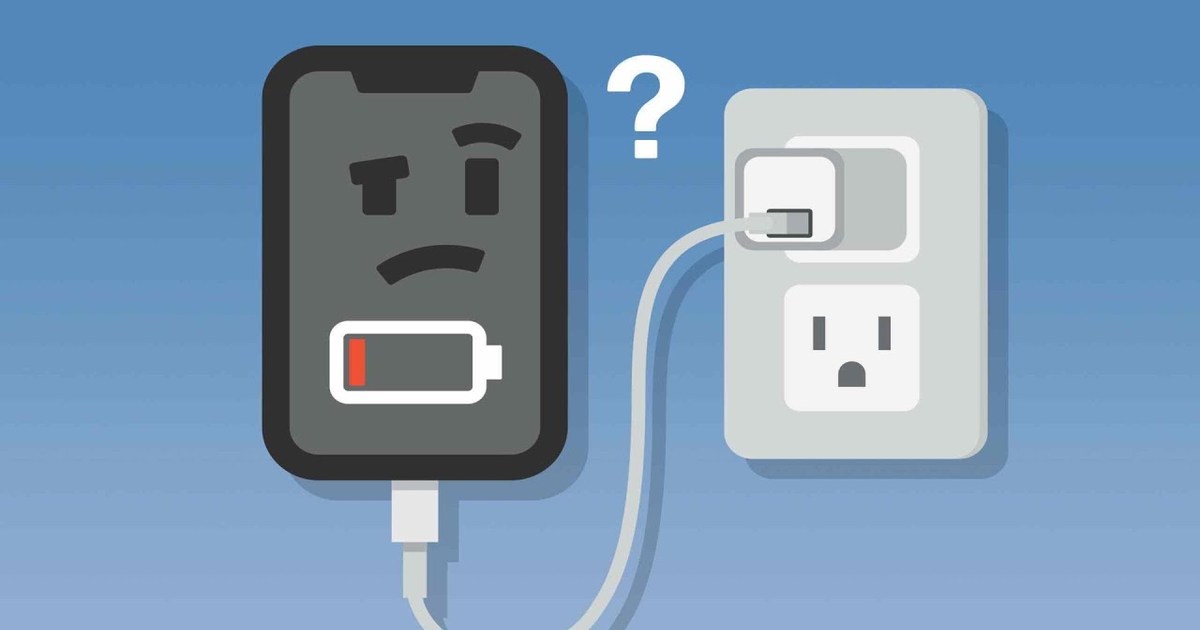
Extreme heat or cold can severely impact your phone’s battery and internal components. Charging your phone in direct sunlight, on a hot car dashboard, or near heat sources can cause the battery to overheat, leading to accelerated degradation and potential safety hazards. Conversely, charging in extremely cold conditions can also stress the battery. Always charge your phone at room temperature or in a cool, well-ventilated area. If your phone feels unusually hot during charging, unplug it immediately and let it cool down before attempting to charge again.
By understanding the common causes of charging issues and implementing these troubleshooting steps and preventative measures, you can often resolve the problem yourself and ensure your smartphone remains a reliable tool in your daily life.
aViewFromTheCave is a participant in the Amazon Services LLC Associates Program, an affiliate advertising program designed to provide a means for sites to earn advertising fees by advertising and linking to Amazon.com. Amazon, the Amazon logo, AmazonSupply, and the AmazonSupply logo are trademarks of Amazon.com, Inc. or its affiliates. As an Amazon Associate we earn affiliate commissions from qualifying purchases.