
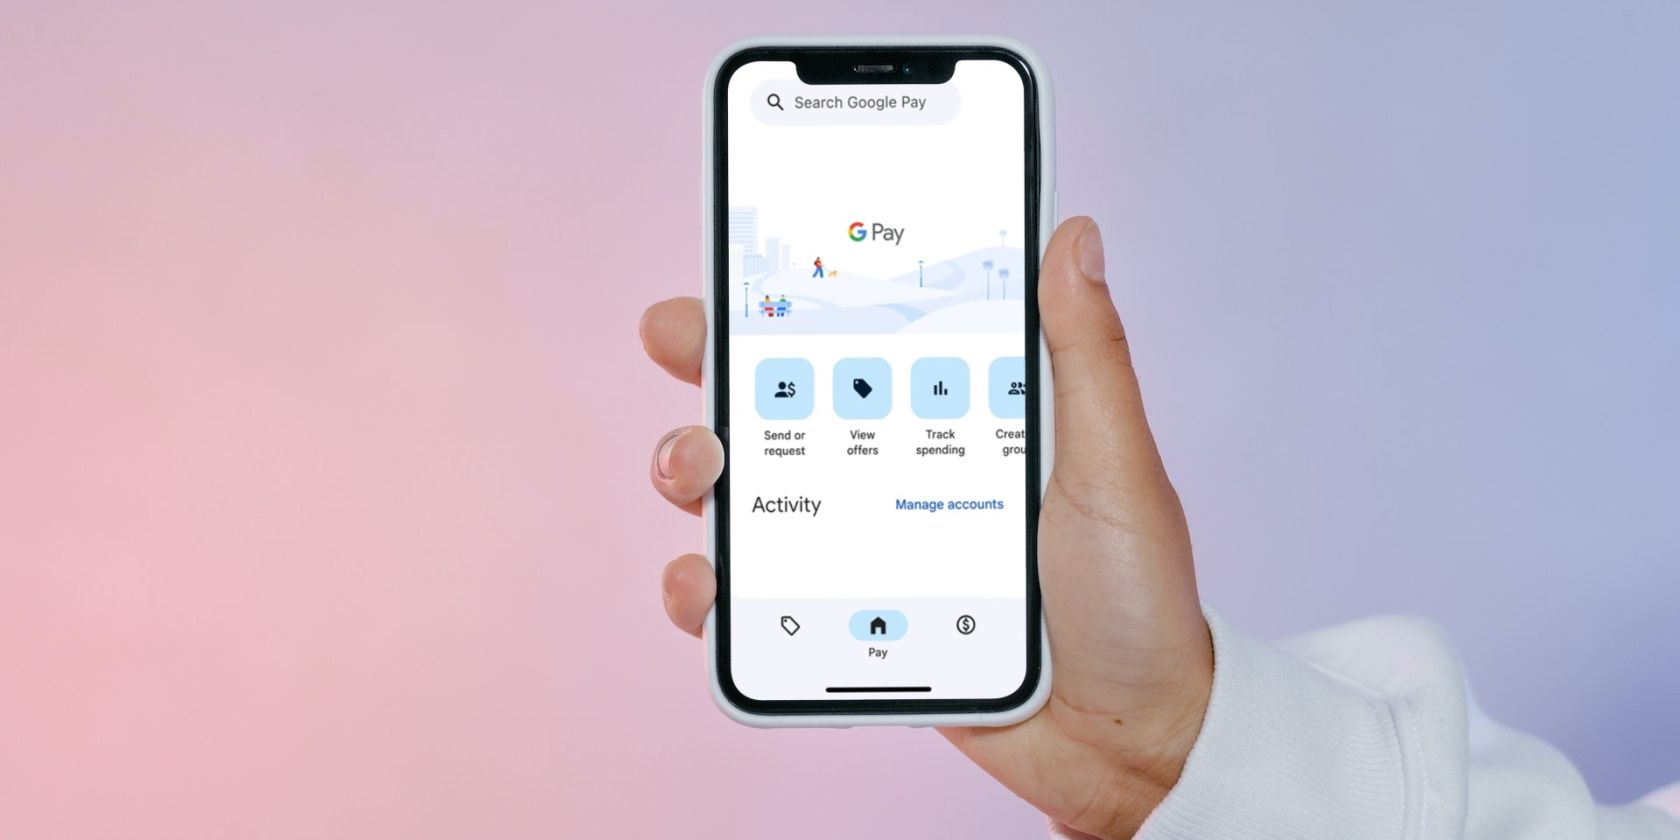
In an increasingly digital world, the convenience of mobile payments has become an indispensable part of daily life. While Apple Pay is the native and often preferred choice for iPhone users, Google Pay (now primarily referred to as Google Wallet for its broader functionality) offers a robust, cross-platform alternative that brings its own set of advantages. For iPhone users who are deeply embedded in the Google ecosystem, or simply seeking a versatile digital wallet solution, understanding how to leverage Google Pay on their device can unlock a new level of transactional efficiency and integration. This guide delves into the specifics, offering a comprehensive walkthrough for setting up, using, and optimizing Google Pay on your iPhone, ensuring you’re equipped to navigate the modern landscape of digital payments with ease and security.
The Convergence of Google Pay and iPhone: A Modern Payment Solution
The idea of using a Google-branded service on an Apple device might seem counter-intuitive to some, yet it exemplifies the open nature of the digital ecosystem where user convenience often transcends proprietary boundaries. Google Pay, reimagined as Google Wallet, is not just a payment method; it’s a comprehensive digital wallet designed to securely store payment cards, loyalty cards, transit passes, event tickets, and even digital car keys. Its availability on the iPhone signifies Google’s commitment to ubiquitous access, ensuring that users can tap into their stored credentials regardless of their chosen hardware. This cross-device compatibility is a significant draw, especially for individuals who might switch between Android and iOS devices or simply prefer Google’s interface and integrated services for certain functions.
Understanding Google Pay’s Role in the Digital Wallet Ecosystem
Google Pay, at its core, facilitates secure transactions both online and in physical stores. It acts as an intermediary, encrypting your payment information and transmitting a unique, one-time token to merchants, thus protecting your actual card details from exposure. This tokenization process is a cornerstone of modern digital security for payments. Beyond mere transactions, Google Wallet extends its utility by acting as a central repository for various digital assets. For instance, a user might store their credit card for purchases, their Starbucks loyalty card for rewards, and their airline boarding pass for travel, all within one easily accessible app. This consolidation streamlines the user experience, reducing the clutter of physical cards and minimizing the need to juggle multiple apps for different services. Its integration with other Google services, such as Gmail for tracking order confirmations or Google Maps for navigating to stores, further enhances its practical appeal, making it a powerful tool for managing daily financial and logistical interactions.
Why iPhone Users Might Choose Google Pay
While Apple Pay is seamlessly integrated into the iPhone experience, several compelling reasons might lead an iPhone user to adopt Google Pay. Firstly, for users who frequently interact with Google services – be it Gmail, Chrome, or Google Photos – Google Pay offers a familiar interface and deeper integration with their existing digital habits. The unified experience across devices, for instance, means that a payment card added on an Android tablet can instantly be available on an iPhone without re-entering details. Secondly, Google Pay supports a broader range of banks and card types globally than some other platforms, potentially offering greater flexibility for international travelers or those with less common financial institutions. Thirdly, its robust loyalty program integration can be a significant benefit, allowing users to consolidate numerous store cards and earn rewards without presenting physical cards. Finally, for developers and businesses, Google Pay offers a widely adopted payment API, making it a popular choice for in-app and online payment options. Choosing Google Pay isn’t about replacing Apple Pay entirely for many; it’s about complementing it, offering a secondary, versatile, and often familiar payment option that caters to specific needs or preferences within the user’s broader digital ecosystem.
Setting Up Google Pay on Your iPhone: A Step-by-Step Guide
Getting started with Google Pay on your iPhone is a straightforward process, designed to be intuitive and secure. The initial setup involves downloading the app, adding your payment methods, and configuring security settings to ensure your financial information is protected. It leverages the iPhone’s security features while maintaining Google’s robust backend infrastructure, creating a secure bridge between the two ecosystems.
Downloading and Installing the Google Wallet App
The first step is to acquire the Google Wallet app from the Apple App Store. Search for “Google Wallet” and ensure you download the official application published by Google LLC. Once found, tap “Get” and authenticate with Face ID, Touch ID, or your Apple ID password to download and install. Upon opening the app for the first time, you’ll be prompted to sign in with your Google Account. If you have multiple Google Accounts, choose the one you wish to associate with your Google Pay profile. This account will serve as the central hub for your payment methods, transaction history, and loyalty programs. It’s crucial to use a Google account that is secure and regularly monitored, as it will be linked to your financial transactions.
Adding Payment Methods: Cards, Loyalty Programs, and More
With the app installed and your Google Account logged in, the next step is to add your payment methods. Tap the “+” button, usually located at the bottom right or center of the screen, to begin.
- Credit or Debit Cards: You’ll be given the option to “Add a payment card.” You can either use your iPhone’s camera to scan your card details automatically or manually enter the card number, expiration date, and CVV. After entering the details, Google Wallet will likely require you to verify the card. This often involves a small temporary charge to your account, a verification code sent via SMS to your phone number linked with your bank, or through your bank’s mobile app. This step is a critical security measure to ensure you are the legitimate cardholder.
- Loyalty Programs, Transit Passes, and Tickets: Google Wallet isn’t just for payments. You can also add loyalty cards from various merchants, transit passes (if supported in your region), and event tickets. Look for options like “Add a loyalty program,” “Add a transit pass,” or “Add a pass.” For loyalty programs, you can often scan the barcode of your physical card or enter the membership number manually. Many digital tickets and passes can be imported directly from emails or other apps that support Google Wallet integration.
Configuring Default Settings and Security Preferences
Once your cards and passes are added, it’s wise to review and configure your Google Pay settings.
Within the Google Wallet app, navigate to the settings menu (often represented by a gear icon or through your profile picture). Here, you can:
- Set a Default Card: If you have multiple payment cards, you can designate one as your default for quicker transactions. This card will be automatically selected for payments unless you choose otherwise.
- Manage Notifications: Control whether you receive notifications for transactions, offers, or other Google Pay alerts.
- Privacy Settings: Review and adjust data collection preferences. Google provides options to manage your personalized payment experiences and transaction data.
- Security: Ensure your iPhone’s biometric authentication (Face ID or Touch ID) is enabled for Google Wallet. While Google Wallet itself has its own security protocols, leveraging the iPhone’s native biometric security adds an extra layer of protection, requiring your fingerprint or face scan for higher-value transactions or app access. This multi-layered security approach ensures that even if your phone is lost or stolen, your payment information remains protected.
Making Payments with Google Pay on Your iPhone
With Google Pay successfully set up on your iPhone, you’re ready to start making secure and convenient payments. The process is largely intuitive, designed to mimic the ease of traditional card payments while adding the benefits of digital security.
In-Store Purchases with NFC (Contactless Payments)
To make a payment at a physical store that accepts contactless payments (look for the contactless payment symbol, which looks like a Wi-Fi signal turned on its side), follow these steps:
- Unlock Your iPhone: For security, your iPhone needs to be unlocked.
- Open Google Wallet: Launch the Google Wallet app. You might want to have it open before you get to the register, or simply open it when prompted.
- Select Card (if necessary): If you have a default card set, it will automatically be displayed. If you wish to use a different card, swipe through your added cards to select the desired one.
- Authenticate: Hold your iPhone near the payment terminal. For transactions, especially those above a certain threshold (which varies by region), you might be prompted to authenticate the payment using Face ID, Touch ID, or your device passcode. This ensures that only you can authorize transactions.
- Complete Transaction: Once authenticated, the terminal will process the payment. You’ll usually see a confirmation on your phone screen and hear a beep from the terminal indicating a successful transaction.
It’s important to note that while iPhone supports NFC for Apple Pay, Google Pay on iPhone primarily relies on QR codes or in-app payments for certain functionalities, as Apple restricts third-party access to the iPhone’s NFC chip for payment terminals. However, for many modern terminals that also support Google Pay via QR or specific prompts, the process is streamlined. For general NFC tap-to-pay functionality at the terminal, Apple Pay is the primary method on iPhone. Google Pay shines more brightly for online/in-app purchases and where merchants specifically support its QR-based or linked payment methods. Correction for clarity based on typical usage: While Google Pay exists on iPhone, its NFC tap-to-pay functionality at a physical terminal is not directly analogous to Apple Pay’s NFC functionality. Apple restricts NFC access for payment to Apple Pay on iPhones. Google Pay on iPhone is primarily used for online purchases, in-app purchases, loyalty cards, event tickets, and peer-to-peer payments, not usually for tapping at a physical terminal with NFC like Apple Pay. This is a crucial technical distinction.
Let’s rephrase this section to be accurate:
In-Store Purchases and Supported Methods
While Apple restricts third-party access to the iPhone’s NFC chip for payment terminals, limiting Google Pay’s direct “tap-to-pay” functionality at most physical point-of-sale systems, Google Pay on iPhone can still be used for in-store purchases through alternative methods where supported:
- QR Code Payments: Some merchants, especially in regions with high Google Pay adoption, may offer QR codes at checkout. You can scan these codes using the Google Wallet app’s built-in scanner to complete transactions.
- Merchant-Specific App Integrations: If a merchant has their own mobile app that integrates with Google Pay, you can often make purchases directly within their app and select Google Pay as your payment method.
- Loyalty and Reward Programs: Even if you can’t pay with Google Pay via NFC at a terminal, you can still use the Google Wallet app to quickly access and display loyalty cards or gift cards stored within it, which the cashier can then scan.
For direct tap-to-pay at NFC terminals, iPhone users will primarily rely on Apple Pay. Google Pay on iPhone excels more in its role as a comprehensive digital wallet for online payments, peer-to-peer transfers, and storing various digital passes.

Online and In-App Transactions
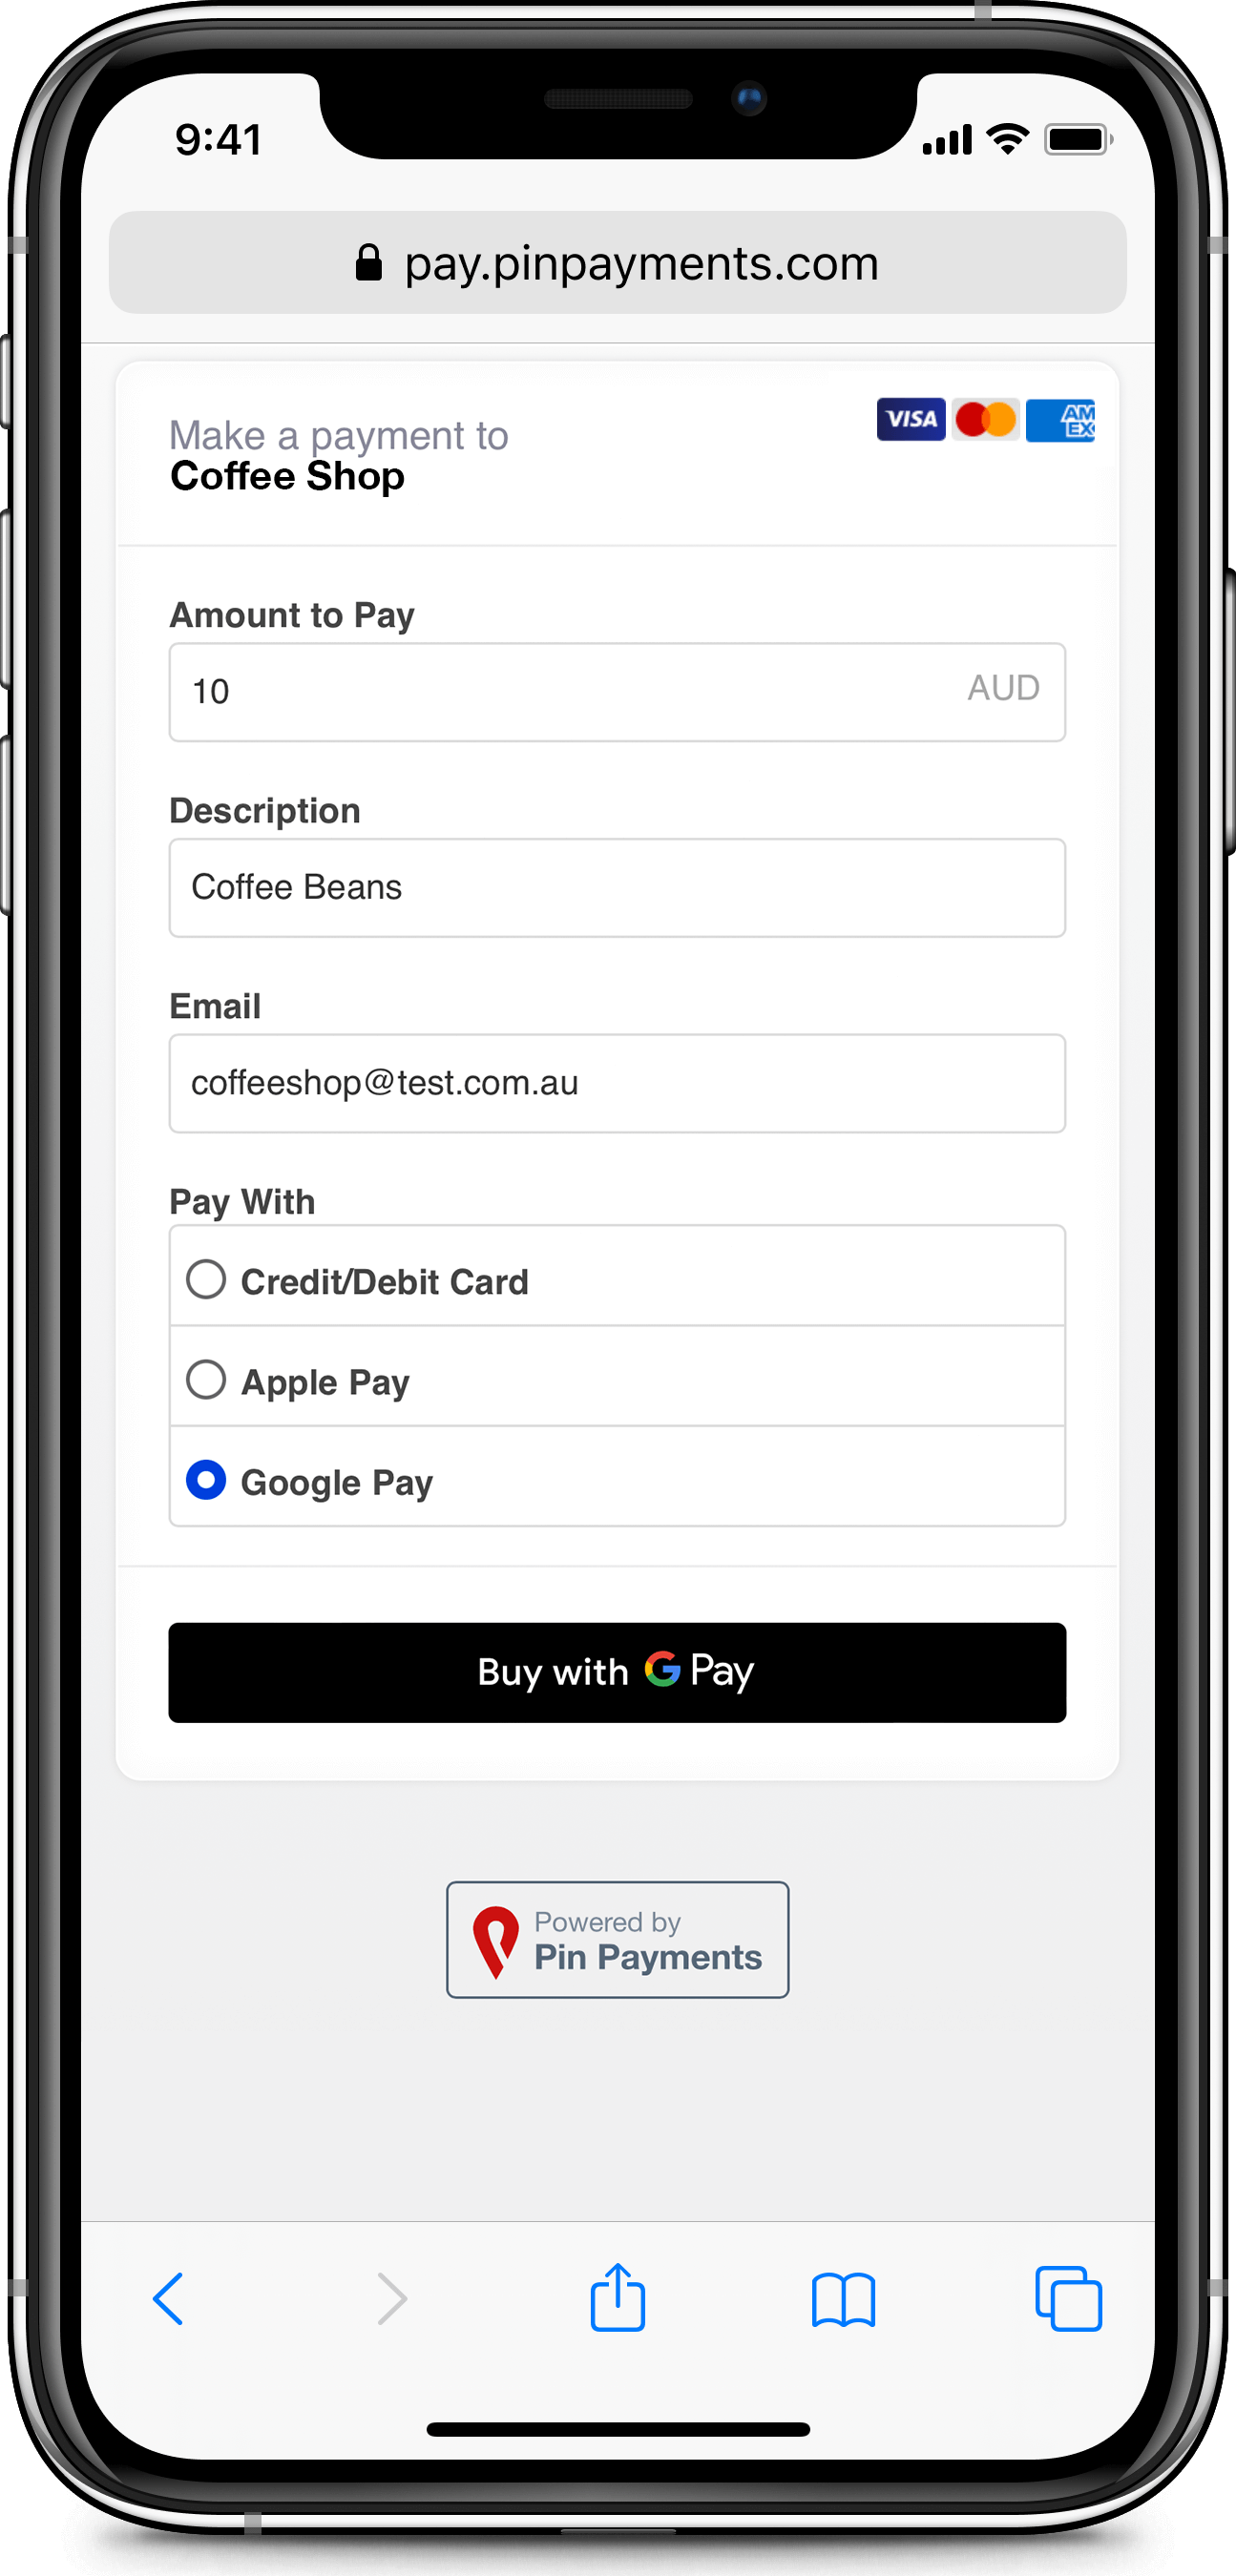
Where Google Pay truly shines on the iPhone is in its ability to facilitate seamless online and in-app transactions. When you’re shopping online or using an app that supports Google Pay, you’ll often see a “Pay with Google Pay” button at checkout.
- Select Google Pay: Tap the Google Pay button.
- Choose Card: A secure pop-up window will appear, displaying your stored payment cards. Select the card you wish to use.
- Authenticate: You may be asked to authenticate the payment using your Google Account password, Face ID, or Touch ID, depending on your device and browser settings.
- Confirm: Once authenticated, the payment details are securely sent, and your transaction is complete.
This method offers a significant advantage by eliminating the need to manually enter card details, shipping addresses, and billing information every time you make an online purchase, drastically speeding up the checkout process and reducing the risk of typos.
Sending and Receiving Money with Friends and Family
Google Pay also facilitates peer-to-peer payments, allowing you to send and receive money with friends and family directly from your iPhone. This feature is integrated into the Google Pay app and often connected to your bank account or debit card.
- Initiate Transfer: Open the Google Wallet app and look for options like “Send money” or “Pay or request money.”
- Select Contact or Enter Details: You can send money to someone by selecting them from your contacts (if their Google Pay profile is linked) or by entering their phone number or email address.
- Enter Amount and Note: Specify the amount you wish to send and optionally add a note for the transaction.
- Choose Payment Source: Select the debit card or linked bank account from which the money should be drawn.
- Confirm: Review the details and confirm the transaction. The money is typically transferred instantly or within minutes, depending on the linked bank accounts.
Receiving money is just as simple; recipients usually receive a notification and the funds are deposited into their linked bank account or Google Pay balance.
Advanced Features and Troubleshooting Tips
Beyond basic transactions, Google Pay offers several advanced features that enhance its utility as a digital wallet. Understanding these can help you get the most out of the app, while familiarity with common troubleshooting steps can resolve minor hiccups quickly.
Managing Multiple Cards and Loyalty Programs
One of the key strengths of Google Wallet is its ability to centralize numerous digital assets.
- Reordering Cards: You can easily reorder your payment cards within the app, placing your most frequently used cards at the forefront for quicker access. Simply tap and hold a card, then drag it to your preferred position.
- Updating Card Information: When a card expires or if you receive a new one with updated details, you can edit its information directly within the app without removing and re-adding it.
- Archiving Old Cards/Passes: For cards or passes you no longer use, you can archive or remove them from your wallet to keep it clutter-free. This helps maintain security and organizational efficiency.
- Auto-Apply Loyalty: For some loyalty programs, Google Pay can automatically apply your rewards during checkout when recognized by the merchant, saving you the step of presenting the loyalty card separately.
Understanding Transaction History and Receipts
Google Pay provides a detailed record of your transactions, which is invaluable for budgeting, expense tracking, and dispute resolution.
- Detailed History: Within the Google Wallet app, you can view a comprehensive list of all your purchases, money sent, and money received. Each transaction typically includes the merchant name, date, amount, and the card used.
- Digital Receipts: For many online purchases made through Google Pay, or even some in-store ones, digital receipts are automatically stored and linked to the transaction record, providing an easy way to access proof of purchase without relying on physical paper receipts. This feature is particularly useful for returns or warranty claims.
- Exporting Data: While not directly an export feature, the transaction history can be a good reference for manual budgeting or reconciliation with bank statements.
Common Issues and Solutions for Google Pay on iPhone
Even with robust technology, issues can sometimes arise. Here are solutions for common Google Pay problems on iPhone:
- Payment Declined:
- Check Card Details: Ensure the card details (number, expiration, CVV) are correct and the card is active.
- Insufficient Funds: Verify that you have sufficient funds or credit limit.
- Bank Restrictions: Your bank might have security measures that flag certain transactions. Contact your bank to approve the transaction.
- Merchant Issues: The merchant’s terminal or online system might be experiencing issues. Try again later or use a different payment method.
- App Crashing or Freezing:
- Restart App: Force close the Google Wallet app and reopen it.
- Update App: Ensure the app is updated to the latest version from the App Store.
- Restart iPhone: A simple device restart can often resolve minor software glitches.
- Cannot Add Card:
- Verify Bank Support: Not all banks or card types are supported by Google Pay. Check Google Pay’s official list of supported institutions.
- Internet Connection: Ensure you have a stable internet connection during card setup.
- Verification Issues: If the bank verification step fails, contact your bank directly.
Security Best Practices for Mobile Payments
While Google Pay employs advanced security features, users also play a crucial role in maintaining the security of their digital wallet.
- Secure Your iPhone: Always use a strong passcode, Face ID, or Touch ID to lock your iPhone. This is the first line of defense.
- Strong Google Account Security: Enable Two-Factor Authentication (2FA) for your Google Account. This adds an extra layer of security, making it significantly harder for unauthorized users to access your account even if they have your password.
- Monitor Transactions: Regularly check your Google Pay transaction history and bank statements for any suspicious activity. Report unauthorized transactions immediately to your bank and Google.
- Public Wi-Fi Caution: Avoid making sensitive transactions (like adding cards or large payments) over unsecured public Wi-Fi networks, which can be vulnerable to eavesdropping.
- Phishing Awareness: Be wary of suspicious emails or messages claiming to be from Google Pay or your bank asking for personal or financial information. Google will never ask for your full card number or password via email.
The Future of Mobile Payments and Google Pay’s Position
The landscape of mobile payments is continuously evolving, driven by technological advancements and shifting consumer preferences. Google Pay, or Google Wallet, is strategically positioned to remain a key player in this dynamic environment, offering a robust and adaptable solution that caters to a broad spectrum of users, including those on Apple’s ecosystem. Its ongoing development reflects a commitment to innovation, integration, and security, paving the way for even more seamless digital interactions in the future.
Google Pay vs. Apple Pay: A Feature Comparison
For an iPhone user, the choice between Google Pay and Apple Pay often comes down to ecosystem preference and specific feature requirements.
- Integration: Apple Pay is deeply integrated into the iOS ecosystem, offering unparalleled ease of use with NFC tap-to-pay at terminals, often requiring just a double-press of the side button. Google Pay, while excellent for online and in-app payments on iPhone, has limitations with NFC for terminal payments due to Apple’s restrictions.
- Cross-Platform: Google Pay’s significant advantage is its cross-platform compatibility. A user can switch between an Android phone and an iPhone, or use a tablet, and still access their Google Wallet with the same cards and passes. Apple Pay is exclusively an Apple ecosystem feature.
- Loyalty & Passes: Both platforms excel here, but Google Pay often boasts broader support for niche loyalty programs and digital passes due to its wider adoption across various operating systems and its open APIs for developers.
- Peer-to-Peer: Both offer peer-to-peer payment options (Apple Pay Cash via Messages, Google Pay’s direct send/receive feature).
- Overall Ecosystem: For users heavily invested in Google’s suite of services (Gmail, Maps, Calendar), Google Pay often provides a more unified and contextual experience for managing finances and digital credentials.
Ultimately, many iPhone users might find value in using both, leveraging Apple Pay for its convenient in-store NFC capabilities and Google Pay for its cross-platform consistency, extensive pass management, and online payment ubiquity.
Emerging Trends in Contactless Payments and Digital Wallets
The future of mobile payments points towards even greater integration and functionality. We can expect:
- Enhanced Biometrics: Further development in biometric authentication, including more sophisticated facial recognition and potentially under-display fingerprint sensors, will make transactions even more secure and seamless.
- Digital Identity Integration: Digital wallets are likely to evolve beyond just payments, incorporating digital IDs, health records, and other crucial personal credentials, truly becoming a “wallet” in the modern sense.
- Cryptocurrency Integration: While nascent, the integration of cryptocurrencies into mainstream digital wallets like Google Pay and Apple Pay is a strong possibility, offering new avenues for transactions and asset management.
- Augmented Reality (AR) Payments: Imagine scanning products with your phone and making payments directly through AR overlays, enhancing the shopping experience.
- Greater Merchant Adoption: As the technology becomes more prevalent, even small businesses are adopting digital payment solutions, broadening the reach and utility of platforms like Google Pay.
Google Pay’s Ecosystem Beyond Payments
Google’s vision for Google Wallet extends far beyond simple monetary transactions. It’s a central component of a larger interconnected ecosystem designed to simplify and streamline various aspects of digital life.
- Smart Home Integration: Future iterations could see Google Pay integrated with smart home devices, allowing for seamless purchases of digital content or services directly from connected screens or voice assistants.
- Transportation: Already, Google Pay supports transit cards in many major cities, facilitating easy commuting. This will likely expand, encompassing ride-sharing payments and even digital car keys.
- Health and Wellness: While sensitive, there’s potential for integration with health apps for managing gym memberships, doctor co-pays, or even securely storing vaccination records.
- Rewards and Offers: Google continues to innovate in linking loyalty programs and personalized offers directly within the wallet, turning it into a smart assistant for saving money and maximizing rewards.
By continually evolving and integrating with Google’s vast array of services, Google Pay aims to be an indispensable tool for managing the digital aspects of daily life, offering convenience, security, and an expansive set of features that resonate with a global user base, including the millions of iPhone users seeking a powerful, versatile digital wallet solution. The synergy between Google’s robust software and Apple’s powerful hardware creates a user experience that is both efficient and forward-looking, demonstrating that in the tech world, collaboration can often lead to the most impactful innovations for the end-user.
aViewFromTheCave is a participant in the Amazon Services LLC Associates Program, an affiliate advertising program designed to provide a means for sites to earn advertising fees by advertising and linking to Amazon.com. Amazon, the Amazon logo, AmazonSupply, and the AmazonSupply logo are trademarks of Amazon.com, Inc. or its affiliates. As an Amazon Associate we earn affiliate commissions from qualifying purchases.