In the dynamic world of PC gaming, content creation, and high-performance computing, the graphics card stands as the undisputed workhorse of visual processing. NVIDIA’s GeForce series, a dominant force in this arena, powers millions of desktops and laptops worldwide. However, the sheer power of your GeForce GPU isn’t static; it evolves, improves, and adapts through one critical component: its drivers. Keeping these drivers up-to-date isn’t merely a recommendation; it’s an essential practice for unlocking peak performance, ensuring system stability, and accessing the latest features and optimizations.
This comprehensive guide delves into the nuances of updating your NVIDIA GeForce drivers, explaining why it’s crucial, outlining the various methods available, and providing step-by-step instructions to ensure a smooth, effective upgrade process. Whether you’re a hardcore gamer chasing every frame per second, a creative professional demanding flawless rendering, or simply a user seeking a stable and efficient computing experience, understanding driver management is paramount.
The Indispensable Role of Graphics Drivers
Graphics drivers are the critical software interface that allows your operating system and applications to communicate effectively with your GeForce graphics card. They are the translators, ensuring that complex instructions from games or design software are correctly interpreted and executed by the GPU’s hardware. Without up-to-date drivers, your graphics card can’t perform at its best, often leading to a subpar user experience.
Why Driver Updates Matter for Gaming and Performance
For gamers, the benefits of timely driver updates are immediately apparent. New game titles often arrive with unique graphical demands and rendering techniques. NVIDIA’s “Game Ready” drivers are specifically engineered and rigorously tested in collaboration with game developers to ensure the best possible day-one gaming experience. These updates frequently include:
- Performance Optimizations: Fine-tuning the GPU’s interaction with specific game engines can lead to significant frame rate improvements and smoother gameplay, especially in new or graphically intensive titles.
- Bug Fixes and Stability Enhancements: Drivers can address graphical glitches, crashes, stuttering, and other stability issues that might manifest in games or other graphically intensive applications.
- Support for New Technologies: As NVIDIA introduces features like DLSS (Deep Learning Super Sampling), Ray Tracing, or Reflex Low Latency technology, driver updates are essential to enable and optimize these advancements on compatible hardware.
- Security Patches: Like any software, drivers can have vulnerabilities. Updates often include security patches to protect your system.
Beyond gaming, professional users involved in video editing, 3D rendering, CAD, and graphic design also benefit immensely. NVIDIA’s “Studio” drivers, for instance, are designed for stability and performance in leading creative applications, ensuring reliable operation and accelerated workflows.
Understanding NVIDIA GeForce Drivers: Game Ready vs. Studio
NVIDIA offers two primary branches of drivers for its GeForce GPUs, each tailored to specific user needs:
- Game Ready Drivers (GRD): These are the default and most frequently updated drivers, released in conjunction with major new game releases or significant game patches. They prioritize optimizing performance and stability for the latest gaming titles. If gaming is your primary use case, GRDs are your go-to.
- Studio Drivers (SD): These drivers are designed for creators and professionals. They undergo extensive testing with top creative applications like Adobe Creative Suite, Blender, DaVinci Resolve, and Autodesk products to provide maximum stability and performance for these specific workloads. While less frequent in updates than GRDs, their focus on stability for demanding creative tasks makes them ideal for content creators.
You can typically switch between these driver types via the NVIDIA GeForce Experience application or during a manual installation process, depending on your current needs.
Preparing for Your Driver Update Journey
Before embarking on the update process, a few preparatory steps can help ensure a smooth, hassle-free experience. These steps involve understanding your system and taking proactive measures.
Identifying Your GeForce Graphics Card
Knowing the exact model of your GeForce graphics card is fundamental. This information is crucial for downloading the correct driver from NVIDIA’s website if you opt for the manual method. You can find this information in several ways:
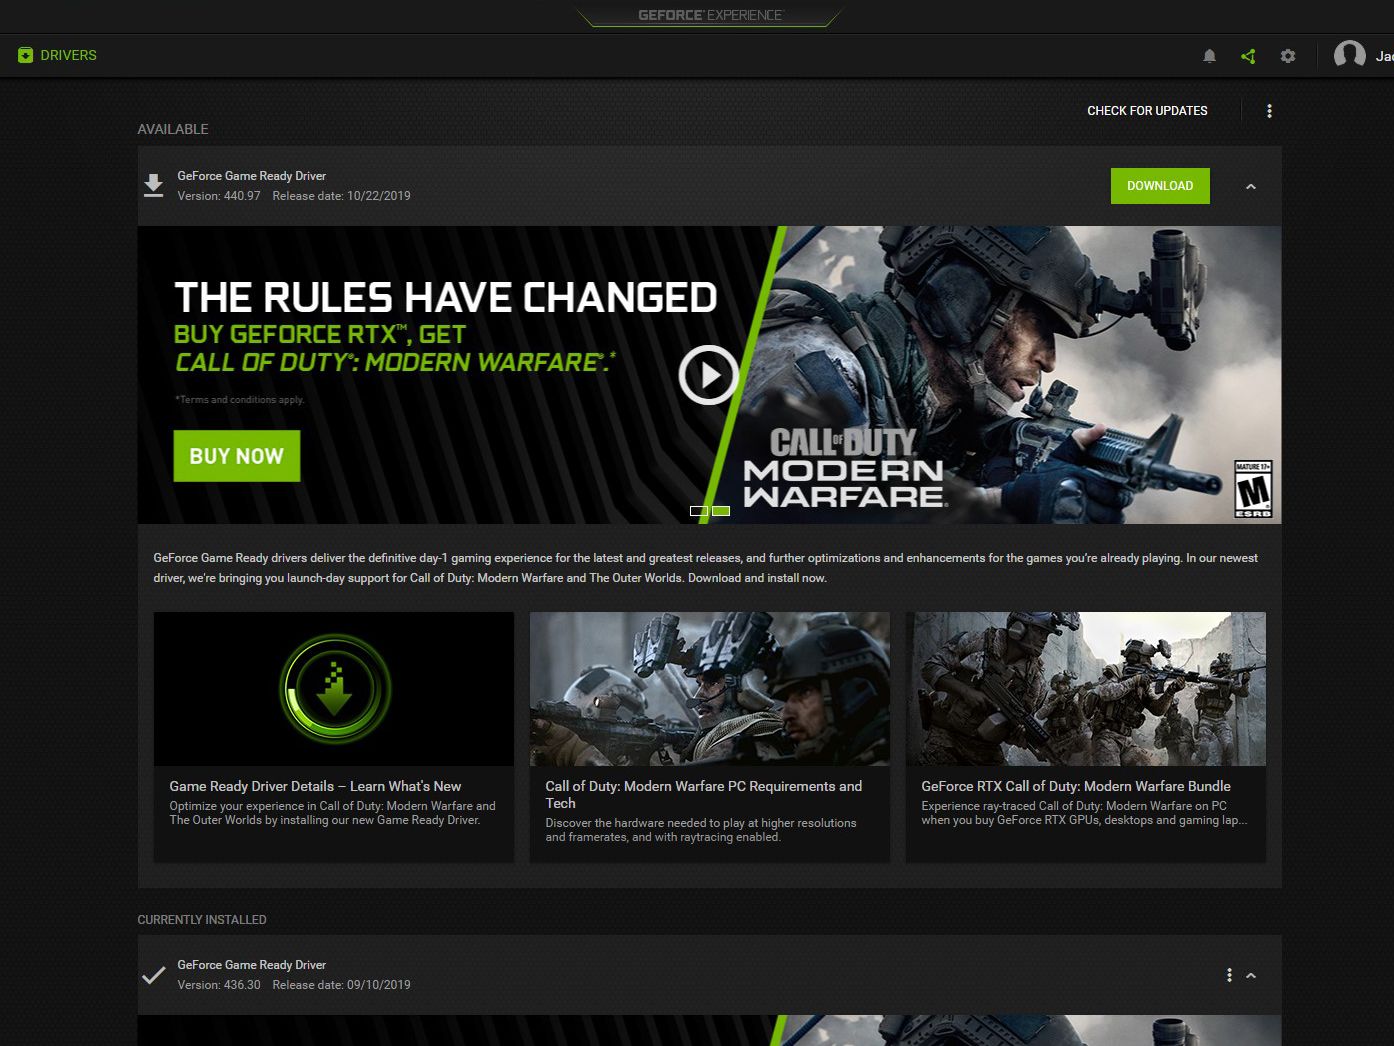
- NVIDIA GeForce Experience: If installed, launch the application, navigate to the “Drivers” or “My Rig” tab, and your GPU model will be displayed.
- Device Manager (Windows): Right-click the Start button, select “Device Manager,” expand “Display adapters,” and your NVIDIA GPU model will be listed.
- System Information (Windows): Type
msinfo32into the Windows search bar and press Enter. Under “Components” -> “Display,” you’ll find details about your graphics card.
Backing Up Your System (Optional but Recommended)
While driver updates are generally safe, creating a system restore point or a full backup before a major driver update is a wise precautionary measure. In the rare event of a conflict or an unforeseen issue, a restore point allows you to revert your system to a stable state before the update.
- Create a System Restore Point (Windows): Search for “Create a restore point” in Windows, open the System Properties window, navigate to the “System Protection” tab, and click “Create…”. Follow the prompts.
Choosing Your Update Method: GeForce Experience vs. Manual
You have two primary avenues for updating your GeForce drivers: through the NVIDIA GeForce Experience application or by manually downloading and installing the drivers from NVIDIA’s website. Each method has its advantages:
- GeForce Experience: This is the most straightforward and recommended method for most users. It automates the detection, download, and installation process, often requiring minimal user intervention. It also offers game optimization features and shadowplay recording.
- Manual Download: This method provides more control, allowing you to choose specific driver types (Game Ready vs. Studio), perform a clean installation, or troubleshoot issues more directly. It’s often preferred by advanced users or when GeForce Experience isn’t installed or functioning correctly.
Step-by-Step: Updating Drivers Through GeForce Experience
For the vast majority of GeForce users, NVIDIA GeForce Experience is the easiest and most efficient way to keep drivers current. This application not only manages driver updates but also optimizes game settings and provides access to various NVIDIA features.
Installing GeForce Experience (If Not Already Present)
If you don’t already have GeForce Experience installed, you can download it directly from NVIDIA’s official website.
- Navigate to
www.nvidia.com/geforce-experience/. - Click the “Download Now” button.
- Run the downloaded installer and follow the on-screen instructions. This will install both GeForce Experience and the latest recommended Game Ready driver for your system.
Navigating to the Drivers Tab
Once GeForce Experience is installed and launched:
- Open the NVIDIA GeForce Experience application.
- On the top menu bar, click on the “Drivers” tab.
- GeForce Experience will automatically check for available driver updates. If a new driver is available, you will see a notification and details about the new version.
Performing the Express or Custom Installation
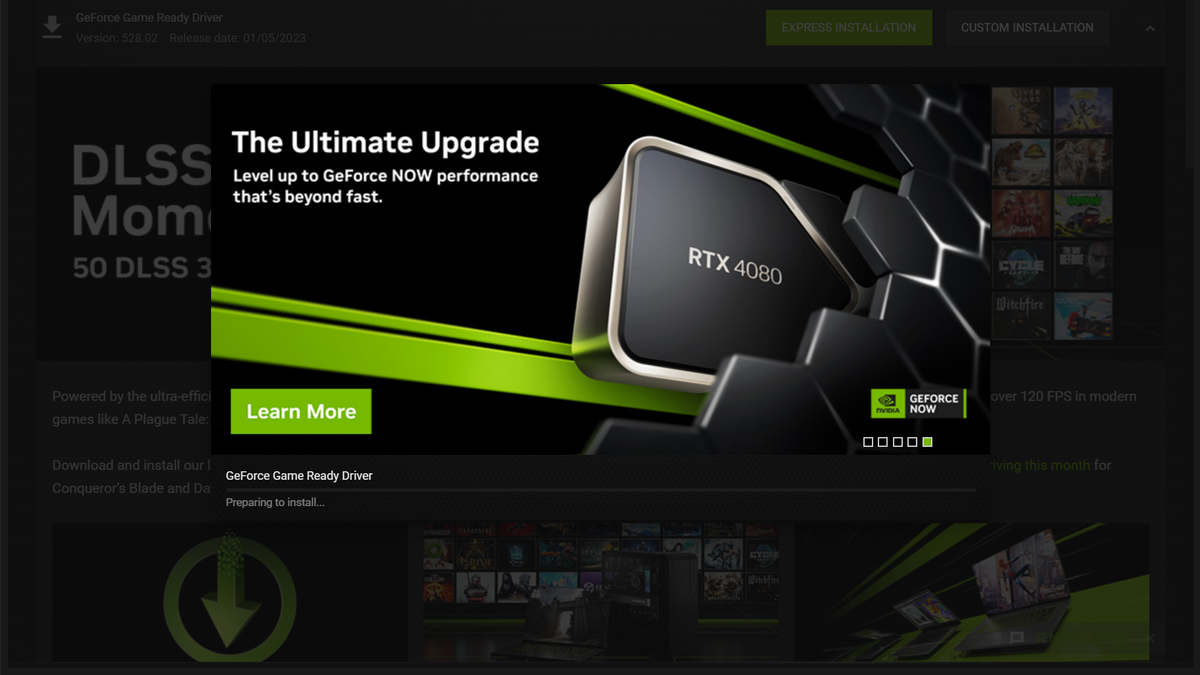
When an update is detected, you’ll typically be presented with two installation options:
-
Express Installation (Recommended for most users):
- Click the “Download” button next to the available driver.
- Once the download is complete, click “Express Installation.”
- The installer will automatically remove previous driver files, install the new ones, and restart your display drivers. Your screen may flicker or go black momentarily during this process.
- Follow any final prompts, and the update will be complete.
-
Custom Installation (For advanced users wanting more control):
- Click the “Download” button.
- Once downloaded, click “Custom Installation.”
- This option allows you to select which components to install (e.g., PhysX, HD Audio Driver, GeForce Experience itself). You can typically leave these as default unless you have specific reasons not to install certain components.
- Crucially, check the box for “Perform a clean installation.” This option uninstalls previous driver versions and settings completely before installing the new ones, which can help prevent conflicts and resolve long-standing issues.
- Click “Install” and follow the remaining on-screen instructions. Your screen will flicker during installation.
Manual Driver Update: A More Granular Approach
While GeForce Experience offers convenience, some users prefer the manual method for greater control, particularly when troubleshooting or needing a “clean slate” installation.
Downloading Drivers Directly from NVIDIA’s Website
- Open your web browser and navigate to NVIDIA’s official driver download page:
www.nvidia.com/drivers. - Use the “Manually find drivers” section.
- Product Type: Select “GeForce.”
- Product Series: Choose your specific GPU series (e.g., GeForce RTX 40 Series, GeForce GTX 16 Series).
- Product: Select your exact graphics card model (e.g., RTX 4080, GTX 1660 SUPER).
- Operating System: Select your version of Windows (e.g., Windows 10 64-bit, Windows 11).
- Download Type: Here, you can choose “Game Ready Driver (GRD)” or “Studio Driver (SD)” based on your primary use case.
- Language: Select your preferred language.
- Click “Search.”
- Review the search results to ensure you’re downloading the latest compatible driver. Click “Get Download.”
- Click “Download Now” to save the executable file to your computer.
The Clean Installation Option (DDU)
For the most thorough clean installation, particularly if you’ve been experiencing driver-related issues or are switching graphics card brands, using a third-party tool like Display Driver Uninstaller (DDU) is highly recommended. DDU completely removes all remnants of previous display drivers, including registry entries and files, providing a truly fresh start.
- Download DDU: Obtain DDU from a reputable source like Wagnardsoft’s guru3d page.
- Boot into Safe Mode: This is crucial for DDU to function effectively.
- Open
Settings>System>Recovery>Advanced startup>Restart now. - After restart, go to
Troubleshoot>Advanced options>Startup Settings>Restart. - Press
4orF4to enter Safe Mode.
- Open
- Run DDU:
- Extract and run DDU.
- Select “GPU” and “NVIDIA” from the dropdown menus.
- Choose the “Clean and restart” option. DDU will thoroughly clean your system and then restart it in normal mode.
- Install the New Driver: Once your PC restarts, proceed to install the driver you downloaded from NVIDIA’s website.
Installing the Downloaded Driver
After downloading the driver package (and optionally running DDU):
- Locate the downloaded
.exedriver file. - Double-click the file to launch the NVIDIA installer.
- The installer will first extract its contents.
- Agree to the NVIDIA Software License Agreement.
- You will then be presented with the “Installation options” screen.
- Select “Graphics Driver” and “NVIDIA GeForce Experience” (if you want it).
- Choose “Custom (Advanced)” for more control.
- On the next screen, check the box for “Perform a clean installation.” This will ensure a fresh installation without leftover files from previous drivers.
- Click “Next” to begin the installation.
- Your screen may flicker or go black multiple times during the installation. This is normal.
- Once the installation is complete, click “Close” or “Restart Now” if prompted. It’s often a good idea to restart your PC after a manual driver update.
Post-Update Checks and Troubleshooting
After updating your drivers, it’s wise to perform a few checks to ensure everything is working correctly. Should issues arise, there are also common troubleshooting steps to follow.
Verifying Driver Installation
To confirm your new drivers are active:
- NVIDIA Control Panel: Right-click on your desktop and select “NVIDIA Control Panel.” In the bottom-left corner, click “System Information.” The driver version will be listed.
- Device Manager: Open Device Manager, expand “Display adapters,” right-click your NVIDIA GPU, select “Properties,” and then go to the “Driver” tab. The driver version and date will be displayed.
- GeForce Experience: Open GeForce Experience, go to the “Drivers” tab. It should indicate that you have the latest driver installed.
Common Issues and Quick Fixes
Sometimes, an update might not go perfectly. Here are some common issues and their solutions:
- Black Screen/No Display: If your screen remains black after the update, restart your PC. If it persists, try booting into Safe Mode and performing a clean installation with DDU.
- Performance Issues/Stuttering: This can sometimes happen if the new driver has a bug or conflicts with existing software. Try rolling back to the previous driver (see below) or performing a clean installation with DDU.
- Game Crashes: Ensure the game itself is updated. If not, the driver might be the culprit. Again, a clean installation or rolling back could resolve it.
- NVIDIA Control Panel Missing: Reinstall the driver, ensuring you select all components, or try reinstalling GeForce Experience.
When to Roll Back Drivers
If a new driver causes more problems than it solves, rolling back to a previous, stable version is a viable option:
- Open Device Manager.
- Expand “Display adapters” and right-click your NVIDIA GPU.
- Select “Properties.”
- Go to the “Driver” tab.
- Click the “Roll Back Driver” button (if available and not greyed out).
- Follow the prompts. Your system will revert to the previously installed driver version.
If the “Roll Back Driver” option is not available, you’ll need to manually download an older, known-stable driver version from NVIDIA’s driver archive on their website and perform a custom clean installation of that specific version.

Maintaining Optimal Performance
Regular driver updates are crucial, but they are just one piece of the puzzle for optimal system performance. Complementary practices include:
- Keeping Windows Updated: Ensure your operating system is up-to-date, as Windows updates often include compatibility fixes and performance enhancements.
- Monitoring Temperatures: Overheating can throttle GPU performance. Ensure good airflow and clean dust from your PC.
- Regular System Maintenance: Periodically clean temporary files, defragment HDDs (not SSDs), and run antivirus scans.
- Considering a Clean OS Install: Every few years, a fresh installation of Windows can dramatically improve overall system responsiveness and stability, especially after many software installations and removals.
By diligently managing your NVIDIA GeForce drivers and integrating these best practices, you can ensure your system continues to deliver the top-tier performance and stability you expect from your powerful hardware.
aViewFromTheCave is a participant in the Amazon Services LLC Associates Program, an affiliate advertising program designed to provide a means for sites to earn advertising fees by advertising and linking to Amazon.com. Amazon, the Amazon logo, AmazonSupply, and the AmazonSupply logo are trademarks of Amazon.com, Inc. or its affiliates. As an Amazon Associate we earn affiliate commissions from qualifying purchases.