
Keeping your NVIDIA graphics drivers current is not merely a recommendation; it is a critical practice for anyone seeking optimal performance, enhanced stability, and robust security from their PC. Whether you’re a hardcore gamer striving for the highest frame rates, a creative professional demanding flawless rendering, or a casual user seeking a smooth computing experience, updated drivers are the foundation. This comprehensive guide will navigate you through the various methods and best practices for updating your NVIDIA drivers, ensuring your system operates at its peak potential.
The Imperative of Keeping Your NVIDIA Drivers Current
The graphics processing unit (GPU) is the heart of your computer’s visual output, and its performance is intrinsically linked to the drivers that facilitate communication between the hardware and the operating system. Neglecting driver updates can lead to a host of issues, from performance bottlenecks to security vulnerabilities.
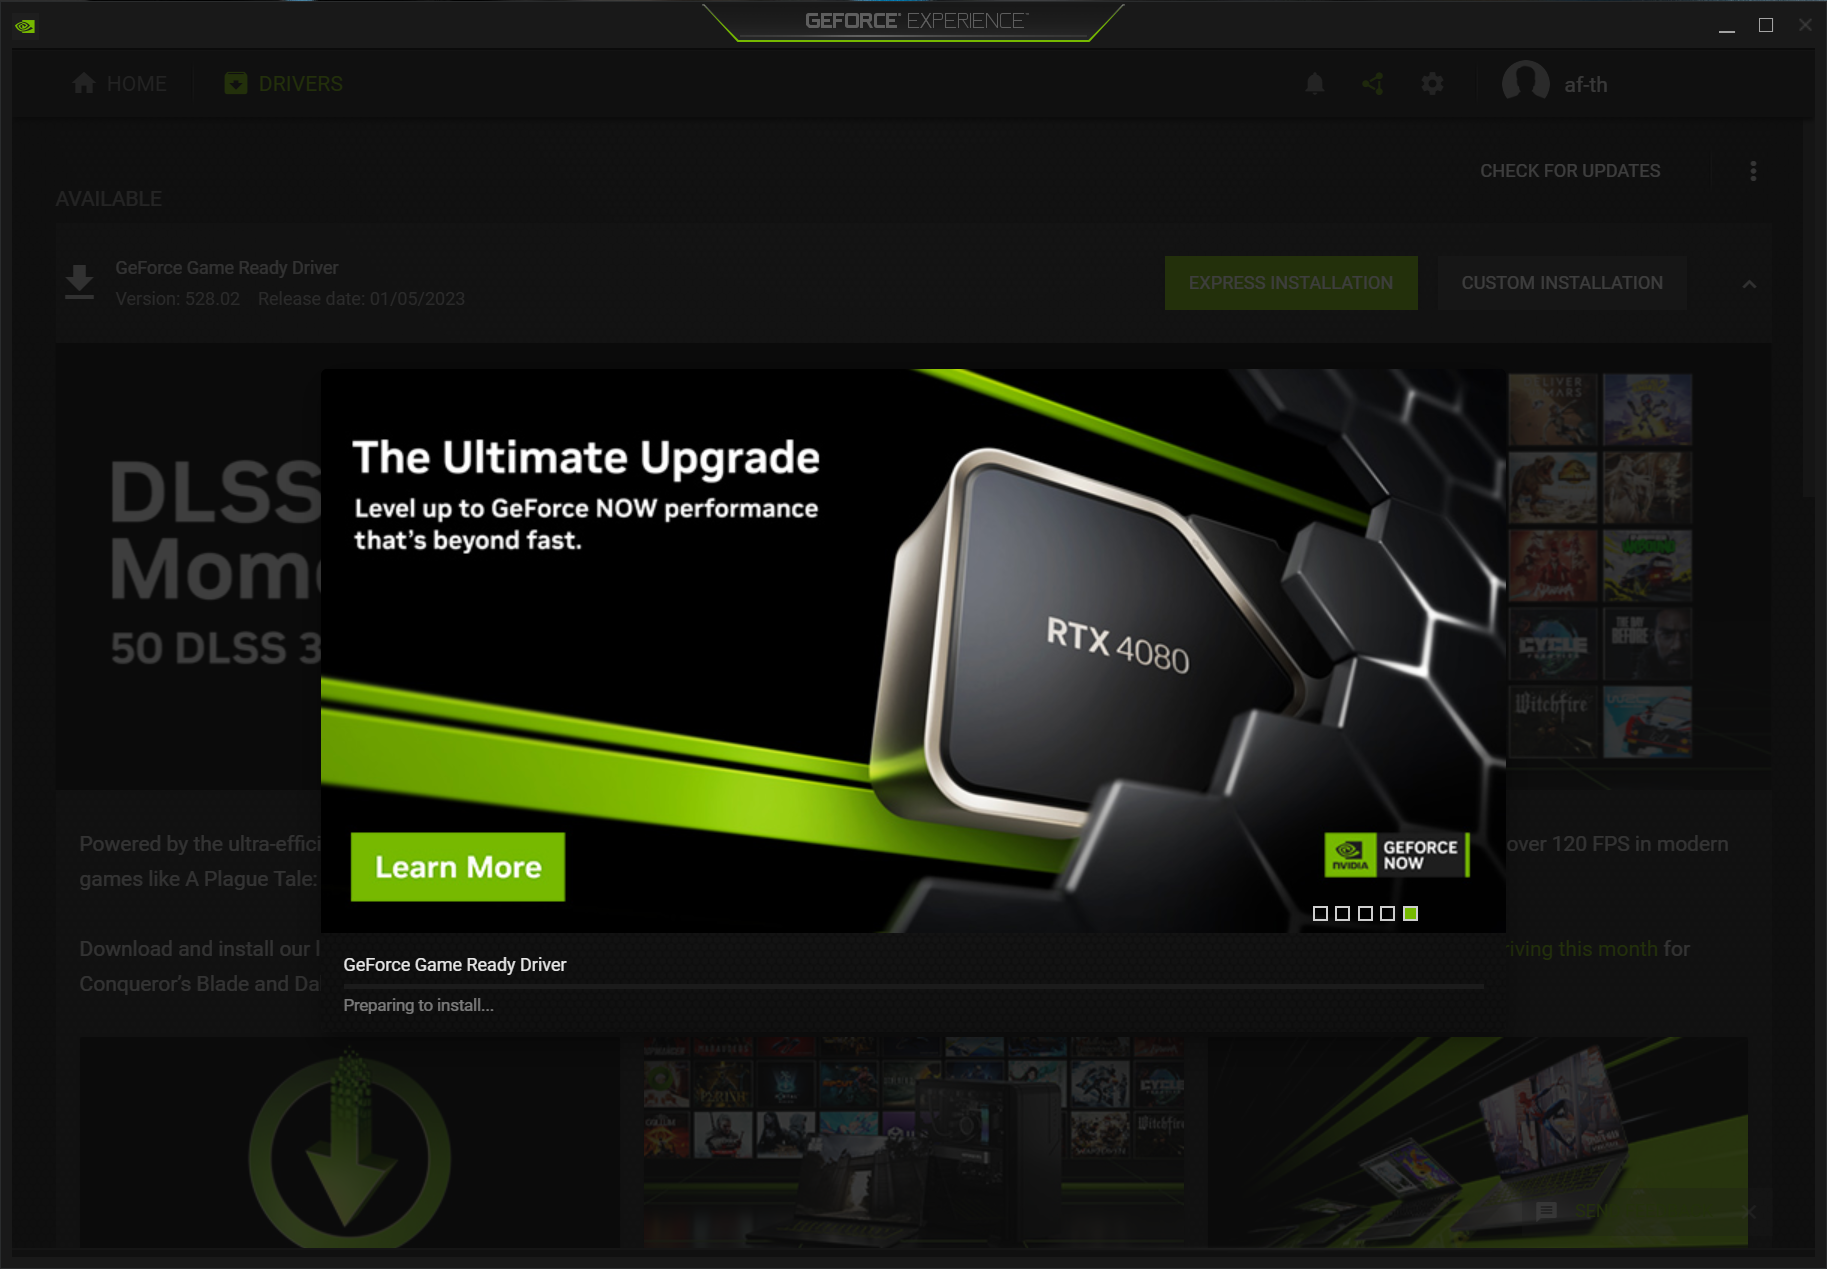
Unlocking Peak Performance and Graphics Fidelity
NVIDIA consistently releases new “Game Ready Drivers” that are specifically optimized for the latest game titles and software applications. These drivers are engineered to deliver significant performance improvements, often translating to higher frame rates, reduced stuttering, and a more fluid gaming experience. Beyond gaming, updated drivers can also provide crucial performance enhancements for professional applications in video editing, 3D rendering, CAD, and scientific simulations, harnessing the full computational power of your NVIDIA GPU. These optimizations aren’t just about raw speed; they also refine graphics rendering, leading to more accurate colors, enhanced textures, and more realistic visual effects.
Bolstering System Stability and Security
Outdated drivers are a frequent culprit behind system instability, leading to crashes, freezes, and various graphical glitches. Each new driver release typically includes numerous bug fixes that address these issues, improving overall system reliability. Furthermore, software vulnerabilities can exist within older driver versions, posing potential security risks. NVIDIA, like all major hardware manufacturers, issues security patches through driver updates to safeguard your system against potential exploits, malware, and unauthorized access to your hardware. Updating regularly is a proactive step in maintaining a secure computing environment.
Ensuring Compatibility and Future-Proofing
As operating systems evolve and new software is introduced, graphics drivers must keep pace to ensure seamless compatibility. Newer drivers often include support for new display technologies, API updates (like DirectX and Vulkan), and operating system features. By keeping your drivers current, you ensure that your NVIDIA GPU remains compatible with the latest software and hardware standards, preventing functionality issues and extending the relevance of your existing hardware investment. This proactive approach helps to “future-proof” your system against potential compatibility roadblocks.
Essential Preparations Before Commencing an Update
Before you embark on the driver update process, a few preparatory steps can save you significant headaches should anything go awry. These precautions ensure a smoother update experience and provide a safety net for your system.
Identifying Your Current Driver Version and GPU
Knowing your current driver version is useful for troubleshooting and verifying the update’s success. You can typically find this information via the NVIDIA Control Panel (right-click on your desktop, select “NVIDIA Control Panel,” then “Help” > “System Information”). Alternatively, open the Device Manager (search in Windows Start Menu), expand “Display adapters,” right-click your NVIDIA GPU, select “Properties,” and then go to the “Driver” tab. Make a note of your GPU model as well; this is crucial for downloading the correct driver package.
System Backup and Restore Points
While driver updates are generally safe, unforeseen issues can occasionally occur. Creating a system restore point is a highly recommended safety measure. This allows you to revert your system to its previous state if the new driver causes instability. Search for “Create a restore point” in the Windows Start Menu and follow the prompts. For critical data, consider a full system backup to an external drive.
Sufficient System Resources
Ensure you have adequate free disk space for the driver download and installation, which can sometimes be several gigabytes. A stable, high-speed internet connection is also vital for downloading large driver packages without interruption. Close unnecessary applications to free up system resources during the installation process.
Disabling Antivirus (Optional but Recommended)
In some rare instances, antivirus software can interfere with the driver installation process, misidentifying parts of the installer as malicious. Temporarily disabling your antivirus program before starting the update can prevent potential conflicts. Remember to re-enable it immediately after the update is complete.
Comprehensive Methods for NVIDIA Driver Updates
NVIDIA offers several straightforward methods to update your graphics drivers, catering to different user preferences and technical requirements. Understanding each method will allow you to choose the most suitable approach for your situation.
The Streamlined Approach: NVIDIA GeForce Experience
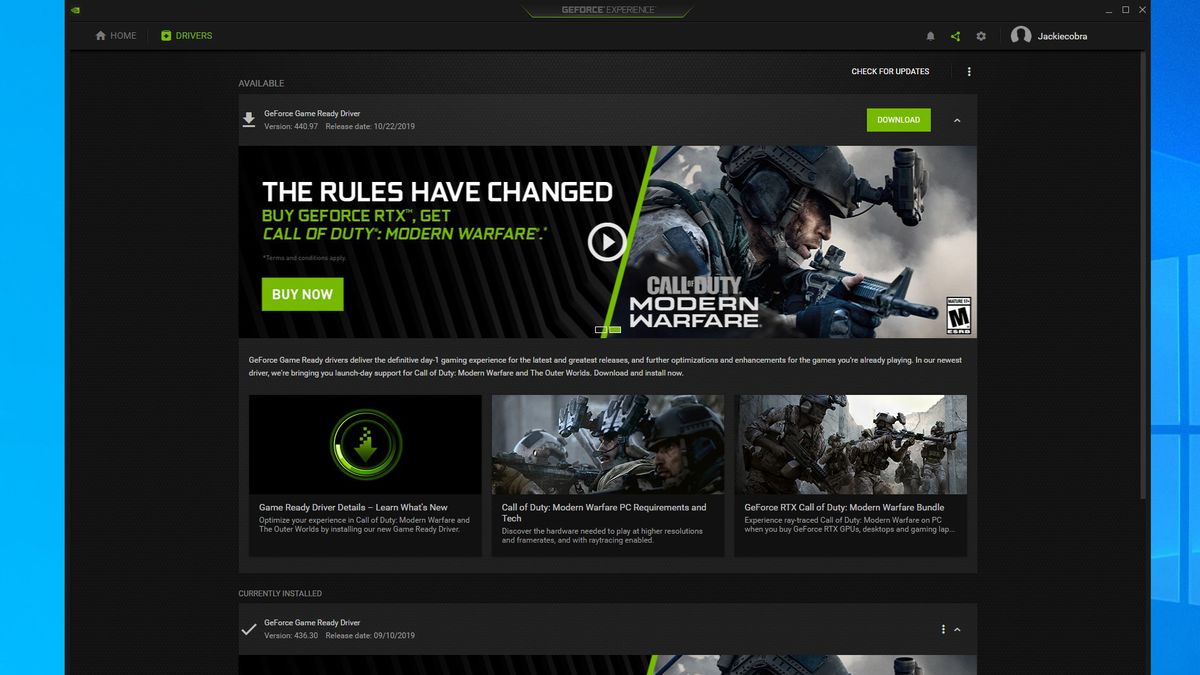
For most users, NVIDIA GeForce Experience (GFE) is the simplest and most convenient way to keep drivers updated. GFE is a utility designed to optimize your game settings and provide one-click driver updates.
- Launch GeForce Experience: Open the application from your desktop shortcut or by searching for it in the Windows Start Menu.
- Navigate to the Drivers Tab: Once GFE is open, click on the “Drivers” tab in the top left corner.
- Check for Updates: GFE will automatically check for available updates. If a new driver is available, it will display a notification and the option to download.
- Download and Install: Click “Download.” Once the download is complete, you’ll be presented with two installation options:
- Express Installation: This is the default and recommended option for most users. It automatically installs the new driver and components, overwriting the previous version.
- Custom Installation: This option allows you to select specific components to install and offers a “Perform a clean installation” checkbox. A clean installation is highly recommended, as it removes all previous driver files and settings, preventing potential conflicts. If you experience issues or want to ensure a fresh start, choose this option.
- Follow On-Screen Prompts: The installer will guide you through the rest of the process, which may involve a temporary black screen or flickering as the new display driver is loaded. Your system may restart automatically after the installation.
The Precision Method: Manual Download from NVIDIA’s Official Website
Manually downloading drivers from NVIDIA’s website is ideal for users who prefer more control, need a specific driver version, or are troubleshooting issues where GFE might not be functioning correctly.
- Visit the NVIDIA Driver Download Page: Open your web browser and go to NVIDIA’s official driver download page (often
www.nvidia.com/drivers). - Identify Your Product: Use the dropdown menus to select your:
- Product Type: (e.g., GeForce, Quadro, NVS)
- Product Series: (e.g., GeForce RTX 40 Series, GeForce GTX 16 Series)
- Product: (your specific GPU model, e.g., RTX 4090, GTX 1660 Ti)
- Operating System: (e.g., Windows 11, Windows 10 64-bit)
- Download Type: (Game Ready Driver (GRD) for gaming, Studio Driver (SD) for creative professionals).
- Search and Download: Click “Search” and then “Download” for the latest recommended driver.
- Run the Installer: Once the download is complete, locate the
.exefile (usually in your Downloads folder) and double-click it to start the installation. - Extraction and Agreement: The installer will first extract its contents and then prompt you to agree to NVIDIA’s software license.
- Installation Options: Similar to GFE, you’ll be given “Express” and “Custom” installation options. Again, for a robust update, “Custom” followed by selecting the “Perform a clean installation” checkbox is often the preferred choice. A clean installation ensures all old driver traces are removed, minimizing potential conflicts.
- Select Components: In a custom installation, you can deselect components you don’t need (e.g., if you don’t use 3D Vision). Ensure “Graphics Driver” is always selected.
- Complete Installation: Follow the remaining prompts. Your screen may flicker or go black momentarily. A system restart may be required.
The Basic Method: Updating via Windows Device Manager
While possible, using the Windows Device Manager to update NVIDIA drivers is generally less effective than NVIDIA’s dedicated tools. This method often fetches older, Microsoft-validated drivers rather than the latest, performance-optimized versions from NVIDIA.
- Open Device Manager: Right-click the Start button and select “Device Manager.”
- Locate Display Adapters: Expand the “Display adapters” section.
- Update Driver: Right-click on your NVIDIA graphics card and select “Update driver.”
- Search Automatically: Choose “Search automatically for updated driver software.” Windows will attempt to find and install a driver. If it finds one, follow the prompts. If it states you already have the best driver, it means it hasn’t found a newer one through its database, which doesn’t preclude a newer driver being available directly from NVIDIA.
Troubleshooting Common Driver Update Complications
Even with careful preparation, driver updates can sometimes lead to unexpected issues. Knowing how to diagnose and resolve these common problems is crucial for restoring system stability.
Installation Failures and Error Messages
If the driver installation fails or presents an error message, consider the following:
- Re-download the driver: The downloaded file might be corrupted. Try downloading it again.
- Run as administrator: Right-click the installer executable and choose “Run as administrator.”
- Temporarily disable antivirus/firewall: As mentioned, these can sometimes interfere.
- Check system compatibility: Ensure you downloaded the correct driver for your specific GPU and operating system.
Display Issues Post-Update
After an update, you might experience a black screen, low resolution, flickering, or artifacts.
- Restart your PC: A simple restart can often resolve temporary display glitches.
- Boot into Safe Mode: If the display is unusable, restart your PC and enter Safe Mode (often by pressing F8 or Shift+Restart). From Safe Mode, you can try to roll back the driver or perform a clean installation.
- Roll back the driver: In Device Manager, go to your NVIDIA GPU’s properties, then the “Driver” tab, and click “Roll Back Driver.” This reverts to the previous stable driver.
Performance Degradation or Instability
Occasionally, a new driver might introduce performance issues or system instability for certain configurations.
- Roll back the driver: If issues arise immediately after an update, rolling back is often the fastest solution.
- Check NVIDIA forums: Monitor NVIDIA’s official forums or community sites. If it’s a widespread issue, NVIDIA might release a hotfix or advise on known incompatibilities.
- Wait for the next update: Sometimes, the best solution is to wait for the next official driver release, which often includes fixes for newly discovered bugs.
The Power of a Clean Installation with DDU
For stubborn driver issues, particularly after multiple updates or conflicting installations, a “clean” installation is the most effective remedy. While NVIDIA’s installer offers a “Perform a clean installation” option, Display Driver Uninstaller (DDU) takes it a step further. DDU is a free utility that thoroughly removes all traces of previous graphics drivers (NVIDIA, AMD, Intel) from your system, creating a pristine environment for a fresh driver installation.
- Download DDU: Obtain the latest version of Display Driver Uninstaller from a reputable source (e.g., Guru3D).
- Download Latest NVIDIA Driver: Download the desired NVIDIA driver package from NVIDIA’s website but do not install it yet.
- Boot into Safe Mode: Disconnect your internet connection to prevent Windows Update from automatically installing drivers. Restart your PC and boot into Windows Safe Mode. This is crucial for DDU to operate effectively without interference from active drivers.
- Run DDU: Launch DDU, select “GPU” and “NVIDIA.” Choose “Clean and restart” or “Clean and DO NOT restart” (if you need to do other things before installing).
- Install New Driver: After DDU completes and your system restarts (or you manually restart after choosing “DO NOT restart”), install the freshly downloaded NVIDIA driver package. Use the “Custom” installation option and select “Perform a clean installation” for good measure.
Verifying and Optimizing Your Updated NVIDIA Environment
Once your NVIDIA drivers are successfully updated, a few final steps can help you confirm the installation and fine-tune your system for the best possible experience.
Confirming Successful Installation
To verify that the new driver version is active, open the NVIDIA Control Panel and navigate to “Help” > “System Information.” The driver version listed should match the one you just installed. You can also check via GeForce Experience in the “Drivers” tab, which will show your current driver version.
Post-Update Performance Benchmarking and Testing
Load a demanding game or a graphics-intensive application you frequently use. Pay attention to frame rates, load times, and overall responsiveness. If you use benchmarking software (e.g., 3DMark, FurMark), run a quick test to compare results with previous benchmarks. This helps confirm that the update has indeed delivered expected performance improvements and stability.
Customizing NVIDIA Control Panel Settings
After updating, take some time to explore the NVIDIA Control Panel. You can adjust various settings to optimize performance or visual quality for specific games or applications. Common adjustments include managing 3D settings (e.g., Anisotropic Filtering, Antialiasing, Vertical Sync), setting preferred refresh rates, and configuring multiple displays. Experimenting with these settings can further enhance your computing experience.

Establishing a Regular Update Schedule
While there’s no strict rule, a good practice is to check for NVIDIA driver updates monthly or whenever a new “Game Ready Driver” is released for a title you play. Balancing the need for the latest features and bug fixes with system stability is key. If your system is stable, you don’t necessarily need to update with every single release, but avoiding updates for extended periods is not advisable. GeForce Experience can provide automated notifications, simplifying this process.
By diligently following these guidelines, you can ensure your NVIDIA graphics card consistently delivers peak performance, maintains robust security, and remains compatible with the ever-evolving landscape of technology.
aViewFromTheCave is a participant in the Amazon Services LLC Associates Program, an affiliate advertising program designed to provide a means for sites to earn advertising fees by advertising and linking to Amazon.com. Amazon, the Amazon logo, AmazonSupply, and the AmazonSupply logo are trademarks of Amazon.com, Inc. or its affiliates. As an Amazon Associate we earn affiliate commissions from qualifying purchases.