
The landscape of live streaming has undergone a profound transformation, driven significantly by advancements in graphics processing unit (GPU) technology. At the forefront of this evolution stands Nvidia, whose latest generations of GeForce RTX graphics cards have become indispensable tools for content creators worldwide. Far beyond merely rendering cutting-edge games, these GPUs offer a sophisticated suite of hardware and software features designed specifically to elevate the streaming experience, ensuring high-quality output with minimal impact on gaming performance. Understanding how to harness the full potential of your new Nvidia GPU is key to unlocking a seamless and professional broadcast.
The Technological Edge: Nvidia’s Streaming Innovations
Nvidia’s commitment to streamers is deeply embedded in its hardware and software ecosystem. For years, the dedicated NVENC (Nvidia Encoder) chip has been the backbone of this strategy, offering a superior alternative to CPU-based encoding. Unlike software encoders that can heavily tax your CPU, NVENC offloads the video encoding process to a specialized chip on the GPU, freeing up your CPU to handle game logic and other system processes. This innovation allows streamers to maintain higher in-game frame rates and overall system responsiveness, even while broadcasting at demanding resolutions and bitrates.
With each new generation, NVENC has seen significant improvements. The Turing architecture (RTX 20 series) introduced a new generation NVENC that dramatically improved quality and efficiency, nearly matching the x264 ‘fast’ preset while using significantly less power. The Ampere architecture (RTX 30 series) further refined this, and the Ada Lovelace architecture (RTX 40 series) brought the groundbreaking AV1 encoder. AV1 offers superior compression efficiency compared to H.264 (AVC) and H.265 (HEVC), meaning you can achieve higher visual quality at lower bitrates, or maintain existing quality with even less bandwidth, which is a massive advantage for both streamers and viewers, especially those with limited internet speeds. Leveraging these dedicated hardware encoders is the cornerstone of effective streaming with your new Nvidia GPU.
Setting Up Your Core Streaming Environment
Getting started with your new Nvidia GPU for streaming involves more than just plugging in the hardware; it requires strategic software configuration. The combination of powerful hardware and optimized software is what truly unlocks an exceptional streaming experience.
Choosing and Optimizing Your Nvidia GPU
While any modern Nvidia GPU with NVENC can stream, the higher-end RTX cards (e.g., RTX 3070, 3080, 4070, 4080, 4090) provide more headroom for simultaneously running demanding games at high settings and streaming at high quality. These cards often feature more powerful NVENC implementations and more video memory (VRAM), which can be crucial for streaming at 1440p or 4K resolutions.
Crucially, always ensure your Nvidia drivers are up to date. Nvidia regularly releases “Game Ready Drivers” that include optimizations not just for the latest games, but also for streaming applications and the NVENC encoder itself. Performing a clean installation of new drivers can prevent potential conflicts and ensure optimal performance. Access these through GeForce Experience or directly from the Nvidia website.
Configuring Your Streaming Software
The vast majority of streamers use OBS Studio or Streamlabs Desktop. Both applications offer robust support for Nvidia’s encoding technologies.
In OBS Studio:
- Navigate to Settings > Output.
- Set “Output Mode” to “Advanced.”
- Under the “Streaming” tab, locate the “Encoder” dropdown.
- Select “NVIDIA NVENC H.264 (new)” or “NVIDIA NVENC AV1 (new)” if you have an RTX 40 series GPU. The “(new)” distinction indicates the latest generation encoder, offering superior quality and efficiency.
- Rate Control: For most streamers,
CBR(Constant Bitrate) is recommended for stable stream quality. - Bitrate: This is critical. For 1080p60 streaming, 4500-6000 kbps for H.264 is common. For AV1, you can often achieve similar or better quality at lower bitrates (e.g., 3000-4500 kbps), though platform support for AV1 is still evolving. Always ensure your upload speed can comfortably handle your chosen bitrate.
- Keyframe Interval: Set to
2seconds, as recommended by most streaming platforms. - Preset: Start with “Quality” or “Max Quality.” If you experience performance issues or dropped frames, you can incrementally reduce this to “Performance” or “Low-Latency Quality.” NVENC is so efficient that even “Performance” presets often look excellent.
- Profile: Set to
High. - Look-ahead & Psycho Visual Tuning: Keep these enabled for optimal quality, especially Psycho Visual Tuning, which intelligently allocates bits to areas of the frame where they matter most visually.
- GPU: Set to
0(default) unless you have a multi-GPU setup. - Max B-frames: Set to
2.
In Streamlabs Desktop: The settings are largely similar, found under Settings > Output > Streaming. Select the appropriate NVENC encoder and configure bitrate, preset, and other options following the guidelines above.
It’s crucial to experiment with these settings based on your internet speed, CPU, and GPU capabilities. Running a test stream to an unlisted YouTube video or using Twitch’s Inspector tool can help you fine-tune your configuration without going live.
Leveraging Nvidia’s Dedicated Streaming Tools
Beyond the core NVENC encoder, Nvidia offers a powerful suite of software tools designed to enhance your streaming workflow and production quality. These applications seamlessly integrate with your Nvidia GPU to provide features that previously required dedicated hardware or significant CPU resources.
Nvidia Broadcast App
The Nvidia Broadcast app is a game-changer for streamers, transforming your space into a professional studio with AI-powered enhancements. It harnesses the AI capabilities of your RTX GPU to deliver three core functionalities:
- Noise Removal: This feature uses AI to eliminate distracting background noise from your microphone input. Whether it’s keyboard clicks, fan hum, or pets, Broadcast intelligently filters it out, leaving your voice crystal clear. This is an evolution of the earlier RTX Voice technology.
- Virtual Background: Remove your background entirely, replace it with a game scene, image, or even blur it, all without the need for a physical green screen. The AI accurately distinguishes you from your surroundings, providing a clean composite.
- Auto Frame: Keep yourself centered in the shot, even if you move around. The AI tracks your head and automatically adjusts the webcam feed to ensure you remain perfectly framed.
Integrating Broadcast with OBS/Streamlabs:
- Install and open the Nvidia Broadcast app.
- Configure your desired noise removal, virtual background, and auto frame settings within the app, selecting your physical microphone and webcam as input devices.
- In OBS Studio or Streamlabs Desktop, add a new Audio Input Capture (for your microphone) and select “Speakers (NVIDIA Broadcast)” as the device.
- For your webcam, add a new Video Capture Device and select “NVIDIA Broadcast” as the device.
This creates a virtual microphone and webcam that stream the AI-processed output from the Broadcast app into your streaming software, allowing you to use these powerful features without impacting your game performance.
GeForce Experience
While not as central to live streaming as OBS or Broadcast, GeForce Experience (GFE) still plays a role, especially for recording and optimizing games.
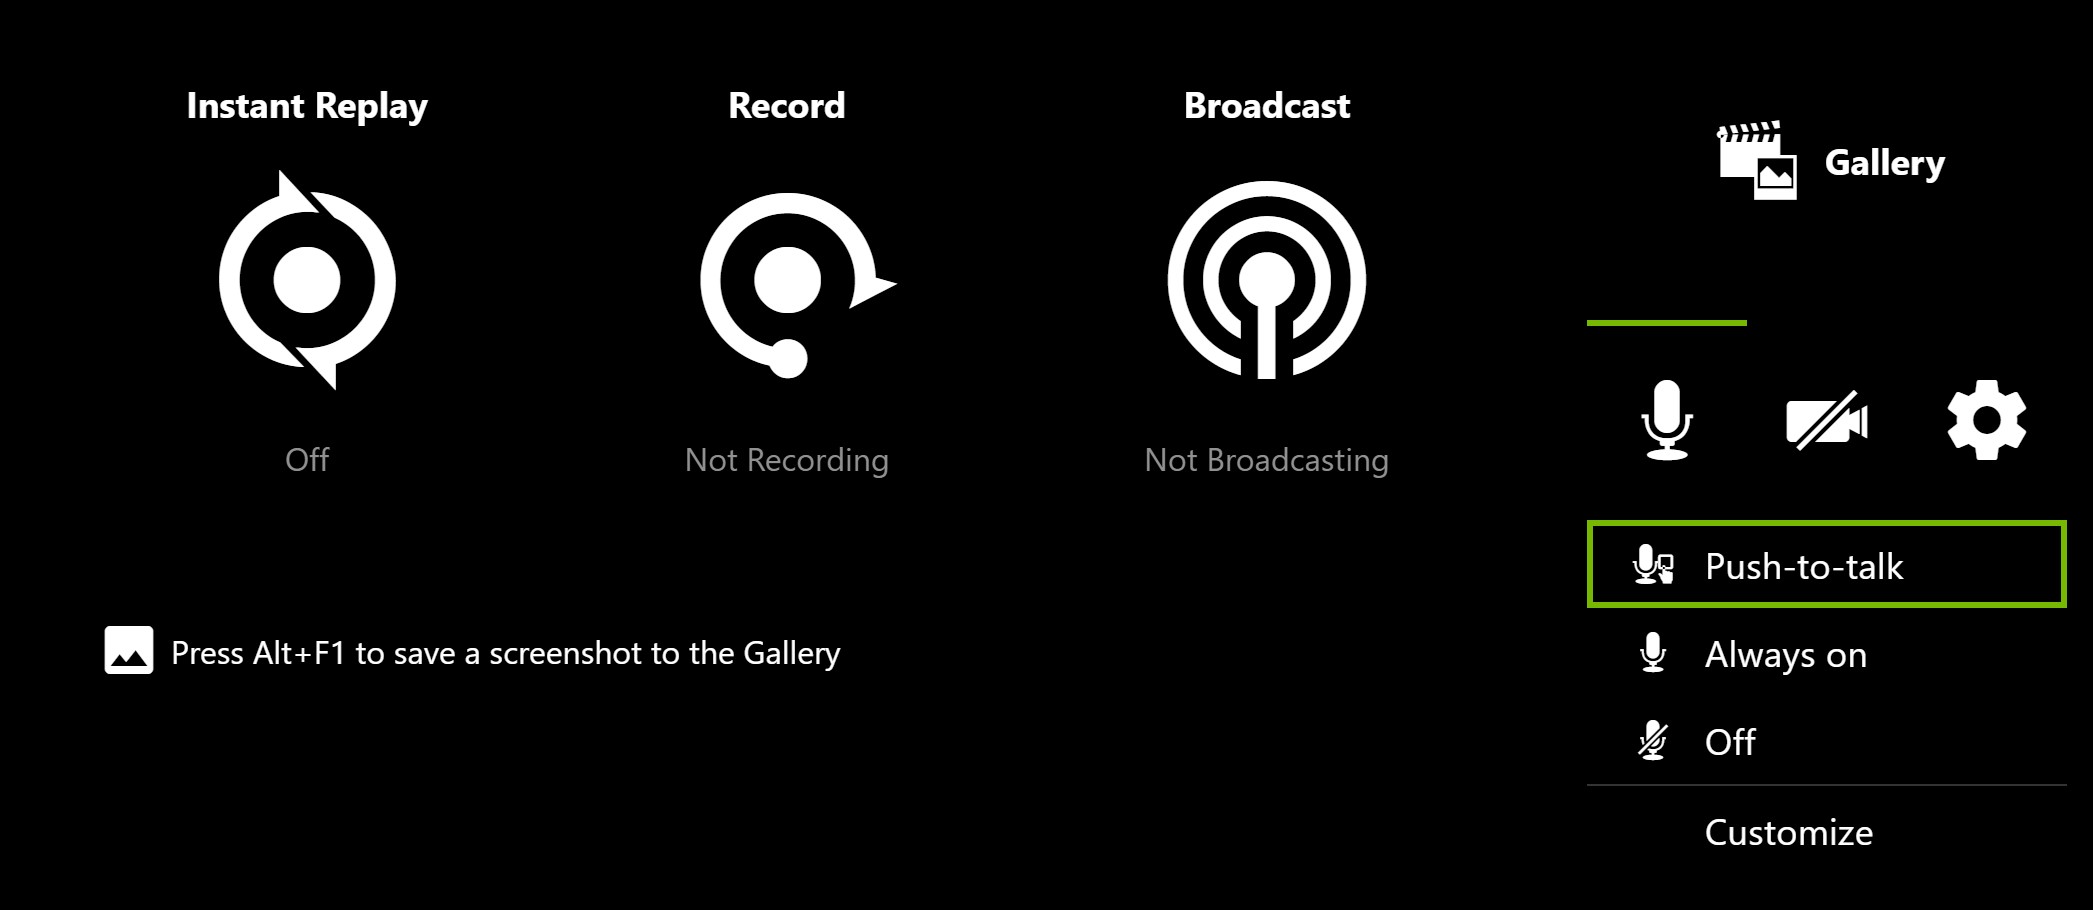
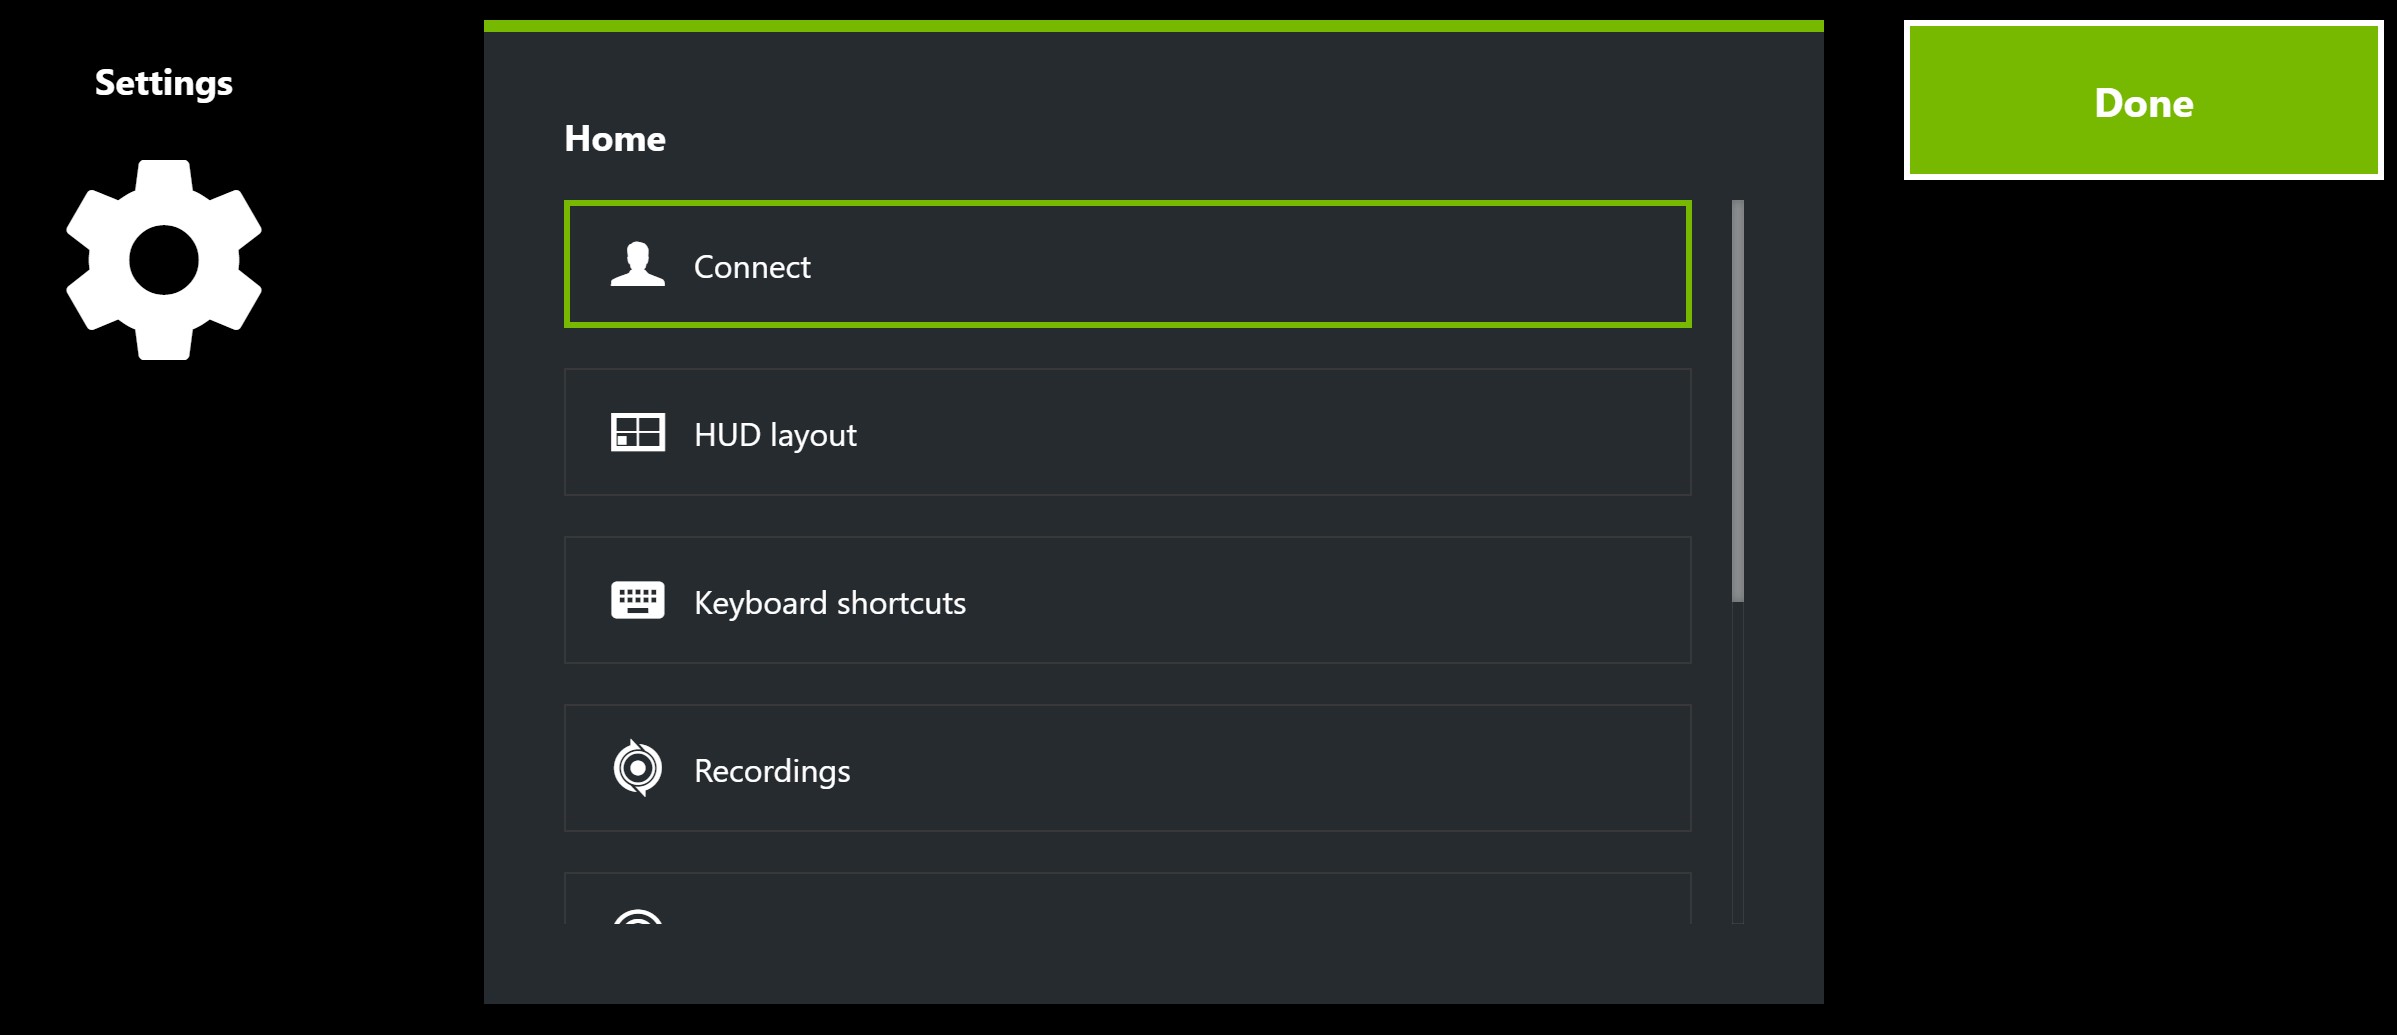
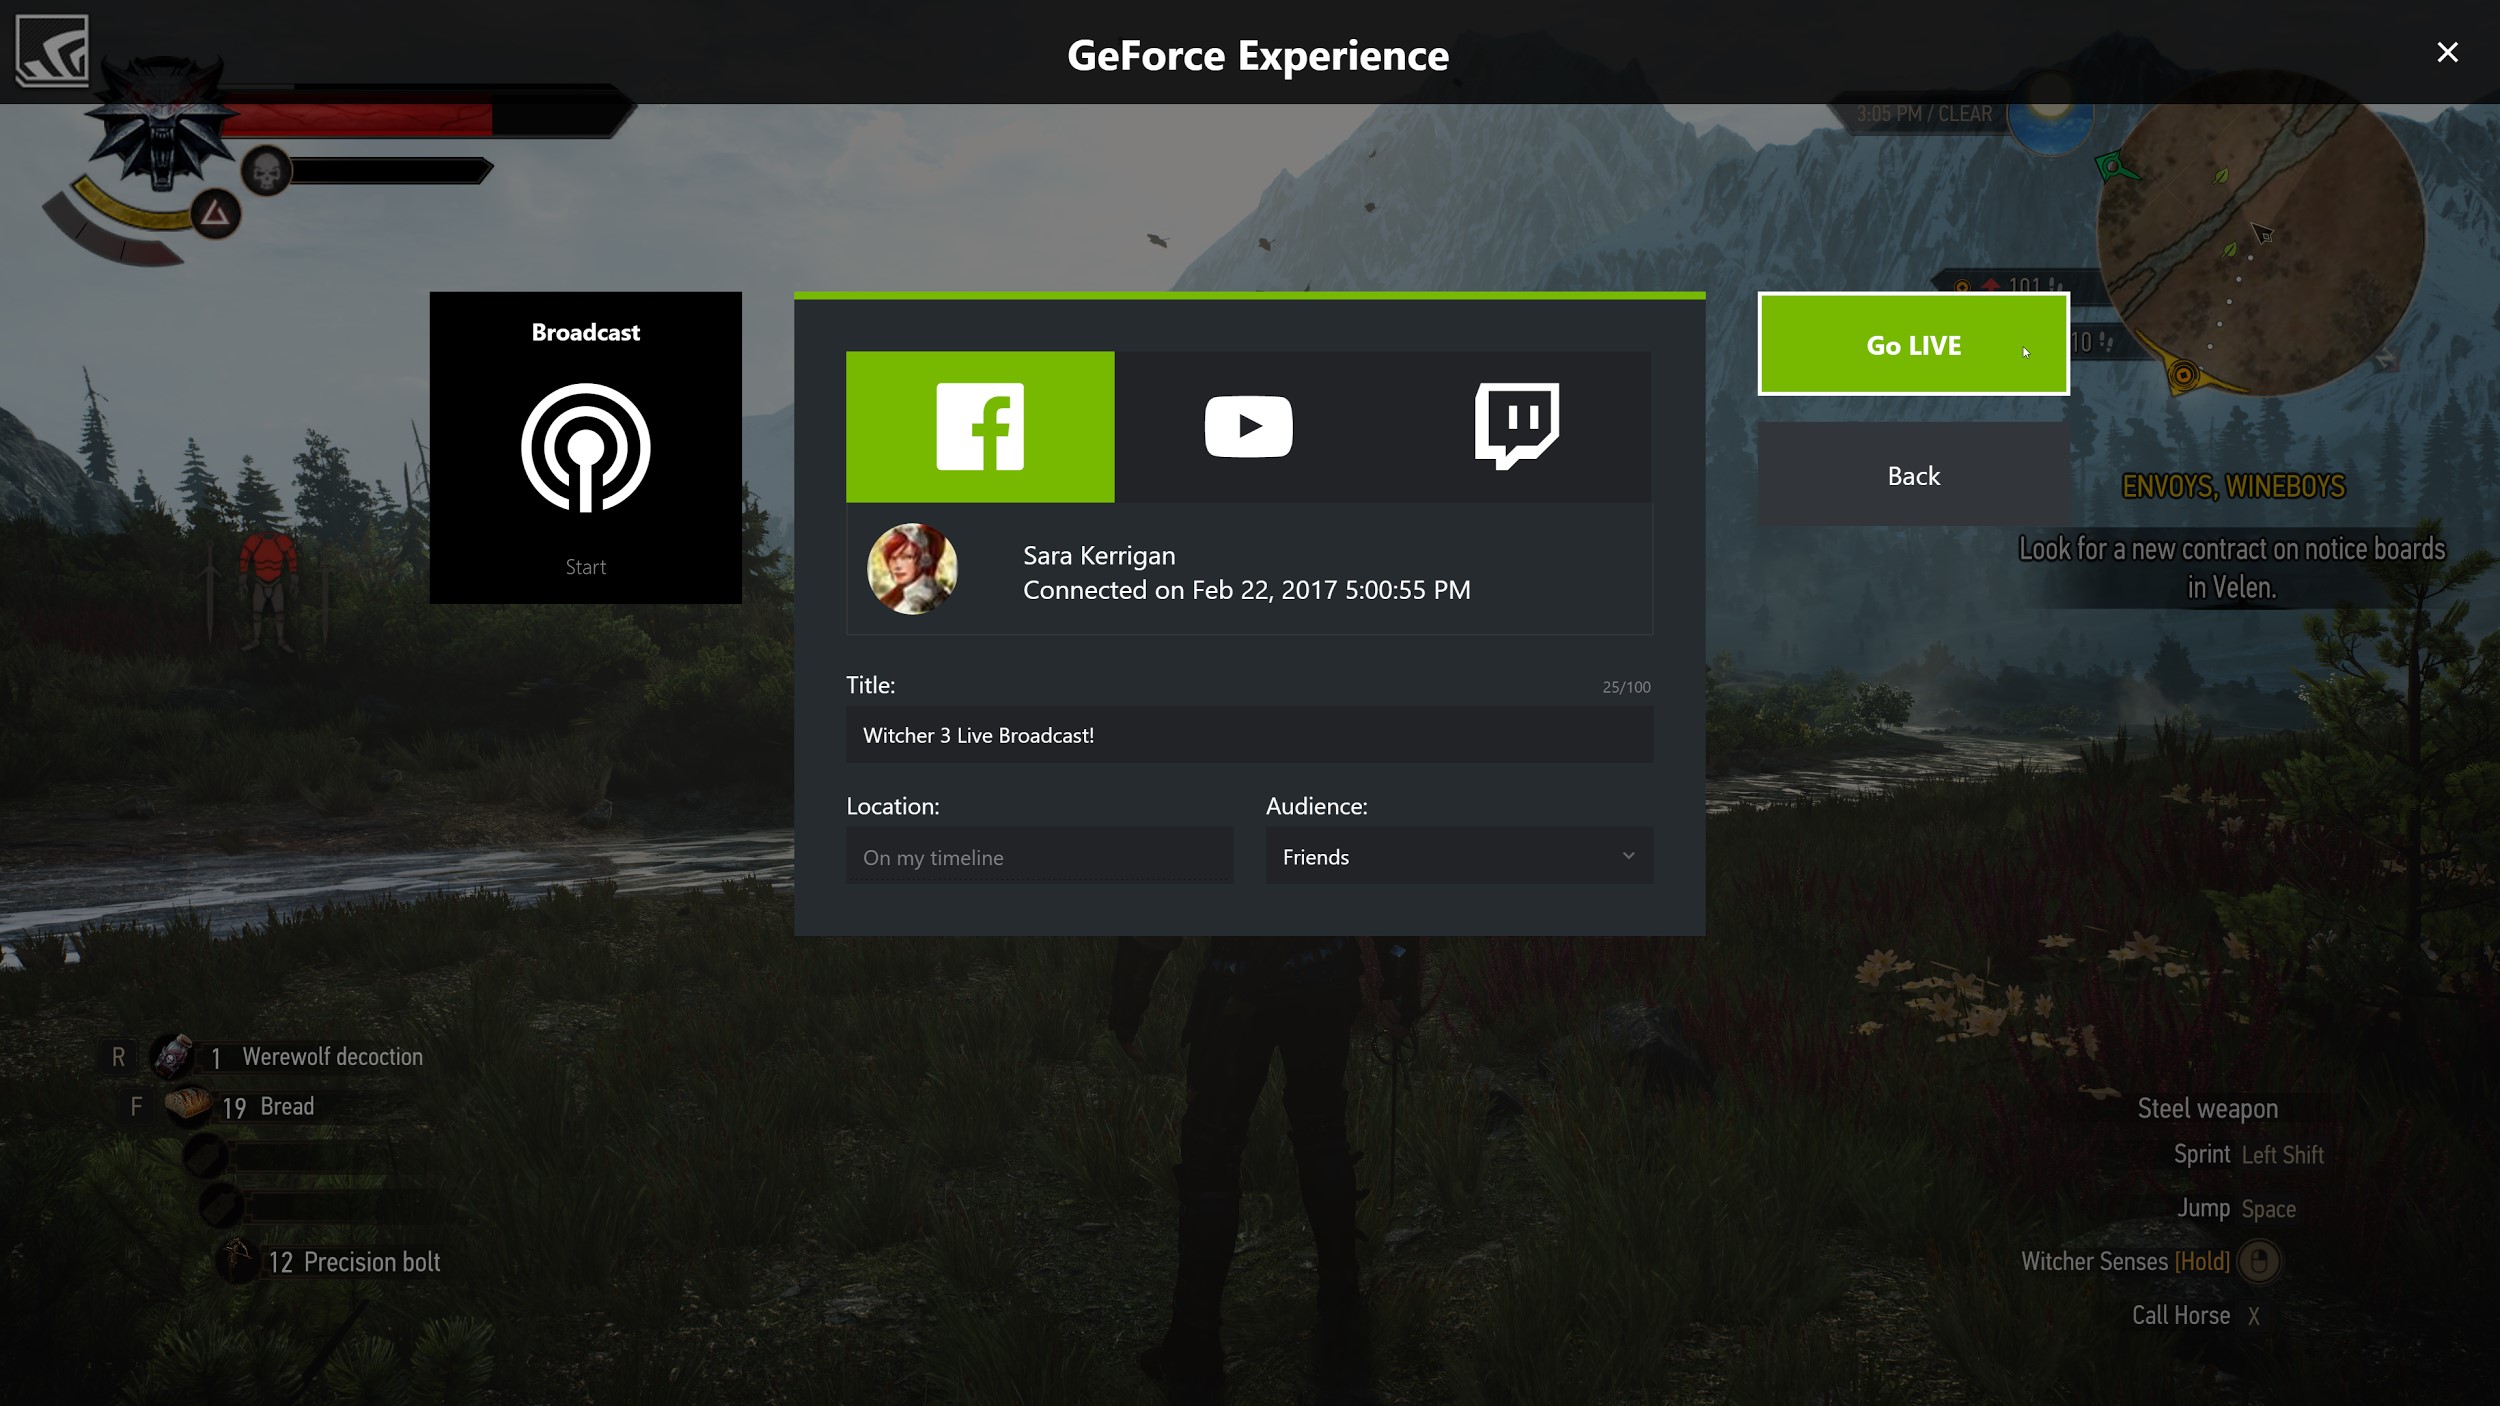
- ShadowPlay/Nvidia Share: GFE’s Overlay (accessed via Alt+Z) includes ShadowPlay, which allows for instant replay, recording gameplay, and even broadcasting directly to platforms like Twitch or YouTube. While dedicated streaming software offers more control, ShadowPlay is excellent for quick captures or saving epic moments retroactively.
- Game Optimization: GFE can automatically optimize your game settings for the best balance of visual quality and performance on your specific Nvidia GPU. This can be a good starting point for ensuring your game runs smoothly before you even introduce the streaming load.
Advanced Streaming Techniques and Troubleshooting
Once your basic setup is solid, you can explore advanced techniques and learn to troubleshoot common issues to ensure a consistently high-quality stream.
Optimizing In-Game Settings for Streaming
Even with NVENC, your in-game settings can significantly impact stream quality and performance.
- Resolution and Refresh Rate: While you might game at 1440p 144Hz, encoding and streaming at that resolution can be taxing for your viewers’ bandwidth and your own. Downscaling your output to 1080p or even 720p within OBS is common practice. Consider playing at a lower resolution or lowering demanding graphic settings if you notice frame drops in-game or on stream.
- V-Sync and Frame Caps: Enabling V-Sync or capping your in-game frame rate to just below your monitor’s refresh rate (or your streaming FPS, e.g., 60 FPS) can prevent screen tearing and provide a more consistent frame pacing for your encoder, leading to a smoother stream.
- GPU-Intensive Settings: Reduce settings like Volumetric Clouds, Ray Tracing (if not essential to your content), complex shadows, and anti-aliasing if you’re struggling to maintain high in-game frame rates while streaming.
Monitoring Performance and Troubleshooting
Consistent monitoring is key to a stable stream.
- Nvidia Performance Overlay: Access it via Alt+R (or Alt+Z and then “Performance”). This overlay provides real-time metrics for GPU usage, VRAM usage, clock speeds, temperatures, and frame rates. High GPU usage (approaching 95-100%) during streaming indicates your GPU is working hard, but as long as game FPS is stable, NVENC is likely handling the load well.
- OBS Statistics Dock: In OBS Studio, enable the “Stats” dock (View > Docks > Stats). Pay close attention to “Dropped Frames (Encoder)” and “Dropped Frames (Network).” Encoder drops suggest your GPU is overloaded or settings are too aggressive for its capabilities. Network drops indicate internet instability.
- Common Issues:
- Stuttering Stream / Dropped Frames: Check your internet upload speed. If your bitrate is too high, reduce it. If your game is lagging, reduce in-game settings or OBS encoder preset. Ensure your Nvidia drivers are up to date.
- Audio Echo / Distortion: Double-check your audio input settings in OBS/Streamlabs and Nvidia Broadcast. Ensure only one source is capturing a specific microphone, and that monitoring isn’t accidentally creating a feedback loop.
- Webcam Issues: If your webcam isn’t appearing or is stuttering via Broadcast, try restarting the Broadcast app or ensuring it’s running before you open OBS/Streamlabs.
The Future of Nvidia and Streaming
Nvidia continues to innovate, pushing the boundaries of what’s possible in live content creation. The widespread adoption of AV1 encoding, further refinements in AI-powered tools within Nvidia Broadcast, and deeper integration with streaming platforms are all on the horizon. As GPUs become even more powerful and AI capabilities advance, streamers can anticipate even more intuitive, high-quality, and resource-efficient ways to connect with their audiences. Investing in a new Nvidia GPU is not just about playing games; it’s about investing in a versatile and future-proof platform for your streaming ambitions. By understanding and utilizing its comprehensive features, you can elevate your content and deliver a professional-grade experience to your viewers.
aViewFromTheCave is a participant in the Amazon Services LLC Associates Program, an affiliate advertising program designed to provide a means for sites to earn advertising fees by advertising and linking to Amazon.com. Amazon, the Amazon logo, AmazonSupply, and the AmazonSupply logo are trademarks of Amazon.com, Inc. or its affiliates. As an Amazon Associate we earn affiliate commissions from qualifying purchases.