
In an increasingly digital world, peer-to-peer payment applications have become indispensable tools for managing personal finances, splitting bills, and conducting casual transactions. Among these, Venmo stands out as a prominent player, celebrated for its user-friendly interface and social integration. Far more than just a means to transfer funds, Venmo has evolved into a comprehensive digital wallet that streamlines financial interactions for millions. For those looking to embrace this convenience, understanding the precise steps to set up a Venmo account is the crucial first hurdle. This guide will walk you through the process, from initial download to advanced security settings, ensuring a smooth and secure onboarding experience into the world of digital payments.
Understanding Venmo: More Than Just a Payment App
Before diving into the mechanics of account creation, it’s beneficial to grasp what Venmo truly is and how it functions within the broader ecosystem of digital finance. At its core, Venmo facilitates instant money transfers between individuals, eliminating the need for cash or complex bank transfers for everyday interactions. However, its value proposition extends significantly beyond this basic utility.
The Rise of Peer-to-Peer Payments
The shift from physical currency to digital transactions has been a defining characteristic of modern commerce. Peer-to-peer (P2P) payment platforms emerged as a direct response to the demand for quicker, more convenient ways to exchange money among friends, family, and even small businesses. Venmo, launched in 2009 and later acquired by PayPal, capitalized on this trend by embedding a social layer into financial transactions. Its feed, displaying anonymized or public payments between users, added a unique dimension that fostered engagement and familiarity, making financial interactions feel less transactional and more communal. This social aspect, while optional, fundamentally differentiates Venmo from traditional banking apps or even other P2P services that focus solely on the transfer of funds.
Key Features and Benefits for Users
Venmo’s widespread adoption isn’t just due to its social feed; it’s underpinned by a robust suite of features designed to enhance user convenience and flexibility. For individuals, the ability to instantly send or request money for shared expenses – be it rent, dinner, concert tickets, or a group gift – simplifies financial coordination dramatically. The platform supports linking various financial instruments, including bank accounts, debit cards, and credit cards, offering users multiple avenues for funding transactions.
Beyond person-to-person transfers, Venmo has expanded its utility to include business payments, allowing small businesses and freelancers to accept payments easily. The introduction of the Venmo Debit Card, linked directly to a user’s Venmo balance, provides a physical means to spend funds stored within the app. Similarly, the Venmo Credit Card offers rewards and integrates seamlessly with the user’s Venmo experience. Crucially, Venmo emphasizes transparency regarding its fee structure, typically offering free standard transfers from a bank account or debit card, while charging a small percentage for credit card transactions. This clear operational framework, combined with its ease of use, positions Venmo as an essential digital tool for contemporary financial management.
The Step-by-Step Guide to Venmo Account Creation
Setting up a Venmo account is designed to be straightforward, guiding new users through a logical progression of steps to ensure both usability and security. The entire process can typically be completed in a matter of minutes, provided you have the necessary information at hand.
Downloading and Initial App Setup
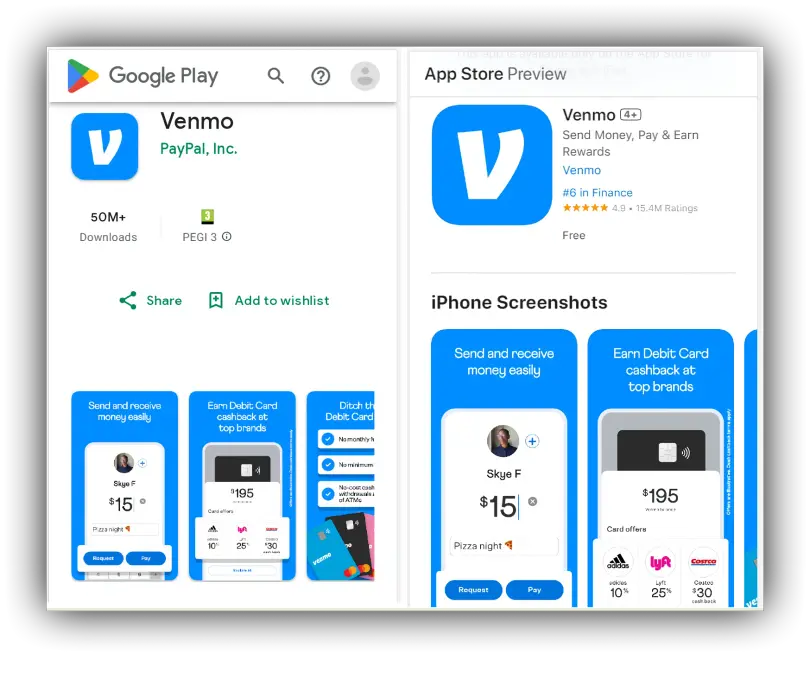
The journey begins with acquiring the Venmo application. As a mobile-first platform, Venmo is available for download on both iOS and Android devices through their respective app stores (Apple App Store and Google Play Store).
- Search and Download: Open your device’s app store, search for “Venmo,” and download the official application. Ensure it is published by Venmo or PayPal, Inc. to avoid fraudulent apps.
- Open the App: Once installed, tap the Venmo icon to launch the application.
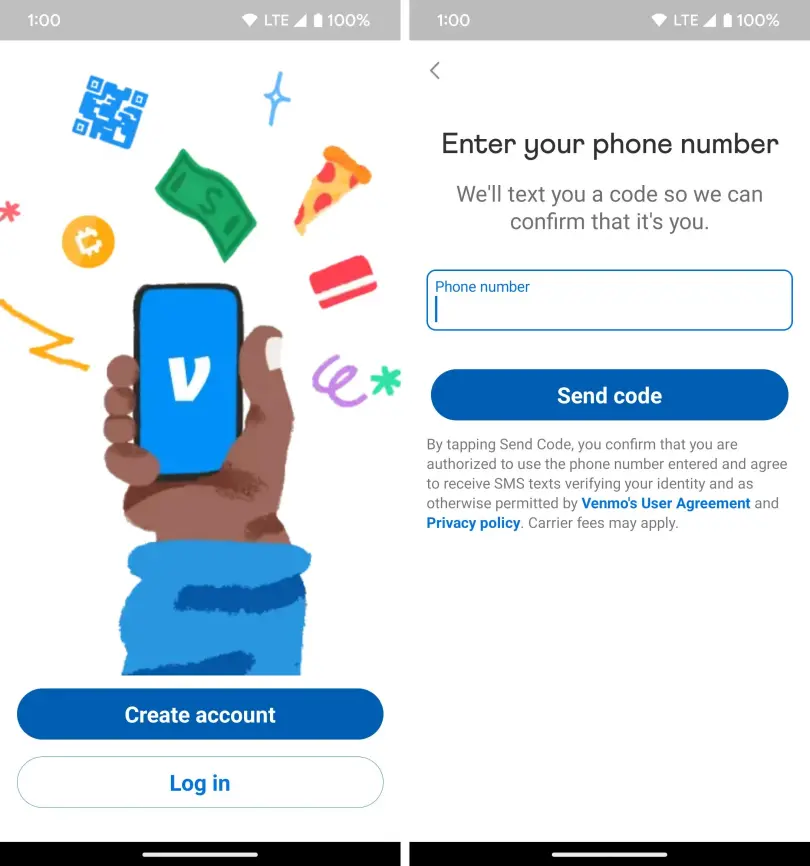
- Sign Up: You will be prompted to either “Get Started” or “Sign Up.” Tap on this option to begin the registration process. Venmo often provides options to sign up using your Facebook account, Google account, or email address. While signing up with Facebook can sometimes expedite the process by pre-filling some information and connecting with friends, using an email address provides a more private setup, which many users prefer for financial applications. Choose the method that best suits your privacy and convenience preferences.
Providing Essential Information
Regardless of your chosen sign-up method, Venmo requires specific personal details to create and verify your account. This information is critical for security, compliance with financial regulations, and preventing fraud.
- Personal Details: You will be asked to provide your legal first name, last name, phone number, and a strong password. This information helps Venmo identify you and secure your account.
- Date of Birth: You must be at least 18 years old to use Venmo. Your date of birth is required to verify your age.
- Zip Code: Your residential zip code is also requested, primarily for location-based services and regulatory compliance.
- Agree to Terms: Before proceeding, you must review and agree to Venmo’s User Agreement and Privacy Policy. It is highly recommended to read these documents to understand your rights and Venmo’s responsibilities.
Verifying Your Identity and Linking a Bank Account
The most critical phase of setting up your Venmo account involves linking a funding source and, for enhanced functionality, verifying your identity. While you can send limited amounts of money before linking a bank account, linking one is essential for withdrawing funds to your bank and increasing your transaction limits.
- Phone Verification: Venmo will send a verification code to the phone number you provided. Enter this code into the app to confirm your phone number. This is a crucial security step that helps prevent unauthorized account creation.
- Linking a Bank Account:
- Navigate to the “Settings” menu within the app (usually represented by a gear icon or three horizontal lines).
- Select “Payment Methods” and then “Add a bank or card.”
- Choose “Bank” and then select “Instant verification” (if available through Plaid, which allows you to log into your online banking) or “Manual verification.”
- For instant verification, you’ll select your bank from a list and securely log in using your online banking credentials. This is the fastest way to link and verify your bank.
- For manual verification, you’ll enter your bank’s routing number and your account number. Venmo will then send two small deposits (typically a few cents) to your bank account within 1-3 business days. You will then need to return to the Venmo app and enter the exact amounts of these deposits to confirm your bank account ownership.
- Linking a Debit or Credit Card (Optional but Recommended): You can also link a debit card or credit card from the same “Payment Methods” section. Enter the card number, expiration date, CVV, and billing zip code. Debit cards can be used for free instant transfers to send money, while credit cards typically incur a 3% fee.
- Identity Verification for Higher Limits: To unlock higher transaction limits and access certain features like the Venmo Debit Card or Credit Card, you’ll need to verify your identity. This usually involves providing the last four digits of your Social Security Number (SSN) and, in some cases, your full SSN and home address. This is a standard procedure for financial institutions to comply with “Know Your Customer” (KYC) regulations and prevent illicit financial activities. Rest assured, Venmo uses robust encryption and security protocols to protect this sensitive information.
Navigating Your New Venmo Account: First Steps
With your account successfully set up and a funding source linked, you’re ready to explore Venmo’s core functionalities. Understanding how to send, receive, and manage your funds effectively is key to a seamless experience.
Sending and Receiving Money
The primary function of Venmo is facilitating money transfers.
- Sending Money: To send money, tap the “Pay or Request” button (often a pencil and paper icon). Enter the recipient’s username, phone number, or email. Input the amount, add a note (which can include emojis), choose your privacy setting (public, friends, or private), and select your preferred funding source (Venmo balance, bank account, debit card, or credit card). Confirm the transaction.
- Receiving Money: When someone sends you money, it automatically appears in your Venmo balance. You’ll receive a notification within the app. You can then use this balance to pay others, make purchases, or transfer it to your linked bank account.
Exploring Payment Options (Bank vs. Debit vs. Credit)
Venmo offers flexibility in how you fund your payments:
- Venmo Balance: If you have funds in your Venmo balance, these are used first by default and incur no fees.
- Bank Account/Debit Card: Using a linked bank account or debit card for standard payments is typically free. These are often the preferred methods for most users due to the lack of fees.
- Credit Card: Using a linked credit card to send money incurs a 3% fee, which is standard for processing credit card transactions. While convenient, it’s generally best to use credit cards only when necessary to avoid extra charges.
Understanding Privacy Settings
One of Venmo’s distinguishing features is its social feed, but you have full control over your transaction privacy:
- Public: Anyone on Venmo can see the transaction in their feed.
- Friends: Only your Venmo friends can see the transaction.
- Private: Only you and the recipient can see the transaction.
It’s important to set your default privacy preference in the settings to ensure your transactions reflect your comfort level with public sharing. Many users opt for “Private” for most transactions involving money, reserving “Friends” or “Public” for more casual, social payments.
Enhancing Your Venmo Experience: Advanced Features and Best Practices
Once comfortable with the basics, exploring Venmo’s advanced features can further streamline your financial interactions and broaden its utility in your daily life. Leveraging these options, coupled with sound security practices, will optimize your Venmo experience.
Venmo Debit Card and Credit Card
For users seeking more comprehensive integration with their Venmo balance, the platform offers physical cards:
- Venmo Debit Card: This Mastercard debit card is directly linked to your Venmo balance. It allows you to spend your Venmo funds anywhere Mastercard is accepted, withdraw cash from ATMs (fees may apply), and manage your spending through the Venmo app. It’s an excellent way to consolidate your digital funds into a tangible payment method.
- Venmo Credit Card: Issued by Synchrony Bank, the Venmo Credit Card offers cash back on eligible purchases, with rewards automatically deposited into your Venmo account. It integrates seamlessly, allowing for easy tracking and management within the Venmo app. Eligibility requires identity verification and a credit check, aligning with traditional credit card applications.
Leveraging Venmo for Business Transactions
Venmo isn’t just for friends anymore. Small businesses, freelancers, and sole proprietors can utilize Venmo for business profiles to accept customer payments easily.
- Business Profiles: By creating a business profile, users can separate personal and business transactions, gain access to QR codes for easy payments, and benefit from Venmo’s widespread user base. Business transactions often incur a small processing fee, typically around 1.9% + $0.10 per transaction, which is competitive with other payment processors. This functionality empowers small entrepreneurs to embrace digital payments without needing complex POS systems.
Implementing Robust Security Measures
Given that Venmo deals with financial transactions, maintaining a high level of security is paramount.
- Strong, Unique Password: Always use a strong password that is unique to your Venmo account. Avoid easily guessable combinations and consider using a password manager.
- Two-Factor Authentication (2FA): Enable 2FA in your Venmo settings. This adds an extra layer of security by requiring a code from your phone in addition to your password when logging in from a new device.
- PIN Protection/Biometrics: Set up a PIN or use fingerprint/Face ID unlock for the Venmo app on your device. This prevents unauthorized access even if your phone is compromised.
- Monitor Activity: Regularly review your transaction history and account statements for any suspicious activity. Report unauthorized transactions immediately to Venmo support.
- Beware of Scams: Be vigilant against phishing attempts, fake payment requests, and unsolicited offers. Venmo will never ask for your password or full SSN via email or text. Always verify the identity of the sender before approving a payment request.
Troubleshooting Common Setup Issues and FAQs
While Venmo setup is generally smooth, users may occasionally encounter hurdles. Knowing how to address these can prevent frustration and ensure a quicker resolution.
Account Verification Delays
- Bank Account Verification: If you opted for manual bank verification, remember that the small deposits can take 1-3 business days to appear. Patience is key. If they don’t appear after this timeframe, double-check your account numbers entered and contact Venmo support.
- Identity Verification: Delays in identity verification (especially when providing SSN) can occur if the information provided doesn’t perfectly match official records. Ensure all details are accurate. If the process is prolonged, Venmo support can offer specific guidance.
Linking Financial Institutions
- Unsupported Banks: While Venmo supports most major banks, a few smaller financial institutions might not be directly linkable via instant verification. In such cases, manual verification is usually an option.
- Login Issues with Instant Verification (Plaid): If you’re having trouble logging into your bank through Plaid, ensure your online banking credentials are correct and that your bank isn’t experiencing temporary outages. Sometimes, disabling pop-up blockers can help.
- Card Issues: If a debit or credit card isn’t linking, check the card number, expiration date, and CVV. Ensure the card is active and not expired. Some prepaid cards or international cards may not be supported.

Understanding Transaction Limits and Fees
- Initial Limits: New, unverified Venmo accounts typically have lower weekly transaction limits. These limits increase significantly once your identity and bank account are fully verified.
- Credit Card Fees: Remember the 3% fee for sending money with a credit card. This is applied at the time of the transaction.
- Instant Transfer Fees: While standard transfers to a bank account are free and take 1-3 business days, Venmo offers an “Instant Transfer” option for a fee (typically 1.75% with a minimum of $0.25 and a maximum of $25), allowing funds to arrive in minutes. This fee is clearly displayed before you confirm the instant transfer.
By following this comprehensive guide, new users can confidently set up their Venmo account, navigate its features, and employ best practices to ensure a secure and efficient digital payment experience. Venmo, as a cornerstone of the modern digital wallet, offers unparalleled convenience when properly configured and utilized.
aViewFromTheCave is a participant in the Amazon Services LLC Associates Program, an affiliate advertising program designed to provide a means for sites to earn advertising fees by advertising and linking to Amazon.com. Amazon, the Amazon logo, AmazonSupply, and the AmazonSupply logo are trademarks of Amazon.com, Inc. or its affiliates. As an Amazon Associate we earn affiliate commissions from qualifying purchases.