
In an increasingly digital world, peer-to-peer payment applications have become indispensable tools for managing everyday financial interactions. Among these, Venmo stands out as a popular choice, renowned for its user-friendly interface and social features. While many users are familiar with sending money, the ability to request funds is equally crucial, offering a streamlined way to settle debts, split bills, or collect contributions. This guide delves into the specifics of initiating and managing money requests on Venmo, providing a detailed tutorial for leveraging this powerful feature effectively and securely.
Understanding Venmo’s Request Feature
Venmo, a mobile payment service owned by PayPal, has transformed how individuals send and receive money. Its core appeal lies in its simplicity and speed, making transactions between friends, family, and colleagues virtually instantaneous. Beyond merely sending funds, the “request money” feature empowers users to prompt others for payment, making it ideal for a multitude of common scenarios.

What is Venmo and Why Use It for Requests?
At its heart, Venmo facilitates digital money transfers directly between bank accounts, debit cards, or stored Venmo balances. For a generation accustomed to instant gratification, Venmo offers a quick alternative to cash or checks, eliminating the need for awkward conversations about outstanding debts. The request feature specifically addresses situations where you are owed money, allowing you to send a polite, trackable, and professional prompt directly through the app. This digital paper trail can be incredibly useful for accountability and record-keeping, ensuring both parties are clear on the transaction details.
Beyond its utility, Venmo’s design incorporates a social element, often displaying transactions in a public (or private, depending on settings) feed. While this can be a privacy concern for some, it also fosters a sense of community and transparency in certain circles, particularly among friends sharing expenses. The integrated chat function within each request provides a convenient way to add context or discuss details, further streamlining the payment process.
Common Scenarios for Requesting Money
The versatility of Venmo’s request feature makes it applicable to a wide array of everyday situations. Understanding these common scenarios can help users identify when and why to utilize this function.
One of the most frequent uses is splitting bills after a meal out, a group activity, or shared ride-sharing services. Instead of one person footing the entire bill and hoping to be repaid, they can easily send individual requests for each person’s share. Similarly, for group gifts or contributions to a common fund, one person can collect contributions by requesting specific amounts from others.
Loans and repayments among friends often become complicated, but Venmo simplifies the process. If you’ve spotted a friend some cash for an emergency or paid for a shared item, a Venmo request serves as a gentle reminder and a direct path to repayment. Beyond personal use, freelancers or small business owners often use Venmo for collecting payments for services rendered, especially for smaller transactions where traditional invoicing might be overkill. This provides a quick and professional method for clients to pay. Lastly, for household expenses shared among roommates, such as utilities, rent contributions, or groceries, Venmo requests provide an organized way to manage and track who owes what.
Step-by-Step Guide to Sending a Money Request
The process of requesting money on Venmo is designed to be intuitive and user-friendly. By following a few simple steps, you can send a clear and concise payment request to anyone in your contact list or Venmo network.
Navigating the Venmo App
Before you can send a request, ensure you have the Venmo app downloaded and installed on your smartphone (available for both iOS and Android). You’ll need to have an active account, linked to a bank account or debit card for transactions.
- Launch the App: Open the Venmo app on your device.
- Log In: Enter your credentials (email/phone number and password) if you’re not already logged in. You might also use biometric authentication like Face ID or Touch ID.
- Access the Pay/Request Button: Look for the “Pay & Request” button, usually represented by a pencil and paper icon or a dollar sign icon, often located at the bottom center or top right of the main screen. Tapping this will open a new transaction screen.
Initiating a Request
Once you’re on the transaction screen, you’ll need to specify who you’re requesting money from and the purpose of the request.
- Select “Request”: At the top of the transaction screen, you’ll typically see two options: “Pay” and “Request.” Tap on “Request.”
- Choose Recipient(s):
- From Contacts: If the person is in your phone’s contacts and they use Venmo, their name should appear as you type.
- Venmo Username: You can search for them by their Venmo username.
- Scan Code: Venmo also offers a QR code scanner feature to quickly add a user nearby.
- You can select multiple recipients if you’re splitting a bill or requesting money from several people for a group expense.
Specifying Details and Sending
Accuracy and clarity are paramount when sending money requests to avoid confusion or disputes.
- Enter Amount: Input the exact amount of money you are requesting. Double-check this figure carefully.
- Add a Note/Description: This is a critical step. Always include a clear and concise note explaining what the request is for. For example, “Dinner last night,” “Share for rent – October,” or “Gift for Sarah’s birthday.” This context is invaluable, especially if the recipient receives multiple Venmo requests. You can also use emojis to make it more friendly, but always prioritize clarity.
- Set Privacy (Optional): Below the note field, you’ll see options for transaction privacy: “Public,” “Friends,” or “Private.” Choose the setting that best suits your comfort level and the nature of the transaction. For most personal requests, “Friends” or “Private” is recommended.
- Review and Send: Before hitting the “Request” button, review all the details: recipient(s), amount, and note. Once you’re confident everything is correct, tap the “Request” button.
The recipient will receive a notification from Venmo about your request, prompting them to pay or decline it.
Managing and Responding to Money Requests
Sending a request is only half the process; understanding how to manage requests you’ve sent and respond to those you receive is equally important for a seamless Venmo experience.

Receiving and Reviewing a Request
When someone sends you a money request, Venmo ensures you’re promptly notified.
- Notifications: You’ll typically receive a push notification on your phone and an alert within the Venmo app itself, usually in the “You” tab or the main feed.
- Reviewing Details: Tap on the notification or navigate to the request in your feed. Here, you’ll see the sender’s name, the requested amount, and the accompanying note. It’s crucial to review the note carefully to understand the purpose of the request and verify its legitimacy.
- Chat Functionality: If you have questions about the request, you can use the integrated chat feature to message the sender directly within the transaction details screen. This allows for clarification without leaving the app.
Paying or Declining a Request
Once you’ve reviewed a request, you have a few options to proceed.
- Paying a Request: If the request is legitimate and you agree to pay, tap the “Pay” button. Venmo will then prompt you to select your preferred funding source (Venmo balance, linked bank account, or debit card). Confirm the payment, and the funds will be transferred to the sender.
- Declining a Request: If you believe the request is incorrect, unwarranted, or from an unknown sender, you have the option to decline it. Look for a “Decline” or “Cancel” button, often located near the “Pay” option. Declining a request will notify the sender that the request has been rejected. It’s often good practice to communicate directly with the sender if you’re declining a legitimate request for a specific reason (e.g., you’ve already paid in cash).
Cancelling a Sent Request
Mistakes happen, or circumstances change. If you’ve sent a request that needs to be rescinded, Venmo provides an option to cancel it before it’s paid.
- Navigate to Your Transactions: Go to the “You” tab in the Venmo app.
- Find the Pending Request: Scroll through your transaction history to locate the specific money request you wish to cancel. Pending requests usually have a distinct status indicator.
- Cancel the Request: Tap on the request, and you should see an option to “Cancel Request.” Confirm your decision. Once canceled, the recipient will be notified that the request has been withdrawn, and it will no longer appear as pending on their end.
Best Practices for Effective Money Requests
While Venmo simplifies financial interactions, adhering to certain best practices can enhance your experience, ensure timely payments, and maintain positive relationships.
Clear Communication and Context
The note accompanying your request is not merely a formality; it’s a vital piece of communication.
- Be Specific: Instead of “Money,” write “Your share for last night’s dinner at The Bistro.”
- Add Dates (if applicable): For recurring expenses like rent or utilities, include the month or period.
- Reference Prior Agreements: If the request stems from a specific agreement, briefly mention it. Clear notes prevent recipients from having to guess the reason for the request, reducing delays and potential misunderstandings.
Ensuring Accuracy and Amounts
Accuracy is crucial to avoid friction.
- Double-Check the Amount: Before sending, always verify the exact sum. A misplaced decimal or a typo can lead to awkward corrections.
- Verify Recipients: Especially if selecting from a list, ensure you’re sending the request to the correct person or people. Sending a request to the wrong contact can be embarrassing and lead to privacy concerns.
- Itemize (if necessary): For complex shared expenses, consider briefly itemizing in the note or sending a separate message explaining the breakdown, then sending a single Venmo request.
Privacy and Security Considerations
Venmo is a financial tool, and as such, privacy and security should always be top of mind.
- Use Appropriate Privacy Settings: For most personal requests, select “Friends” or “Private” rather than “Public.” This keeps your financial interactions discreet and prevents unwanted attention or data exposure.
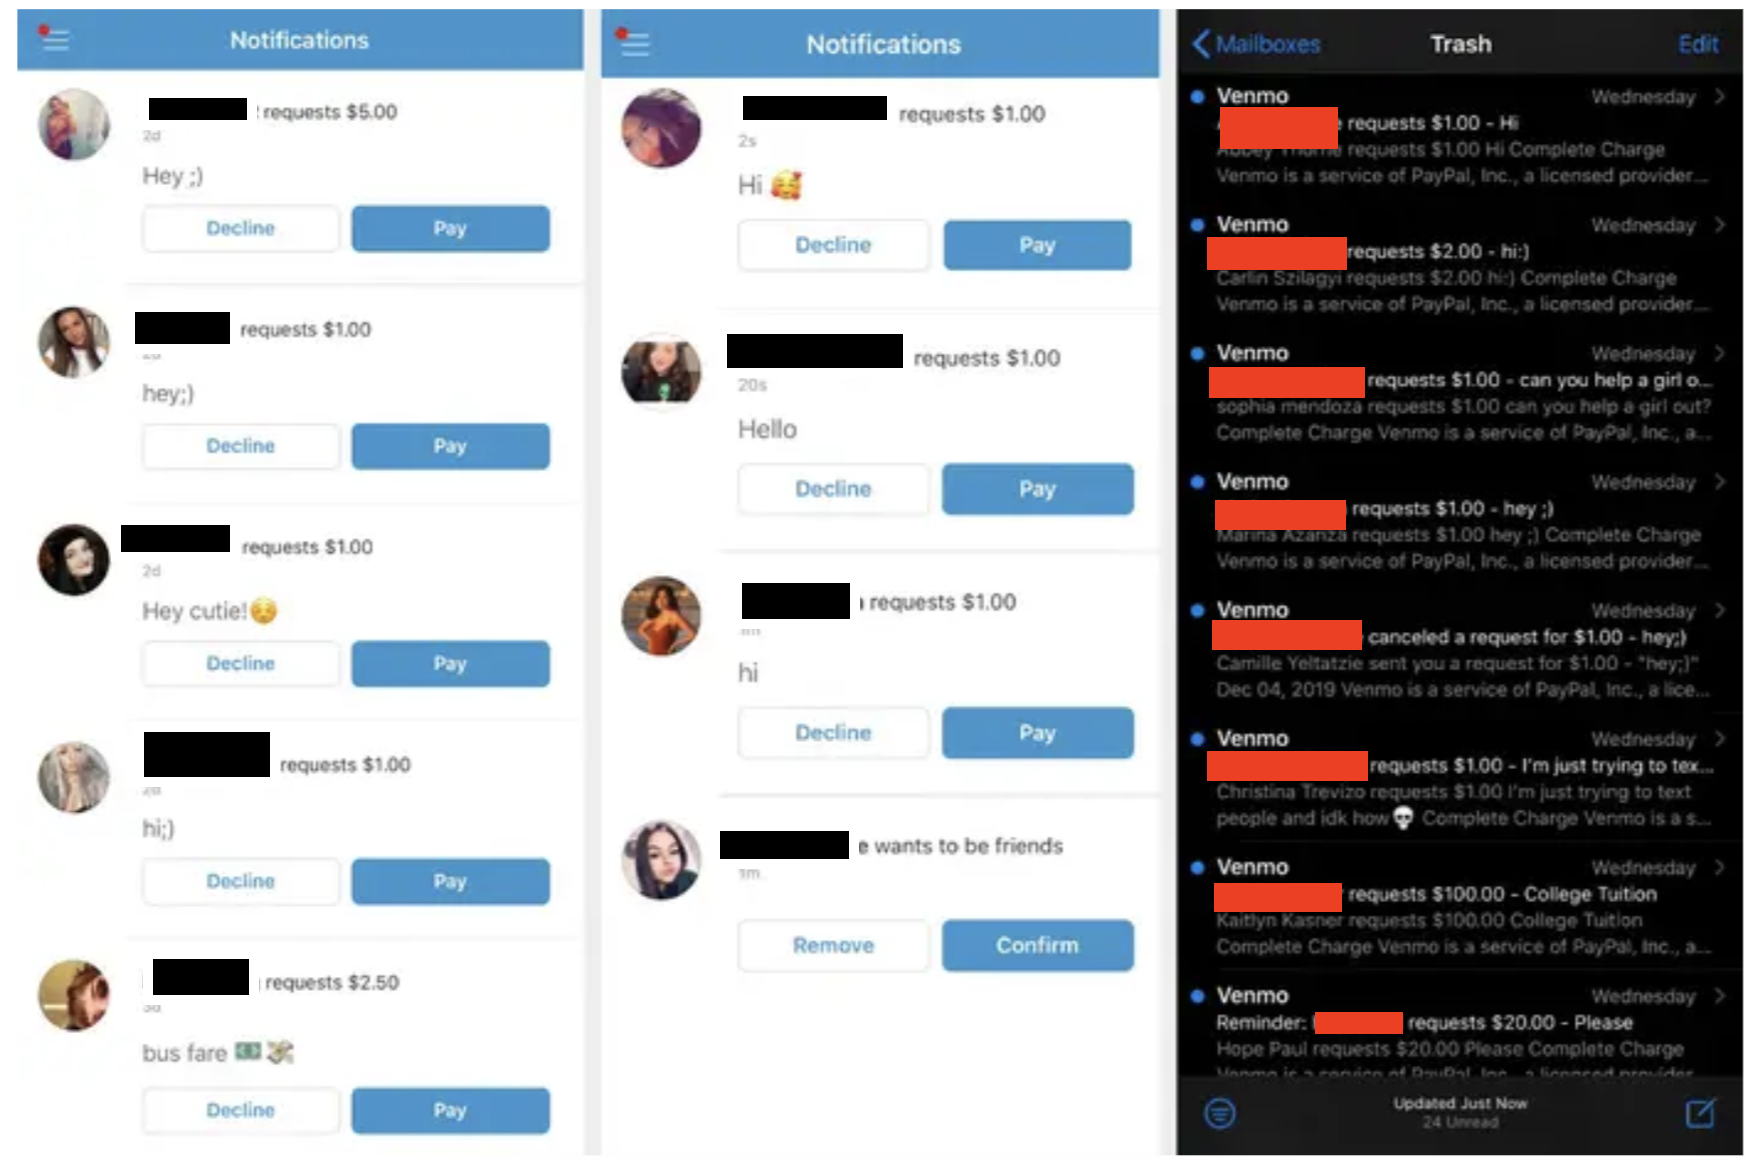
- Recognize Scams: Be wary of unexpected requests from unknown individuals. Venmo is a common platform for phishing attempts. If a request seems suspicious, do not pay it. Decline it and, if necessary, report it to Venmo.
- Strong Passwords and Two-Factor Authentication: Always use a strong, unique password for your Venmo account and enable two-factor authentication (2FA) for an added layer of security. This protects your account from unauthorized access.
- Link Trusted Accounts: Ensure your Venmo account is linked only to your personal, secure bank accounts or debit cards.
Troubleshooting Common Request Issues
Even with the most careful planning, issues can sometimes arise. Knowing how to troubleshoot common problems can save time and frustration.
What if a Request Isn’t Paid?
It’s common for requests to go unpaid, often due to oversight rather than malice.
- Gentle Reminders: After a reasonable period (e.g., 24-48 hours), a polite reminder message through Venmo’s chat function or a separate text can often prompt payment.
- Follow Up Verbally: If digital reminders aren’t working, a quick, friendly conversation can often resolve the issue. There might be a legitimate reason for the delay.
- Avoid Repeated Requests: Sending multiple identical requests can be perceived as aggressive and counterproductive. Stick to one request and follow up with messages.
Dealing with Incorrect Requests
If you’ve sent an incorrect request, or received one that’s wrong:
- For Sent Requests: Immediately cancel the incorrect request if it’s still pending. Then, send a new, corrected request.
- For Received Requests: If you receive an incorrect request, message the sender to clarify the error before paying or declining. If it’s a significant error, declining it and asking the sender to resend a corrected one is often the clearest path.
Contacting Venmo Support
For more complex issues, technical glitches, or concerns about suspicious activity, Venmo’s customer support is your best resource.
- In-App Support: Venmo typically has an in-app “Help” or “Contact Us” section where you can browse FAQs or submit a support ticket.
- Official Channels: Always use official Venmo contact methods found on their website or within the app. Be wary of third-party “support” numbers or websites that could be phishing scams. Provide clear details of your issue, including dates, amounts, and transaction IDs, to expedite resolution.
Mastering the art of requesting money on Venmo is more than just knowing where to tap buttons; it’s about leveraging a powerful technological tool with good communication, accuracy, and an awareness of digital security. By following this guide, users can confidently navigate Venmo’s request feature, ensuring smooth and efficient financial interactions in their daily lives.
aViewFromTheCave is a participant in the Amazon Services LLC Associates Program, an affiliate advertising program designed to provide a means for sites to earn advertising fees by advertising and linking to Amazon.com. Amazon, the Amazon logo, AmazonSupply, and the AmazonSupply logo are trademarks of Amazon.com, Inc. or its affiliates. As an Amazon Associate we earn affiliate commissions from qualifying purchases.