In the ever-evolving landscape of digital entertainment, user-created modifications, or “mods,” have become an integral part of the gaming experience for many. These enhancements can range from subtle graphical tweaks to complete overhauls of gameplay mechanics, breathing new life into beloved titles and offering endless replayability. For players deeply invested in games like Minecraft, or those exploring the vast modding communities of other titles, a central hub for discovering and managing these mods is essential. CurseForge has emerged as a preeminent platform for this purpose, offering a vast library of mods and a dedicated launcher.

While the CurseForge app simplifies much of the mod installation process, there are times when a manual approach is necessary or preferred. This might be due to specific mod requirements, troubleshooting complex modpacks, or simply a desire for a deeper understanding of how your game is being enhanced. This guide will walk you through the process of manually installing mods on CurseForge, ensuring you can customize your gaming experience with confidence. We’ll explore the underlying principles, the practical steps, and some common considerations to keep in mind.
Understanding Manual Mod Installation
Before diving into the practicalities, it’s crucial to grasp why manual installation might be needed and what it entails. The CurseForge app typically handles downloading, extracting, and placing mod files in the correct directories for you. Manual installation bypasses this automated process, requiring you to perform these steps yourself.
Why Manual Installation?
Several scenarios might lead you to opt for manual mod installation:
- Specific Mod Requirements: Some mods, especially those that are not packaged in a standard
.zipor.jarformat compatible with automated installers, might require direct placement into specific game folders. This can also apply to shader packs or texture packs that are intended for direct integration. - Troubleshooting: When encountering issues with a modpack or individual mods, manually installing them one by one can help pinpoint the source of a conflict or error. This allows for a systematic approach to debugging.
- Experimental or Unreleased Mods: Occasionally, you might find mods on forums or developer sites that haven’t yet been officially integrated into the CurseForge platform, or are in beta testing phases. These often come with direct download links and manual installation instructions.
- Performance and Control: For advanced users, manually managing mods can offer a greater sense of control over their game’s installation and potentially optimize performance by understanding exactly where each file resides.
- Learning and Exploration: For those interested in the inner workings of game modding, manually installing mods is an excellent way to learn about game file structures and how different mod types interact with the game.
The Fundamentals of Mod File Placement
Most PC games that support mods have designated folders where mod files should be placed. For Minecraft, which is heavily associated with CurseForge, this typically involves the mods folder. However, the exact location can vary depending on the game and the type of mod.
- The
modsFolder: This is the most common location for client-side mods (mods that run on your computer). For Minecraft Java Edition, after installing a mod loader like Forge or Fabric, amodsfolder is usually created within your game’s installation directory. - Resource Packs/Texture Packs: These are often placed in a separate folder, such as
resourcepacksin Minecraft, to alter the game’s visual appearance without changing gameplay mechanics. - Configuration Files: Some mods generate configuration files that allow for extensive customization. These are often located in a
configfolder, also within your game’s installation directory. Understanding where these files go is key to successful manual installation. - Server-Side Mods: If you’re setting up a modded server, the installation process might differ, with mods being placed in a server-specific
modsfolder. This guide primarily focuses on client-side installations.
Step-by-Step Manual Mod Installation
Manually installing mods generally involves downloading the mod file, locating the correct game directory, and placing the mod file in its designated folder. The specific steps will depend on the game you’re modding, but we’ll use Minecraft as a primary example due to its widespread use with CurseForge.
Downloading the Mod File
The first step is to obtain the mod file itself.
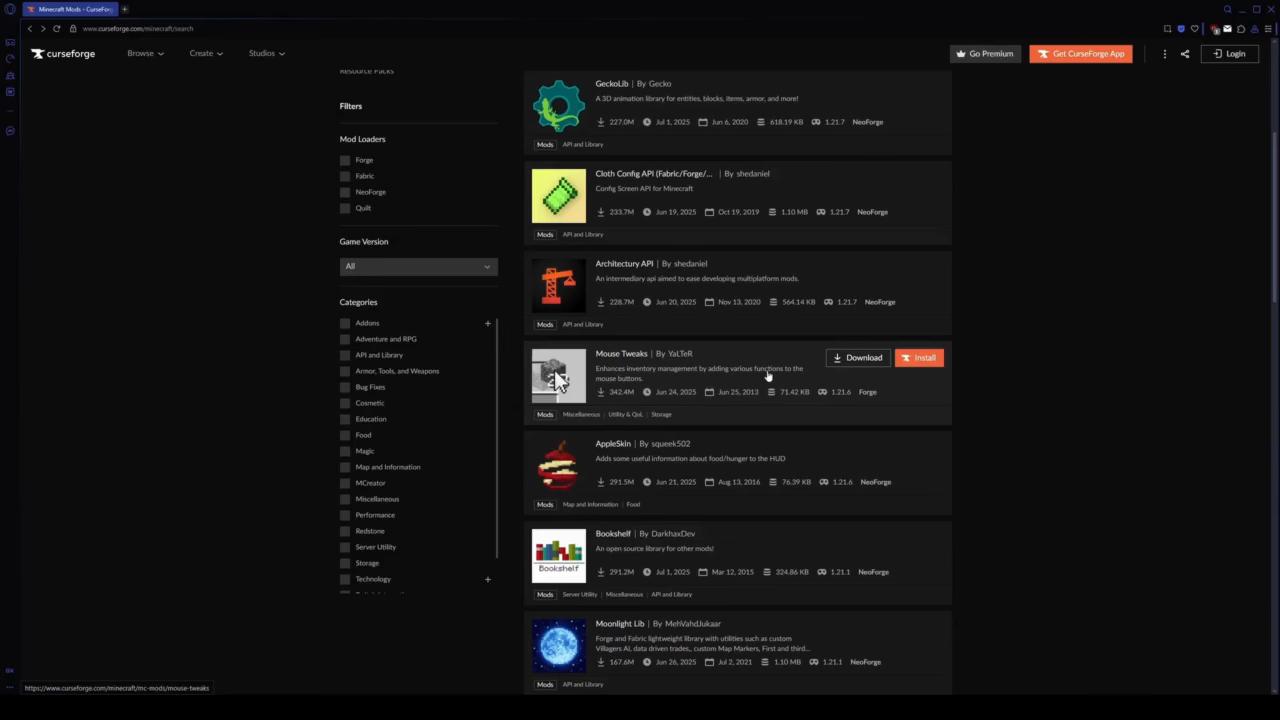
- Source the Mod: Navigate to the CurseForge website or the official download page for the mod you wish to install. It’s crucial to download mods only from trusted sources to avoid malware or corrupted files.
- Select the Correct Version: Pay close attention to the game version and mod loader compatibility. Most mods are developed for specific versions of Minecraft (e.g., 1.18.2, 1.19.4) and require a particular mod loader (Forge or Fabric). Downloading a mod for the wrong version will likely result in the mod not working or causing crashes.
- Download the File: Click on the download link for the mod. CurseForge typically provides
.jarfiles for Java Edition Minecraft mods. Save this file to a location you can easily find, such as your Downloads folder.
Locating Your Game’s Installation Directory
This is a critical step, as placing the mod file in the wrong location will render it ineffective.
For Minecraft Java Edition:
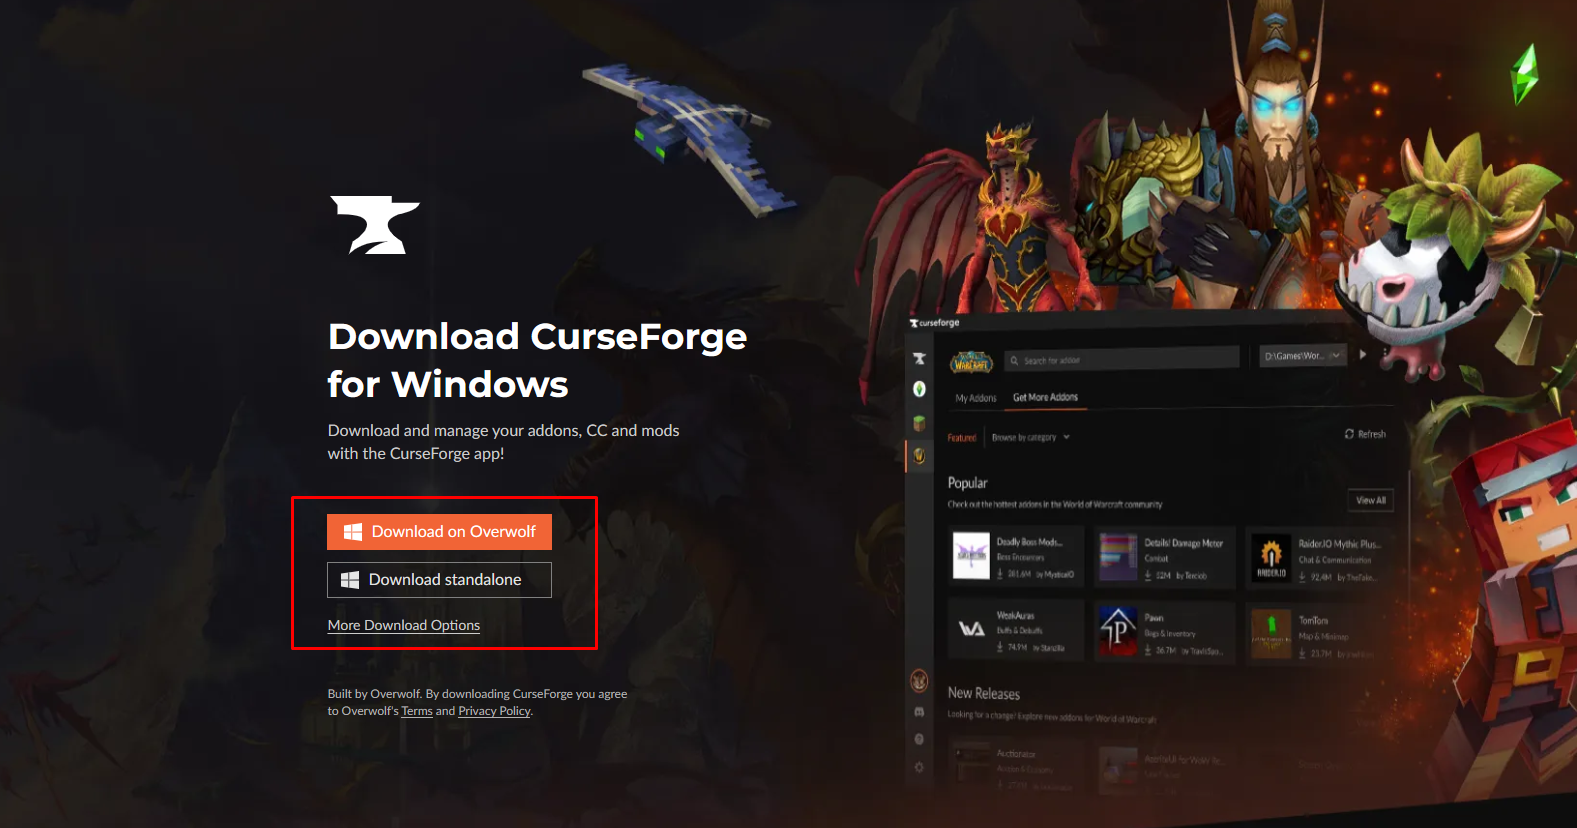
- Open the CurseForge App: If you’re using CurseForge to manage your game instances, you can often find the installation directory through the app itself.
- Navigate to Instance Settings: Select the Minecraft instance you’re modding from the list on the left. Then, click on the gear icon (Settings) for that instance.
- Locate the Game Directory: Within the instance settings, you should see an option to “Open Folder” or similar, which will take you directly to the root of your instance’s game files.
- Alternatively, Direct Access:
- Windows: Press
Win + R, type%appdata%.minecraftand press Enter. This will open the Minecraft configuration folder. If you are using a CurseForge instance, the path will be within theInstancesfolder (e.g.,C:Users[Your Username]CurseForgeMinecraftInstances[Your Instance Name]). - macOS: Open Finder, click “Go” in the menu bar, hold down the Option key, and click “Library.” Then navigate to
Application Support/minecraft. For CurseForge instances, the path will be similar to Windows (e.g.,/Users/[Your Username]/Library/Application Support/curseforge/minecraft/Instances/[Your Instance Name]/). - Linux: Navigate to
~/.minecraftin your home directory. For CurseForge instances, the path will be similar to the above.
- Windows: Press
For Other Games:
The process for locating the game directory varies significantly. You can typically find this information:
- In the game’s installation folder: If you installed the game via Steam, GOG, or another platform, navigate to the installation folder for that game.
- Through the modding community forums: Websites dedicated to modding a specific game usually provide detailed instructions on where mod files should be placed.
- In the game’s documentation or FAQs.
Placing the Mod File
Once you have the mod file and have located the correct game directory, it’s time to place the mod.
- Identify the Target Folder: For most Minecraft Java Edition mods designed to work with Forge or Fabric, this will be the
modsfolder within your game’s installation directory (the one you found in the previous step). If you’re installing resource packs, look for aresourcepacksfolder. - Create the Folder if Necessary: If the
modsfolder (or the appropriate folder for your mod type) doesn’t exist, you may need to create it manually. Right-click in the main game directory and select “New” > “Folder,” then name it accordingly (e.g.,mods). - Copy or Move the Mod File: Drag and drop the downloaded mod file (e.g., the
.jarfile) into themodsfolder. Ensure you are placing the.jarfile itself, not an archive that contains the.jarfile, unless the mod instructions specify otherwise. - Verify Installation: After placing the mod, launch your game through the CurseForge app. Check your in-game mod list or look for the changes the mod is supposed to introduce.
Advanced Considerations and Troubleshooting
Manual mod installation can sometimes present challenges. Here are some common issues and how to address them.
Mod Loader Compatibility (Forge/Fabric)
For Minecraft Java Edition, most mods require a mod loader. CurseForge typically manages this for you, but when installing manually, you need to ensure you have the correct mod loader installed and that your mods are compatible with it.
- Forge: A widely used mod loader that allows for extensive modification of the game.
- Fabric: Another popular mod loader, often favored for its lightweight nature and faster updates.
If you’re manually installing mods, you’ll need to download and install the appropriate version of Forge or Fabric for your Minecraft version before attempting to install any mods. The mod loader itself is usually installed by running an installer .jar file provided by the respective project. Once installed, it creates the necessary mods folder and enables the game to load mods.
Dependency Issues
Some mods require other mods to function. These are called dependencies.
- Read Mod Descriptions Carefully: Always read the description of a mod you’re downloading. It will usually list any required dependencies.
- Install Dependencies First: Ensure you download and install all necessary dependency mods before installing the main mod.
- CurseForge App vs. Manual: The CurseForge app often automatically handles dependency installations. When installing manually, you are responsible for this.
Conflicts Between Mods
Occasionally, two or more mods may try to alter the same game element, leading to conflicts and crashes.
- One-by-One Installation: The most effective way to identify conflicts is to install mods one at a time. After installing a mod, launch the game and test it. If it works, proceed to the next mod. If it causes issues, the last mod you installed is likely the culprit.
- Mod Configuration: Some mods offer configuration options that can help resolve conflicts. Look for a
configfolder within your game directory, which may contain.jsonor.tomlfiles for your mods. Editing these files can sometimes fix issues, but proceed with caution and back up any files before making changes. - Community Support: If you suspect a conflict, consult the mod’s page or the game’s modding forums. Other users may have encountered and solved similar problems.
Troubleshooting Crashes
If your game crashes after manually installing mods, here’s how to troubleshoot:
- Check the Crash Log: When Minecraft crashes, it usually generates a crash report. These are typically found in the
crash-reportsfolder within your.minecraftdirectory (or within your CurseForge instance folder). The crash log can provide clues about which mod or what event triggered the crash. - Remove Recently Added Mods: If you’ve recently added several mods, try removing them one by one to see if the game starts working again. This helps isolate the problematic mod.
- Verify Mod Versions: Double-check that all your mods are for the correct Minecraft version and mod loader version.
- Update Mod Loader: Ensure you are using the latest stable version of Forge or Fabric for your game version.
- Reinstall Mods: Sometimes, a corrupted download or installation can cause issues. Try re-downloading and re-placing the mod file.
Conclusion
Manually installing mods on CurseForge, while less automated than using the app directly, offers a powerful way to customize your gaming experience. By understanding the file structures, dependency requirements, and common troubleshooting steps, you can confidently integrate new content and enhance your favorite games. Whether you’re a seasoned modder seeking granular control or a curious newcomer looking to learn, mastering manual mod installation unlocks a deeper level of engagement with the vibrant world of game modding. Always remember to download from reputable sources, verify compatibility, and back up your game files when making significant changes, ensuring a smooth and enjoyable modding journey.
aViewFromTheCave is a participant in the Amazon Services LLC Associates Program, an affiliate advertising program designed to provide a means for sites to earn advertising fees by advertising and linking to Amazon.com. Amazon, the Amazon logo, AmazonSupply, and the AmazonSupply logo are trademarks of Amazon.com, Inc. or its affiliates. As an Amazon Associate we earn affiliate commissions from qualifying purchases.