Xcode is the cornerstone of Apple’s development ecosystem, serving as the integrated development environment (IDE) for creating applications across all Apple platforms: macOS, iOS, iPadOS, tvOS, and watchOS. Whether you’re an aspiring app developer looking to bring your innovative ideas to life, a seasoned programmer expanding your skillset, or a tech enthusiast eager to explore the tools behind Apple’s cutting-edge software, understanding how to install Xcode on your Mac is a fundamental step. This comprehensive guide will walk you through the entire process, from initial considerations to troubleshooting common issues, ensuring you’re equipped to embark on your Apple development journey.
Our website delves into the multifaceted world of technology, covering everything from the latest tech trends and software innovations to AI tools, app reviews, gadget analyses, and in-depth tutorials. We also explore the crucial aspects of digital security and productivity. Furthermore, we examine the strategic landscape of branding, encompassing brand strategy, personal branding, corporate identity, marketing, design, and illuminating case studies. Finally, our “Money” section provides valuable insights into personal finance, investing, online income generation, side hustles, business finance, and essential financial tools. This guide on installing Xcode directly aligns with our “Tech” focus, empowering you with the knowledge to leverage powerful development tools.
Preparing for Your Xcode Installation: Essential Prerequisites
Before diving into the installation process, it’s crucial to ensure your Mac meets the necessary requirements and that you’re prepared to download a substantial piece of software. This preparatory phase can save you time and prevent potential installation headaches.
System Requirements for Xcode
Xcode is a robust and feature-rich IDE, and as such, it demands a certain level of system resources. The most up-to-date version of Xcode typically requires a recent version of macOS. To check the specific macOS version required for the latest Xcode release, it’s always best to consult the official Apple Developer website. Generally, you’ll need:
- A compatible Mac computer: This includes MacBook, MacBook Air, MacBook Pro, iMac, Mac mini, and Mac Pro models.
- Sufficient storage space: Xcode itself is a large application, often tens of gigabytes in size, and this doesn’t include the space required for simulators, device support files, and your projects. We recommend having at least 50GB of free storage, but more is always better, especially if you plan to work with multiple platforms or older device simulations.
- Adequate RAM: While Xcode can run on Macs with 8GB of RAM, 16GB or more is highly recommended for a smoother and more efficient development experience, particularly when running simulators or multiple applications concurrently.
- An active internet connection: The download for Xcode is significant, so a stable and reasonably fast internet connection is essential.
Creating an Apple Developer Account (Optional but Recommended)
While you can download and install Xcode without an Apple Developer account, having one opens up a world of possibilities. An Apple Developer account is necessary if you intend to:
- Test your apps on physical devices: To deploy and run your applications on an iPhone, iPad, Apple Watch, or Apple TV, you’ll need to sign in to Xcode with your developer account.
- Distribute your apps on the App Store: This is the ultimate goal for many developers, and a developer account is a prerequisite for submitting your applications.
- Access beta software and advanced resources: Developer accounts provide access to pre-release versions of Apple’s operating systems and SDKs, as well as exclusive documentation and support.
You can create a free Apple Developer account at the official Apple Developer website. This account will be linked to your Apple ID.
Installing Xcode: The Step-by-Step Process
There are two primary methods for installing Xcode on your Mac: through the Mac App Store or by downloading it directly from the Apple Developer website. Each method has its advantages.
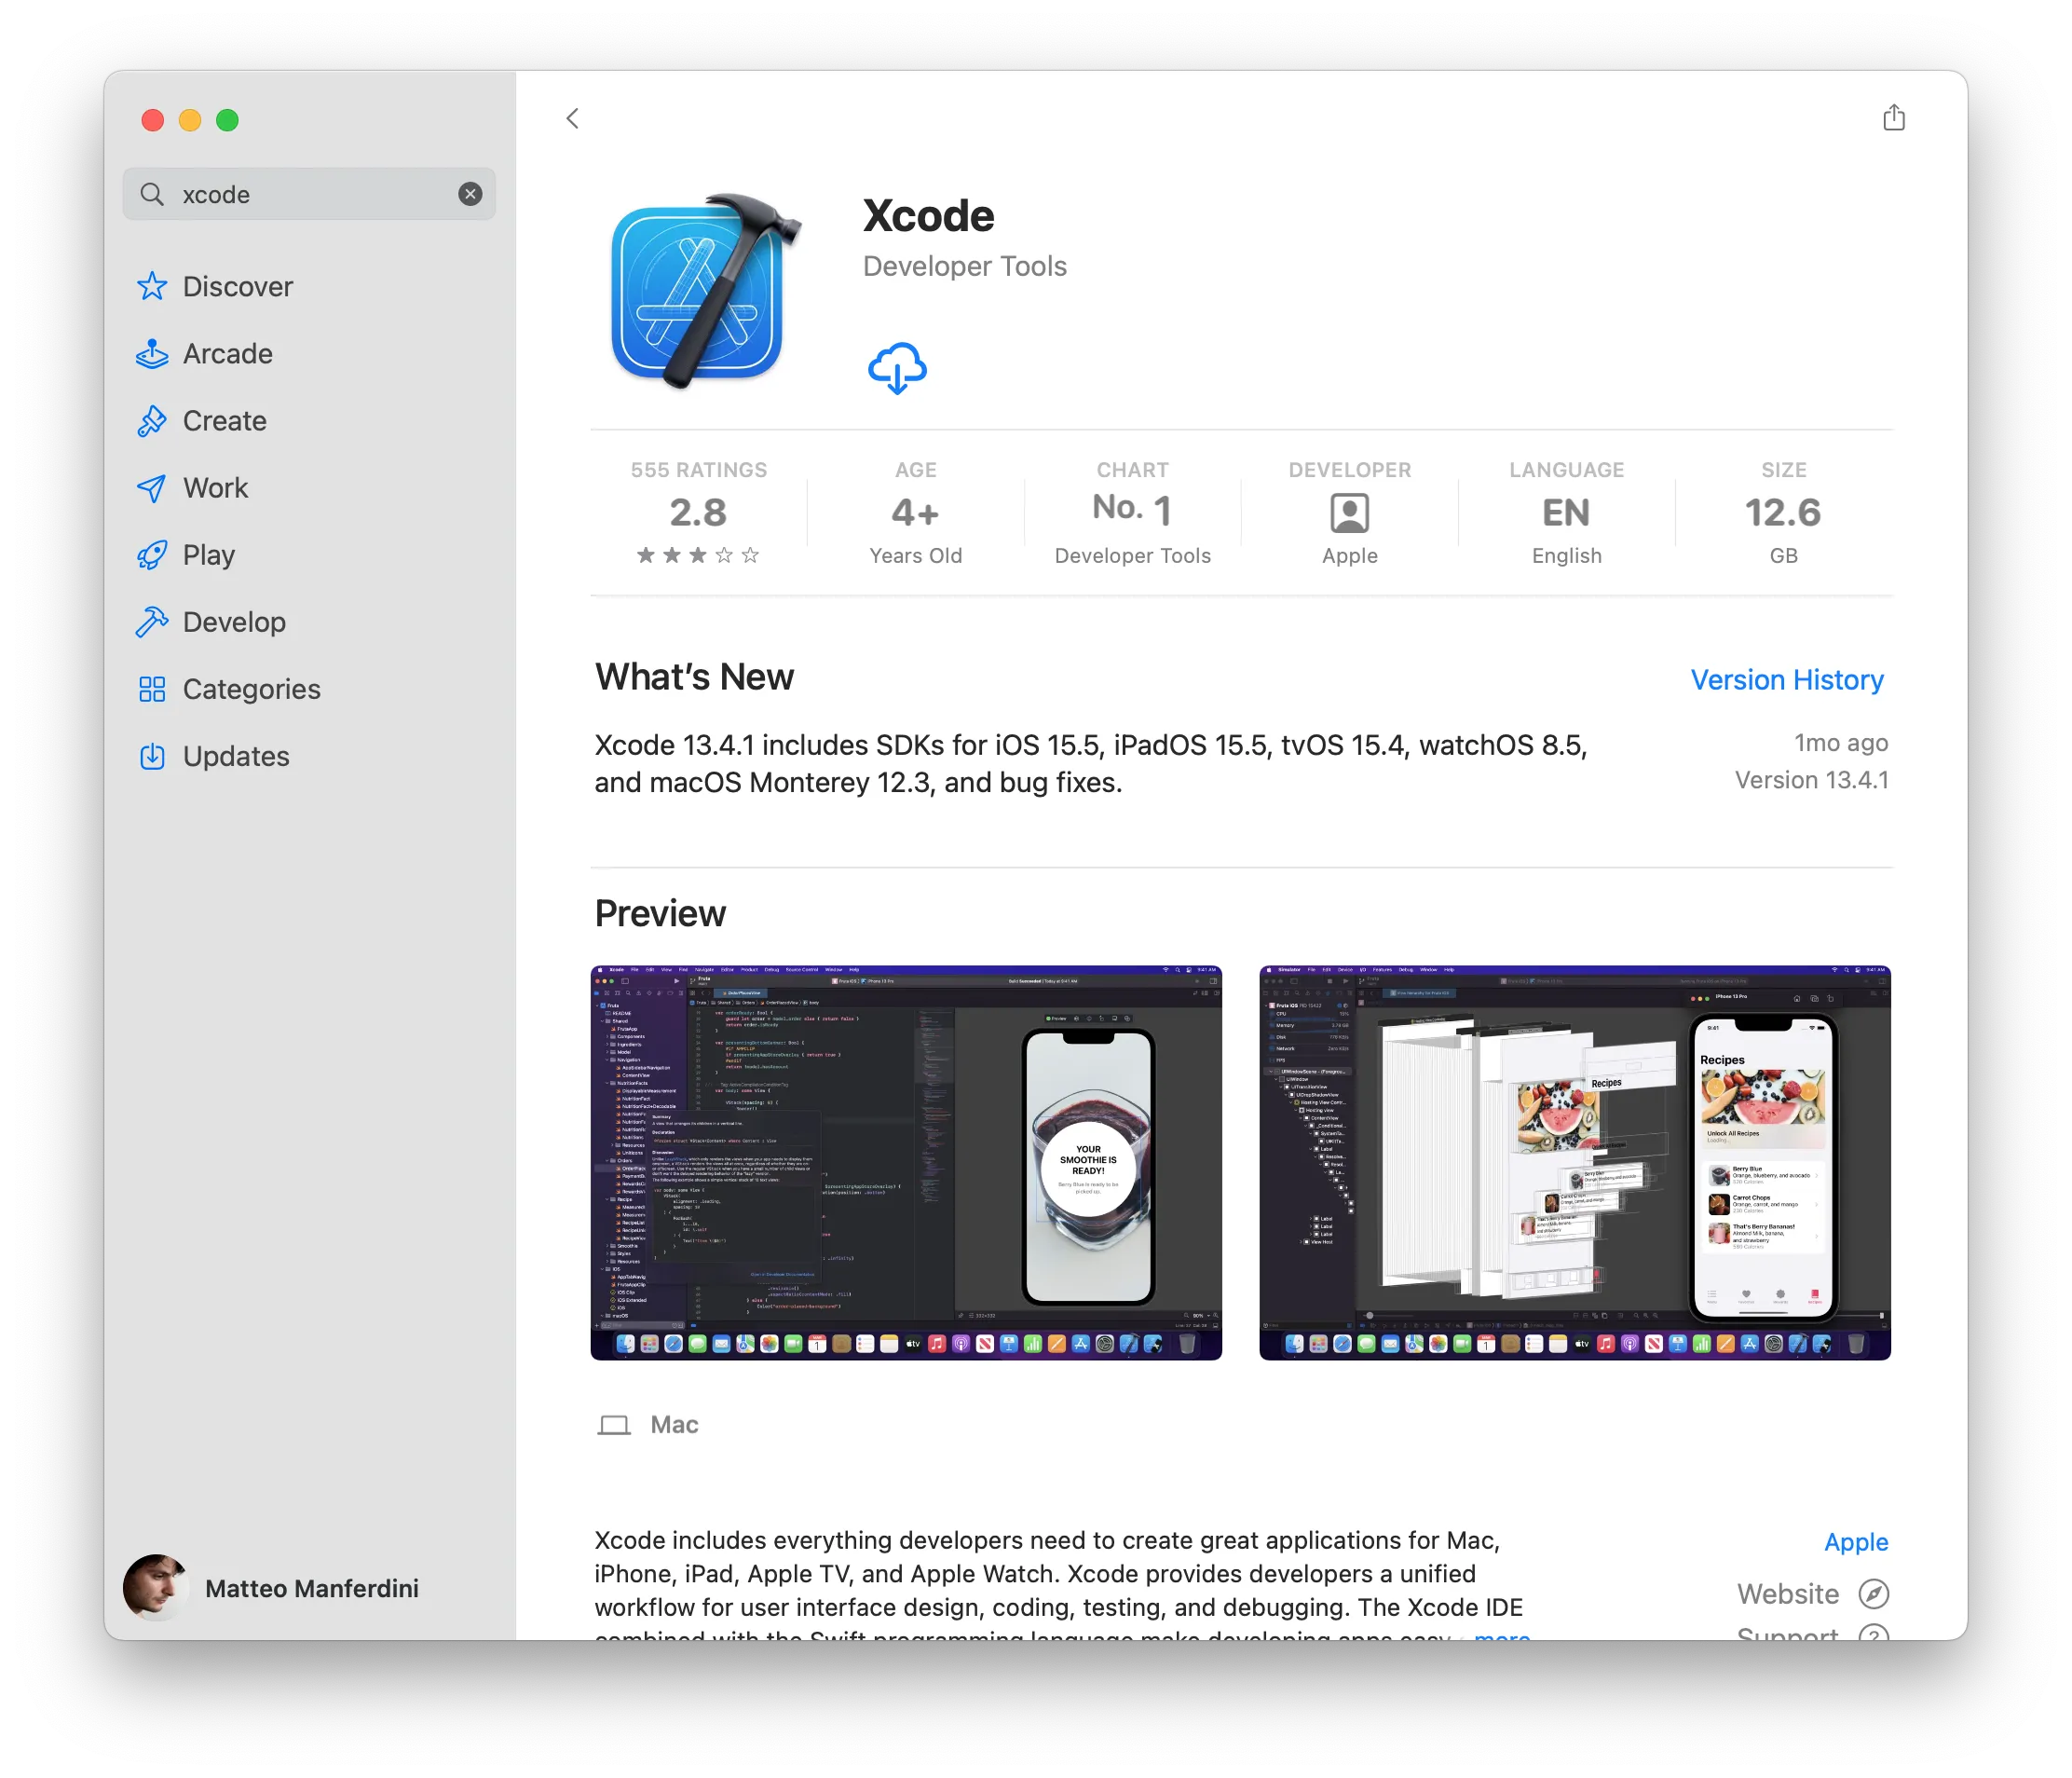
Method 1: Installing Xcode from the Mac App Store
The Mac App Store is the most straightforward and recommended method for most users, especially beginners. It ensures you’re downloading a verified and officially sanctioned version of Xcode.
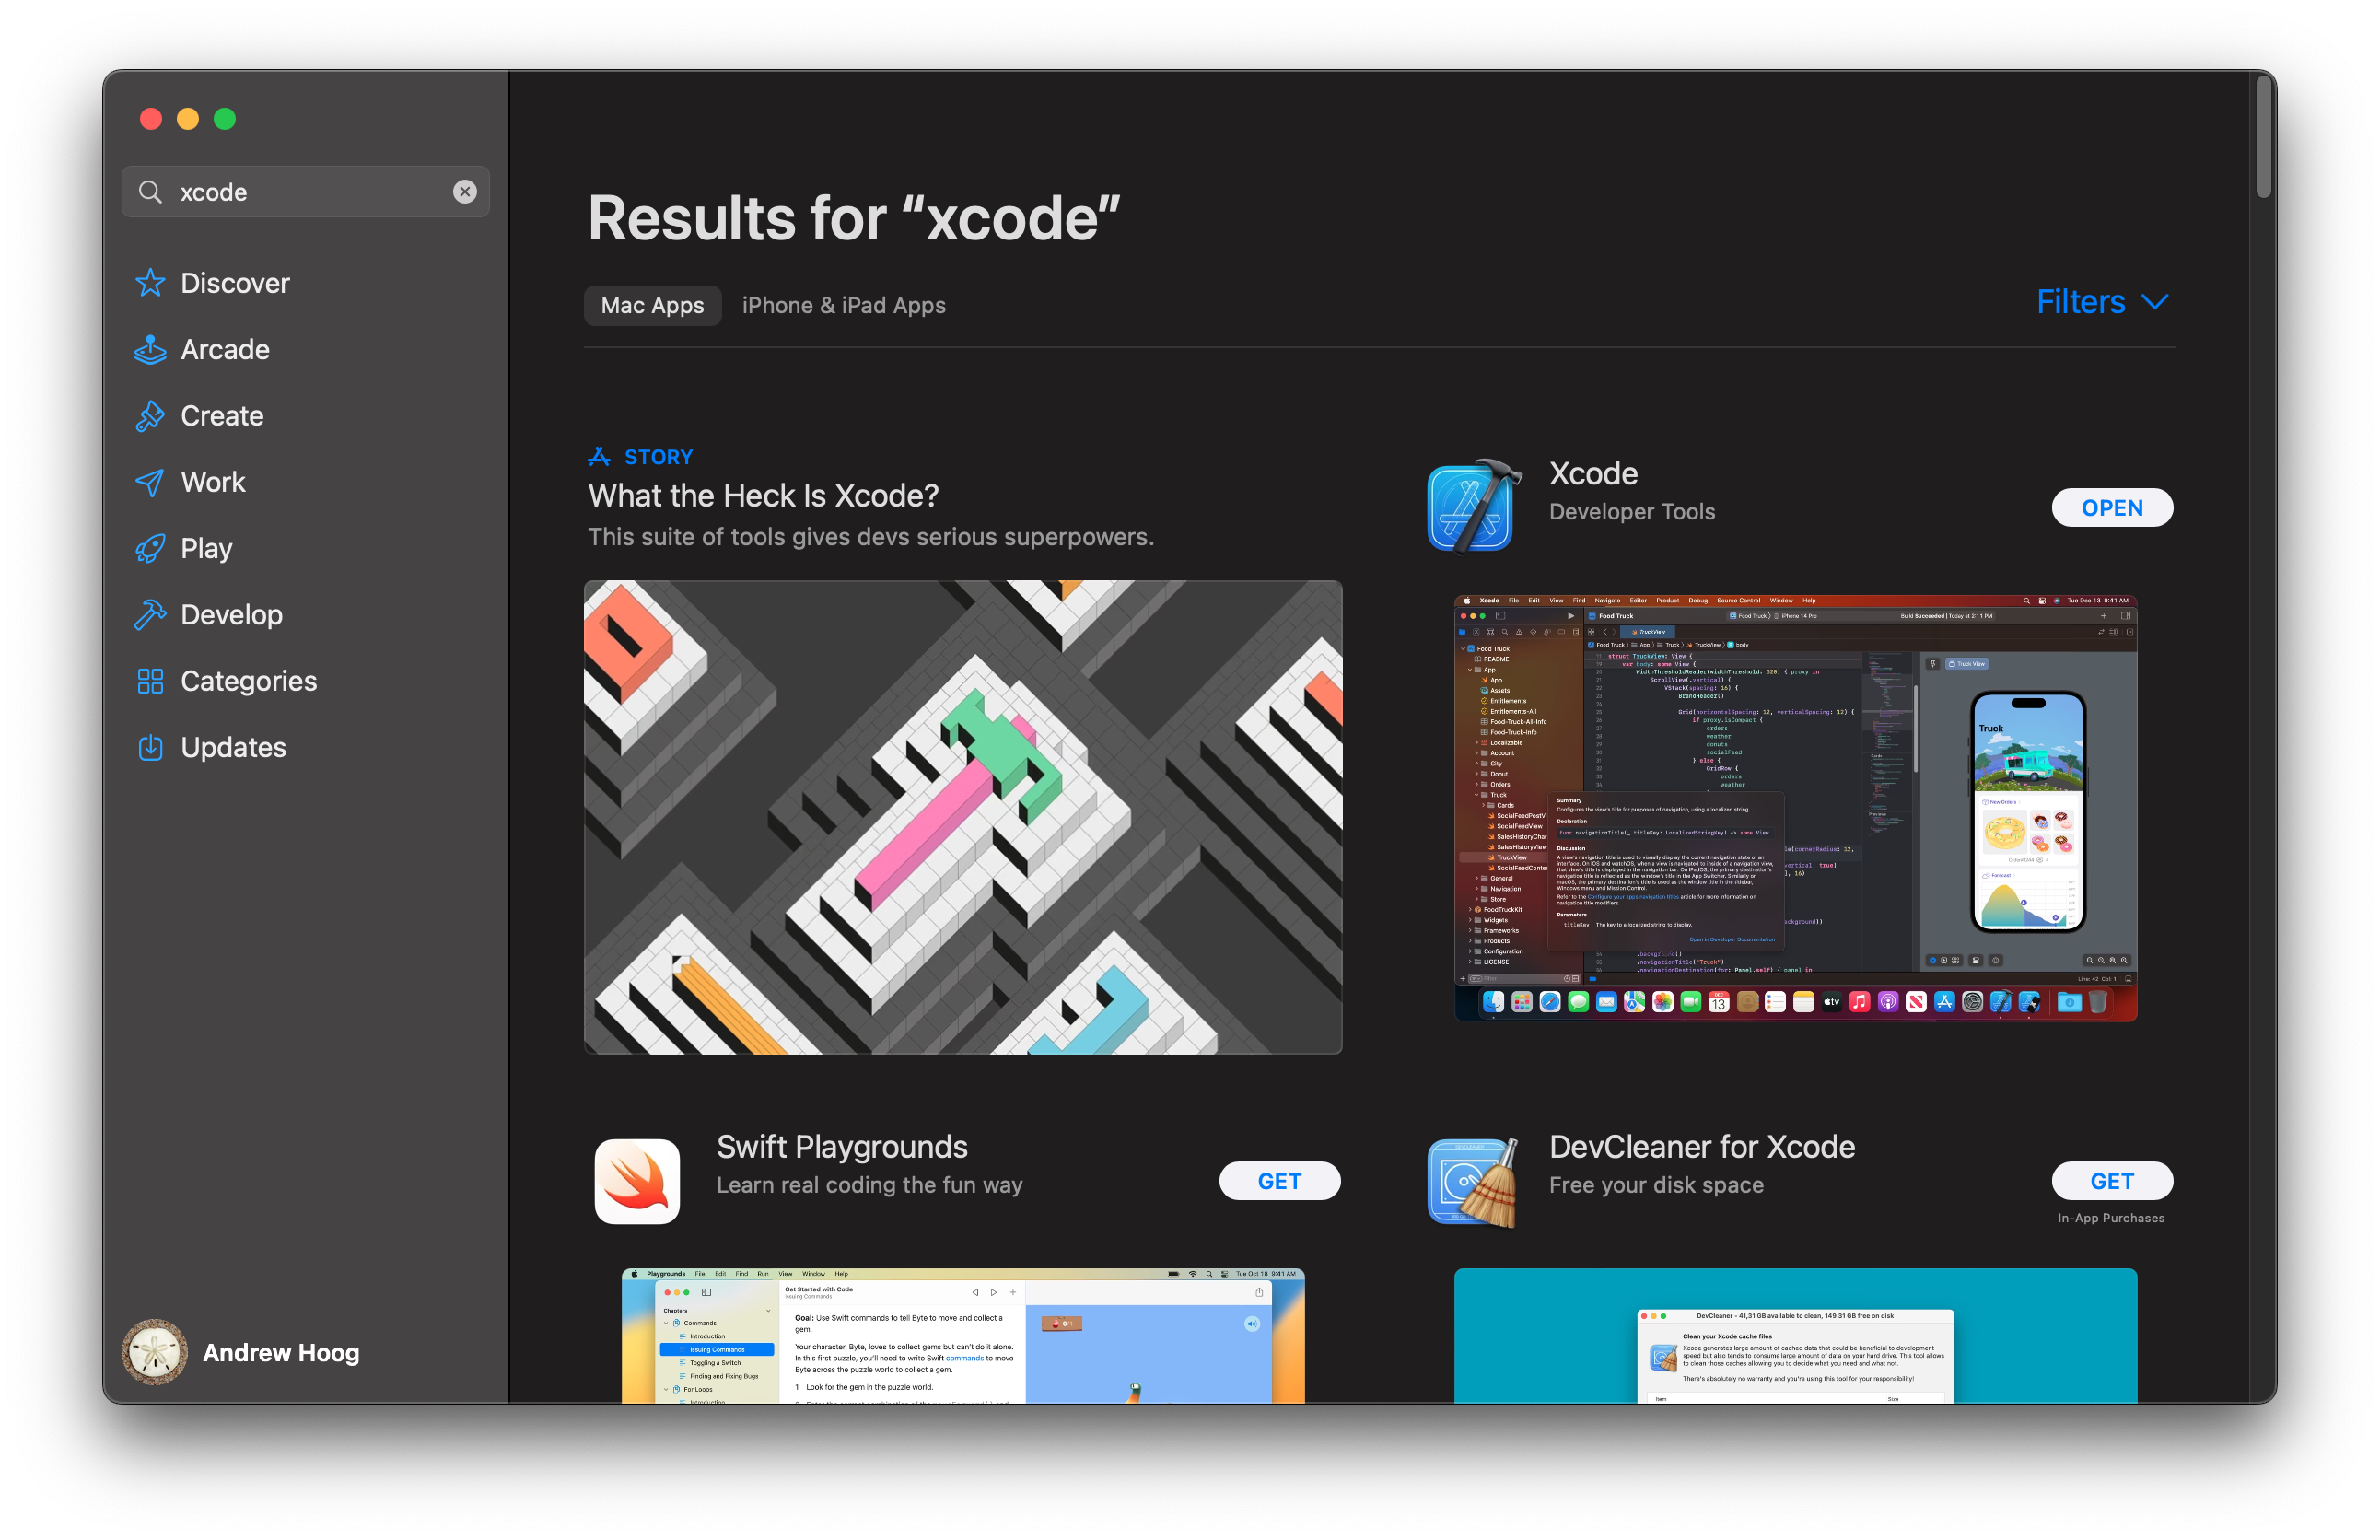
- Open the App Store: Launch the “App Store” application from your Dock or by searching for it in Spotlight (Cmd + Space).
- Search for Xcode: In the search bar located at the top-left corner of the App Store window, type “Xcode” and press Enter.
- Locate Xcode: You should see “Xcode” as the primary result. It will be published by Apple.
- Click “Get” or the Cloud Icon: If you haven’t installed Xcode before, you’ll see a “Get” button. If you’ve previously installed it (even an older version), you might see a cloud icon with a downward arrow, indicating you can re-download it. Click on this button.
- Authenticate with your Apple ID: You will be prompted to enter your Apple ID password or use Touch ID/Face ID to authorize the download.
- Start the Download: The download will begin. Be patient, as Xcode is a very large file, and the download time can vary significantly depending on your internet speed. You can monitor the progress in the App Store’s “Purchased” section or on the Xcode app icon in your Dock.
- Installation: Once the download is complete, the installation process usually starts automatically. If not, you can find Xcode in your Applications folder and double-click it to launch it.
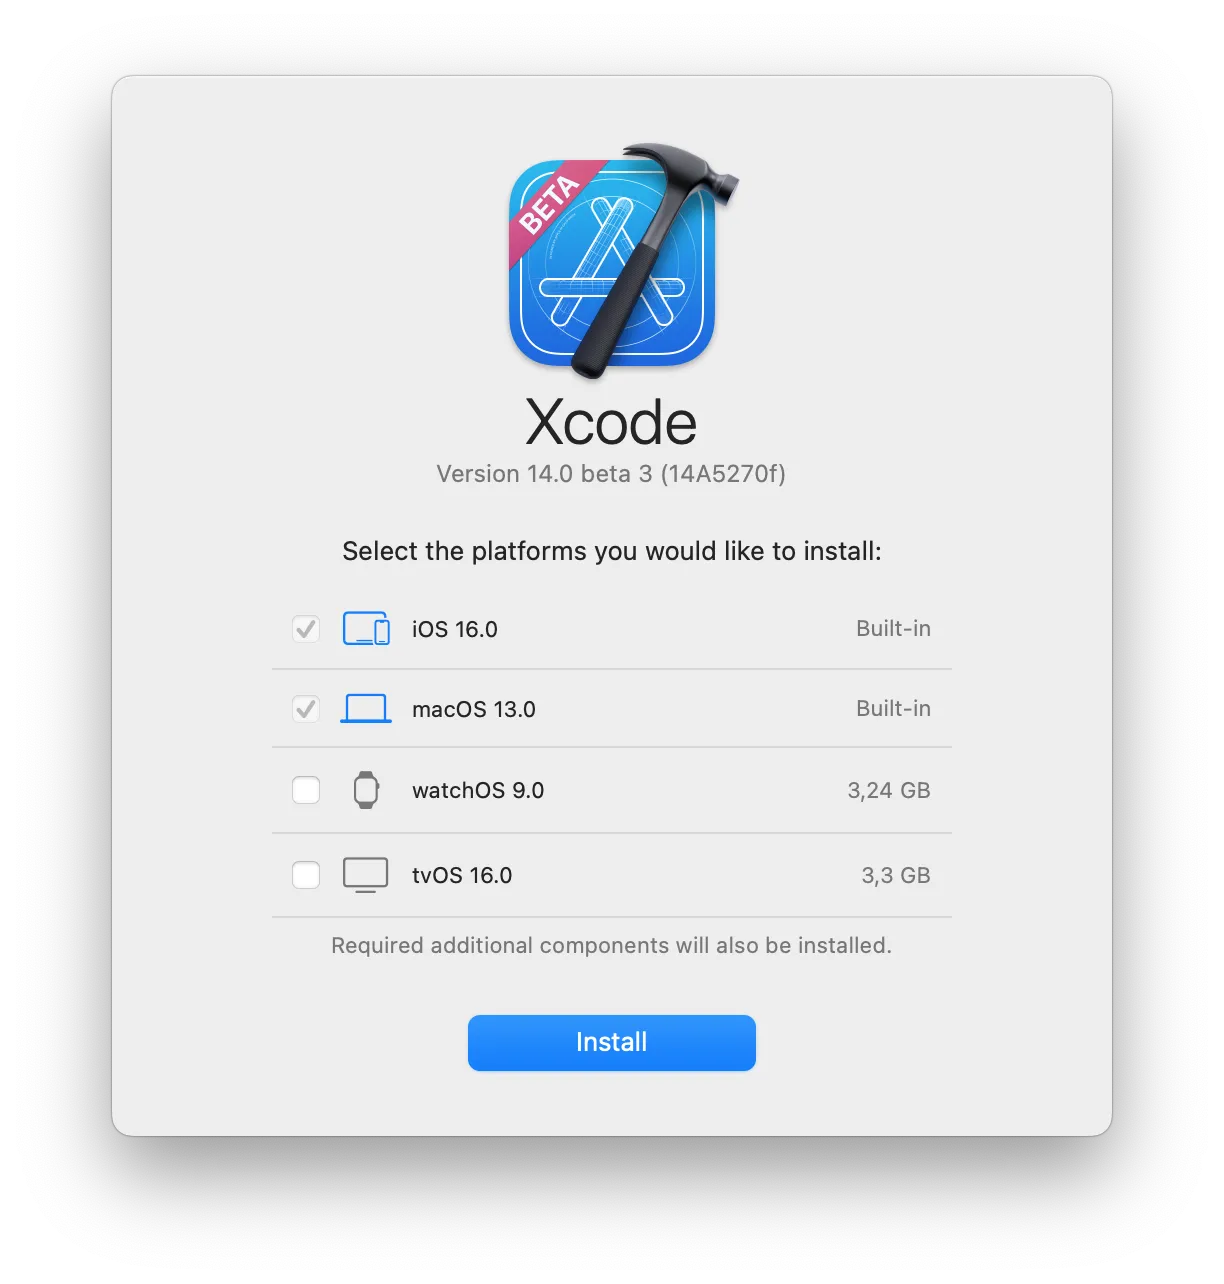
- Initial Setup: The first time you launch Xcode, it will likely prompt you to install additional components, such as command-line tools and SDKs for various Apple platforms. Click “Install” and follow the on-screen prompts, which will again require your administrator password. This step is crucial for Xcode to function correctly with system-level development tools.
Method 2: Downloading Xcode from the Apple Developer Website
This method is particularly useful if you need a specific older version of Xcode, want to test beta releases, or if you encounter issues with the App Store download.
- Visit the Apple Developer Downloads Page: Navigate to the official Apple Developer website and find the “Downloads” section. You can usually find this by searching for “Apple Developer Downloads” or by visiting developer.apple.com/download/.
- Sign In with your Apple ID: You will need to sign in with your Apple ID. If you have an Apple Developer Program membership, use that account.
- Locate the Desired Xcode Version: Browse through the available Xcode versions. You can find the latest stable release, older versions, and beta versions.
- Download the Xcode
.xipFile: Click the download link for the Xcode version you want. This will download a.xipfile, which is a compressed archive. This download will also be very large. - Extract the
.xipFile: Once the download is complete, locate the.xipfile in your Downloads folder. Double-click it to extract the Xcode application. macOS will automatically handle the extraction process, which can take some time. - Move Xcode to the Applications Folder: After extraction, you’ll have an “Xcode.app” file. Drag and drop this file into your “Applications” folder.
- Launch Xcode and Complete Setup: Open your Applications folder, find Xcode, and double-click it to launch. Similar to the App Store installation, you’ll be prompted to install additional components. Click “Install” and provide your administrator password.
Post-Installation: Configuring Xcode for Development
Once Xcode is installed, there are a few essential steps to ensure it’s set up correctly and ready for your coding endeavors.
Installing Command Line Tools
While the main Xcode installation often includes the necessary command-line tools, it’s good practice to verify and install them separately if needed. These tools are essential for various development tasks that don’t require the full Xcode IDE, such as using Git, compiling C/C++, and running scripts from the Terminal.
- Open Terminal: You can find the Terminal application in your Applications > Utilities folder, or by searching for it in Spotlight.
- Run the Command: Type the following command and press Enter:
bash

xcode-select --install
- Follow Prompts: A dialog box will appear asking if you want to install the command-line developer tools. Click “Install” and agree to the license agreement. This will download and install a smaller package compared to the full Xcode application.
Setting up your Apple Developer Account in Xcode
To test your apps on physical devices and prepare for App Store distribution, you need to link your Apple Developer account to Xcode.
- Launch Xcode: Open Xcode from your Applications folder.
- Open Preferences: Go to Xcode > Preferences (or press Cmd + ,).
- Navigate to Accounts: Click on the “Accounts” tab.
- Add your Apple ID: Click the “+” button in the bottom-left corner and select “Apple ID.”
- Enter your Credentials: Enter your Apple ID email address and password.
- Manage Certificates and Profiles: Once signed in, Xcode will automatically fetch your development certificates and provisioning profiles. You can manage these here, though for initial setup, letting Xcode handle it is usually sufficient.
Exploring Xcode’s Interface and Key Features
Take some time to familiarize yourself with Xcode’s interface. The main window typically includes:
- Navigator Area (Left Pane): This area displays project files, symbols, issues, and breakpoints.
- Editor Area (Center Pane): This is where you’ll write your code, design your user interfaces (using Storyboards or SwiftUI previews), and view documentation.
- Utility Area (Right Pane): This pane provides inspectors for attributes, object libraries, and file templates.
- Toolbar (Top): This contains buttons for running your app, debugging, selecting simulators, and more.
- Debug Area (Bottom): This appears when you run your app and shows console output, variable values, and other debugging information.
Troubleshooting Common Xcode Installation Issues
While the installation process is generally smooth, you might encounter a few common issues.
Issues with Large Downloads and Incomplete Installations
- Insufficient Disk Space: As mentioned, Xcode requires a significant amount of disk space. Ensure you have ample free storage before starting the download.
- Unstable Internet Connection: A dropped connection during the download can lead to corrupted files. Try downloading from a stable network or at a time when your connection is most reliable.
- App Store Cache Issues: If the App Store download gets stuck, try restarting the App Store or your Mac. You can also try clearing the App Store cache, though this is a more advanced step.
Problems with Command Line Tools Installation
- “Command not found”: If you try to use a command-line tool and get this error, it means the command-line tools are not installed or not properly linked. Running
xcode-select --installshould resolve this. - Permissions Issues: Ensure you have administrator privileges on your Mac when prompted for passwords during installation.
Xcode Not Launching or Crashing
- Corrupted Installation: If Xcode fails to launch or crashes immediately, it might indicate a corrupted installation. Try deleting Xcode from your Applications folder and reinstalling it.
- Outdated macOS: Ensure your macOS is updated to a version compatible with the Xcode version you’re trying to install.
- Insufficient System Resources: If your Mac is struggling to keep up, Xcode might become unstable. Close other resource-intensive applications.
Conclusion: Embarking on Your Apple Development Journey
Installing Xcode on your Mac is the gateway to creating applications for the vast and influential Apple ecosystem. By following these steps, you’ll be well on your way to building innovative software for iPhones, iPads, Macs, and more. Remember, the world of tech is constantly evolving, and mastering tools like Xcode is key to staying at the forefront. Explore the vast resources available, experiment with new features, and don’t hesitate to delve into our other sections on branding and money to build a successful career or business around your newfound development skills. Happy coding!
aViewFromTheCave is a participant in the Amazon Services LLC Associates Program, an affiliate advertising program designed to provide a means for sites to earn advertising fees by advertising and linking to Amazon.com. Amazon, the Amazon logo, AmazonSupply, and the AmazonSupply logo are trademarks of Amazon.com, Inc. or its affiliates. As an Amazon Associate we earn affiliate commissions from qualifying purchases.