For developers, system administrators, and anyone looking to leverage the power of Linux on their Windows machine, the Windows Subsystem for Linux (WSL) is an indispensable tool. This guide will walk you through the straightforward process of installing WSL on Windows 11, unlocking a world of command-line utilities, programming languages, and development environments directly within your familiar Windows interface. Whether you’re a seasoned Linux user or a complete beginner, this tutorial aims to equip you with the knowledge to get WSL up and running efficiently.
Understanding the Power of WSL
Before we dive into the installation process, it’s crucial to understand what WSL is and why it’s so valuable. WSL allows you to run a GNU/Linux environment, including most command-line tools, utilities, and applications, directly on Windows, unmodified, without the overhead of a traditional virtual machine or dual-boot setup. This seamless integration brings the best of both worlds to your desktop.
What is WSL?
At its core, WSL is a compatibility layer that translates Linux system calls into Windows system calls. This means you can execute Linux binaries directly on Windows. Initially, WSL used a lightweight virtual machine approach, but with the advent of WSL 2, Microsoft introduced a full Linux kernel running in a lightweight utility virtual machine. This significant improvement offers substantially better performance and full system call compatibility, making it a near-native Linux experience.
Why Use WSL?
The benefits of using WSL are numerous, especially for those in tech-related fields:
- Development: Many modern development tools, frameworks, and programming languages are either Linux-native or perform best in a Linux environment. With WSL, you can develop applications using Python, Node.js, Ruby, Go, and more, all within your Windows machine. This eliminates the need for separate development servers or complex virtual machine setups.
- Command-Line Tools: Access to powerful Linux command-line tools like
grep,awk,sed,ssh, and package managers likeapt(for Debian/Ubuntu-based distributions) ordnf(for Fedora-based distributions) is a game-changer for productivity and system administration. - Containerization: WSL integrates seamlessly with Docker Desktop for Windows, allowing you to run containers directly on your Windows machine without the need for a separate Docker VM. This streamlines containerized development workflows.
- Learning Linux: For aspiring system administrators or developers looking to expand their skill set, WSL provides a safe and accessible environment to learn and experiment with Linux without altering your primary operating system.
- Efficiency: Compared to traditional virtual machines, WSL is remarkably lightweight and boots up almost instantaneously. This means you can start using your Linux environment without lengthy boot times.
- File System Access: WSL allows for bidirectional file system access, meaning you can access your Windows files from within your Linux distribution and vice-versa. This simplifies data management and workflow integration.
WSL 1 vs. WSL 2: Key Differences
Microsoft has evolved WSL significantly. Understanding the difference between WSL 1 and WSL 2 is important for choosing the right setup.
- WSL 1: This earlier version relied on a translation layer for system calls. While it provided good command-line compatibility, it didn’t have a real Linux kernel and had limitations with certain applications and performance.
- WSL 2: This is the recommended version for most users. WSL 2 utilizes a real Linux kernel via a lightweight utility virtual machine. This architecture offers:
- Full System Call Compatibility: This means virtually all Linux applications will run without issue.
- Improved Performance: Especially for file I/O operations, WSL 2 significantly outperforms WSL 1.
- Container Support: Essential for running Docker and other container technologies.
Unless you have a specific reason to stick with WSL 1 (e.g., older hardware with limited virtualization support), WSL 2 is the way to go. This guide will focus on installing WSL 2.
Installing WSL on Windows 11: A Step-by-Step Guide
Windows 11 has made the installation of WSL incredibly user-friendly, often requiring just a single command. Let’s walk through the process.
Prerequisites
Before you begin, ensure your Windows 11 system meets the following requirements:
- Windows 11: The guide is specifically for Windows 11.
- Virtualization Enabled: WSL 2 requires hardware virtualization to be enabled in your system’s BIOS/UEFI settings. Most modern computers have this feature enabled by default. If you encounter issues, you may need to access your BIOS/UEFI during boot-up (usually by pressing keys like F2, F10, Del, or Esc) and look for settings related to “Virtualization Technology,” “VT-x,” or “AMD-V” and ensure they are enabled.
Method 1: The Easiest Way – Using the wsl --install Command
This is the simplest and most recommended method for installing WSL and a default Linux distribution on Windows 11.
-
Open PowerShell or Command Prompt as Administrator:
- Click the Start button.
- Type “PowerShell” or “Command Prompt”.
- Right-click on the result and select “Run as administrator”.
- Click “Yes” on the User Account Control (UAC) prompt.
-
Run the Installation Command:
In the administrator terminal window, type the following command and press Enter:wsl --installThis single command does a lot:
- It enables the necessary optional Windows features for WSL.
- It downloads and installs the latest version of the Linux kernel.
- It sets WSL 2 as the default version.
- It installs the Ubuntu Linux distribution by default.
-
Restart Your Computer:
After the command completes, you will be prompted to restart your computer. It is crucial to restart your system for the changes to take effect. -
Complete Linux Distribution Setup:
Once your computer restarts, the installed Linux distribution (Ubuntu, by default) will automatically launch its initial setup. You will be asked to:- Create a username: This is your Linux username, which is separate from your Windows username.
- Create a password: This password will be used for
sudocommands and other administrative tasks within your Linux environment.
Follow the on-screen prompts to complete this setup.
That’s it! You have now successfully installed WSL and a Linux distribution on your Windows 11 machine. You can now launch your Linux environment by searching for its name (e.g., “Ubuntu”) in the Start menu.
Method 2: Installing Specific Linux Distributions and Managing WSL
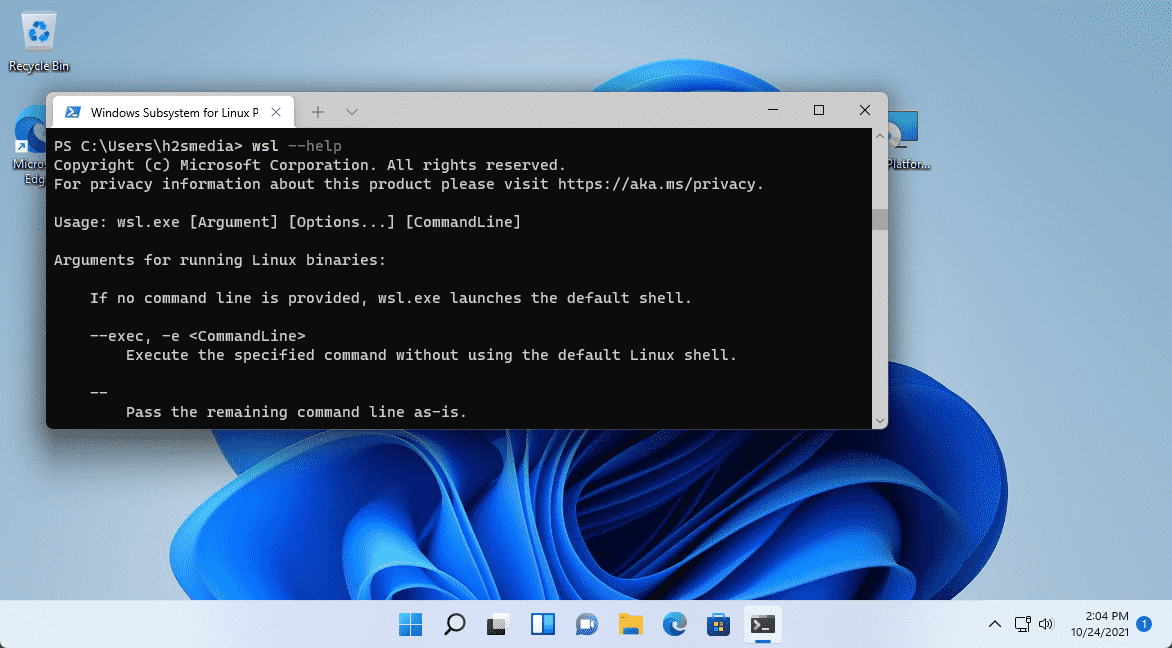
While wsl --install is the easiest, you might want to install a different Linux distribution or manage your WSL installations manually.
1. Enabling WSL Features Manually (if wsl --install fails or you prefer manual control)
If the wsl --install command doesn’t work or you prefer a more granular approach, you can enable the required features manually.
-
Open PowerShell as Administrator (as described in Method 1, Step 1).
-
Enable WSL:
dism.exe /online /enable-feature /featurename:Microsoft-Windows-Subsystem-Linux /all /norestart -
Enable Virtual Machine Platform:
dism.exe /online /enable-feature /featurename:VirtualMachinePlatform /all /norestart -
Restart Your Computer:
Again, a restart is essential after enabling these features.
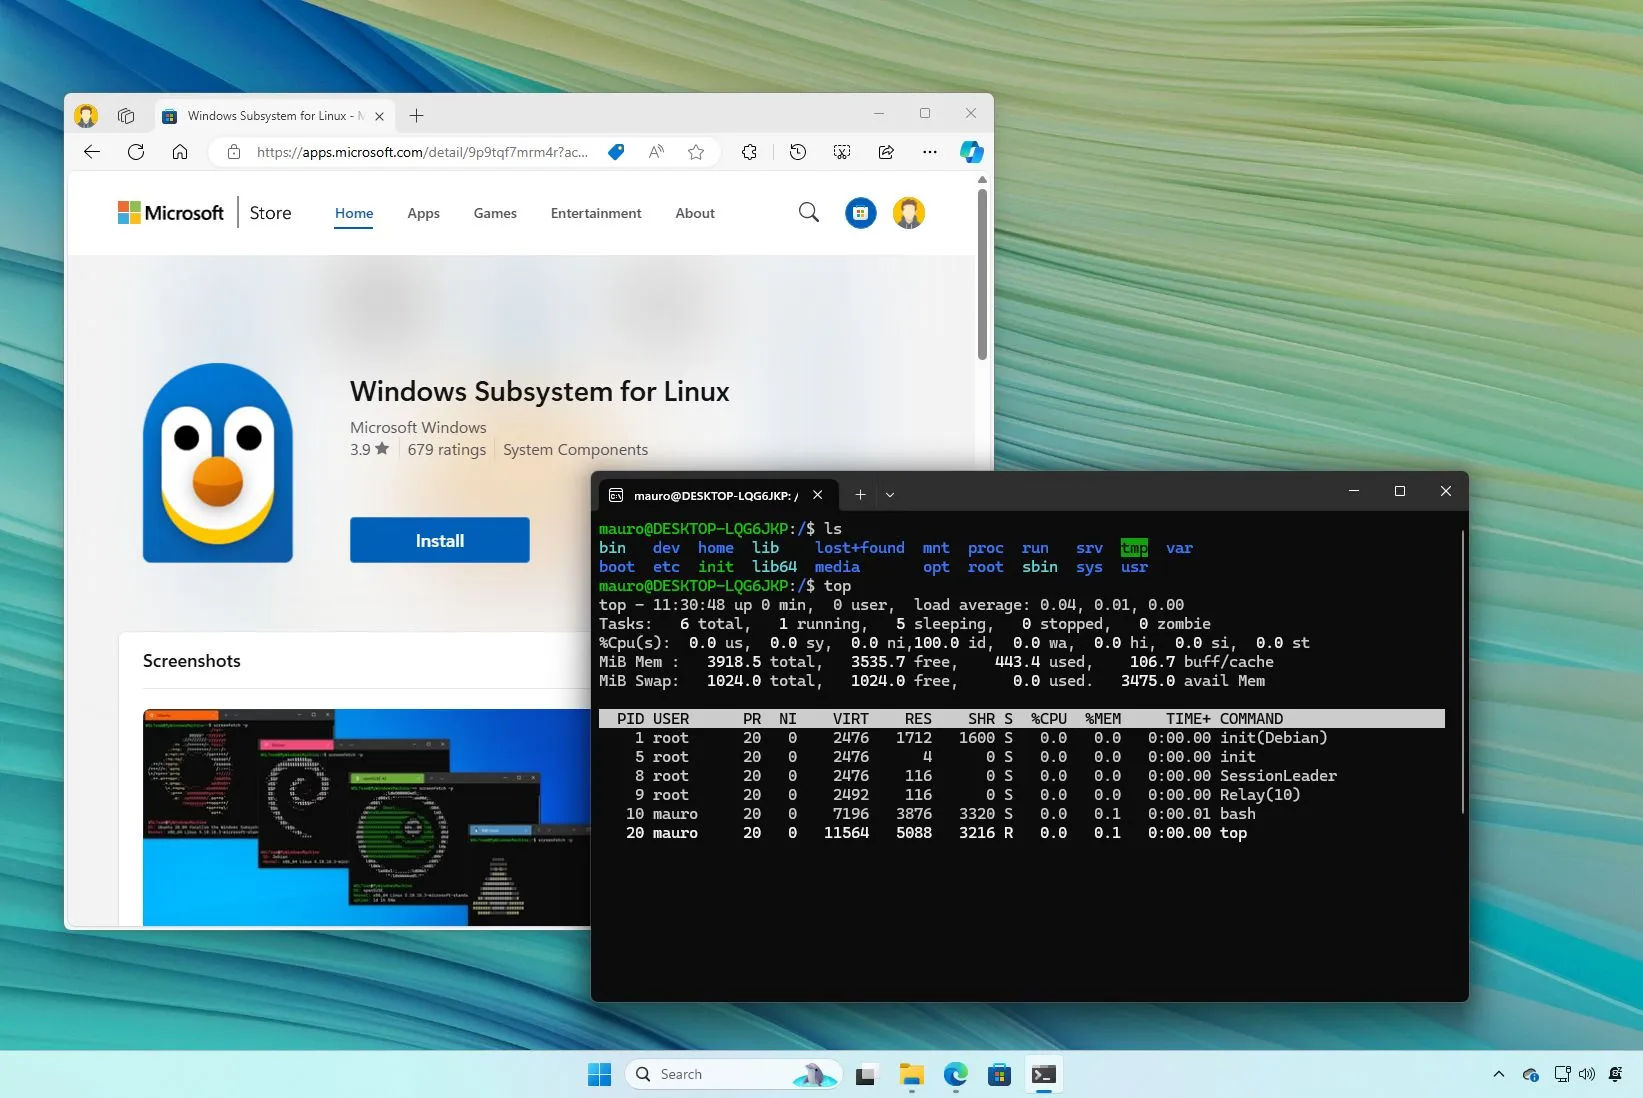
2. Installing a Linux Distribution from the Microsoft Store
After enabling the WSL features, you need to install a Linux distribution.
-
Open the Microsoft Store:
- Click the Start button and search for “Microsoft Store”.
-
Search for Linux Distributions:
In the Microsoft Store search bar, type “Linux” or search for a specific distribution like “Ubuntu,” “Debian,” “Kali Linux,” “openSUSE,” etc. -
Install Your Chosen Distribution:
Select the distribution you want (e.g., “Ubuntu”) and click the “Get” or “Install” button. -
Launch and Set Up:
Once the installation is complete, you can launch the distribution from the Start menu. The first time you launch it, you’ll be prompted to create a username and password, just like in Method 1.
3. Setting WSL 2 as the Default Version
If you’ve enabled WSL features but want to ensure WSL 2 is used for all future installations, you can set it as the default.
-
Open PowerShell as Administrator.
-
Set WSL 2 as default:
bash

wsl --set-default-version 2
If you encounter an error indicating that the kernel component is not updated, you might need to download and install the WSL2 Linux kernel update package manually. You can find it on the Microsoft documentation website by searching for “WSL2 Linux kernel update package.”
4. Installing Specific Distributions Using Command Line
You can also list available distributions and install them directly from PowerShell.
-
Open PowerShell as Administrator.
-
List available distributions:
wsl --list --onlineThis will show you a list of distributions available for download from the Microsoft Store.
-
Install a specific distribution:
To install a distribution, use the--installflag followed by the distribution name (as shown in the--list --onlineoutput). For example, to install Debian:
bash

wsl --install -d Debian
Managing Your WSL Installations
Once you have WSL installed, you might want to manage your distributions. Here are some useful commands:
-
List installed distributions:
wsl --list --verboseor simply
wsl -l -vThis command shows you which distributions are installed, their state (running or stopped), and the WSL version they are using (WSL 1 or WSL 2).
-
Set the default distribution:
If you have multiple distributions installed, you can set one as the default that launches when you typewslin the terminal.wsl --set-default <DistributionName>Replace
<DistributionName>with the name of the distribution (e.g.,Ubuntu). -
Shut down all running distributions:
If you need to free up resources or perform certain administrative tasks, you can shut down all running WSL instances.wsl --shutdown -
Export and Import Distributions:
You can export your WSL distribution to a.tarfile for backup or migration purposes, and then import it later.- Export:
bash

wsl --export <DistributionName> <FileName.tar>
- Import:
bash

wsl --import <NewDistributionName> <InstallLocation> <FileName.tar>
- Export:
-
Unregister (Uninstall) a Distribution:
If you no longer need a distribution, you can unregister it. Note: This will delete all data within that distribution.
bash

wsl --unregister <DistributionName>
Accessing Files and Using WSL Effectively
One of the powerful aspects of WSL is the ability to access your Windows files from within Linux and vice-versa.
Accessing Windows Files from Linux
Your Windows drives are automatically mounted under the /mnt/ directory within your WSL distribution. For example, your C: drive will be accessible at /mnt/c/.
You can navigate to these directories using standard Linux commands:
cd /mnt/c/Users/YourWindowsUsername/Documents
ls
Accessing Linux Files from Windows
You can access your WSL file system directly from Windows File Explorer. Simply type \wsl$ in the address bar of File Explorer, and you’ll see a list of your installed distributions. You can then navigate through their file systems.
Important Note: While it’s convenient to access Linux files from Windows, it’s generally recommended to perform file operations for your Linux distribution within the Linux environment itself. Modifying files from Windows can sometimes lead to permission issues or file corruption within the Linux file system, especially if you’re not careful.
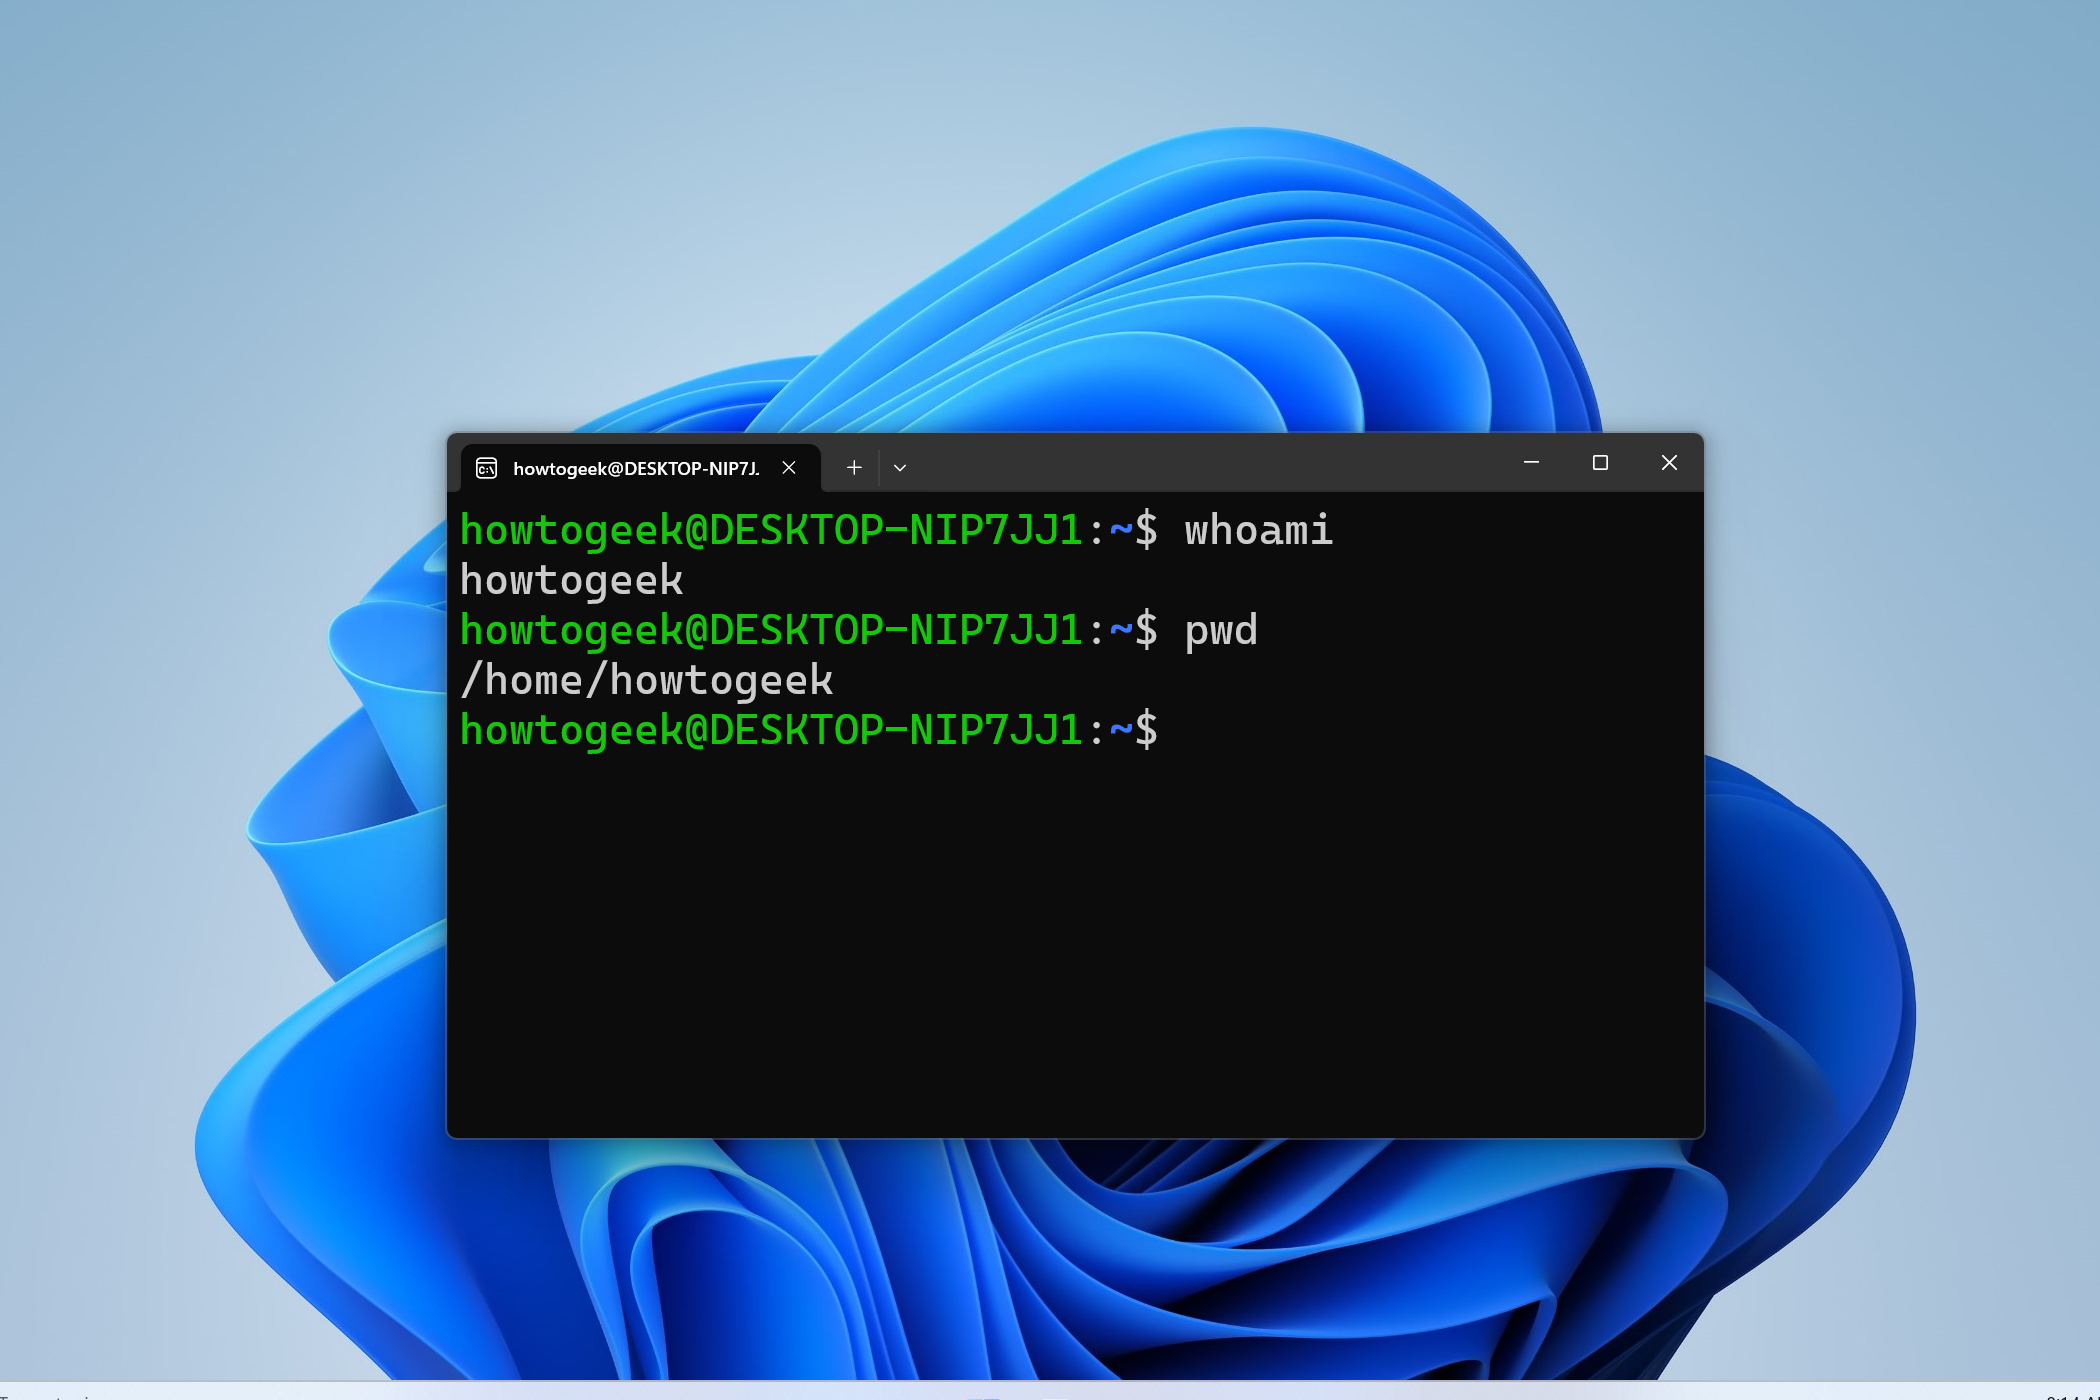
Using the Windows Terminal
For the best experience with WSL, we highly recommend using the Windows Terminal. This modern terminal application provides a tabbed interface, customizability (themes, key bindings, etc.), and excellent support for WSL.
- Install Windows Terminal: If you don’t have it already, you can download it from the Microsoft Store.
- Launch WSL from Windows Terminal: Once installed, Windows Terminal will automatically detect your WSL distributions. You can open a new tab and select your desired Linux distribution from the dropdown menu.
Conclusion
Installing and using the Windows Subsystem for Linux on Windows 11 is a relatively simple process that opens up a vast array of possibilities for developers, students, and tech enthusiasts. By following the steps outlined in this guide, you can quickly set up a powerful Linux environment directly on your Windows machine, enhancing your productivity and expanding your technical capabilities without compromising your existing workflow. Whether you’re looking to run specific Linux tools, develop cross-platform applications, or learn more about the Linux ecosystem, WSL on Windows 11 is an excellent and efficient solution. Embrace the power of both worlds and unlock your full potential.
aViewFromTheCave is a participant in the Amazon Services LLC Associates Program, an affiliate advertising program designed to provide a means for sites to earn advertising fees by advertising and linking to Amazon.com. Amazon, the Amazon logo, AmazonSupply, and the AmazonSupply logo are trademarks of Amazon.com, Inc. or its affiliates. As an Amazon Associate we earn affiliate commissions from qualifying purchases.