
In the vast and dynamic landscape of the digital world, your website serves as your primary storefront, your virtual office, and often, the very heart of your online presence. For millions, WordPress is the platform of choice, powering everything from personal blogs and portfolios to bustling e-commerce sites and corporate headquarters. A fundamental component that dictates the look, feel, and initial functionality of any WordPress site is its “theme.” Think of a theme as the design template or the skin of your website; it’s what visitors see, interact with, and ultimately form their first impressions of your brand.

Choosing and correctly installing the right WordPress theme is a pivotal step in building a successful website. It’s not merely about aesthetics; it’s about user experience, functionality, search engine optimization, and ultimately, how effectively your site communicates your brand’s message. This guide will walk you through the various methods of installing a WordPress theme, from the simplest dashboard-based approach to the more technical FTP process. We’ll also delve into best practices, how to customize your theme for a strong brand identity, and common troubleshooting tips, ensuring you have all the knowledge to create a visually appealing and highly functional WordPress site.
Understanding WordPress Themes: More Than Just Aesthetics
Before diving into the installation process, it’s crucial to grasp the profound impact a WordPress theme has on your website. A theme isn’t just a collection of colors and fonts; it defines your site’s layout, determines where your content appears, integrates with specific plugins for added functionality (like e-commerce features or portfolio displays), and often dictates the overall user experience (UX). For instance, a theme designed for a photography portfolio will prioritize large image displays, while a corporate theme might focus on clear calls to action and professional layouts.
Why Your Theme Choice Matters for Your Digital Brand
Your website is an extension of your brand. It’s where your brand strategy comes to life, influencing how potential customers or clients perceive your professionalism, reliability, and unique value proposition. A carefully selected theme is instrumental in building a strong digital brand identity. It ensures visual consistency, reinforces your corporate identity through design elements, and crafts an intuitive user journey that aligns with your brand’s values. A poorly chosen or configured theme can lead to a disjointed experience, erode trust, and damage your reputation, while a well-executed design can elevate your brand, foster engagement, and convert visitors into loyal customers. It’s an investment in your online reputation and a critical component of your overall marketing strategy.
Free vs. Premium Themes: A Strategic Financial Decision
One of the first decisions you’ll face is whether to opt for a free or a premium theme. This isn’t just a technical choice; it’s a strategic financial one, especially for those looking to generate online income or launch a significant business venture.
Free Themes: Available in abundance through the official WordPress.org theme repository, free themes offer a cost-effective way to get started. They are often well-coded, reviewed by the WordPress team, and suitable for personal blogs, simple portfolios, or those starting a side hustle with limited initial capital. However, free themes typically come with fewer features, limited customization options, and less dedicated support. They might also be used by many other websites, making it harder to establish a unique brand identity.
Premium Themes: Purchased from marketplaces like ThemeForest, independent developers, or directly from theme companies, premium themes usually offer a wealth of features, extensive customization possibilities, dedicated customer support, regular updates, and often bundled premium plugins (like page builders). While they require an upfront investment, the enhanced functionality, unique designs, and professional support can significantly boost your website’s performance, user experience, and ultimately, its potential for online income and business growth. For established brands or serious online businesses, the ROI on a quality premium theme can be substantial, as it allows for a more robust and unique digital presence, critical for competitive advantage.
Mastering Theme Installation: Three Core Methods
Regardless of whether you choose a free or premium theme, WordPress offers several straightforward methods for installation. Each method caters to different scenarios and user preferences, ensuring flexibility in bringing your chosen design to life.
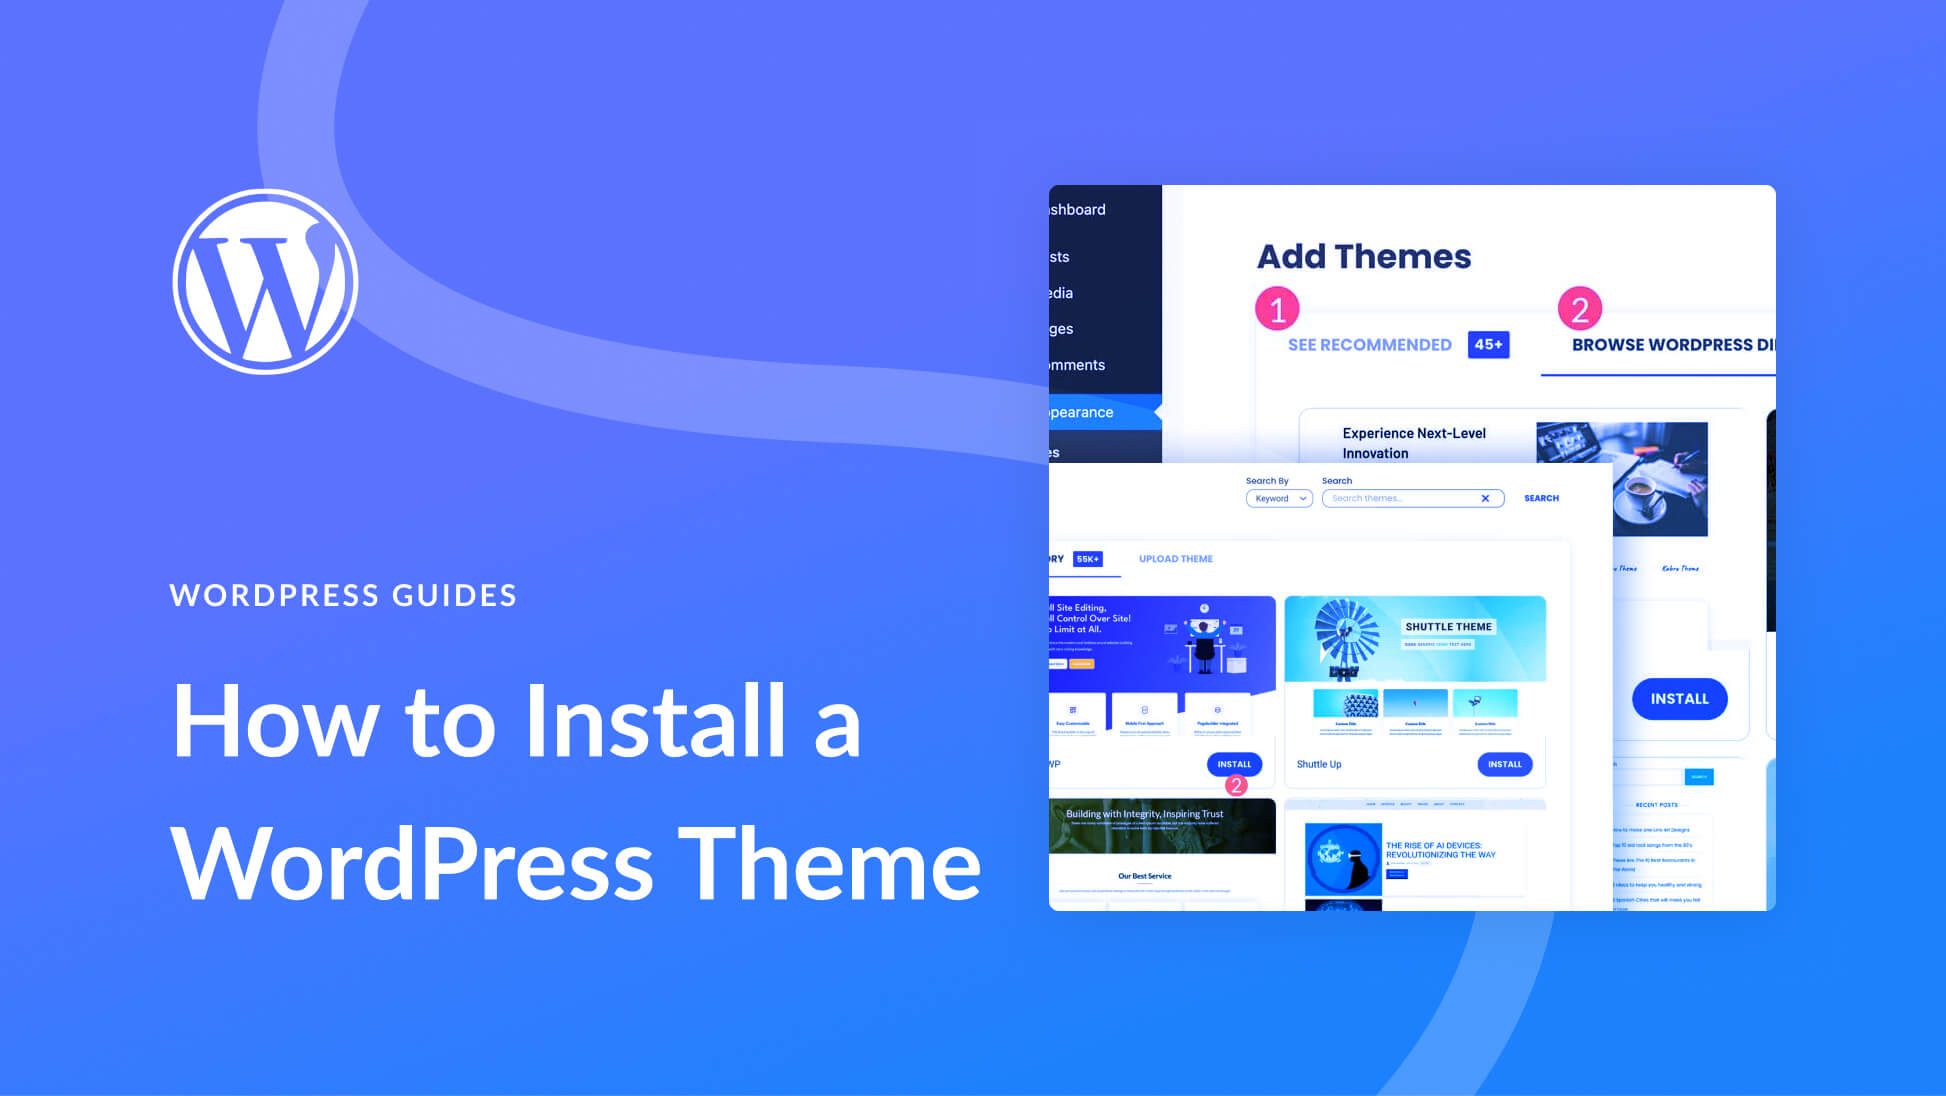
Method 1: The Intuitive WordPress Dashboard Search (Recommended for Free Themes)
This is by far the simplest and most common method for installing free themes available in the official WordPress.org repository. It leverages WordPress’s user-friendly interface, making it an excellent starting point for beginners.
Step-by-Step Guide:
- Log In to Your WordPress Admin: Access your WordPress dashboard by navigating to
yourwebsite.com/wp-adminand entering your credentials. - Navigate to Themes: In the left-hand sidebar, hover over
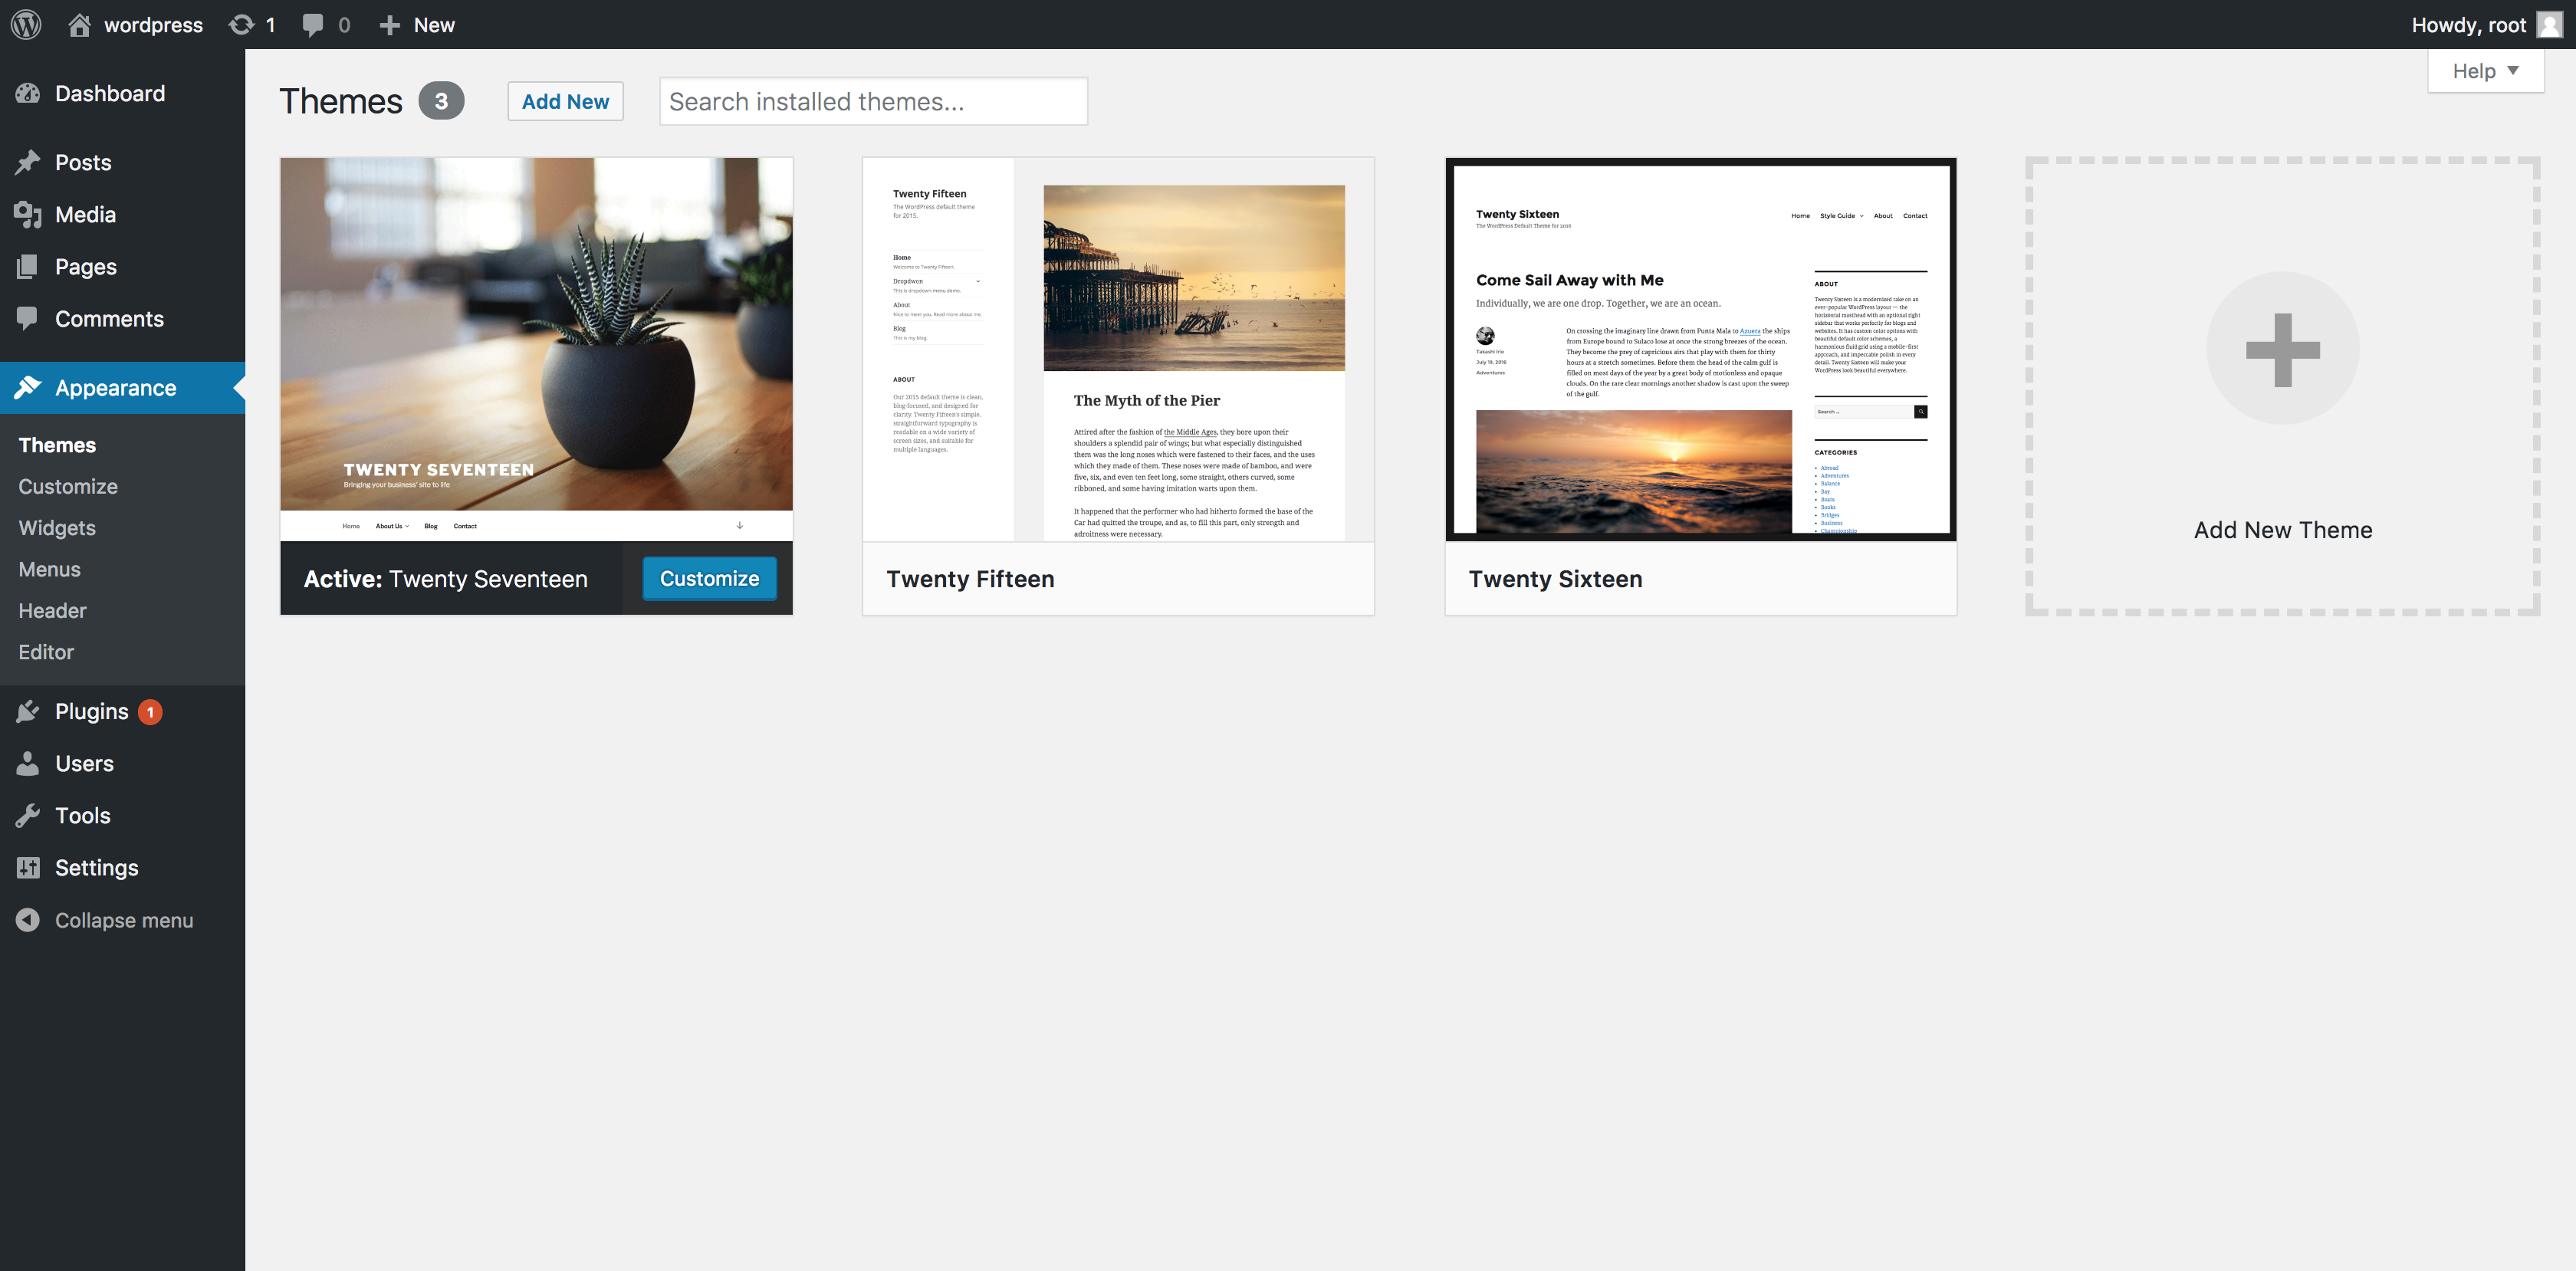
Appearanceand click onThemes. You’ll see the themes currently installed on your site, usually including a few default WordPress themes. - Add New Theme: At the top of the Themes page, click the
Add Newbutton. This will take you to the “Add Themes” screen, where you can browse the official WordPress.org theme directory. - Search and Filter: You can use the search bar (e.g., “blog,” “e-commerce,” “portfolio”) or filter options (Featured, Popular, Latest, Feature Filter) to find themes that match your specific needs and design preferences. The “Feature Filter” is particularly useful for narrowing down choices based on layout, features, and subject.
- Preview and Install: Hover over a theme you like, and you’ll see options for
Details & Preview,Install, andPreview. ClickPreviewto see how the theme would look with your existing content (or placeholder content if your site is new). - Install the Theme: If you’re happy with the preview, click the
Installbutton. WordPress will then download and install the theme files on your server. - Activate the Theme: Once installed, the
Installbutton will change toActivate. ClickActivateto apply the theme to your website. You can then visit your site’s front end to see your new design in action.
This method is highly secure as all themes in the WordPress.org repository undergo a rigorous review process, minimizing the risk of malicious code. It’s a testament to WordPress’s commitment to providing accessible and secure technology for all users.
Method 2: Uploading a Zipped Theme File (Ideal for Premium & Custom Themes)
This method is used when you’ve purchased a premium theme from a marketplace (like ThemeForest) or received a custom-designed theme as a .zip file from a developer. It’s also utilized for themes not hosted in the official WordPress repository.
Step-by-Step Guide:
- Obtain the Theme
.zipFile: Download the theme from your purchase source. Crucially, ensure you download only the installable theme file (which is typically a single.zipfile containing just the theme data), not the entire package that might include documentation, demo data, and other files. Often, the full download package will contain a sub-folder where the actual theme.zipis located. Uploading the wrong.zipis a common cause of the “missing stylesheet” error. - Log In to Your WordPress Admin: Go to
yourwebsite.com/wp-admin. - Navigate to Themes: Hover over
Appearanceand click onThemes. - Add New Theme: Click the
Add Newbutton at the top of the page. - Upload Theme: Instead of searching, click the
Upload Themebutton, which is usually found near the top of the “Add Themes” screen. - Choose File: Click the
Choose Filebutton. A file explorer window will open. - Select and Install: Locate the correct theme
.zipfile on your computer, select it, and then clickInstall Now. - Activate the Theme: WordPress will upload and install the theme. Once done, click
Activateto make it live on your site.
This method requires a bit more attention to detail regarding the .zip file itself. It’s important to understand the structure of the files you download, especially from third-party marketplaces, to avoid common installation pitfalls. The ability to upload custom themes is vital for brands aiming for a truly unique corporate identity and leveraging specific designs not available through free repositories.
Method 3: Manual Installation via FTP (For Advanced Users & Troubleshooting)
While less common for everyday installations, manual installation via FTP (File Transfer Protocol) is an invaluable method for advanced users, when dealing with very large theme files that exceed your server’s upload limits, or for troubleshooting specific issues. It involves directly transferring the theme files to your server.
Step-by-Step Guide:
- Unzip the Theme File Locally: Download your theme
.zipfile (as in Method 2). Before uploading, unzip this file on your local computer. This will create a folder (e.g.,my-awesome-theme) containing all the theme’s files. - Connect via FTP Client: You’ll need an FTP client (like FileZilla, Cyberduck, or Transmit) and your FTP credentials (hostname, username, password, port – usually provided by your web host). Open your FTP client and connect to your hosting server.
- Navigate to the Themes Directory: Once connected, browse to your WordPress installation directory. Typically, you’ll go to
public_html/wp-content/themes/. This is where all your WordPress themes reside. - Upload the Unzipped Theme Folder: Drag and drop the unzipped theme folder (e.g.,
my-awesome-theme) from your local computer into thewp-content/themes/directory on your server. This process can take a few minutes, depending on the theme’s size and your internet connection. - Activate the Theme in WordPress: After the upload is complete, log in to your WordPress admin dashboard. Go to
Appearance > Themes. You should now see your newly uploaded theme listed among the available themes. - Activate the Theme: Hover over your new theme and click the
Activatebutton.
This method offers direct control over your server’s file system, which is a powerful technical capability. It’s particularly useful when server restrictions prevent standard uploads or when dealing with potential corruption that might necessitate direct file replacement. Knowing how to use FTP is a core skill for anyone serious about managing their own WordPress site, providing a level of digital security through direct access and troubleshooting capabilities.
Post-Installation Essentials: Optimizing Your Theme and Website
Installing a theme is just the first step. To truly bring your website to life and align it with your brand vision, several crucial post-installation steps are required.
Customization and Branding: Making the Theme Your Own
A theme provides a foundation, but personalization makes it unique to your brand.
- WordPress Customizer: Accessed via
Appearance > Customize, this live customizer allows you to change site identity (logo, site title, favicon), colors, typography, menu locations, widget areas, and homepage settings with real-time previews. This tool is invaluable for ensuring your site’s visual elements align perfectly with your corporate identity and brand guidelines. - Theme Options Panel: Many premium themes include their own dedicated “Theme Options” panel (often found under
Appearanceor as a top-level menu item). This panel offers more extensive and specific settings unique to that theme, allowing deep customization of layouts, header/footer styles, portfolio settings, and more. Leveraging these options effectively can significantly enhance your brand’s online presence.
Essential Plugins and Demo Content: Building Functionality and Speed
- Required/Recommended Plugins: Many themes are designed to work seamlessly with specific plugins (e.g., a page builder like Elementor or WPBakery, an e-commerce plugin like WooCommerce, or a contact form plugin). After activating your theme, you’ll often see a notification prompting you to install these plugins. Installing and activating them is essential for unlocking the full functionality demonstrated by the theme.
- Importing Demo Content: Most premium themes offer a “demo import” feature. This allows you to quickly replicate the look and structure of the theme’s live demo site with placeholder content. It’s an excellent way to get a head start, understand how the theme is structured, and then replace the demo content with your own. Always ensure you have a backup before importing demo content, as it can sometimes overwrite existing data.
- Performance Considerations: A well-coded theme is crucial for website speed. Poorly optimized themes can slow down your site, negatively impacting user experience and SEO. When customizing, avoid excessive plugins or large unoptimized images, which can drag down performance. Speed is a technical factor directly impacting user engagement and, by extension, your brand’s professionalism.
The Power of Child Themes: Future-Proofing Your Customizations
For anyone planning significant customizations to their theme (e.g., modifying CSS, adding custom functions), using a child theme is a best practice that cannot be overstated. A child theme inherits all the functionality, styling, and features of a parent theme, but allows you to make modifications within the child theme itself.
Why it matters: When the parent theme receives an update (which is crucial for security and new features), your customizations in the child theme remain intact. If you modify the parent theme directly, all your changes will be overwritten with the next update. This technical approach is vital for long-term website maintenance, ensuring that your unique brand elements and custom functionalities are never lost. It’s an investment in the longevity and stability of your digital brand.
Maintaining Security and Performance: Ongoing Digital Hygiene
Your website’s theme is a living component that requires ongoing attention.
- Regular Updates: Always keep your theme, WordPress core, and all plugins updated. Updates often include security patches, bug fixes, and new features, which are vital for digital security and maintaining a cutting-edge online presence.
- Backups: Before any major updates or changes, always perform a full website backup. This is your safety net, allowing you to restore your site if anything goes wrong.
- Source of Themes: Reiterate the importance of downloading themes only from reputable sources (WordPress.org, trusted marketplaces, or direct from developers). Maliciously coded themes can compromise your entire site, impacting your brand’s reputation and potentially leading to financial losses.
Troubleshooting Common WordPress Theme Installation Issues
Even with careful planning, you might encounter issues during theme installation. Here are some common problems and their solutions.
The “Missing Stylesheet” Error
This is one of the most frequent errors when uploading a theme manually or via the dashboard. It typically appears as “The package could not be installed. The theme is missing the style.css stylesheet.”
- Explanation: This usually means you’ve uploaded the entire theme package
.zipfile instead of the actual installable theme.zipfile. Premium themes often come in a large.zipfile that contains documentation, demo data, and the theme itself (sometimes in a sub-folder). - Solution: Unzip the main downloaded package on your computer. Inside, you should find another
.zipfile with just the theme name (e.g.,my-theme.zip). This is the file you need to upload. If you’re using FTP, upload the unzipped theme folder directly.
Theme Upload Exceeds Max File Size
If you’re uploading a large premium theme via the dashboard, you might encounter an error indicating the uploaded file exceeds your server’s upload_max_filesize limit.
- Explanation: Your web hosting provider sets limits on the size of files you can upload via WordPress.
- Solution:
- Increase PHP Limits: You can try increasing the
upload_max_filesizeandpost_max_sizevalues in your server’sphp.inifile (if you have access). Alternatively, you might be able to do this through your hosting control panel or by adding specific lines to yourwp-config.phpfile or.htaccessfile. - Use FTP: The most reliable workaround is to use the FTP method (Method 3) to upload the theme files directly to your server, bypassing the upload size limit.
- Increase PHP Limits: You can try increasing the
Theme Not Activating or Displaying Correctly
Sometimes a theme installs but either fails to activate, or activates but doesn’t display as expected.
- Causes: This could be due to conflicts with existing plugins, an outdated WordPress version, server configuration issues, or a corrupted theme file.
- Solutions:
- Deactivate All Plugins: Temporarily deactivate all your plugins. If the theme then activates or displays correctly, reactivate plugins one by one to identify the culprit.
- Check WordPress Version: Ensure your WordPress installation is up to date and compatible with the theme’s requirements.
- Review Server Error Logs: Your hosting provider’s control panel usually offers access to server error logs, which can provide specific technical details about why the theme isn’t working.
- Contact Theme Support: If you’re using a premium theme, reaching out to the developer’s support team is often the quickest way to resolve complex issues. They are experts in their product and can offer tailored advice.
Conclusion
Installing a WordPress theme is a foundational step in creating your online presence, but its implications extend far beyond mere technical execution. It’s about choosing the face of your digital brand, dictating the user experience, and laying the groundwork for your online success, whether for a personal blog, a burgeoning side hustle, or a full-fledged corporate entity. By understanding the different installation methods – from the simple dashboard search for free themes, to uploading zipped files for premium options, and finally, leveraging FTP for advanced control – you gain the flexibility and technical prowess to bring any design vision to fruition.
Remember that the journey doesn’t end with activation. Post-installation essentials like deep customization to align with your brand, installing necessary plugins, utilizing child themes for future-proofing, and maintaining diligent updates and backups are critical for a robust, secure, and high-performing website. Choose your theme wisely, always considering its impact on your brand identity, functionality, and potential for monetization. With the right theme and adherence to best practices, your WordPress site will not only look professional but will also effectively serve as a powerful tool in achieving your digital goals.
aViewFromTheCave is a participant in the Amazon Services LLC Associates Program, an affiliate advertising program designed to provide a means for sites to earn advertising fees by advertising and linking to Amazon.com. Amazon, the Amazon logo, AmazonSupply, and the AmazonSupply logo are trademarks of Amazon.com, Inc. or its affiliates. As an Amazon Associate we earn affiliate commissions from qualifying purchases.