In today’s digitally connected world, smart home technology is no longer a luxury but a cornerstone of modern living. Among the most popular and impactful smart home devices is the doorbell camera, offering a vital layer of security and convenience. The Ring doorbell, in particular, has become a household name, providing homeowners with the ability to see, hear, and speak to visitors from anywhere in the world. While battery-powered models offer ease of installation, a wired Ring doorbell presents a more robust and reliable solution, eliminating the need for battery replacements and ensuring continuous power.
This comprehensive guide will walk you through the entire process of installing a wired Ring doorbell, covering everything from preparation and choosing the right location to the actual wiring and setup. Whether you’re a tech enthusiast looking to upgrade your home security or a homeowner seeking peace of mind, this tutorial will equip you with the knowledge and confidence to successfully install your wired Ring doorbell. We’ll also touch upon the underlying technology, how it integrates into your digital security ecosystem, and the long-term value it offers, aligning with the broader themes of technology, brand reputation, and smart financial investment in your home.
Understanding the Wired Ring Doorbell: Benefits and Prerequisites
Before diving into the installation process, it’s crucial to understand why a wired Ring doorbell is a superior choice for many and what you’ll need to get started. The primary advantage of a wired system lies in its consistent power supply. Unlike battery-powered models that require periodic recharging or replacement, a wired doorbell draws power directly from your home’s existing doorbell wiring. This means uninterrupted operation, no “low battery” notifications at inconvenient times, and a more reliable connection for your security camera.
Beyond consistent power, wired Ring doorbells often offer enhanced features and a more streamlined aesthetic, as they don’t require bulky battery compartments. The integration with your existing doorbell chime is also seamless, allowing you to hear visitors even if your phone is out of reach or your Wi-Fi is temporarily down.
Prerequisites for Installation:
To successfully install a wired Ring doorbell, you’ll need to ensure a few things are in place:
- Existing Doorbell Wiring: This is the most critical prerequisite. You need to have existing doorbell wiring that runs to your current doorbell button. This wiring typically consists of two low-voltage wires. If you don’t have existing wiring, installing a wired Ring doorbell becomes a more complex electrical project, potentially requiring professional assistance.
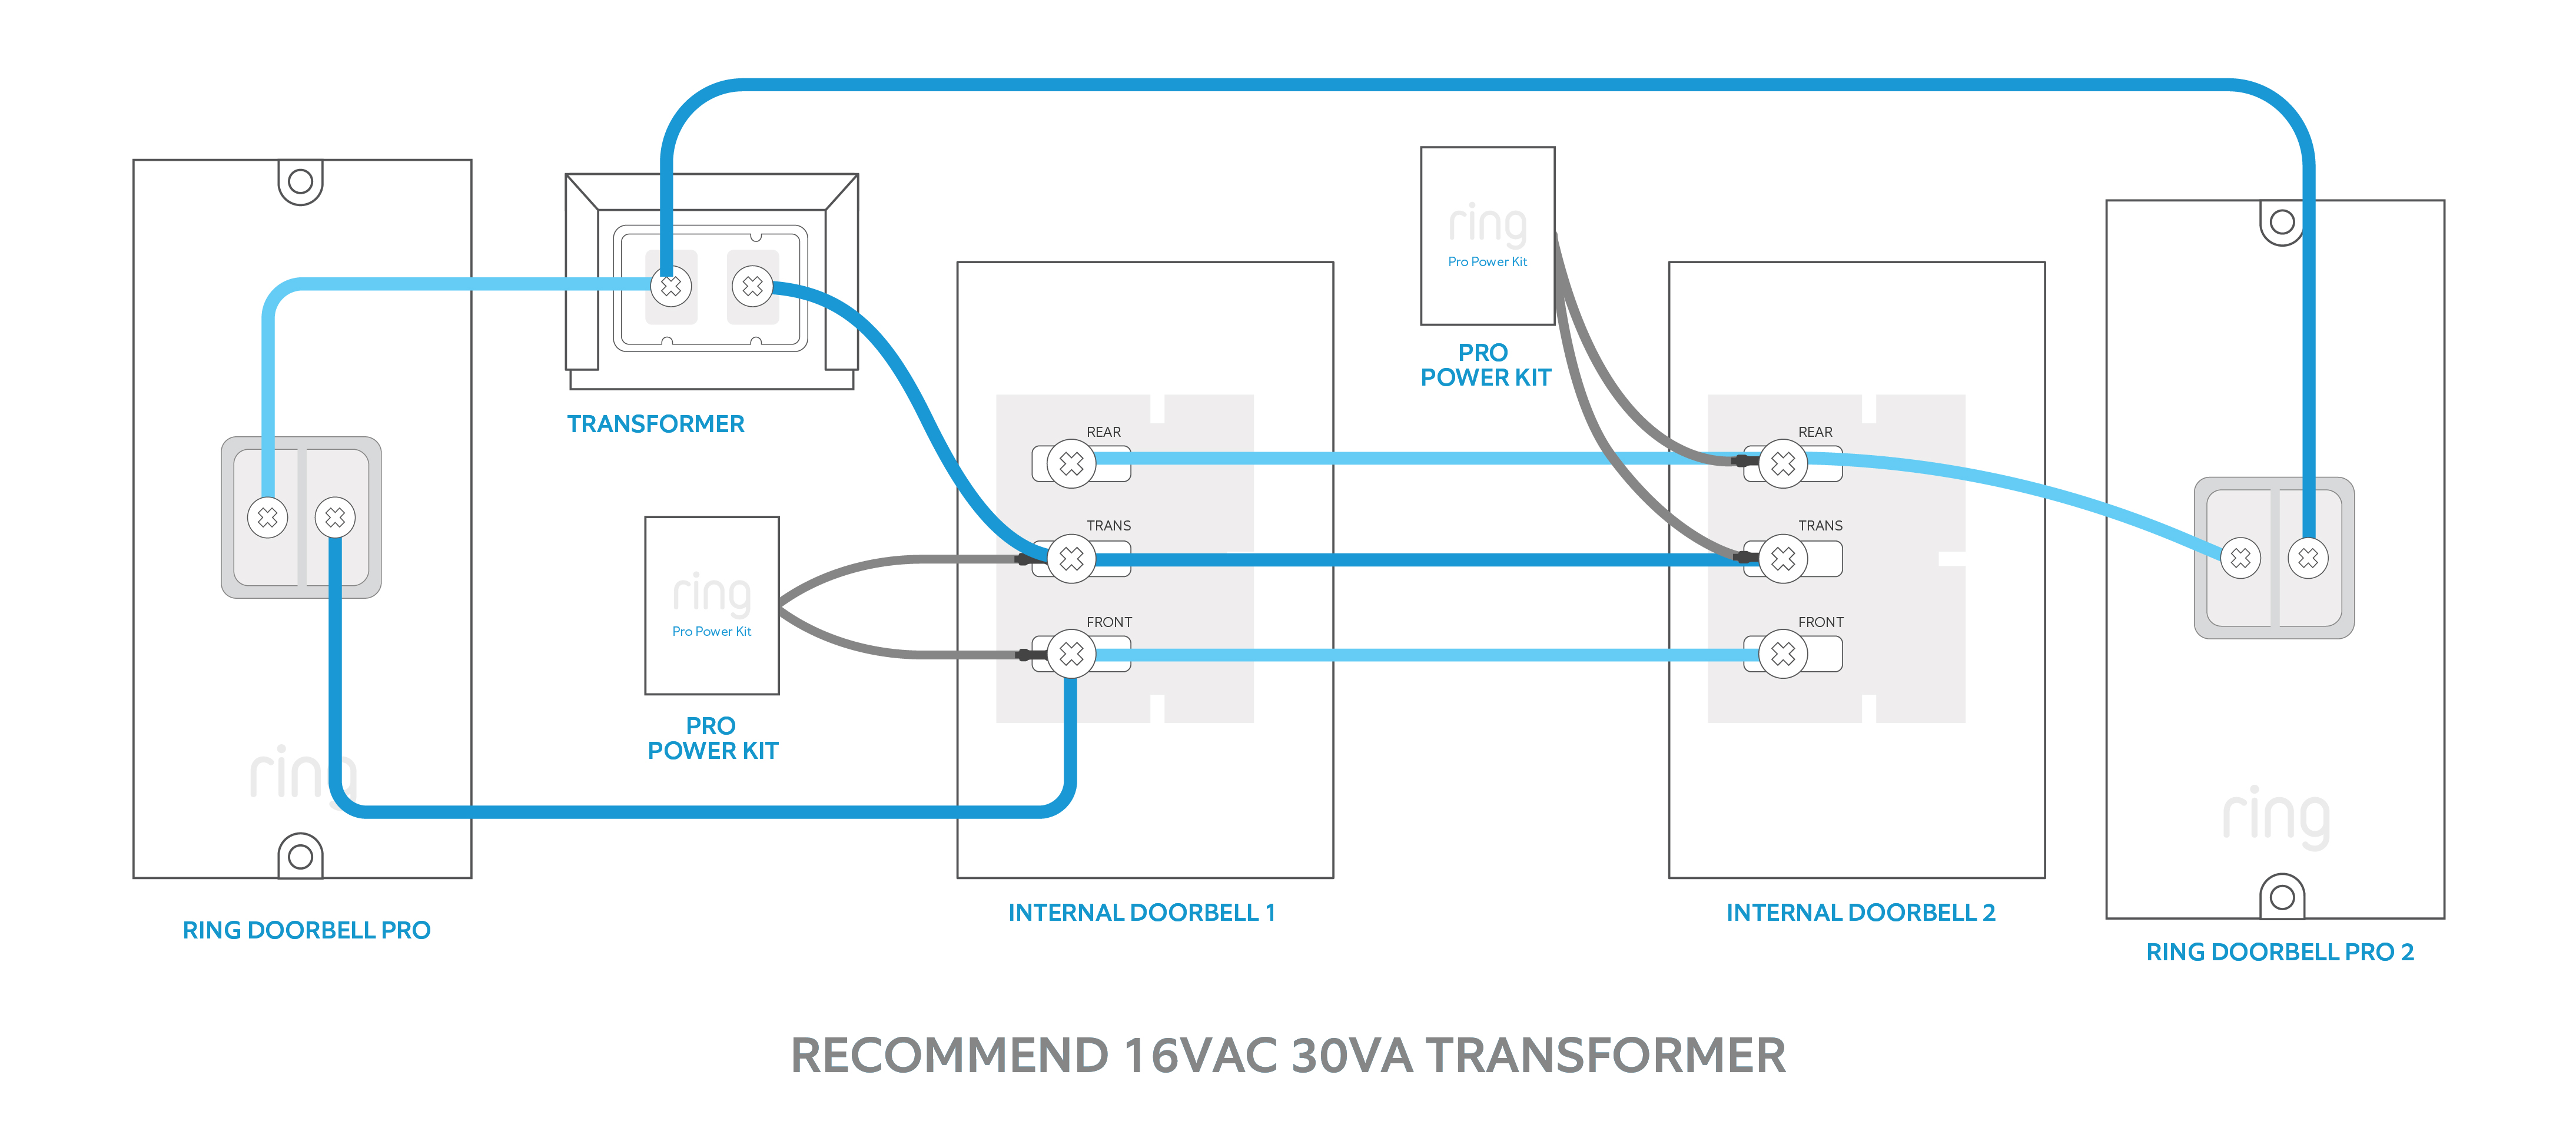
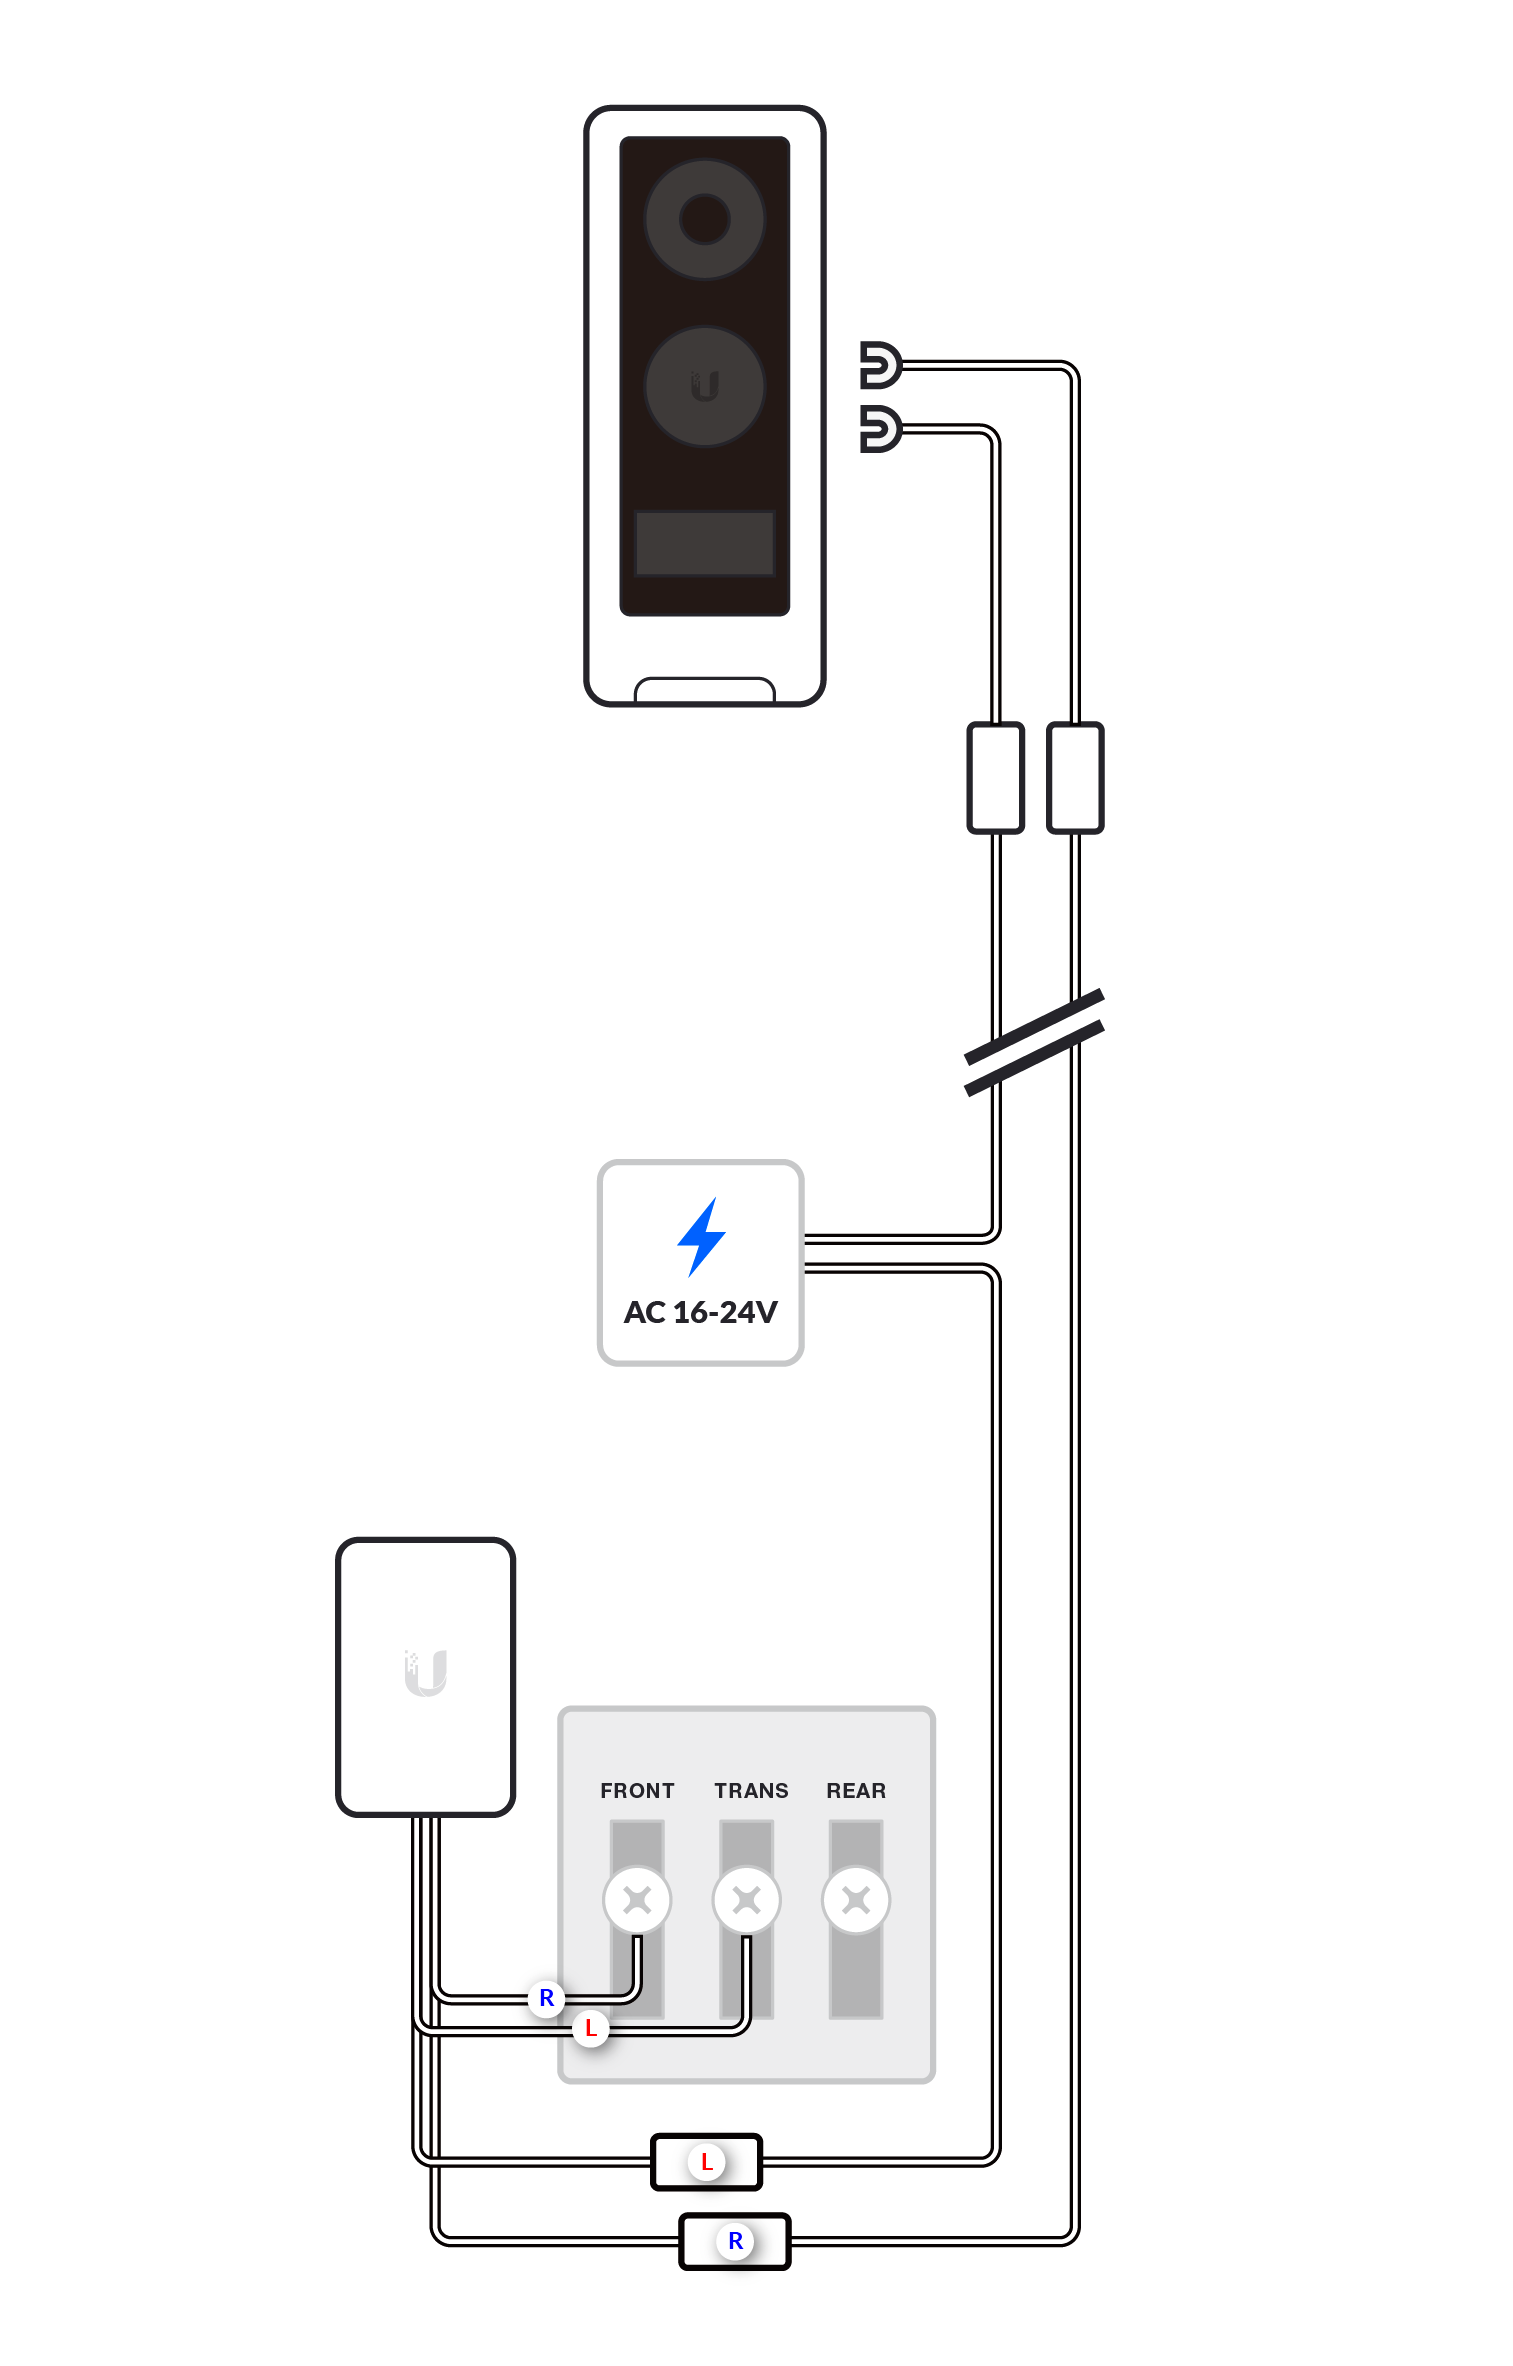
- Compatible Transformer: Wired Ring doorbells operate on low voltage, typically between 16-24 volts AC. Your existing doorbell transformer needs to be compatible. You can usually find the transformer in your electrical panel, near your furnace, or in your basement. Check the voltage output printed on the transformer. If it’s too low, you’ll need to replace it with a compatible one. This is a crucial safety and functionality step.
- Ring Doorbell Model: Ensure you have purchased a wired Ring doorbell model (e.g., Ring Video Doorbell Wired, Ring Video Doorbell Pro, Ring Video Doorbell Pro 2). These models are specifically designed to utilize existing wiring.
- Tools and Materials:
- Screwdriver Set: A Phillips head screwdriver is essential.
- Drill and Drill Bits: For creating pilot holes or mounting the bracket.
- Wire Strippers/Cutters: To prepare the doorbell wires.
- Level: To ensure the doorbell is mounted straight.
- Pencil: For marking mounting holes.
- Safety Glasses: Always recommended when working with tools.
- Optional: Chime connector (often included with Ring doorbells, used to connect to your existing indoor chime).
- Optional: Voltage tester (for confirming power to wires, use with caution).
1. Preparing for the Installation
Proper preparation is key to a smooth and efficient installation. This phase involves gathering your tools, familiarizing yourself with your existing doorbell setup, and ensuring you have all the necessary components. This mindful approach to tech installation not only saves time but also minimizes the risk of errors, contributing to the overall reliability of your digital security.
1.1. Safety First: Turning Off Power
Before you touch any wires, the absolute most important step is to turn off the power to your existing doorbell circuit. This is typically done at your home’s main electrical panel. Locate the breaker that controls your doorbell and flip it to the “off” position. It’s a good practice to test your current doorbell button to ensure the power is indeed off. If it still rings, you’ve likely turned off the wrong breaker.
- Why this is critical: Working with electrical wiring can be dangerous. Disabling the power prevents electric shock and ensures your safety throughout the installation process. This aligns with the “Digital Security” aspect of our website, where understanding foundational safety principles is paramount.
1.2. Removing the Old Doorbell Button
Once the power is off, you can proceed to remove your old doorbell button. Most doorbell buttons are held in place by two screws.
- Unscrew the old button: Carefully unscrew the existing doorbell.
- Disconnect the wires: Behind the button, you’ll find two wires connected to terminals. Loosen these terminals and gently pull the wires away from the old button. Important: Ensure these wires are not touching each other or any metal surfaces, as they are still carrying low-voltage current if the breaker was not properly identified. You can temporarily wrap each wire with electrical tape to prevent accidental contact.
- Inspect the wires: Note the condition of the wires. They should be intact and long enough to reach the new Ring doorbell.
1.3. Assessing Your Existing Chime and Transformer
While not strictly part of the doorbell button removal, it’s a good time to briefly assess your indoor chime and transformer if you haven’t already.
- Chime: Most wired Ring doorbells are designed to work with mechanical or digital chimes. Some Ring models might require a chime connector, which allows the Ring doorbell to communicate with your existing chime. Refer to your specific Ring doorbell’s manual for compatibility and installation instructions for the chime connector.
- Transformer: As mentioned, check the voltage output of your transformer. Ring’s website and product documentation will specify the acceptable voltage range for your model. If your transformer is below the minimum requirement, it will need to be replaced. This is a more involved task, and if you’re uncomfortable with electrical work, consider hiring an electrician.
2. Mounting the Ring Doorbell
With the old doorbell removed and power safely off, you’re ready to mount your new Ring doorbell. This step requires precision to ensure a secure fit and optimal viewing angle.
2.1. Choosing the Optimal Location
The location of your Ring doorbell is crucial for its effectiveness. Consider the following:
- Height: The ideal mounting height for a Ring doorbell is typically around 4 feet (1.2 meters) from the ground. This height allows the camera to capture faces clearly and also capture packages left at your doorstep.
- Viewing Angle: Ensure there are no obstructions (like plants or decorations) that will block the camera’s view. If your Ring doorbell has a wide field of view, you might be able to mount it slightly off-center to capture the entire porch area.
- Proximity to Wi-Fi: While not as critical for wired doorbells as battery-powered ones, a strong Wi-Fi signal is still important for clear video streaming and two-way communication.
- Existing Wiring Path: You’ll want to position the new doorbell where the existing wires can comfortably reach the terminals on the back of the Ring device.
2.2. Installing the Mounting Bracket
Your Ring doorbell will come with a mounting bracket. This bracket needs to be securely attached to your wall.
- Position the bracket: Hold the mounting bracket against the wall at your chosen location. Use a level to ensure it’s perfectly straight.
- Mark the screw holes: With a pencil, mark the positions of the screw holes on the wall.
- Drill pilot holes: If you’re mounting the bracket into wood, you might be able to screw directly in. However, for brick, stucco, or siding, you’ll need to drill pilot holes and insert the provided wall anchors. Use a drill bit that matches the size of the anchors.
- Feed the wires: Gently feed the existing doorbell wires through the opening in the mounting bracket.
- Secure the bracket: Attach the mounting bracket to the wall using the screws provided. Ensure it’s firmly in place.
2.3. Connecting the Wires to the Ring Doorbell
This is the core electrical connection step. Be patient and precise here.
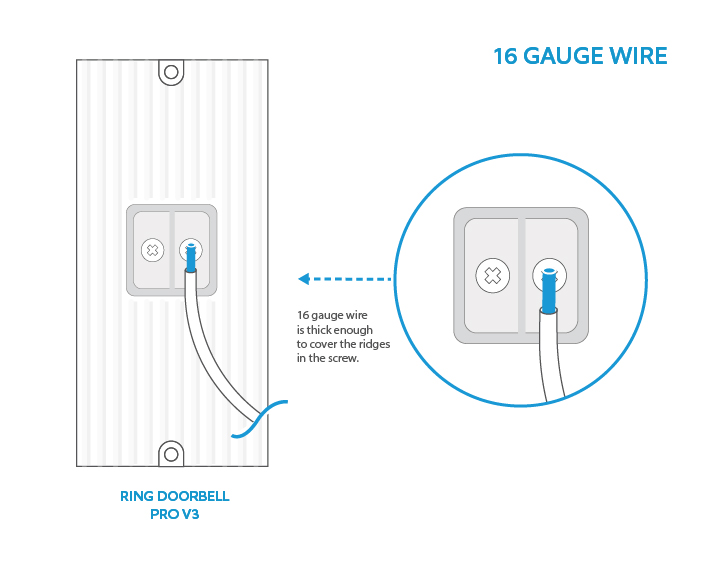
- Prepare the wires: Use wire strippers to expose about half an inch of copper wire at the end of each of your existing doorbell wires.
- Connect to terminals: Most wired Ring doorbells have screw terminals on the back. Loosen the screws on these terminals. Take one of the doorbell wires and wrap it around one of the screws, then tighten the screw securely. Repeat with the other wire on the other terminal. It typically doesn’t matter which wire goes to which terminal for basic functionality, but consult your Ring manual for any specific instructions.
- Test connections: Ensure the wires are held firmly by the screws and are not touching each other.
2.4. Attaching the Ring Doorbell to the Bracket
Once the wires are connected, you can attach the Ring doorbell itself to the mounting bracket.
- Align and snap: Most Ring doorbells have a design that allows them to slide or snap directly onto the mounting bracket. Align the doorbell with the bracket and gently push until it clicks into place.
- Secure with security screw: Many Ring models include a small security screw that goes in from the bottom of the doorbell to prevent theft. Tighten this screw with the provided tool.
3. Setting Up Your Ring Doorbell and Connecting to Wi-Fi
With the physical installation complete, it’s time to bring your Ring doorbell to life and connect it to your home network. This phase is where the “Tech” and “Productivity” aspects of our website truly shine, as you integrate a powerful tool into your digital life.
3.1. Restoring Power and Initial Setup
Now that the doorbell is mounted and wired, it’s time to restore power.
- Go back to the breaker box: Turn the circuit breaker for your doorbell back to the “on” position.
- Check the doorbell light: Your Ring doorbell should power on, indicated by an LED light on the front. Refer to your Ring manual for what the different light patterns signify (e.g., booting up, ready for setup).
3.2. Downloading the Ring App and Creating an Account
The Ring app is your command center for managing your doorbell.
- Download the app: If you haven’t already, download the Ring app from the Apple App Store or Google Play Store.
- Create or log in: Open the app and either create a new Ring account or log in to your existing one.
3.3. Adding Your Device to the Ring App
The app will guide you through adding your new doorbell.
- Tap “Set Up a Device”: In the Ring app, you’ll typically find an option to “Set Up a Device” or a “+” icon.
- Scan the QR code: Your Ring doorbell will have a QR code (often on the back, the manual, or the packaging). Scan this code using the app.
- Follow in-app instructions: The app will then walk you through naming your device, connecting it to your Wi-Fi network, and configuring initial settings.
3.4. Connecting to Your Wi-Fi Network
This is a critical step for the doorbell’s smart functionality.
- Select your network: The app will display a list of available Wi-Fi networks. Select your home network.
- Enter password: Enter your Wi-Fi password.
- Confirm connection: The doorbell will attempt to connect to your Wi-Fi. Once successful, you’ll receive confirmation in the app.
3.5. Configuring Your Ring Doorbell Settings
Once connected, you can customize your Ring doorbell to suit your needs.
- Motion detection zones: Set up motion detection zones to receive alerts only when motion occurs in specific areas, reducing false alarms.
- Notification preferences: Decide how and when you want to receive motion alerts and doorbell rings.
- Video quality: Adjust video settings for optimal clarity.
- Two-way audio: Test the microphone and speaker to ensure clear communication.
- Chime settings: If you’re using your existing chime, ensure it’s configured correctly within the app.
4. Advanced Considerations and Maintenance
Your wired Ring doorbell is now installed and operational. However, understanding ongoing considerations and routine maintenance will ensure its long-term performance and security. This ties into the “Brand” aspect, as maintaining your smart home infrastructure contributes to its reputation and value.
4.1. Integration with Other Smart Home Devices
Ring doorbells are part of a broader smart home ecosystem.
- Ring ecosystem: If you have other Ring devices (like cameras or alarms), you can integrate them through the Ring app for a unified security system.
- Third-party integrations: Ring devices can often integrate with platforms like Amazon Alexa or Google Assistant, allowing for voice control and automation. For example, you can ask Alexa to show you the view from your Ring doorbell or set up routines that trigger lights when motion is detected.
4.2. Understanding Ring Protect Plans
While your Ring doorbell functions without a subscription, a Ring Protect plan unlocks its full potential.
- Video recording: Without a plan, you can only see live video. A Ring Protect plan allows you to record, review, and share video clips of events.
- Extended history: Plans offer extended storage for your recorded videos.
- Benefits: For many, the ability to review past events, provide evidence, or simply rewatch a delivery is well worth the monthly or annual fee, presenting a clear “Money” aspect in terms of value for service.
4.3. Routine Maintenance and Troubleshooting
Like any technology, your Ring doorbell may occasionally require attention.
- Cleaning: Periodically clean the lens of your doorbell with a soft, dry microfiber cloth to ensure clear video quality.
- Firmware updates: Ring devices receive automatic firmware updates to improve performance and security. Ensure your doorbell remains connected to your Wi-Fi to receive these updates.
- Troubleshooting: If you experience issues (e.g., poor connection, no power), the Ring app and Ring’s support website offer extensive troubleshooting guides. Common solutions include checking your Wi-Fi signal strength, verifying transformer voltage, and ensuring wire connections are secure.
By following these steps, you’ve successfully installed your wired Ring doorbell, significantly enhancing your home’s security and convenience. This investment not only provides peace of mind but also adds value to your property, demonstrating a smart approach to home technology and personal finance. Enjoy the benefits of knowing who’s at your door, no matter where you are.
aViewFromTheCave is a participant in the Amazon Services LLC Associates Program, an affiliate advertising program designed to provide a means for sites to earn advertising fees by advertising and linking to Amazon.com. Amazon, the Amazon logo, AmazonSupply, and the AmazonSupply logo are trademarks of Amazon.com, Inc. or its affiliates. As an Amazon Associate we earn affiliate commissions from qualifying purchases.