
Python, a versatile and powerful programming language, has become an indispensable tool for developers, data scientists, and tech enthusiasts alike. Its readability, extensive libraries, and vibrant community make it an ideal choice for a wide range of applications, from web development and data analysis to artificial intelligence and automation. If you’re looking to embark on your Python journey on a Windows machine, this comprehensive guide will walk you through the entire process, from downloading the installer to verifying your setup. Whether you’re a seasoned programmer or a complete beginner, mastering Python installation on Windows is a crucial first step towards unlocking its vast potential.

This article is tailored for individuals interested in the “Tech” aspect of our website, particularly those delving into software, tutorials, and productivity tools. While Python itself is a technical subject, understanding its installation is a foundational skill that can significantly enhance your productivity and open doors to exciting new projects.
1. Understanding Python and Its Windows Installation
Before we dive into the installation steps, it’s beneficial to understand what Python is and why installing it correctly on your Windows system is important.
Why Learn Python?
Python’s popularity stems from several key advantages:
- Readability and Simplicity: Python’s syntax is designed to be clear and concise, resembling natural language. This makes it easier to learn and understand, especially for beginners.
- Vast Ecosystem of Libraries: Python boasts an enormous collection of libraries and frameworks that simplify complex tasks. From scientific computing (NumPy, SciPy) and data analysis (Pandas) to web development (Django, Flask) and machine learning (TensorFlow, PyTorch), there’s a library for almost anything you can imagine.
- Cross-Platform Compatibility: Python code can run on various operating systems, including Windows, macOS, and Linux, with minimal or no modifications.
- Large and Active Community: The Python community is one of the largest and most supportive in the programming world. This means you can easily find help, tutorials, and resources when you encounter challenges.
- Versatility: Python is used in a wide array of fields, including web development, data science, artificial intelligence, machine learning, scientific computing, automation, game development, and more.
The Importance of Correct Installation
A proper Python installation ensures that your system can:
- Execute Python Scripts: You need Python installed to run any Python code you write or download.
- Access and Utilize Libraries: Libraries and packages are essential for extending Python’s capabilities. A correct installation makes them accessible.
- Use Development Tools: Integrated Development Environments (IDEs) and code editors rely on a properly configured Python environment to function.
- Avoid Conflicts: Installing Python correctly can help prevent conflicts with other software or existing Python installations on your system.
2. Downloading the Python Installer for Windows
The first step in installing Python on Windows is to download the official installer from the Python website. This ensures you get the latest stable version and avoid any potential issues with unofficial sources.
Finding the Official Python Website
- Open your preferred web browser.
- Navigate to the official Python website: https://www.python.org/
Selecting the Correct Installer
Once you are on the Python website, you’ll see a navigation menu. Hover over the “Downloads” section.
- Latest Python 3 Release: You will likely see a prominent button or link for the latest stable release of Python 3. As of recent updates, this is typically Python 3.12.x or a similar version. Click on this button.
- Choosing Your Operating System: The website usually detects your operating system. If it doesn’t, or if you need to select a specific version, look for the “Windows” link under the “Downloads” menu. This will take you to a page with specific installers for Windows.
- Installer Types (64-bit vs. 32-bit): Most modern Windows computers are 64-bit. You’ll typically want to download the “Windows installer (64-bit)”. If you have an older, 32-bit system, select the “Windows installer (32-bit)”. You can check your system’s architecture by going to
Settings > System > Aboutand looking under “System type”.
The downloaded file will be an executable file (e.g., python-3.12.x-amd64.exe). Keep track of where this file is saved on your computer, usually in your “Downloads” folder.
3. Installing Python on Windows: Step-by-Step
With the installer downloaded, you’re ready to proceed with the installation process. This is where careful attention to detail can save you future troubleshooting headaches.
Running the Python Installer
- Locate the downloaded installer file (e.g.,
python-3.12.x-amd64.exe). - Double-click the installer file to launch the Python setup wizard.
Crucial Installation Options
This is the most critical part of the installation. Pay close attention to the options presented:
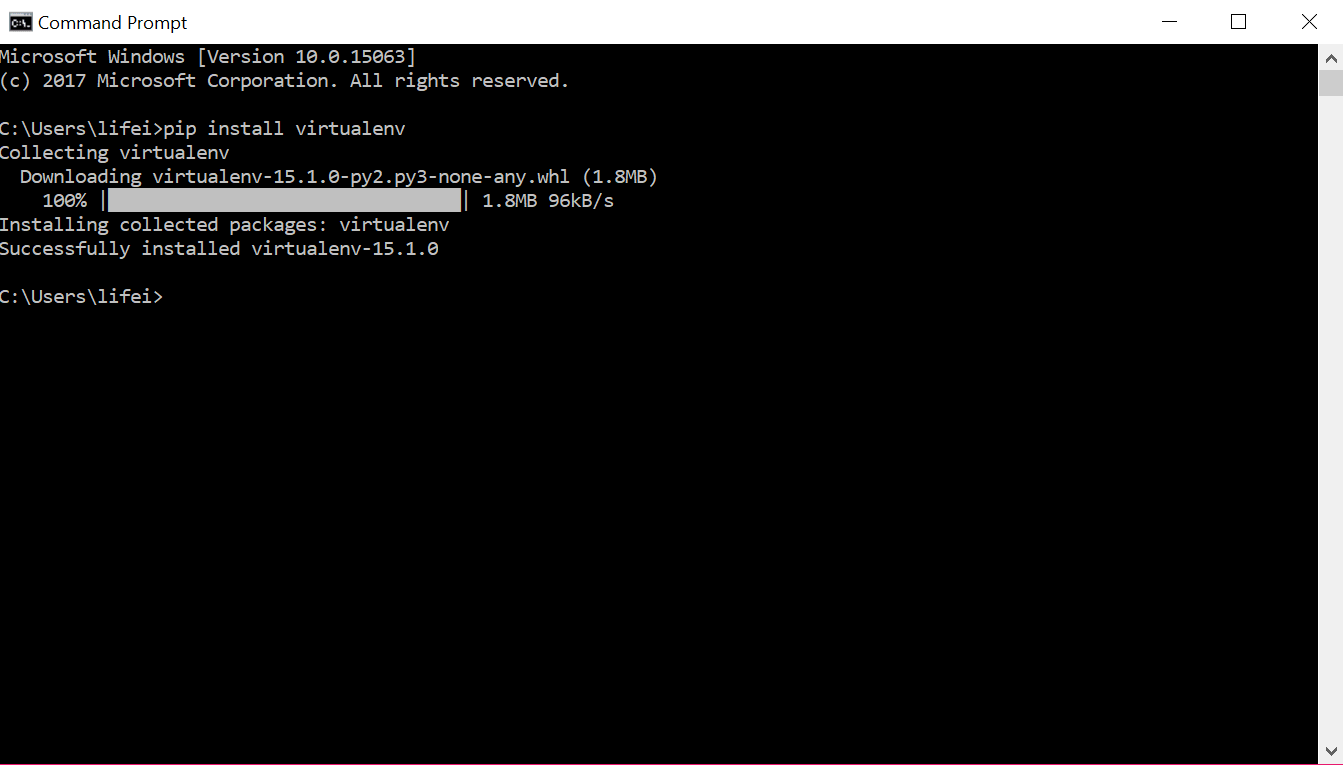
Option 1: “Install Now” vs. “Customize installation”
- Install Now: This option installs Python with default settings. It’s a quick way to get started, but it might not be ideal if you have specific needs or want to control the installation location.
- Customize installation: This option allows you to choose which features to install and where to install Python. For most users, the default “Install Now” is sufficient. However, if you’re an advanced user or want to install Python in a specific directory, choose “Customize installation.”
Option 2: Adding Python to PATH (Highly Recommended!)
This is the most important checkbox you need to select. On the first screen of the installer, you will see two checkboxes at the bottom:
- “Install launcher for all users (recommended)”: This is generally a good idea.
- “Add python.exe to PATH”: CHECK THIS BOX.
Why is adding Python to PATH so important?
The PATH environment variable is a list of directories where your operating system looks for executable files. When you add Python to your PATH, you can run Python commands (like python or pip) directly from any command prompt or PowerShell window, regardless of your current directory. Without this, you would have to navigate to the Python installation directory every time you wanted to run a Python script or use Python-related commands.
Option 3: Customizing Installation (if you chose “Customize installation”)
If you selected “Customize installation,” you’ll proceed to a screen titled “Optional Features.”
- Optional Features: The default selection is usually fine for most users. It includes
pip(the package installer),IDLE(Python’s integrated development environment),py launcher, and documentation. It’s generally recommended to keep all of these selected. - Advanced Options: Clicking “Advanced Options” allows you to:
- “Install for all users”: This is recommended if you want Python to be accessible to all user accounts on your computer.
- “Associate files with Python (requires the py launcher)”: This allows you to double-click
.pyfiles to run them. - “Create shortcuts for installed applications”: Useful for quick access.
- “Add Python to environment variables”: This is the equivalent of checking “Add python.exe to PATH” on the previous screen. Ensure this is checked.
- “Precompile standard library”: This can speed up initial imports.
- “Download debugging symbols” and “Download debug binaries (requires VS-build tools)”: These are for advanced debugging and usually not needed for general use.
- Installation Location: In the “Customize installation” path, you can choose where Python will be installed. The default location (e.g.,
C:UsersYourUsernameAppDataLocalProgramsPythonPython312) is usually fine. If you want to install it elsewhere, click “Browse” and select your desired directory. It’s often recommended to avoid spaces in the installation path.
Completing the Installation
- After configuring your desired options, click “Install”.
- The installer will now copy files to your system. This process might take a few minutes.
- “Setup was successful”: Once the installation is complete, you’ll see a confirmation message. You might also see an option to “Disable path length limit”. Clicking this is generally recommended as it can help avoid issues with long file paths in the future, especially when working with complex Python projects.
- Click “Close” to exit the installer.
4. Verifying Your Python Installation
After the installation, it’s crucial to verify that Python has been installed correctly and that your system can recognize it. This involves using the command line.
Using Command Prompt or PowerShell
-
Open Command Prompt or PowerShell:
- Press the Windows key.
- Type
cmd(for Command Prompt) orpowershell(for PowerShell) and press Enter.
-
Check the Python Version:
- In the command prompt window, type the following command and press Enter:
bash

python --version
- If your installation was successful and Python is in your PATH, you should see the installed Python version printed (e.g.,
Python 3.12.x).
- In the command prompt window, type the following command and press Enter:
-
Check the Pip Version:
pipis Python’s package installer and is essential for installing third-party libraries. Check its version by typing:
bash

pip --version
- This should also display the version of
pipthat came with your Python installation.
Troubleshooting Common Issues
-
‘python’ is not recognized as an internal or external command: This is the most common error and almost always means Python was not added to your PATH.
- Solution: You’ll need to manually add Python to your system’s PATH environment variable.
- Search for “environment variables” in the Windows search bar and select “Edit the system environment variables.”
- Click the “Environment Variables…” button.
- Under “System variables,” find the variable named
Pathand select it. - Click “Edit…”.
- Click “New” and add the path to your Python installation directory (e.g.,
C:UsersYourUsernameAppDataLocalProgramsPythonPython312). - Click “New” again and add the
Scriptssubdirectory within your Python installation (e.g.,C:UsersYourUsernameAppDataLocalProgramsPythonPython312Scripts). This is wherepipand other executable scripts are located. - Click “OK” on all open windows to save the changes.
- Close and reopen your Command Prompt or PowerShell window for the changes to take effect. Then, try the
python --versioncommand again.
- Solution: You’ll need to manually add Python to your system’s PATH environment variable.
-
Multiple Python Versions Installed: If you have multiple Python versions installed, you might need to use
py -3.12(or the specific version number) instead of justpythonto ensure you’re running the intended version.
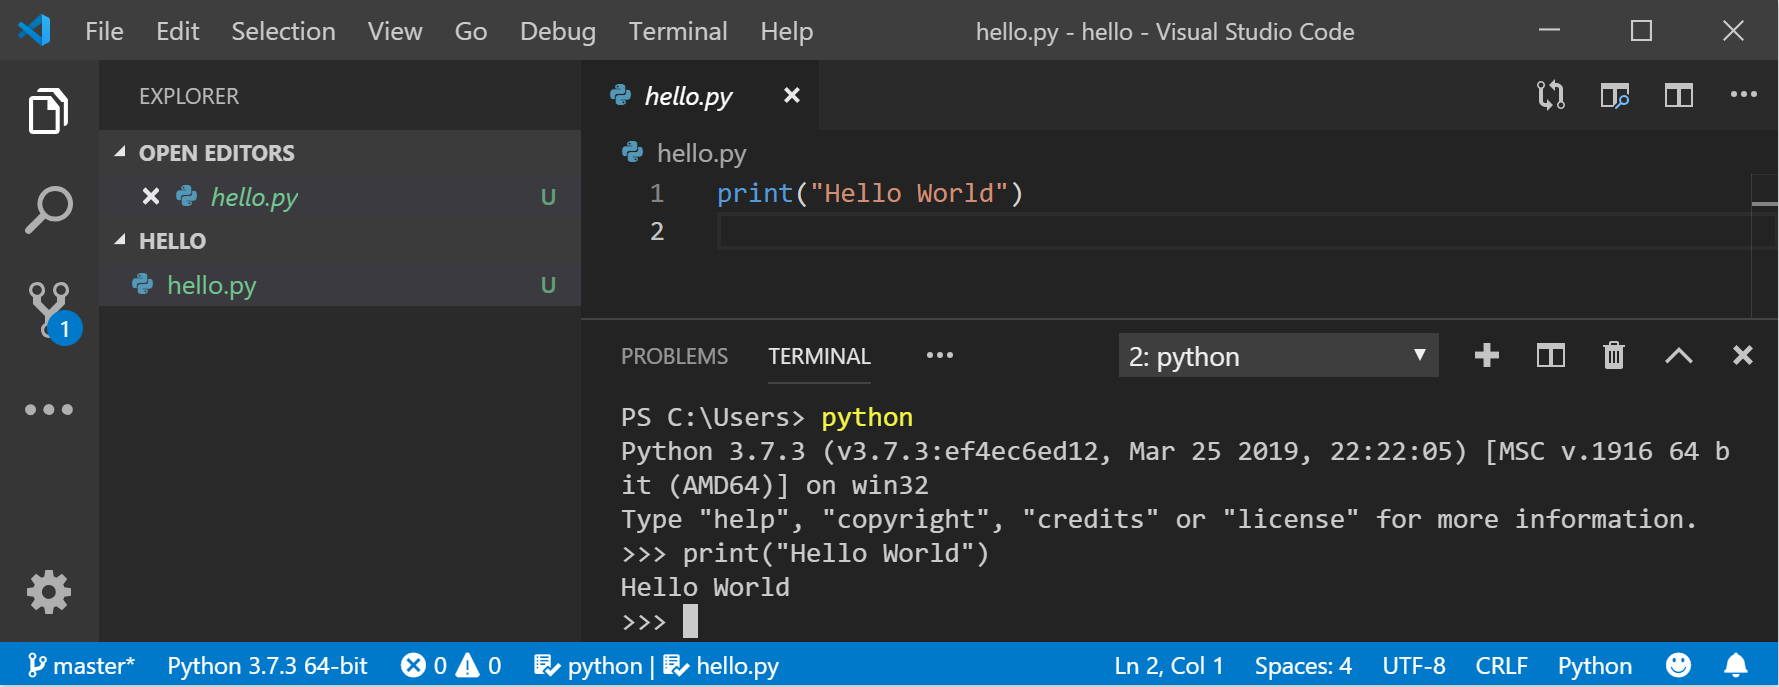
Conclusion: Your Python Journey Begins
Congratulations! You have successfully installed Python on your Windows machine. This fundamental step opens the door to a vast world of programming possibilities. With Python installed, you can now:
- Start coding: Write your first Python scripts and explore the language’s capabilities.
- Install packages: Use
pipto install libraries for web development, data analysis, machine learning, and more. - Use IDEs: Set up a powerful Integrated Development Environment like VS Code, PyCharm, or Jupyter Notebooks to enhance your coding experience.
Whether your interest lies in building innovative tech solutions, understanding the intricacies of AI, or simply boosting your personal productivity with automation, Python is an invaluable skill. This guide has provided you with the foundational knowledge to get started. The journey of learning Python is continuous, filled with exciting discoveries and endless opportunities. Happy coding!
aViewFromTheCave is a participant in the Amazon Services LLC Associates Program, an affiliate advertising program designed to provide a means for sites to earn advertising fees by advertising and linking to Amazon.com. Amazon, the Amazon logo, AmazonSupply, and the AmazonSupply logo are trademarks of Amazon.com, Inc. or its affiliates. As an Amazon Associate we earn affiliate commissions from qualifying purchases.