
In today’s rapidly evolving digital landscape, the demand for efficient, scalable, and robust server virtualization solutions has never been higher. Whether you’re an individual looking to build a powerful home lab, a small business aiming to optimize resource utilization, or an IT professional managing complex infrastructure, Proxmox Virtual Environment (VE) stands out as a compelling choice. This open-source platform offers a feature-rich and user-friendly interface for managing virtual machines (VMs) and containers, making it a powerful tool for a wide range of technical applications.
This comprehensive guide will walk you through the essential steps of installing Proxmox VE, empowering you to harness its capabilities. We’ll delve into the prerequisites, the installation process itself, and crucial post-installation configurations, ensuring you have a solid foundation for your virtualization journey. While the article title focuses on installation, the underlying principles and benefits of Proxmox VE resonate deeply with the “Tech” pillar of our website, touching on software, tutorials, and digital infrastructure. Furthermore, the strategic decision to implement a robust virtualization solution like Proxmox VE can have significant implications for a company’s “Brand” by demonstrating technological prowess and efficiency, and for “Money” by reducing hardware costs and optimizing operational expenditure.
Understanding Proxmox VE: More Than Just Virtualization
Before diving into the installation, it’s essential to grasp what Proxmox VE is and why it’s such a popular choice. Proxmox VE is a type-1 hypervisor, meaning it runs directly on the hardware, offering superior performance and efficiency compared to type-2 hypervisors that run on top of an existing operating system. It seamlessly integrates two powerful virtualization technologies: KVM (Kernel-based Virtual Machine) for full virtualization of VMs, and LXC (Linux Containers) for lightweight OS-level virtualization.
This dual-technology approach provides immense flexibility. KVM allows you to run virtually any operating system, including Windows, BSD, and various Linux distributions, as a fully isolated VM. LXC, on the other hand, offers near-native performance for running Linux-based applications and services by sharing the host kernel, making it ideal for microservices, web servers, and development environments.
Key Features That Make Proxmox VE Stand Out:
- Web-Based Management Interface: Proxmox VE boasts an intuitive and powerful web GUI that simplifies the creation, configuration, and management of VMs and containers, eliminating the need for command-line wizardry for most tasks.
- High Availability (HA): For mission-critical workloads, Proxmox VE offers HA clustering, allowing VMs and containers to automatically restart on another node in the cluster if a host fails, minimizing downtime.
- Live Migration: Seamlessly move running VMs and containers between Proxmox VE nodes without any interruption to service, crucial for maintenance or load balancing.
- Storage Options: Proxmox VE supports a wide array of storage backends, including local storage (LVM, ZFS), network storage (NFS, iSCSI, Ceph), providing flexibility in how you store your virtual disks.
- Backup and Restore: Built-in backup and restore capabilities ensure your data is protected and easily recoverable.
- Firewall: A powerful firewall integrated within the Proxmox VE environment provides granular control over network traffic for your virtualized resources.
- Active Community and Enterprise Support: With a vibrant open-source community and optional enterprise subscriptions, you can find support and resources readily available.
These capabilities underscore why Proxmox VE is not just a tool but a strategic asset for organizations seeking to enhance their IT infrastructure, aligning perfectly with the “Tech” focus of our platform.
Pre-Installation Essentials: Preparing for a Smooth Installation
A successful Proxmox VE installation hinges on proper preparation. Skipping these crucial steps can lead to installation failures or post-installation headaches.
Hardware and Software Requirements:
- Processor: A 64-bit processor is mandatory. For optimal performance with VMs, ensure hardware virtualization support (Intel VT-x or AMD-V) is enabled in your BIOS/UEFI.
- RAM: A minimum of 2GB RAM is required for Proxmox VE itself, but this is highly insufficient for running any virtual machines. For practical use, we recommend a minimum of 8GB of RAM, with 16GB or more being ideal for running multiple VMs and containers simultaneously.
- Storage: At least 4GB of free disk space is needed for the Proxmox VE installation. However, this does not include space for your VMs and containers. You will need separate storage for your virtual disks, which can be internal hard drives, SSDs, or network-attached storage. Consider the type of storage you’ll be using for your virtual disks (e.g., LVM, ZFS, directory) and ensure sufficient capacity.
- Network Interface Card (NIC): A functional network interface card is essential for accessing the Proxmox VE web interface and for your virtual machines and containers to communicate. A static IP address is highly recommended for the Proxmox VE host.
- Installation Media: You will need a bootable USB drive or DVD containing the Proxmox VE ISO image. You can download the latest stable ISO from the official Proxmox website.
Preparing the Installation Medium:
- Download the Proxmox VE ISO: Visit the official Proxmox VE download page and get the latest stable ISO image.
- Create a Bootable USB Drive: Use a tool like Rufus (Windows), balenaEtcher (cross-platform), or
dd(Linux/macOS) to write the ISO image to a USB drive. Ensure you select the correct USB drive to avoid data loss.
BIOS/UEFI Configuration:
Before booting from your installation media, you might need to access your server’s BIOS/UEFI settings to:
- Enable Hardware Virtualization: Locate settings related to “Virtualization Technology,” “VT-x,” “AMD-V,” or similar and ensure they are enabled.
- Set Boot Order: Configure your system to boot from the USB drive or DVD drive where you’ve placed the Proxmox VE installation media.
Thorough preparation ensures that once you begin the installation, the process is straightforward and less prone to errors, allowing you to quickly move towards leveraging the advanced “Tech” capabilities of Proxmox VE.
The Installation Process: Step-by-Step Guide to Proxmox VE
With your hardware ready and installation media prepared, you’re now set to begin the Proxmox VE installation. The process is graphical and relatively straightforward, guided by an intuitive installer.
Booting from the Installation Media:
- Insert the bootable USB drive or DVD into your server.
- Restart or power on your server.
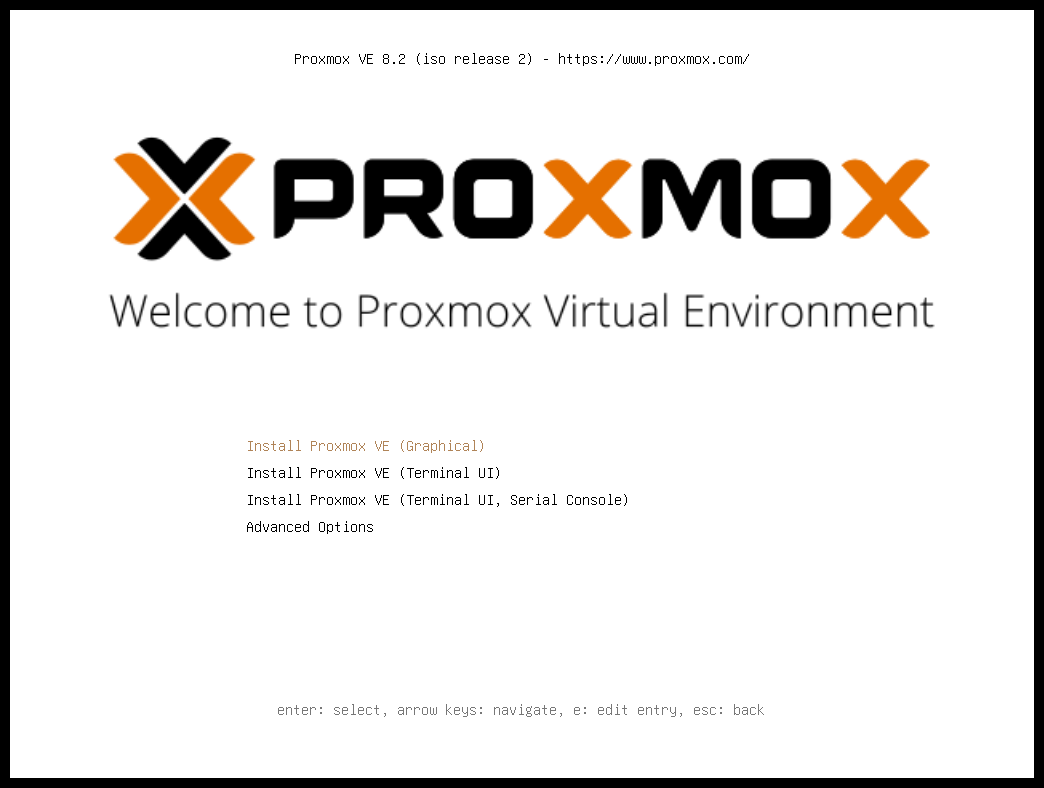
- If you’ve configured the boot order correctly, the Proxmox VE installer should load. You will be presented with a boot menu. Select “Install Proxmox VE.”
Installation Wizard Walkthrough:
The Proxmox VE installer will guide you through several screens:
1. Welcome and License Agreement:
- The first screen will display the Proxmox VE welcome message. Click “Next” to proceed.
- You will then be presented with the GNU Affero General Public License, Version 3. Read through the terms and click “I Agree” to continue.
2. Target Hard Disk Selection:
- This is a critical step. You need to select the hard disk where Proxmox VE will be installed. Ensure you select the correct disk, as all existing data on the selected disk will be erased.
- You can choose between different options for disk partitioning:
- Use entire disk: This is the simplest option, where the installer will automatically partition the selected disk for Proxmox VE.
- Manual: This allows you to create custom partitions, which is useful for advanced users who want to dedicate specific partitions for the OS, swap, or other purposes.
- Filesystem: For the main Proxmox VE installation,
ext4is a common and reliable choice. If you’re planning to use ZFS for your storage pools (highly recommended for advanced features), you can select ZFS here, but note that ZFS installation might have slightly different partitioning considerations. - Click “Next” once you’ve made your selections.

3. Country, Timezone, and Keyboard Layout:
- Select your country, timezone, and preferred keyboard layout. These settings are important for system time synchronization and command-line interaction.
- Click “Next.”
4. Network Configuration:
- This is another crucial step. You will configure the network settings for your Proxmox VE host.
- IP Address: Enter a static IP address for your Proxmox VE server. It’s best to use an IP address outside your DHCP range.
- Netmask: Enter the subnet mask for your network.
- Gateway: Enter the IP address of your default gateway.
- DNS Server: Enter the IP address of your DNS server(s). You can use your router’s IP, a public DNS server (like 8.8.8.8), or an internal DNS server.
- Hostname: Enter a unique hostname for your Proxmox VE server. This is what will appear in your network and in the web interface. It’s recommended to use a fully qualified domain name (FQDN) like
pve.yourdomain.com.
- Click “Next.”
5. Proxmox VE Firewall:
- The installer will prompt you to enable the Proxmox VE firewall. It’s generally recommended to enable this for basic network security. You can configure more detailed firewall rules later through the web interface.
- Click “Next.”
6. Root Password:
- Set a strong password for the
rootuser of your Proxmox VE server. This password will be used to log in to the web interface and to access the server via SSH. Do not forget this password! - Click “Next.”
7. Installation and Reboot:
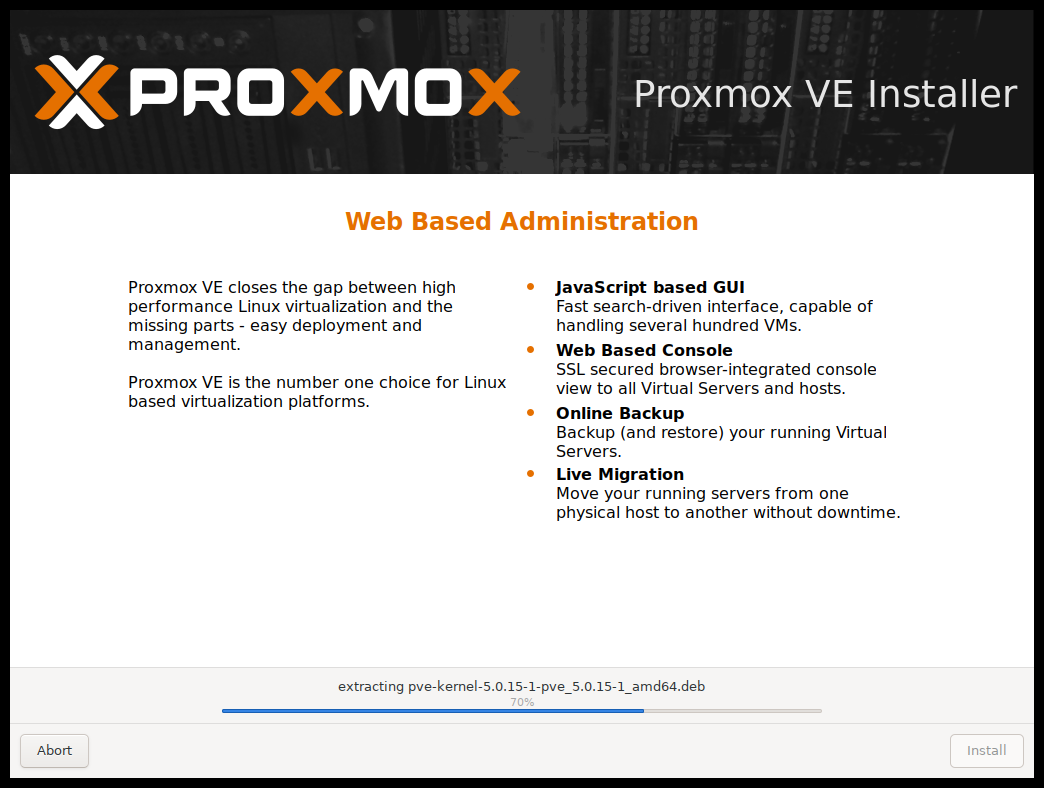
- Review your settings. If everything looks correct, click “Install.”
- The installer will now proceed to install Proxmox VE on your selected disk. This process can take some time, depending on your hardware.
- Once the installation is complete, you will be prompted to reboot the system. Remember to remove the USB drive or DVD before rebooting to prevent booting from the installation media again.
The successful completion of these steps marks the end of the core installation and brings you to the cusp of managing your virtualization environment. This phase is purely “Tech” focused, laying the groundwork for future virtualization endeavors.
Post-Installation Configuration and Access: Making Proxmox VE Your Own
After the initial installation and reboot, your Proxmox VE server is ready for access and further configuration. This phase involves connecting to the web interface, updating your system, and making essential adjustments to optimize your virtualization setup.
Accessing the Proxmox VE Web Interface:
- Open a web browser on a computer that is on the same network as your Proxmox VE server.
- In the address bar, enter the IP address or hostname of your Proxmox VE server followed by
:8006. For example:https://192.168.1.100:8006orhttps://pve.yourdomain.com:8006. - You will likely encounter a security warning from your browser regarding the SSL certificate. This is normal because Proxmox VE uses a self-signed certificate by default. Click “Advanced” and then “Proceed to your IP/hostname” to continue.
- You will be presented with the Proxmox VE login screen.
- Username:
root - Password: The root password you set during the installation.
- Username:
- Click “Login.”
Initial System Updates:
It’s crucial to update your Proxmox VE installation to the latest stable version to benefit from security patches, bug fixes, and new features.
- In the Proxmox VE web interface, navigate to your node (e.g.,
pve). - Under the “Updates” tab, click “Refresh” to check for available updates.
- If updates are found, click “Upgrade All.”
- A task log will appear, showing the progress of the update. You may need to reboot your server after significant updates.
Configuring Storage:
While the installer allows for basic disk setup, you’ll want to configure your storage pools to best suit your needs. Proxmox VE supports various storage types, each with its advantages:
- LVM (Logical Volume Management): A flexible filesystem that allows for dynamic resizing of volumes. Ideal for local storage.
- Directory: A simple storage type where VM disks are stored as files within a directory on your host’s filesystem. Suitable for testing or smaller setups.
- ZFS: A powerful and robust filesystem with advanced features like data integrity checking, snapshots, and RAID-like capabilities. Highly recommended for production environments if your hardware supports it.
- NFS/CIFS: Network file shares for storing VM disks on external servers.
- iSCSI: Block-level storage access over the network.
- Ceph: A distributed object storage system offering high availability and scalability, often used in larger deployments.
To configure storage:
- In the web interface, navigate to your node.
- Go to “Datacenter” -> “Storage.”
- Click “Add” and choose the type of storage you want to configure.
- Fill in the required details, such as the name, path, and any specific options for your chosen storage type.
Creating Your First Virtual Machine or Container:
With storage configured, you’re ready to deploy your first virtualized workload.
Creating a Virtual Machine (VM):
- Click the “Create VM” button.
- General Tab: Provide a unique VM ID and a descriptive name. Select the operating system you wish to install.
- OS Tab: Choose the OS type and version, and specify the location of your OS installation media (ISO image).
- System Tab: Configure system settings like the graphic card, SCSI controller, and BIOS.
- Hard Disk Tab: Define the size of the virtual hard disk, select the storage location, and choose the disk format (e.g.,
qcow2for flexibility,rawfor performance). - CPU Tab: Allocate the number of CPU cores and type.
- Memory Tab: Set the amount of RAM for the VM.
- Network Tab: Configure the network interface card for the VM, assigning it to a bridge.
- Confirm: Review your settings and click “Start after creation” if you want the VM to boot automatically upon creation. Click “Finish.”
Creating a Container (LXC):
- Click the “Create CT” button.
- General Tab: Provide a unique CT ID and name.
- Template Tab: Select a Linux distribution template (e.g., Debian, Ubuntu, CentOS) to install. You can download templates from within Proxmox VE.
- Root Disk Tab: Specify the size and storage for the container’s root filesystem.
- Network Tab: Configure the network settings for the container.
- Confirm: Review your settings and click “Finish.”
This post-installation phase transforms the raw installation into a functional and tailored virtualization environment. It’s here that the “Tech” aspect truly comes alive, enabling you to build and manage complex systems, while the efficiency gains directly impact “Money” by reducing hardware needs, and the robust infrastructure can bolster a company’s “Brand” as technologically advanced and reliable. By following these steps, you’ve successfully installed and configured Proxmox VE, ready to explore its vast potential.
aViewFromTheCave is a participant in the Amazon Services LLC Associates Program, an affiliate advertising program designed to provide a means for sites to earn advertising fees by advertising and linking to Amazon.com. Amazon, the Amazon logo, AmazonSupply, and the AmazonSupply logo are trademarks of Amazon.com, Inc. or its affiliates. As an Amazon Associate we earn affiliate commissions from qualifying purchases.