
In the rapidly evolving landscape of technology, the concept of virtualization has become a cornerstone for everything from enterprise data centers to personal computing setups. Among the various virtualization platforms available, Proxmox Virtual Environment (Proxmox VE) stands out as a powerful, open-source solution that combines KVM virtualization and LXC containers on a single platform. Traditionally, Proxmox VE has been deployed on robust x86-based servers, but with the advent of increasingly powerful ARM-based single-board computers like the Raspberry Pi, enthusiasts and professionals alike are exploring new frontiers. This article delves into the exciting possibility of installing Proxmox VE on a Raspberry Pi, transforming this humble device into a compact, energy-efficient, and surprisingly capable home lab or edge computing node.
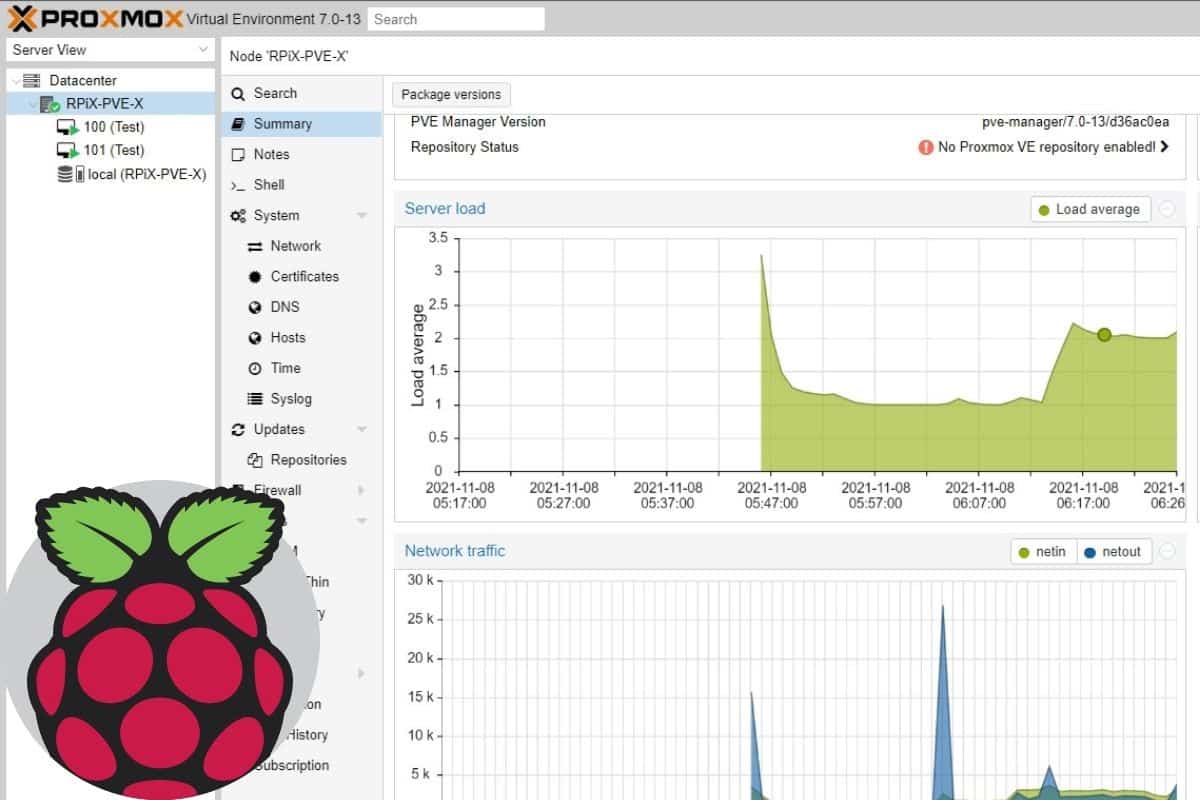
The Raspberry Pi has, over the years, transcended its initial role as an educational tool to become a versatile platform for myriad projects. Its low power consumption, small form factor, and growing processing capabilities make it an ideal candidate for always-on tasks where a full-blown server would be overkill. By marrying Proxmox VE with a Raspberry Pi, we unlock a powerful synergy, enabling us to run multiple virtual machines and containers, experiment with server configurations, host lightweight services, and even learn complex network topologies without breaking the bank or consuming excessive power. This guide will walk you through the necessary steps, considerations, and optimizations to bring this innovative setup to life, empowering you to build your own mini-data center right on your desk.
The Allure of Proxmox VE on Raspberry Pi: Why Take the Plunge?
The decision to install Proxmox VE on a Raspberry Pi is driven by a compelling mix of practical benefits, educational opportunities, and a spirit of technological exploration. While it might seem unconventional at first glance, the advantages far outweigh the initial challenges for specific use cases.
Unlocking Cost-Effectiveness and Energy Efficiency
One of the most immediate and significant draws is the economic benefit. A Raspberry Pi, even the latest models like the Raspberry Pi 4 or 5, represents a fraction of the cost of a traditional server-grade machine. This makes it an incredibly attractive option for budget-conscious hobbyists, students, or small businesses looking to experiment with virtualization without a substantial upfront investment. Beyond the initial purchase, the Raspberry Pi’s notoriously low power consumption translates into significant long-term savings on electricity bills. Running a dedicated x86 server 24/7 can be an expensive endeavor, whereas a Raspberry Pi can operate continuously for mere pennies a day. This financial prudence aligns perfectly with sustainable tech practices, minimizing both expenditure and environmental footprint. For individuals eyeing “Money” and “Tech” convergences, this setup is a prime example of getting high utility from minimal investment.
The Ultimate Home Lab for Learning and Experimentation
For those eager to dive into the world of server administration, networking, and virtualization, a Proxmox-powered Raspberry Pi serves as an unparalleled learning platform. It allows users to:
- Experiment with various operating systems: Spin up multiple Linux distributions or even lightweight Windows variants (with certain limitations) within VMs.
- Build complex network topologies: Create virtual networks, firewalls, and routing configurations in a sandbox environment.
- Learn containerization: Leverage LXC containers for isolated application deployment, understanding the nuances of microservices and deployment strategies.
- Practice server management: Gain hands-on experience with command-line interfaces, system updates, and troubleshooting in a low-stakes environment.
This hands-on experience is invaluable for anyone pursuing a career in IT, cloud computing, or cybersecurity. It democratizes access to sophisticated server technology, making advanced concepts approachable and practical. The “Tech” enthusiast will find endless possibilities for tinkering and mastering new skills.
Edge Computing and Dedicated Service Hosting
Beyond learning, a Proxmox-enabled Raspberry Pi can function as a dedicated, low-power server for specific applications at the “edge” of your network. This could include:
- Ad-blocking with Pi-hole: Run Pi-hole in its own container for network-wide ad blocking.
- Home automation hubs: Host Home Assistant or other IoT platforms.
- Lightweight web servers: Serve personal websites or small applications.
- Network attached storage (NAS): Combine with external USB storage for a basic, low-power NAS solution.
- Monitoring tools: Deploy monitoring agents or dashboards for your home network.
Its small footprint makes it ideal for deployment in spaces where a larger server would be impractical, bringing computational power closer to the data source. This innovative application exemplifies how mainstream “Tech” trends like edge computing can be realized with accessible hardware.
Navigating the Terrain: Understanding Limitations and Prerequisites
While the prospect of running Proxmox VE on a Raspberry Pi is exciting, it’s crucial to approach this project with a clear understanding of its inherent limitations and to ensure you have all the necessary components. This isn’t a drop-in replacement for a high-performance x86 server, but rather a specialized tool for specific tasks.
Acknowledging the Limitations of ARM Architecture
The primary limitation stems from the Raspberry Pi’s ARM architecture. Proxmox VE is fundamentally designed for x86/x64 systems. While the underlying Debian base is compatible with ARM, not all Proxmox features or guest operating systems will be directly available or perform optimally.
- Guest OS Support: You will primarily be limited to running ARM-compatible guest operating systems (e.g., ARM versions of Debian, Ubuntu Server, Alpine Linux) within KVM virtual machines. Running x86 Windows or traditional Linux distributions is not natively possible without complex emulation, which would be prohibitively slow.
- Performance Constraints: Even the most powerful Raspberry Pi models (like the Pi 4 or 5 with 8GB RAM) have finite CPU cores and memory. Running multiple resource-intensive VMs will quickly saturate available resources, leading to poor performance. This setup is best suited for a few lightweight containers or a single modest VM.
- Storage I/O: While USB 3.0 SSDs significantly improve performance over microSD cards, the Raspberry Pi’s I/O capabilities are still not on par with dedicated server hardware. This can impact the speed and responsiveness of your virtualized environments, especially with heavy disk operations.
Despite these limitations, for learning, specific edge tasks, and lightweight server roles, the Raspberry Pi remains a highly viable and practical platform.
Essential Hardware and Software Prerequisites
Before embarking on the installation, gather the following:
Raspberry Pi Model and Storage Requirements
- Raspberry Pi 4 or 5 (4GB or 8GB RAM recommended): These models offer the 64-bit architecture and sufficient RAM crucial for Proxmox VE. While older models might technically boot, their performance would be severely lacking.
- High-Quality MicroSD Card (minimum 32GB, A2 rated): Needed for initial OS flashing. However, for actual Proxmox VE installation and VM storage, an external USB 3.0 SSD (120GB or larger) is highly recommended. The I/O performance of an SSD is vastly superior and will significantly improve the responsiveness and longevity of your Proxmox setup.
- Official Raspberry Pi Power Supply: Critical for stable operation, especially with an SSD connected. Undervoltage can cause instability.
- Ethernet Cable: A wired network connection is highly recommended for stability and performance over Wi-Fi for server roles.
Necessary Software Tools
- Raspberry Pi Imager: For flashing the base operating system to your SD card or SSD.
- 64-bit Debian or Ubuntu Server for ARM: Proxmox VE requires a 64-bit Linux distribution as its base. Debian 11 (Bullseye) or Ubuntu Server 22.04 LTS (Jammy Jellyfish) ARM64 are excellent choices. Ensure it’s a minimal server install, not a desktop environment.
- SSH Client (e.g., PuTTY for Windows, built-in terminal for Linux/macOS): For remote access to your Raspberry Pi after initial setup.
- Web Browser: To access the Proxmox VE web interface after installation.
Having these prerequisites in order will streamline the installation process and prevent common frustrations.
Step-by-Step Installation Guide: Bringing Proxmox to Life
This section outlines the detailed steps to install Proxmox VE on your Raspberry Pi. Precision and attention to detail are key to a successful deployment.
1. Prepare Your Raspberry Pi OS: The Foundation
The first crucial step is to install a suitable 64-bit operating system on your chosen storage medium (preferably an SSD for performance).
- Download OS Image: Obtain the latest 64-bit ARM server image for Debian (e.g., Debian 11/12 ARM64
netinst) or Ubuntu Server (e.g., Ubuntu Server 22.04 LTS ARM64). - Flash the OS: Use Raspberry Pi Imager to write the downloaded OS image to your SD card or USB SSD.
- Select “Choose OS” -> “Other general-purpose OS” -> “Debian” or “Ubuntu”.
- Choose the 64-bit server variant.
- Select your target storage device.
- Crucially, use the “Gear” icon (settings) to pre-configure SSH access, set a username/password, and optionally a hostname and Wi-Fi if needed (though wired is preferred).
- Boot the Raspberry Pi: Insert the flashed SD card (if using an SD card for boot, with SSD for root filesystem) or plug in the SSD directly, then power on your Raspberry Pi.
- Initial Login: Connect to the Pi via SSH using the IP address assigned by your router (you can find this via your router’s admin interface or a network scanner) and the credentials you set.
ssh your_username@your_pi_ip_address
- Update and Upgrade: Once logged in, ensure your system is up-to-date.
sudo apt update
sudo apt full-upgrade -y
sudo reboot
2. Configure Network Settings and Hostname
A stable and static network configuration is essential for a server.
- Set Static IP Address: Edit the network configuration file. For Debian/Ubuntu, this is often
/etc/network/interfacesor managed bynetplan(Ubuntu).- Example for
/etc/network/interfaces(Debian):
- Example for

```bash
sudo nano /etc/network/interfaces
```
Modify the `eth0` (or your Ethernet interface name) section to look like this, replacing values with your network's specifics:

```
auto eth0
iface eth0 inet static
    address 192.168.1.100  # Your desired static IP
    netmask 255.255.255.0
    gateway 192.168.1.1    # Your router's IP
    dns-nameservers 192.168.1.1 8.8.8.8
```
*   Example for `netplan` (Ubuntu):

```bash
sudo nano /etc/netplan/01-netcfg.yaml
```
```yaml
network:
  version: 2
  renderer: networkd
  ethernets:
    eth0:
      dhcp4: no
      addresses:
        - 192.168.1.100/24
      routes:
        - to: default
          via: 192.168.1.1
      nameservers:
        addresses: [192.168.1.1, 8.8.8.8]
```
Then apply: `sudo netplan apply`
- Set Hostname: Change the hostname to something descriptive, like
pvepi.
sudo hostnamectl set-hostname pvepi
- Edit
/etc/hosts: Map your static IP address to your new hostname.
sudo nano /etc/hosts
Add an entry like this, ensuring 127.0.0.1 also points to localhost:
127.0.0.1       localhost
192.168.1.100   pvepi.yourdomain.com pvepi  # Replace with your static IP and desired FQDN/hostname
- Reboot:
sudo rebootto ensure all network and hostname changes take effect.
3. Add Proxmox VE Repository (Adjusted for ARM)
Proxmox VE’s official repositories are typically for x86. We need to use community-maintained ARM repositories or compile from source. For simplicity, we’ll assume a community-supported repository exists for Debian ARM64, or use the standard Debian base and install specific Proxmox components that are architecture-agnostic or have ARM builds. Note: As of writing, official Proxmox VE does not directly support ARM out-of-the-box for its full suite. This guide assumes a compatible base or community effort.
Since Proxmox VE officially targets x86_64, installing it on ARM (like the Raspberry Pi) means you cannot use the official Proxmox kernel or some of its core features directly. Instead, you install it on top of a standard Debian ARM64 system and then leverage KVM/LXC with the Debian’s own ARM64 kernel. The key is to add the standard Debian Backports repository for newer kernels and packages.
-
Add Debian Backports:
echo "deb http://deb.debian.org/debian bullseye-backports main contrib" | sudo tee /etc/apt/sources.list.d/backports.list sudo apt update -
Install necessary headers and tools for KVM/LXC on ARM:
sudo apt install -y qemu-kvm libvirt-daemon-system libvirt-clients bridge-utils debootstrap systemd-containerThis provides the virtualization capabilities. You will not be installing
proxmox-vedirectly as it’s an x86 package. Instead, we’ll configure a Proxmox-like environment manually using its core components for management.
4. Install Proxmox Web Interface and Dependencies (Manual Approach)
Since the full proxmox-ve package isn’t directly compatible, we’ll install its components and configure them.
-
Install Proxmox Web Interface and PVE Tools:
sudo apt install -y proxmox-widget-toolkit pve-manager pve-qemu-kvm pve-container pve-kernel-5.15 # Use appropriate kernel for your Debian version, or just 'pve-qemu-kvm pve-container'Important:
pve-kernelpackages are usually x86. You’ll stick with your Debian ARM64 kernel. Ifpve-kernel-xxxtries to install an x86 kernel, do not install it. Just installpve-manager,pve-qemu-kvm, andpve-container. Thepve-kernelpart of the proxmox-ve metapackage is what ties it to x86.sudo apt install -y pve-manager pve-qemu-kvm pve-containerThis installs the core Proxmox tools for managing VMs/containers, the web interface, and the QEMU/KVM binaries.
-
Remove Enterprise Repository (Optional but Recommended for Home Use):
If any Proxmox enterprise repo somehow got added, or if you encounter subscription warnings, you can disable them.sudo rm /etc/apt/sources.list.d/pve-enterprise.list # If it exists echo "deb http://download.proxmox.com/debian/pve bullseye pve-no-subscription" | sudo tee /etc/apt/sources.list.d/pve-no-subscription.list sudo apt updateThe above
pve-no-subscriptionrepo is still largely x86-focused, but ensures no complaints about enterprise subscriptions if a Proxmox-related package happened to pull from it. For a pure ARM setup, this step might be less critical. -
Reboot:
sudo reboot
5. Accessing the Proxmox Web Interface
After the reboot, Proxmox VE should be running.
- Access the Web UI: Open your web browser and navigate to
https://your_pi_ip_address:8006.- You will likely encounter a certificate warning because Proxmox uses a self-signed SSL certificate. Proceed past it.
- Login: Use
rootas the username and the password you set for yourpiuser (orrootif you explicitly set a root password during OS installation). - Initial Configuration: You’ll be greeted by the Proxmox VE dashboard. From here, you can start creating virtual machines (using ARM-compatible images) and LXC containers.
Optimizing Your Proxmox VE on Raspberry Pi
To get the best performance and longevity out of your Proxmox-on-Pi setup, consider these optimizations:
Storage Best Practices
- Use an SSD for Everything: As emphasized, an external USB 3.0 SSD is paramount for the Proxmox installation and all VM/container storage. It dramatically improves read/write speeds and extends the lifespan of your storage compared to microSD cards.
- Separate Boot and Root (Optional): You can use an SD card for booting the initial OS, then move the entire root filesystem to a USB SSD. This gives you the convenience of an SD card boot with the performance of an SSD. Raspberry Pi 4/5 can also boot directly from USB SSDs, simplifying this.
- External Network Storage: For larger data storage or backups, consider mounting network shares (NFS, SMB/CIFS) from a separate NAS. This offloads storage duties from the Pi’s local SSD.
Resource Management
- Limit VM/Container Resources: Do not over-allocate CPU cores or RAM to your VMs/containers. The Raspberry Pi has finite resources. Allocate just enough for each guest to function, leaving some overhead for the host OS.
- Use LXC Containers Where Possible: LXC containers are much lighter weight than full KVM virtual machines, as they share the host kernel. For applications that run on Linux, LXC offers superior performance and resource efficiency on the Raspberry Pi.
- Monitor Performance: Regularly check the Proxmox dashboard for CPU, RAM, and I/O utilization to identify bottlenecks and adjust resource allocations as needed.
Regular Updates and Maintenance
- Keep Your System Updated: Regularly run
sudo apt update && sudo apt full-upgrade -yon the host OS to ensure you have the latest security patches and package improvements. - Update Proxmox Components: Within the Proxmox VE web UI, navigate to “Updates” and refresh the repositories to apply updates to Proxmox-specific packages.
- Backup Your Configurations: Regularly back up your Proxmox configuration files and, importantly, your VMs and containers. While a home lab, data loss can still be frustrating.
Common Issues and Troubleshooting
Even with careful planning, you might encounter issues. Here are some common problems and their solutions:
- “No subscription” warning: This is normal for a free Proxmox VE installation. You can dismiss it. If it bothers you, follow guides to remove the enterprise repository entry from
/etc/apt/sources.list.d/pve-enterprise.listand add thepve-no-subscriptionone. (Note: for ARM, this might be less relevant if you’re not using official Proxmox PVE repos for the full stack). - Cannot access web UI:
- Check if your Raspberry Pi has booted and has network connectivity (ping its IP address).
- Ensure no firewall is blocking port 8006 (e.g.,
ufw statusandsudo ufw allow 8006). - Verify Proxmox services are running:
systemctl status pveproxy pvedaemon. - Double-check the static IP configuration in
/etc/network/interfacesornetplan.
- Slow performance:
- Verify you’re using an SSD, not a slow microSD card.
- Check resource usage on the Proxmox dashboard. Are you over-allocating CPU or RAM?
- Ensure your power supply is adequate.
- Cannot create KVM VMs or run only ARM images: This is an expected limitation due to the ARM architecture. You can only virtualize ARM-based operating systems. If you need x86, you’ll need an x86 host.
- “Error 500: Permission denied” during VM/Container creation: Ensure your user (
rootor an admin user) has the necessary permissions. This usually indicates a problem with disk permissions or storage configuration.
For deeper issues, consult the Proxmox forums and community resources. The “Tech” community is a vast reservoir of knowledge for unique setups like this.
Conclusion: A Powerful Mini-Virtualization Powerhouse
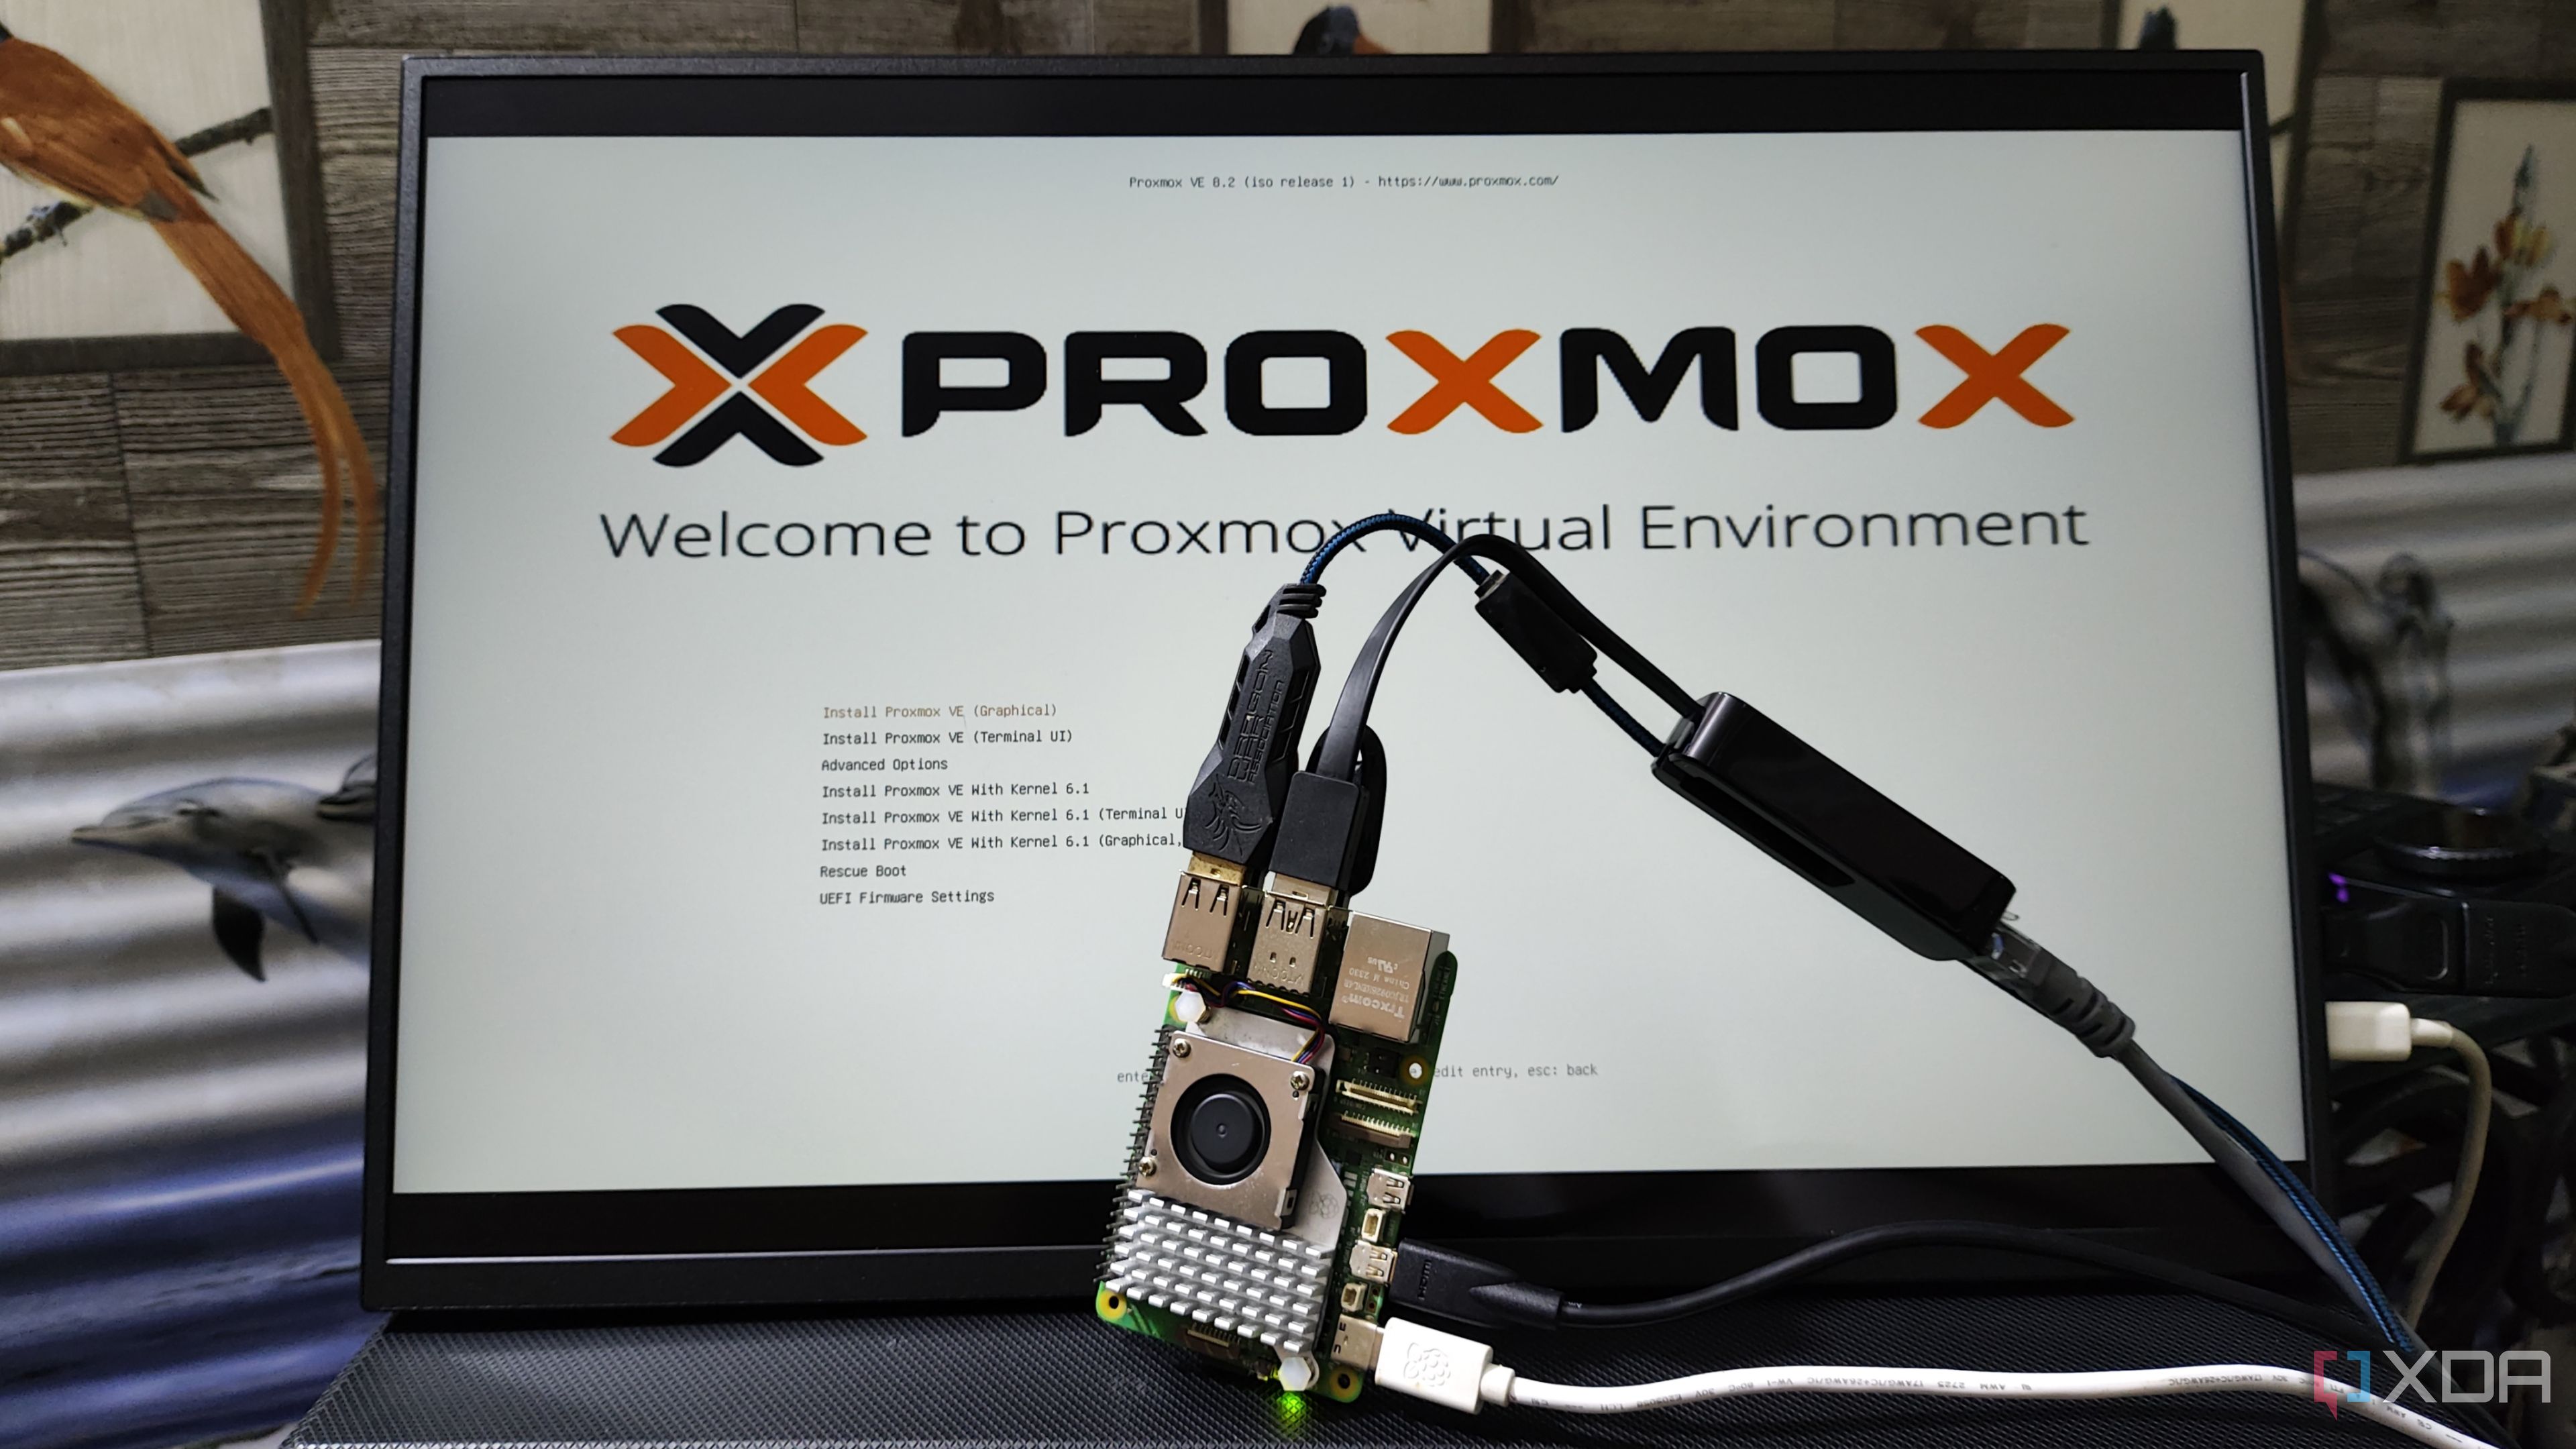
Installing Proxmox VE on a Raspberry Pi is more than just a technical exercise; it’s a testament to the ingenuity of the open-source community and the growing capabilities of affordable hardware. By following this comprehensive guide, you’ve transformed a modest single-board computer into a versatile virtualization platform, capable of hosting a range of services and providing an invaluable learning environment.
This compact setup empowers you to build personal cloud solutions, experiment with cutting-edge network configurations, host lightweight applications, and delve into the intricacies of server management – all while keeping energy consumption and costs to a minimum. It’s a perfect illustration of how “Tech” innovation can lead to practical “Money” savings and expand personal “Brand” capabilities through skill acquisition. While the ARM architecture presents certain limitations compared to traditional x86 servers, for the right applications and with a clear understanding of its boundaries, the Proxmox-on-Pi combination delivers exceptional value. Embrace this powerful mini-virtualization powerhouse, and unlock a world of possibilities for your home lab or edge computing needs.
aViewFromTheCave is a participant in the Amazon Services LLC Associates Program, an affiliate advertising program designed to provide a means for sites to earn advertising fees by advertising and linking to Amazon.com. Amazon, the Amazon logo, AmazonSupply, and the AmazonSupply logo are trademarks of Amazon.com, Inc. or its affiliates. As an Amazon Associate we earn affiliate commissions from qualifying purchases.