
The power supply unit (PSU) is often called the “heart” of your computer, and for good reason. It’s the critical component responsible for converting the alternating current (AC) from your wall outlet into the direct current (DC) needed by all other internal components, delivering the precise voltages required to keep your system running smoothly. A malfunctioning or insufficient PSU can lead to instability, unexpected shutdowns, or even hardware damage. Whether you’re upgrading an aging unit, replacing a faulty one, or building a new PC from scratch, understanding the correct installation procedure is paramount. This comprehensive guide will walk you through every step, ensuring a safe and successful power supply installation.
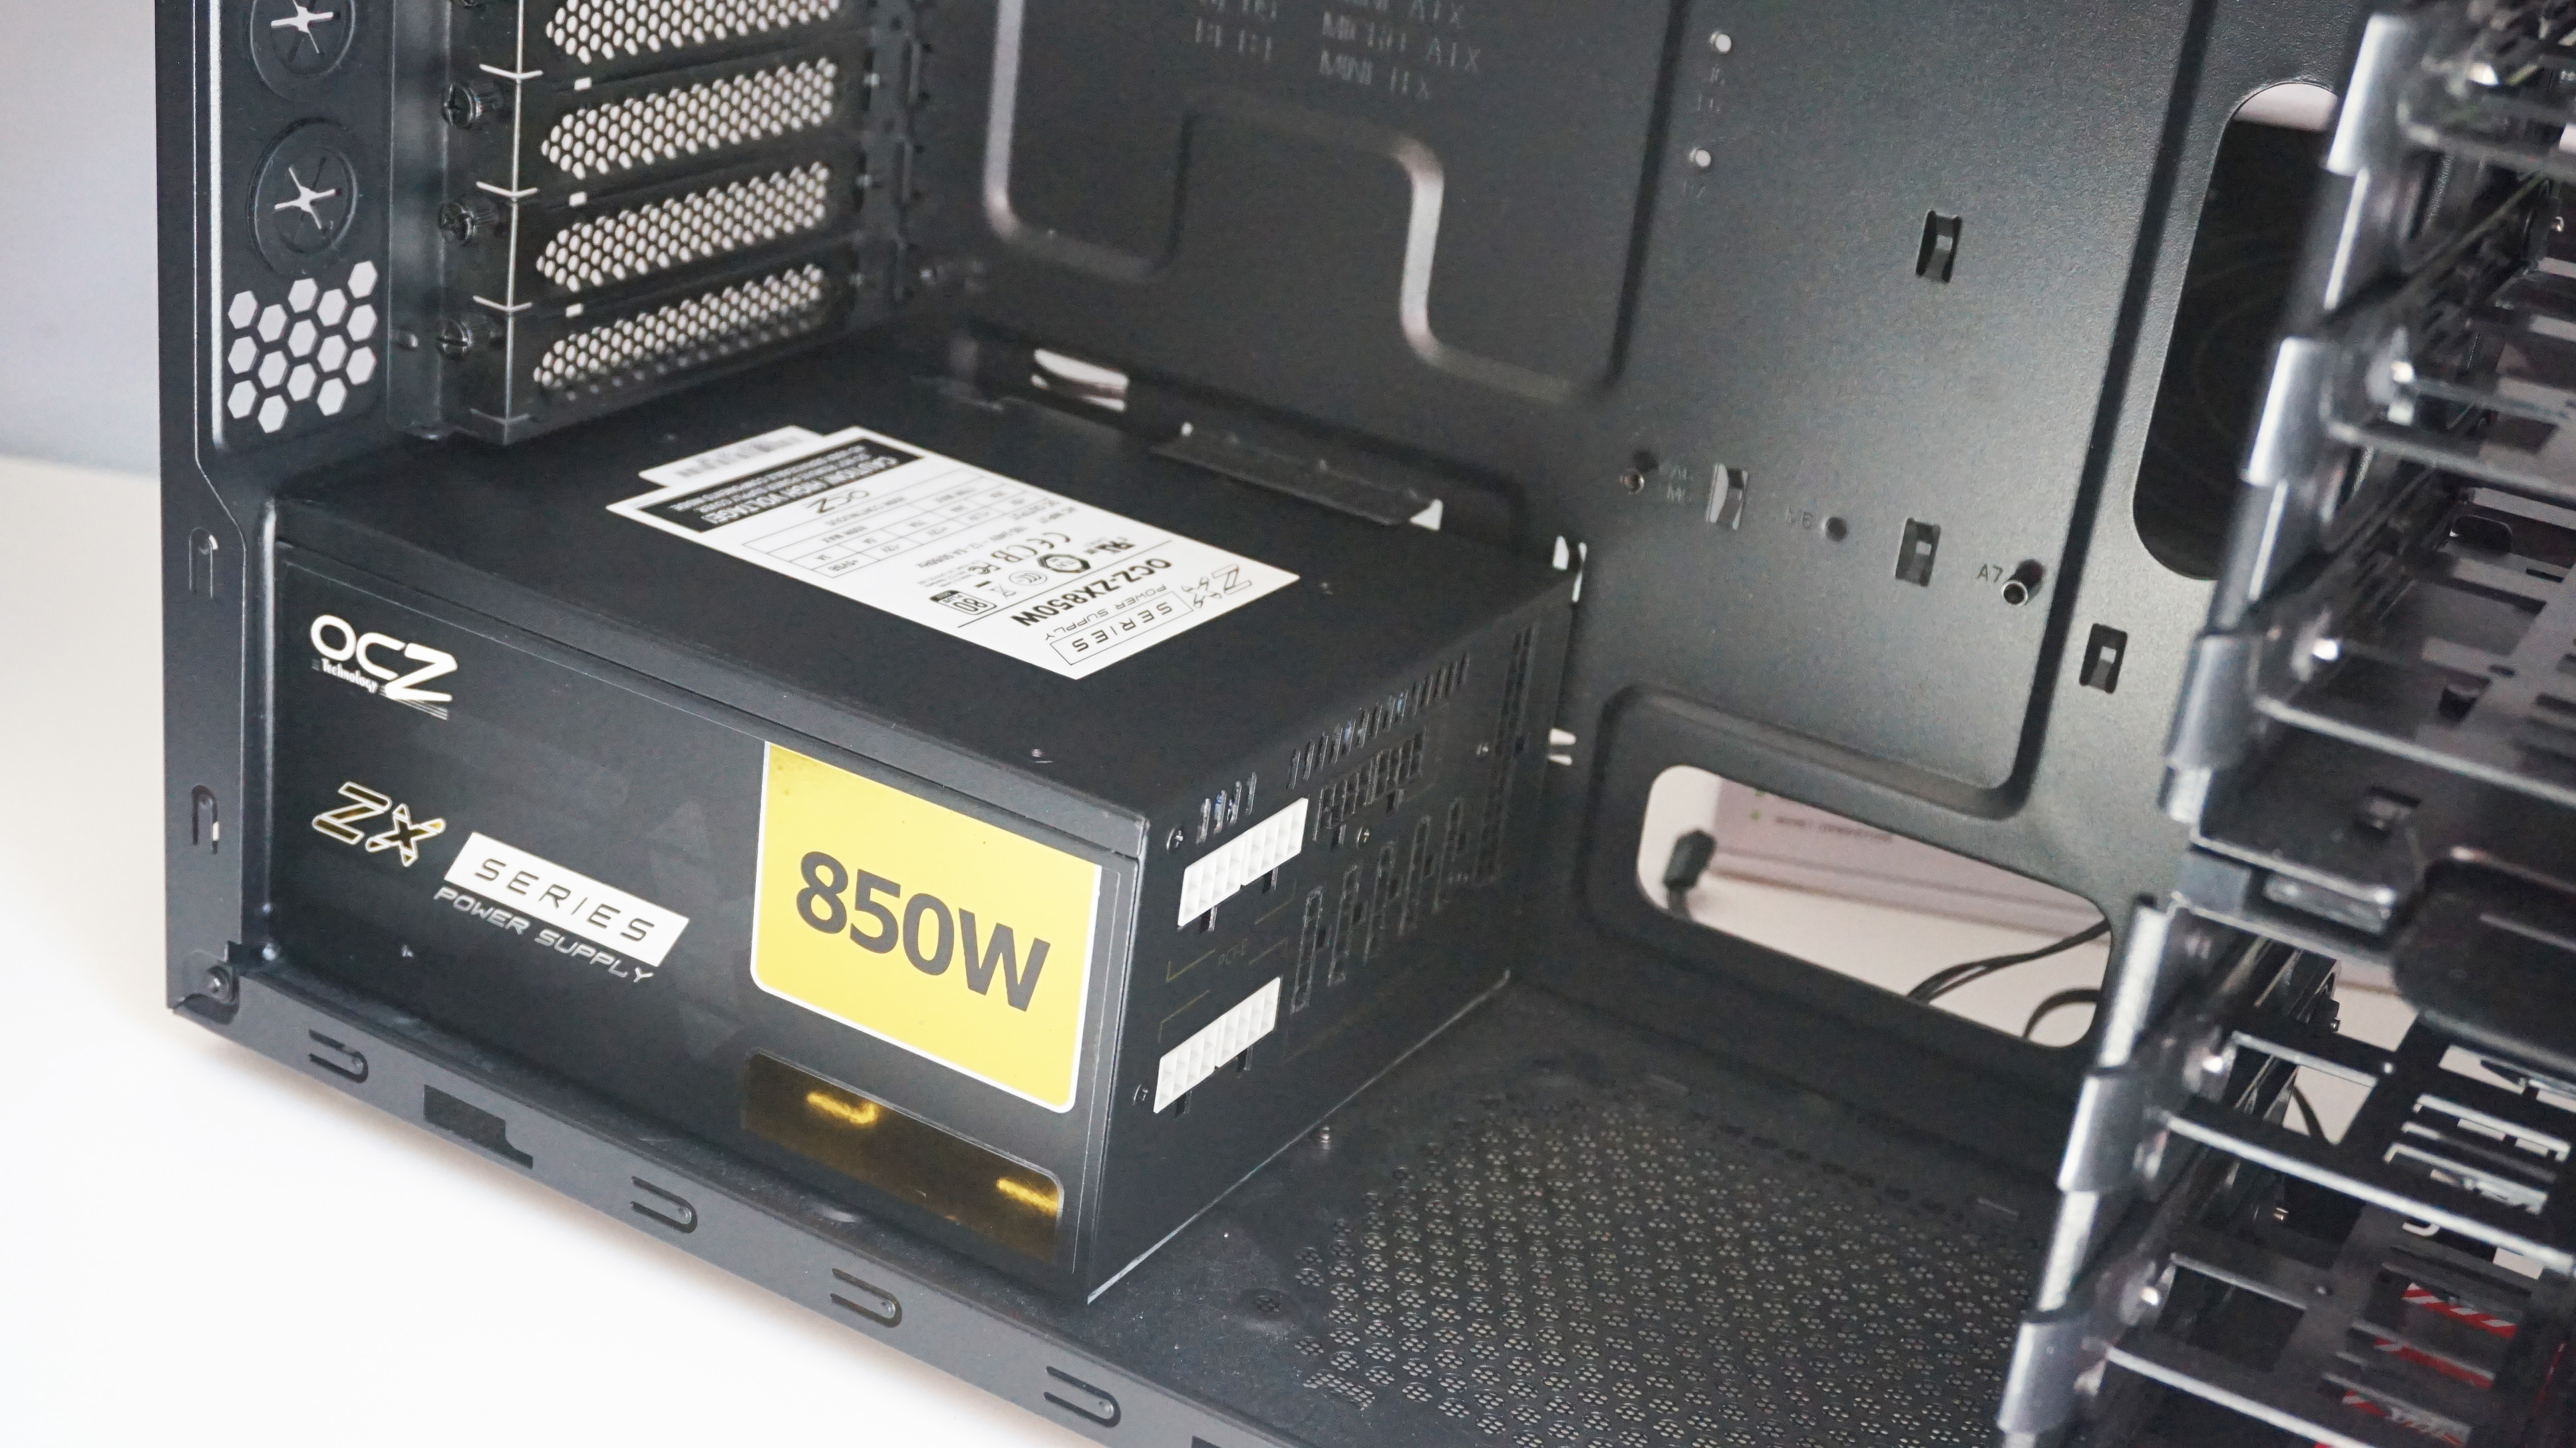
Understanding the Heart of Your PC: The Power Supply Unit (PSU)
Before diving into the hands-on process, it’s essential to grasp what a power supply does, why its quality matters, and how to select the right one for your system. This foundational knowledge will not only help you during installation but also in troubleshooting and future upgrades.
The Critical Role of PSU Functionality
A power supply isn’t just a simple power brick; it’s a sophisticated piece of engineering that performs several vital functions. Firstly, it rectifies AC power from the mains into usable DC power. Secondly, it steps down this voltage to various levels (typically +12V, +5V, and +3.3V) required by different components like the motherboard, CPU, GPU, and storage drives. Thirdly, modern PSUs often incorporate safeguards against overcurrent, overvoltage, undervoltage, and short circuits, protecting your valuable hardware from electrical anomalies. A high-quality PSU delivers stable power, contributing to system longevity and reliability, while an inferior one can introduce ripple, noise, and voltage fluctuations that degrade performance and shorten component lifespans.
Choosing the Right Power Supply for Your System
Selecting the appropriate PSU is crucial. It’s not just about raw wattage; efficiency, modularity, and physical size also play significant roles.
-
Wattage (Power Output): This is perhaps the most critical specification. You need a PSU that can provide enough power for all your components under full load. A good rule of thumb is to calculate the total power consumption of your CPU, GPU, motherboard, RAM, storage drives, and any peripherals, then add a 20-30% buffer for future upgrades and peak demands. Online PSU calculators are excellent tools for this. Undershooting on wattage can lead to system instability, while vastly overshooting wastes money and may reduce efficiency, especially at lower loads.
-
Efficiency Rating: PSUs are rated using the 80 Plus certification (e.g., Bronze, Silver, Gold, Platinum, Titanium). These ratings indicate how efficiently the PSU converts AC to DC, with higher ratings meaning less energy is wasted as heat. An 80 Plus Gold unit, for example, is at least 87% efficient at 20% load, 90% at 50% load, and 87% at 100% load. Higher efficiency not only saves on electricity bills but also generates less heat, leading to a quieter and cooler system.
-
Modularity: PSUs come in three main types:
-
Non-modular: All cables are permanently attached. This is typically found in budget PSUs and can lead to significant cable clutter within your case.
-
Semi-modular: Essential cables (like the 24-pin motherboard and 8-pin CPU) are fixed, while others are detachable. This offers a good balance of cost and cable management.
-
Fully modular: All cables are detachable. This provides the ultimate flexibility for cable management, allowing you to connect only the cables you need, leading to a cleaner build and better airflow.
-
-
Form Factor and Size: Most desktop PCs use an ATX form factor PSU, but smaller cases might require SFX or SFX-L units. Always check the dimensions of your PC case and the PSU to ensure compatibility.
-
Connectors: Ensure the PSU has all the necessary connectors for your motherboard (24-pin ATX, 4/8-pin EPS for CPU), graphics card(s) (6-pin, 6+2-pin PCIe), SATA power for drives, and Molex for older peripherals.
Pre-Installation Checklist: Ensuring a Smooth Swap
Preparation is key to a successful and safe power supply installation. Taking a few moments to gather your tools and follow safety protocols can prevent frustration, damage, or even injury.
Safety First: Essential Precautions
Working inside a computer involves electrical components, so safety must be your top priority.
-
Unplug from the Wall: Always, always disconnect the PC from the wall outlet before opening the case or touching any internal components. Do not rely solely on turning off the power switch on the PSU.
-
Discharge Residual Power: After unplugging, press and hold the PC’s power button for 10-15 seconds. This helps drain any residual power stored in the capacitors of the PSU and motherboard.
-
Ground Yourself: Static electricity is a silent killer of computer components. Use an anti-static wrist strap connected to an unpainted metal part of your PC case (or another grounded object). If you don’t have one, frequently touch a grounded metal object to discharge any static buildup. Avoid working on carpeted surfaces.
-
Work in a Well-Lit Area: Ensure you have ample lighting to clearly see all connectors and components.
-
Handle Components Carefully: Avoid touching exposed circuit boards or pins directly. Hold components by their edges.
Essential Tools for the Job
You won’t need a vast array of specialized tools, but having the right ones readily available will make the process much smoother.
-
Phillips Head Screwdriver: This is the most crucial tool, primarily for removing case panels, unscrewing the PSU, and potentially other components.
-
Anti-Static Wrist Strap: Highly recommended for preventing static discharge.
-
Cable Ties or Velcro Straps: For neat cable management after installation.
-
Small Container or Magnetic Tray: To hold screws securely so they don’t get lost.
-
Flashlight (Optional but Recommended): For illuminating dark corners inside the case.
-
Compressed Air (Optional): To clean dust from the case and components while you have the system open.
Disconnecting the Old Unit (If Applicable)
If you’re replacing an existing power supply, the first step is to carefully remove the old one.
-
Open the PC Case: Remove the side panel(s) of your computer case. Typically, this involves unscrewing a few thumb screws or Phillips head screws at the rear of the case and sliding the panel off.
-
Document Existing Connections: Before disconnecting anything, it’s a good idea to take photos or make notes of how the current power supply is routed and connected. This serves as a helpful reference when connecting the new PSU.
-
Disconnect All Power Cables: Starting with the largest and most prominent, systematically disconnect every power cable from your components. This includes:
-
24-pin ATX Motherboard Power: This wide connector powers the motherboard. There’s usually a clip you need to depress.
-
4/8-pin EPS CPU Power: Typically located near the top-left of the motherboard.
-
6/8-pin PCIe Graphics Card Power: If your GPU requires external power.
-
SATA Power: For hard drives, SSDs, and optical drives.
-
Molex Power: For older drives, fans, or other peripherals.
-
Any other proprietary connectors.
-
-
Unscrew the Old PSU: The power supply is usually mounted in the rear of the case with 3-4 screws. Remove these screws.
-
Remove the Old PSU: Gently slide the old power supply out of its bay. Be mindful of any cables that might still be snagged.
The Installation Process: A Step-by-Step Guide
With the old PSU removed (or if you’re starting a new build), it’s time to install the new unit. Take your time and follow these steps meticulously.
Physical Placement and Securing
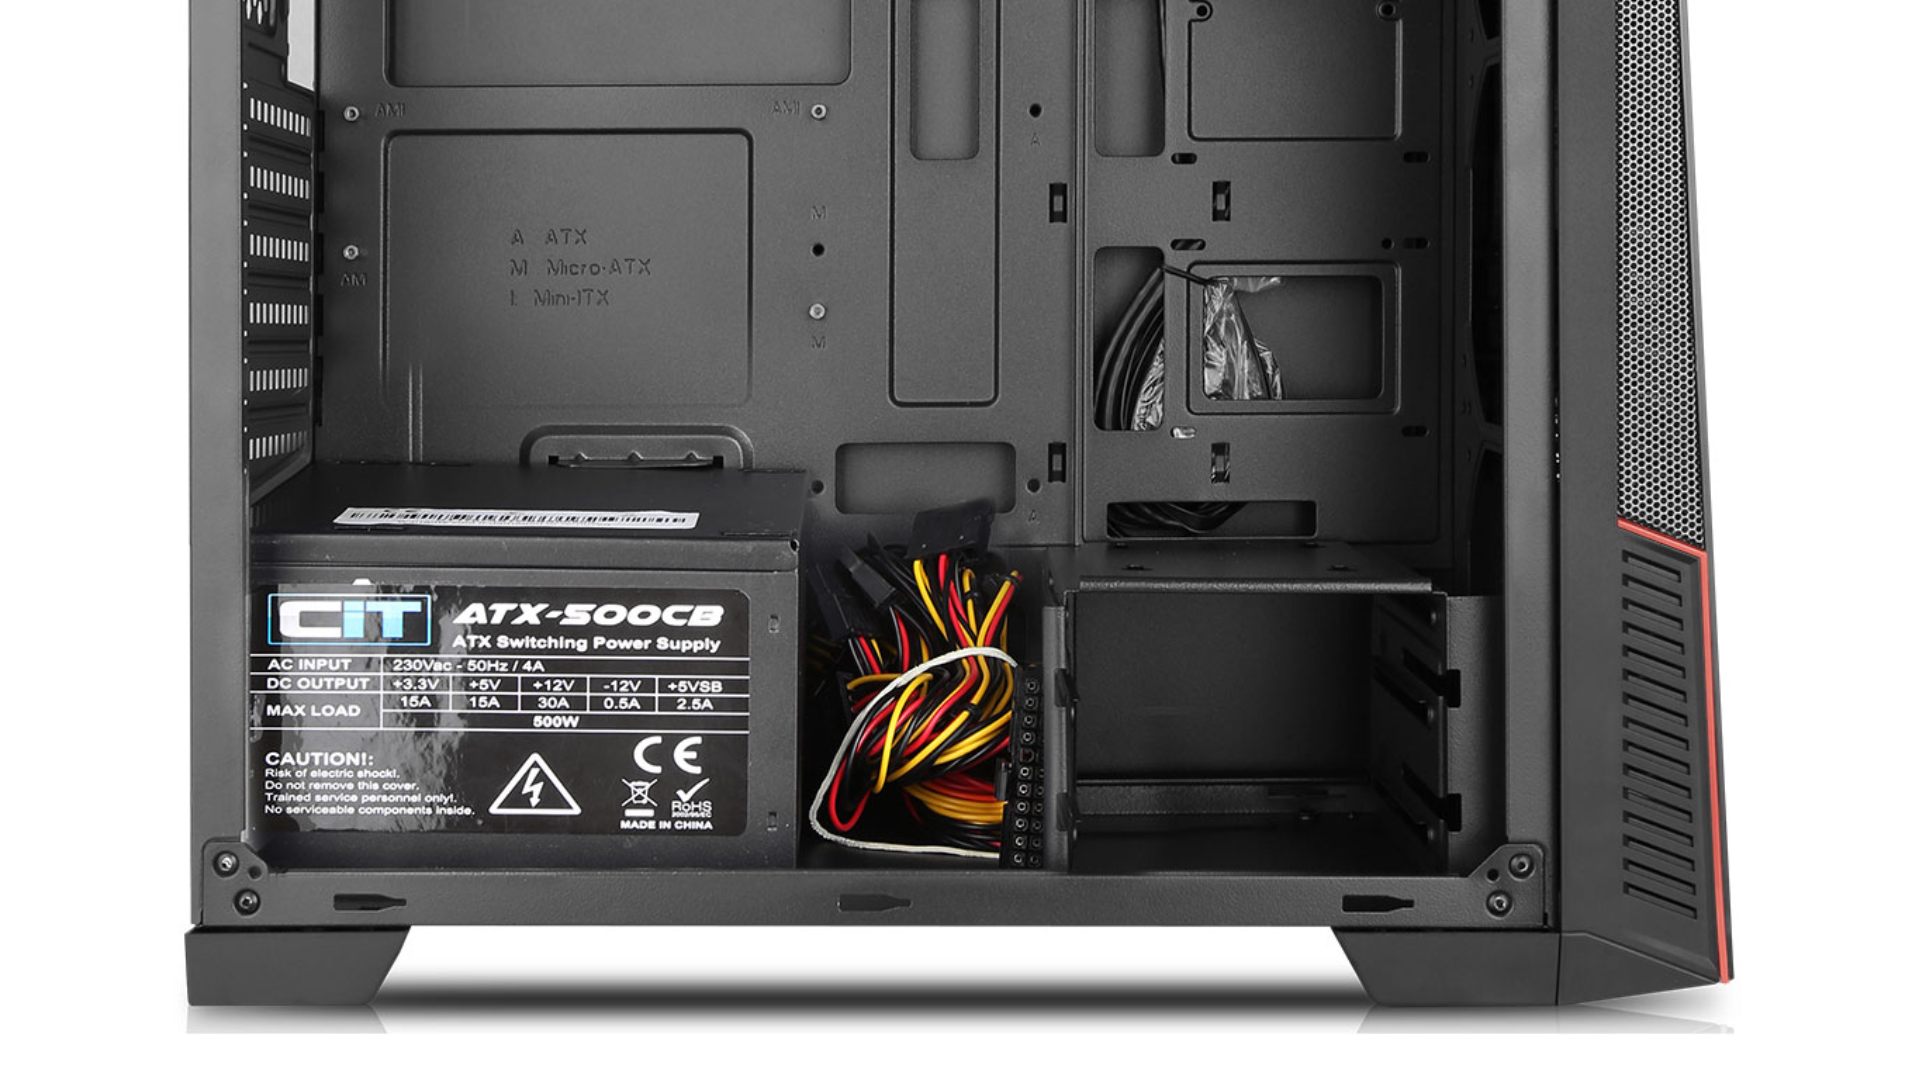
The first physical step is to position and secure your new power supply within the case.
-
Orient the PSU Correctly: Most PSUs have a fan that draws air in. For cases with a bottom-mounted PSU bay, the fan is typically oriented downwards if there’s a vent on the bottom of the case for direct airflow. If there’s no bottom vent or if the case dictates, orient the fan upwards to draw air from inside the case. For top-mounted PSUs, the fan usually faces downwards towards the CPU.
-
Slide into Place: Gently slide the new power supply into its designated bay until its screw holes align with those on the back of the case.
-
Secure with Screws: Using the Phillips head screwdriver, secure the PSU to the case with the 3-4 screws provided with the power supply (or reused from the old one). Do not overtighten, but ensure it’s firm and stable.
Connecting the Motherboard and CPU
These are the most critical power connections, powering the brain and nervous system of your PC.
-
24-pin ATX Motherboard Power: Locate the large 24-pin connector on your motherboard (usually on the right edge). Take the corresponding 24-pin cable from your PSU and firmly push it into the motherboard socket until the retention clip locks into place. Ensure it’s fully seated.
-
4/8-pin EPS CPU Power: This connector is typically located at the top-left corner of the motherboard, near the CPU socket. Depending on your motherboard and CPU, it might be a 4-pin, 8-pin (4+4-pin), or even a dual 8-pin connector. Connect the appropriate cable(s) from your PSU, ensuring the clip engages. It’s crucial to connect this cable firmly, as a loose connection can lead to instability or failure to boot.
Powering Graphics Cards and Storage Drives
Your graphics card and storage devices also require dedicated power.
-
6/8-pin PCIe Graphics Card Power: If your graphics card requires external power (most dedicated GPUs do), connect the appropriate 6-pin or 8-pin (6+2-pin) PCIe power cable(s) from your PSU to the graphics card. Some high-end cards require two or even three such connectors. Always use separate cables from the PSU for each connector if possible, rather than daisy-chaining multiple connectors off a single cable, to ensure stable power delivery.
-
SATA Power for Storage: For your SATA hard drives, solid-state drives (SSDs), and optical drives, connect the flat SATA power connectors from the PSU to the corresponding ports on each drive. They are keyed to fit only one way.
-
Molex Power (If Needed): If you have older fans, fan controllers, or specific peripherals that use Molex connectors, plug in the necessary cables.
Peripheral Connections and Initial Cable Management
After connecting the main components, it’s time for the peripherals and a preliminary pass at cable management.
-
Front Panel/Other Peripherals: Connect any other necessary power cables for components like fan controllers, pump headers for liquid cooling, or USB hubs.
-
Rough Cable Management: Before closing the case, do a rough pass at cable management. Route cables through cutouts in the motherboard tray (if your case supports it) and use zip ties or Velcro straps to bundle them neatly. This isn’t just for aesthetics; good cable management improves airflow, which contributes to better cooling and system stability. Avoid blocking airflow paths or creating tension on connectors.
Post-Installation Procedures and Troubleshooting Tips
You’re almost there! Once everything is connected, a few final steps are needed before you power up your system, along with advice for common issues.
Initial Power-Up and Testing
The moment of truth:
-
Double-Check All Connections: Before closing the case, meticulously check every single power connection. Ensure the 24-pin, CPU, GPU, and SATA connectors are all firmly seated and clicked into place. Confirm no stray cables are touching fan blades or metallic parts.
-
Close the Case (Optional for First Boot): For the very first power-up, you might leave one side panel off to observe fan spin and LED indicators, but ensure you don’t touch any components while the system is powered.
-
Connect Peripherals: Reconnect your monitor, keyboard, mouse, and any other external peripherals.
-
Plug in the Power Cable: Connect the AC power cable to the PSU and then to the wall outlet.
-
Flip the PSU Switch: Ensure the switch on the back of the PSU is in the “ON” (often indicated by “I”) position.
-
Power On: Press your PC’s power button.
-
Observe: Listen for fan spin (CPU, GPU, case fans, PSU fan), look for indicator lights on the motherboard, and check if your monitor receives a signal. If everything starts up normally and you see your operating system load, congratulations!
Cable Management Best Practices
After a successful boot, you can refine your cable management for optimal airflow and aesthetics.
-
Utilize Case Features: Modern PC cases often have cable routing channels, tie-down points, and space behind the motherboard tray for hiding cables.
-
Bundle Similar Cables: Group power cables for drives, then GPU cables, etc.
-
Avoid Airflow Obstructions: Ensure cables don’t block fans or restrict airflow to hot components like the CPU or GPU.
-
Don’t Over-Tighten: Use cable ties or Velcro straps, but don’t pull them so tight that they crimp or damage the cables.
-
Plan for Future Upgrades: Leave a little slack and consider how new components might integrate into your current cable layout.

Common Pitfalls and Solutions
Even with careful planning, issues can arise. Here are some common problems and their fixes:
-
PC Won’t Turn On:
-
Check PSU Switch: Is the switch on the back of the PSU set to “ON” (I)?
-
Power Cable: Is the AC power cable firmly plugged into both the PSU and the wall outlet?
-
24-pin and CPU Power: Are the 24-pin ATX and 4/8-pin EPS CPU power cables fully seated on the motherboard? These are the most common culprits.
-
Front Panel Connectors: Ensure the power button’s front panel connector is correctly plugged into the motherboard’s F_PANEL header.
-
-
Fans Spin, No Display:
-
GPU Power: Is the PCIe power cable firmly connected to the graphics card?
-
RAM: Reseat your RAM modules.
-
Monitor Input: Ensure your monitor is set to the correct input source (HDMI, DisplayPort, etc.).
-
Display Cable: Try a different display cable or monitor.
-
-
Random Shutdowns/Crashes Under Load:
-
Insufficient Wattage: Your PSU might not be powerful enough for your components, especially the GPU under heavy load.
-
Overheating: Check CPU and GPU temperatures.
-
Faulty PSU: If the PSU is old or of poor quality, it might be failing.
-
-
Burning Smell: Immediately power off the system and unplug it from the wall. This usually indicates a short circuit or a severely failing component. Do not attempt to restart.
Installing a PC power supply might seem daunting at first, but by following these detailed steps and prioritizing safety, you can successfully complete the task. A properly installed, high-quality power supply is fundamental to a stable, efficient, and long-lasting computer system, providing the reliable energy backbone your components need to perform at their best.
aViewFromTheCave is a participant in the Amazon Services LLC Associates Program, an affiliate advertising program designed to provide a means for sites to earn advertising fees by advertising and linking to Amazon.com. Amazon, the Amazon logo, AmazonSupply, and the AmazonSupply logo are trademarks of Amazon.com, Inc. or its affiliates. As an Amazon Associate we earn affiliate commissions from qualifying purchases.