The relationship between your computer’s hardware and software is governed by a critical piece of code known as a driver. For users of NVIDIA hardware, the graphics processing unit (GPU) is often the most powerful component in their system, responsible for everything from rendering complex 3D environments in modern video games to accelerating deep learning models and high-resolution video exports. However, the raw power of a GeForce RTX or Quadro card is effectively dormant without the correct drivers.
Installing NVIDIA drivers correctly is more than just a routine maintenance task; it is a fundamental step in ensuring system stability, security, and peak performance. Whether you are a hardcore gamer looking for the highest frame rates, a creative professional requiring rock-solid stability in Adobe Premiere, or a data scientist utilizing CUDA cores for computation, understanding the nuances of driver installation is essential.
1. Understanding NVIDIA Driver Variants and Pre-Installation Preparation
Before diving into the installation process, it is vital to understand that not all drivers are created equal. NVIDIA offers different “branches” of software tailored to specific use cases. Choosing the right one at the outset prevents performance bottlenecks and software crashes later.
Identifying Your GPU Model
The first step is knowing exactly what hardware you have. While many users know they have an “RTX 30-series” or “GTX 16-series,” specific versions matter. You can identify your GPU by right-clicking the Start button in Windows, selecting “Device Manager,” and expanding the “Display adapters” section. Alternatively, using a third-party tool like GPU-Z provides deeper technical specifications, including your BIOS version and memory type, which can be useful for advanced troubleshooting.
Game Ready Drivers (GRD) vs. Studio Drivers (SD)
NVIDIA bifurcates its driver offerings into two main categories:
- Game Ready Drivers: These are released frequently, often coinciding with the launch of major new video games. They include “Day 0” optimizations, bug fixes for specific titles, and support for the latest features like DLSS 3.5 or Ray Reconstruction.
- Studio Drivers: If your PC is a workstation first and a gaming machine second, Studio Drivers are the preferred choice. NVIDIA conducts extensive testing against creative applications like Autodesk Maya, DaVinci Resolve, and the Adobe Creative Cloud suite. They prioritize stability and uptime over the rapid-fire feature releases of the Game Ready branch.
Preparing the System for a Clean Start
Conflict between old and new driver files is a leading cause of the dreaded “Blue Screen of Death” (BSOD) or stuttering in games. Before installing a new driver, ensure Windows Update is not simultaneously trying to install a generic version of the driver in the background. If you are switching from an AMD GPU to an NVIDIA GPU, it is mandatory to remove all traces of the previous software to prevent registry conflicts.
2. The Automated Approach: Using NVIDIA GeForce Experience
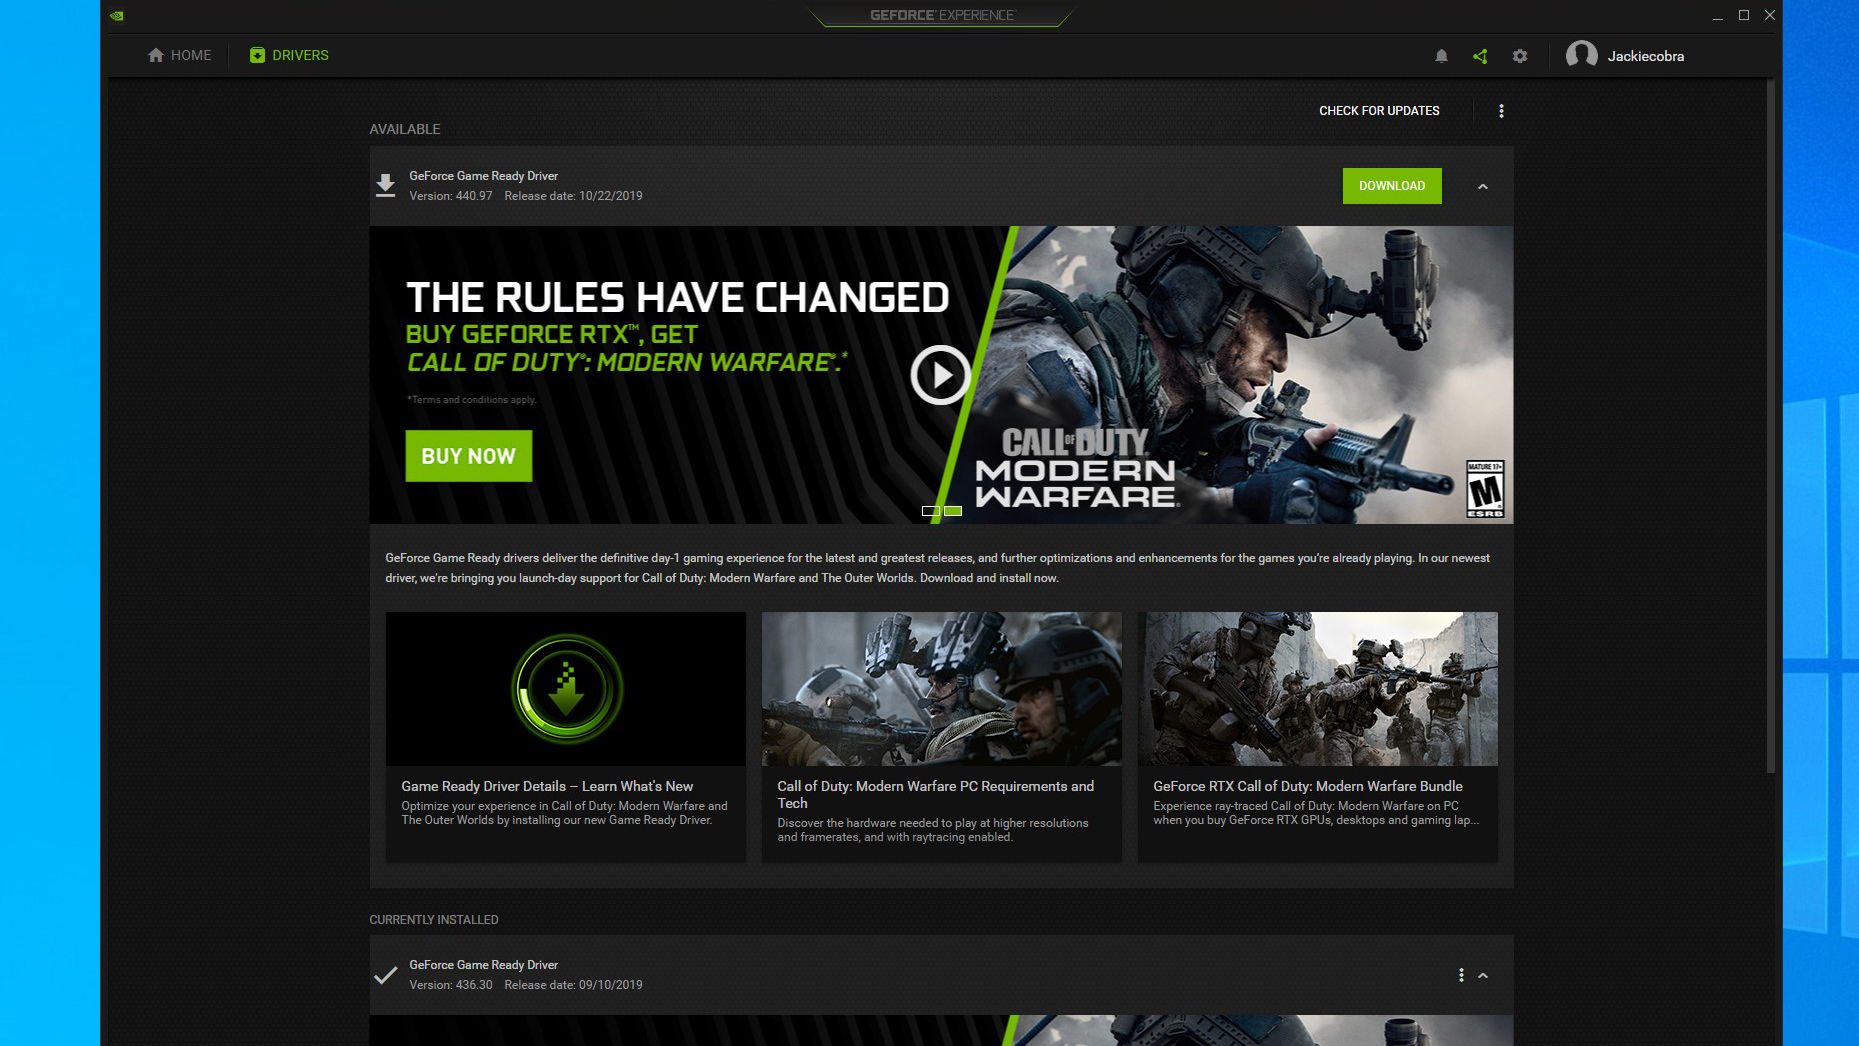
For the vast majority of users, NVIDIA GeForce Experience (GFE) is the most efficient way to manage driver updates. GFE serves as a companion application that bridges the gap between the hardware and the user interface, offering a streamlined, one-click solution for driver management.
The Installation Process via GFE
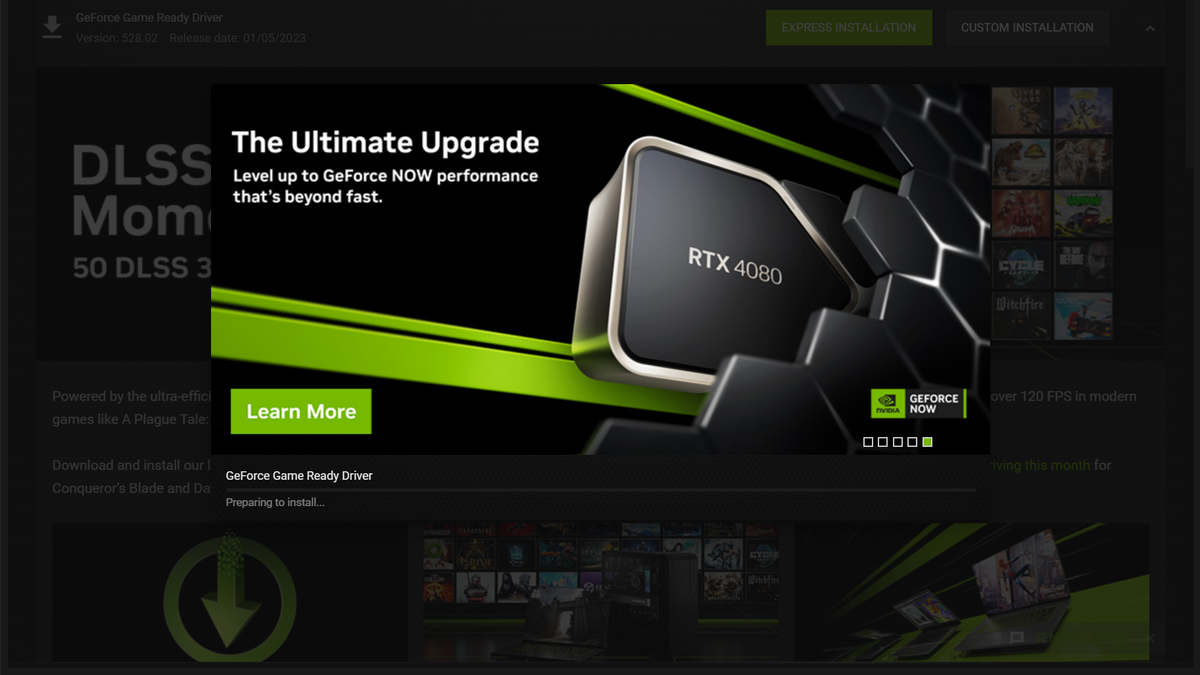
Once GFE is installed, it resides in your system tray. By navigating to the “Drivers” tab, the software automatically checks your current version against NVIDIA’s cloud database. If an update is available, a “Download” button appears. Once the download completes, you are presented with two options: “Express Installation” and “Custom Installation.”
- Express Installation: This is the “set it and forget it” option. It updates the driver components and retains your existing settings.
- Custom Installation: This allows you to select specific components (such as the HD Audio Driver or PhysX System Software). It also gives you the option to “Perform a clean installation,” which wipes existing profiles and restores settings to factory defaults—a highly recommended step if you’ve been experiencing glitches.
Integrated Features and Benefits
GeForce Experience does more than just update drivers. It offers “Optimal Playable Settings,” which analyzes your CPU, RAM, and GPU to configure game settings for the best balance of visual fidelity and performance. Furthermore, it installs the “NVIDIA Overlay,” allowing for low-latency gameplay recording, performance monitoring (FPS, latency, and temperature), and the application of post-processing filters through NVIDIA Freestyle.
Pros and Cons of Automation
While GFE is convenient, it does require a login (NVIDIA account, Google, or Facebook), which some privacy-conscious users may dislike. Additionally, it consumes a small amount of system resources in the background. For those who prefer a “lean” operating system, the manual method remains the gold standard.
3. The Manual Installation: Precision and Control
Manual installation is the preferred method for system administrators, overclockers, and those who want to avoid the overhead of the GeForce Experience software. This method ensures that you are in total control of what enters your system’s registry.
Navigating the NVIDIA Download Portal
To begin, navigate to the official NVIDIA Driver Downloads page. You will be prompted to fill out a series of dropdown menus:
- Product Type: (e.g., GeForce, Titan, RTX/Quadro).
- Product Series: (e.g., GeForce RTX 40 Series).
- Operating System: It is crucial to match your OS exactly (Windows 10 64-bit vs. Windows 11).
- Download Type: Here you choose between Game Ready and Studio drivers.
The “Clean Install” Philosophy
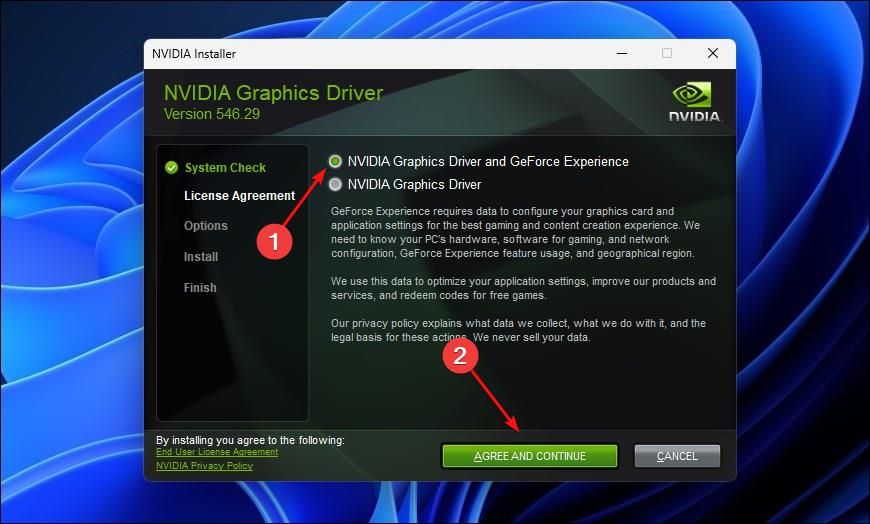
When you run the downloaded .exe file, the installer extracts its contents to a temporary folder. During the setup, choose “NVIDIA Graphics Driver” (without GeForce Experience if you wish to keep the system light). In the next window, select “Custom (Advanced)” and check the box labeled “Perform a clean installation.”
This process removes the previous driver version entirely before installing the new files. It is the most effective way to resolve issues like “Display driver stopped responding” or flickering screens. After the installation, your screen may flicker or turn black momentarily; this is normal as the OS hands over control of the display to the new driver.
4. Advanced Installation for Linux Environments
For users in the Tech sector working with Linux—whether for software development, AI research, or specialized gaming via Steam’s Proton—installing NVIDIA drivers requires a different set of skills. Unlike Windows, Linux drivers can be managed through repositories or manual “runfile” installers.
Using the PPA Method (Ubuntu/Debian)
The most stable way to install drivers on Ubuntu-based distributions is through the Proprietary GPU Drivers PPA (Personal Package Archive). By using the terminal, users can execute a few commands to ensure they have the latest stable release without manually searching websites:
sudo add-apt-repository ppa:graphics-drivers/ppasudo apt updatesudo ubuntu-drivers devices(to see the recommended version)sudo apt install nvidia-driver-[version-number]
The Command Line Interface (CLI) Advantage
Advanced users often prefer the CLI because it allows for the installation of the “headless” driver—drivers without a graphical user interface—which is ideal for servers or mining rigs. Furthermore, Linux users must often deal with “Nouveau,” the open-source reverse-engineered driver that comes pre-installed. Professional installation involves “blacklisting” Nouveau to ensure the official NVIDIA driver has exclusive access to the hardware.
5. Troubleshooting, Optimization, and Post-Installation
The job isn’t finished once the progress bar hits 100%. Ensuring the driver is functioning correctly and optimized for your specific monitor and workflow is the final, crucial phase.
Using DDU (Display Driver Uninstaller)
If a standard “Clean Install” fails to fix performance issues, the tech community relies on a utility called DDU (Display Driver Uninstaller). This is a niche but powerful tool that should be used in Windows “Safe Mode.” It completely nukes every registry key, folder, and file associated with NVIDIA, AMD, or Intel drivers. After running DDU, the system acts as if a GPU has never been installed, allowing for a truly pristine installation of the latest driver.
The NVIDIA Control Panel
Once the driver is installed, right-click your desktop and open the “NVIDIA Control Panel.” This is where the real optimization happens.
- Manage 3D Settings: Set “Power management mode” to “Prefer maximum performance” for high-end gaming.
- Change Resolution: Ensure your “Refresh Rate” is set to the maximum your monitor supports (e.g., 144Hz or 240Hz). Often, a new driver installation defaults back to 60Hz.
- Configure Surround, PhysX: Ensure your GPU—not your CPU—is selected as the PhysX processor to offload physics calculations from the processor.
Rolling Back Drivers
Occasionally, a new driver release might contain a “regression”—a bug that lowers performance in a specific app you use. If you notice a drop in stability, you can “Roll Back” the driver via the Windows Device Manager. Keeping a copy of the previous month’s installer on your storage drive is a common best practice among power users to ensure they can return to a functional state instantly.
By following these structured approaches—whether through the automated ease of GeForce Experience, the precision of manual installation, or the technical depth of Linux terminal commands—you ensure that your NVIDIA hardware remains a reliable, high-performance asset in your digital arsenal. Keeping your drivers updated is the simplest yet most effective way to protect your hardware investment and maintain a cutting-edge computing experience.
aViewFromTheCave is a participant in the Amazon Services LLC Associates Program, an affiliate advertising program designed to provide a means for sites to earn advertising fees by advertising and linking to Amazon.com. Amazon, the Amazon logo, AmazonSupply, and the AmazonSupply logo are trademarks of Amazon.com, Inc. or its affiliates. As an Amazon Associate we earn affiliate commissions from qualifying purchases.