Ubuntu, renowned for its stability, security, and developer-friendly environment, serves as an excellent platform for a wide array of development tasks. Among the most critical tools for modern web and backend development is Node.js, a powerful JavaScript runtime that allows developers to execute JavaScript code outside of a web browser. For individuals and businesses looking to build scalable network applications, APIs, or single-page applications, mastering Node.js installation on Ubuntu is a foundational step.
This guide provides a comprehensive walkthrough, exploring various methods to install Node.js and its accompanying package manager, npm (Node Package Manager), on your Ubuntu system. Whether you’re a seasoned developer or just starting, understanding these installation pathways will empower you to choose the best approach for your specific project needs, optimize your development workflow, and contribute to a robust digital presence – a critical aspect of today’s competitive landscape. The efficiency and scalability offered by Node.js can directly translate into cost savings and faster time-to-market for projects, directly impacting the “Money” aspect of digital business through optimized “Tech” investments.
Understanding Node.js and Its Importance for Ubuntu Users
Before diving into the installation process, let’s briefly recap what Node.js is and why it has become an indispensable tool in the modern developer’s toolkit, especially when paired with a reliable operating system like Ubuntu.
What is Node.js?
Node.js is an open-source, cross-platform JavaScript runtime environment that executes JavaScript code server-side. Built on Chrome’s V8 JavaScript engine, Node.js is known for its incredible speed and efficiency, making it ideal for data-intensive real-time applications. It utilizes an event-driven, non-blocking I/O model, making it lightweight and efficient, perfect for developing scalable network applications. With Node.js, developers can use a single language (JavaScript) for both frontend and backend development, streamlining the development process and often leading to quicker project completion and easier maintenance. This unified language approach is not just a technical convenience; it translates into more efficient teams and potentially lower development costs, aligning with smart “Money” management in software development.
Why Develop with Node.js on Ubuntu?
Ubuntu’s robust nature, combined with Node.js’s capabilities, creates a formidable development environment. Here’s why this pairing is particularly potent:
- Stability and Security: Ubuntu provides a stable and secure foundation, crucial for hosting production-grade Node.js applications. Regular updates and a strong community ensure that security vulnerabilities are addressed promptly.
- Developer-Friendly Ecosystem: Ubuntu’s vast repositories and excellent command-line interface (CLI) tools make package management and development a breeze. It’s an environment where most developers feel at home, allowing them to focus on coding rather than fighting their OS.
- Performance: Node.js applications often handle a high volume of concurrent connections. Running them on a well-optimized Ubuntu server can deliver exceptional performance, vital for user experience and maintaining a strong “Brand” reputation online.
- Scalability: Both Node.js and Ubuntu are designed with scalability in mind. Node.js’s non-blocking architecture allows it to handle many concurrent requests, while Ubuntu’s lightweight nature and containerization support (like Docker) make scaling effortless.
- Cost-Effectiveness: Being open-source, Node.js and Ubuntu incur no licensing fees, offering a highly cost-effective solution for startups and enterprises alike. This directly contributes to optimizing the “Money” aspect of technology investments.
Prerequisites for Installation
Before proceeding with any installation method, it’s good practice to update your Ubuntu system to ensure you have the latest packages and security patches. Open your terminal (Ctrl+Alt+T) and run:
sudo apt update
sudo apt upgrade
These commands refresh your package lists and upgrade any outdated software, preparing your system for a smooth Node.js installation.
Choosing Your Node.js Installation Method
There are several ways to install Node.js on Ubuntu, each with its own advantages depending on your requirements for version control, stability, and access to the latest features. We’ll cover the most common and recommended methods.
Method 1: Installing Node.js and npm via Ubuntu’s Default Repositories (Apt)
This is the simplest method, suitable for users who need Node.js quickly and don’t require the absolute latest version. Ubuntu’s default repositories often contain a stable, albeit slightly older, version of Node.js.
-
Install Node.js and npm:
sudo apt install nodejs npmThis command will install both Node.js and npm.
npmis Node’s package manager, essential for installing libraries and dependencies for your projects. -
Verify the Installation:
After the installation completes, check the versions to ensure everything is set up correctly:node -v npm -vYou should see the installed versions of Node.js and npm.
Pros: Extremely simple, quick, and uses Ubuntu’s robust package management system.
Cons: The versions available through apt are often not the latest stable releases. This can be problematic if your project requires newer features or specific versions.
Method 2: Installing Node.js Using the NodeSource PPA (Recommended for Latest Stable Versions)
For developers who need more up-to-date versions of Node.js than what’s available in the default Ubuntu repositories, the NodeSource Personal Package Archive (PPA) is an excellent choice. NodeSource maintains up-to-date packages for various Node.js versions.
-
Add the NodeSource PPA:
First, you need to add the NodeSource repository to your system’saptsources. ReplaceNODESOURCE_VERSIONwith the desired Node.js major version (e.g.,20.x,21.x,18.xfor LTS). For the latest stable LTS (Long Term Support) version,20.xis a good choice as of early 2024.curl -fsSL https://deb.nodesource.com/setup_20.x | sudo -E bash -This
curlcommand downloads and executes a script that adds the NodeSource repository to youraptsources and imports the signing key. -
Install Node.js and npm:
Once the repository is added, you can install Node.js and npm usingapt:sudo apt install nodejsNodeSource’s packages include
npmautomatically. -
Verify the Installation:
node -v
npm -v
Pros: Provides access to recent stable Node.js versions, managed through apt for easy updates. This method offers a good balance between ease of use and currency.
Cons: Still installs a single global version, which might not be ideal if you work on multiple projects requiring different Node.js versions.
Method 3: Managing Multiple Node.js Versions with NVM (Node Version Manager)
For professional developers and teams working on diverse projects, the ability to switch between different Node.js versions is crucial. NVM (Node Version Manager) is a powerful tool that allows you to install, manage, and switch between multiple Node.js versions on the same machine without conflicts. This flexibility is invaluable for maintaining compatibility across various projects and is a testament to effective “Tech” resource management.
Steps to Install NVM
-
Install NVM:
You can install NVM by downloading and running its installation script. Always check the NVM GitHub page for the latest installation script command to ensure you’re getting the most recent stable version.curl -o- https://raw.githubusercontent.com/nvm-sh/nvm/v0.39.5/install.sh | bash(Note: Replace
v0.39.5with the latest stable version if different) -
Load NVM into Your Shell:
After installation, you need to load NVM into your shell. The installation script usually adds the necessary lines to your.bashrc,.zshrc, or.profilefile. You might need to close and reopen your terminal or source the file:source ~/.bashrc # or source ~/.zshrc # or source ~/.profile -
Verify NVM Installation:
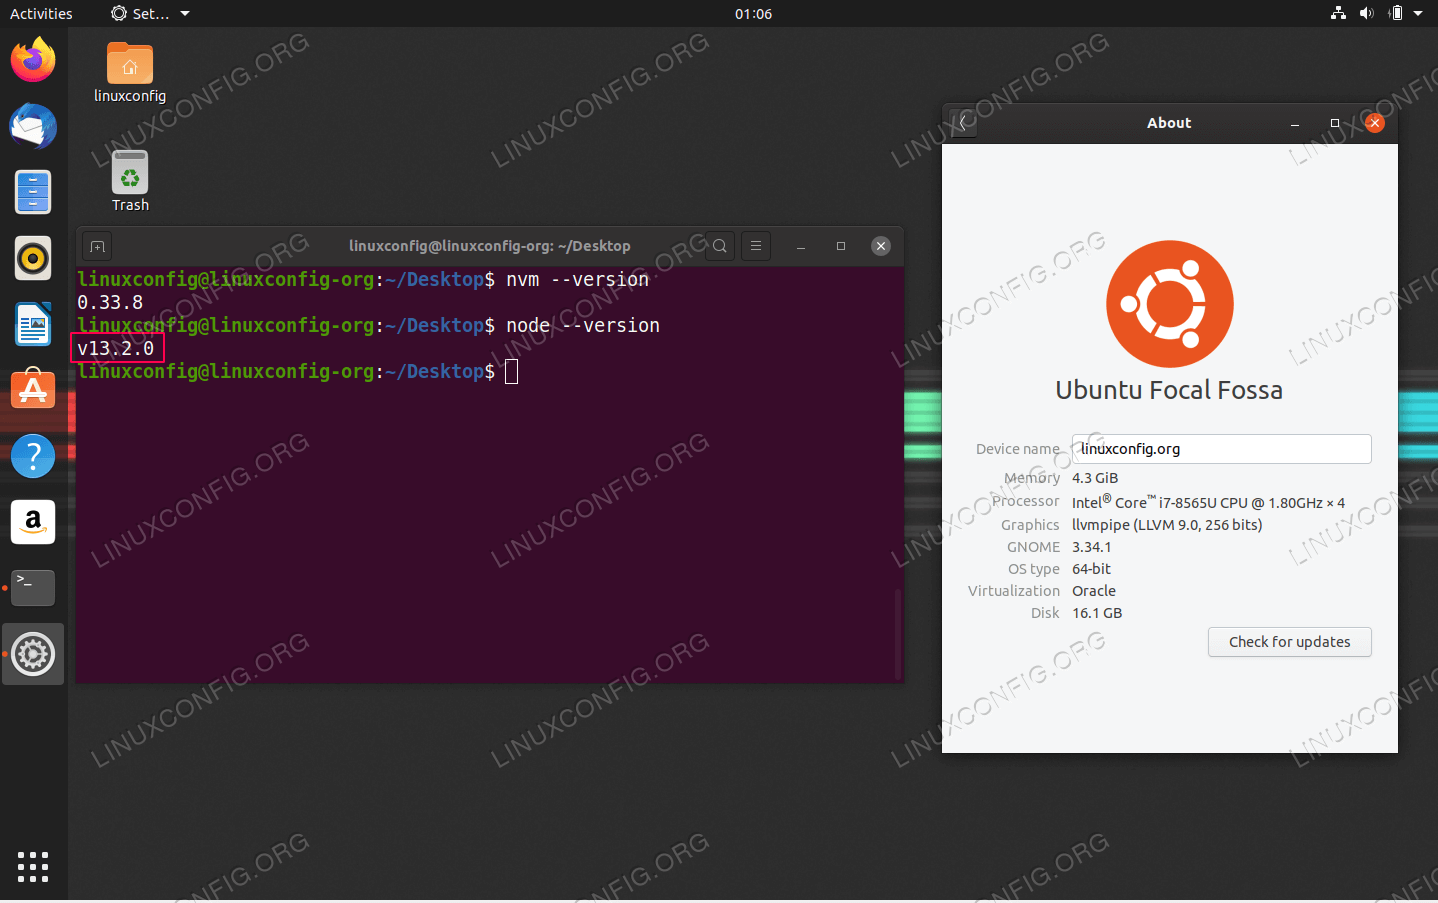
nvm --version

You should see the NVM version number.
Using NVM to Install and Manage Node.js Versions
-
List Available Node.js Versions:
nvm ls-remoteThis command will show a long list of all Node.js versions available for installation.
-
Install a Specific Node.js Version:
To install a specific version, for example, the latest LTS version (e.g., Node.js 20):nvm install 20 # or to install a specific patch version nvm install 20.10.0You can also install the latest stable version:
nvm install node -
Set a Default Node.js Version:
To set a version as the default for new shell sessions:nvm alias default 20 -
Switch Between Node.js Versions:
To switch to a different installed version for the current shell session:nvm use 18 -
List Installed Node.js Versions:
nvm ls -
Uninstall a Node.js Version:
nvm uninstall 18
Pros: Incredibly flexible, allowing developers to manage multiple Node.js versions seamlessly. Essential for those working on various projects with different dependency requirements. Enhances developer “Brand” by promoting best practices in dependency management.
Cons: Requires an initial setup and understanding of NVM commands, which can be slightly more involved than a direct apt install.
Method 4: Using the n Version Manager (An Alternative to NVM)
While NVM is widely popular, the n version manager is another excellent command-line tool for managing Node.js versions. It’s often praised for its simpler syntax and cleaner approach, using npm to install new Node.js versions.
-
Install
n:
First, you’ll neednpm, so if you don’t have Node.js installed yet, use Method 1 (installing viaapt) or Method 2 (NodeSource PPA) to get a base version of Node.js and npm. Oncenpmis available:sudo npm install -g n -
Install Node.js Versions with
n:- Install the latest stable version:
bash
sudo n stable
- Install the latest LTS version:
bash
sudo n lts
- Install a specific version (e.g., Node.js 20):
bash
sudo n 20
- Install the very latest version (not necessarily stable):
bash
sudo n latest
- Install the latest stable version:
-
Switch Between Versions:
When you usesudo n <version>, it automatically switches to that version. To view available versions and switch:nThis command will show a list of installed versions, allowing you to select one with arrow keys and Enter.
-
Uninstall a Node.js Version:
bash
sudo n rm 18.17.0
Pros: Simpler syntax than NVM for some users, directly leverages npm.
Cons: Requires npm to be pre-installed, less common than NVM in the community, and might not offer the same level of granular control over shell environment variables as NVM.
Verifying Your Node.js and npm Installation
Regardless of the method you choose, it’s crucial to verify that Node.js and npm are correctly installed and accessible from your terminal.
node -v
npm -v
These commands should output the version numbers of Node.js and npm, respectively. If you see an error like “command not found,” it indicates an issue with the installation or your system’s PATH configuration. In such cases, double-check the steps, especially for NVM users ensuring NVM is properly sourced.
Post-Installation: What’s Next for Your Node.js Journey?
Once Node.js and npm are successfully installed, your Ubuntu system is ready to become a powerful development workstation. But installation is just the beginning.
Keeping Node.js Updated
Regularly updating Node.js and npm is vital for security, performance, and access to the latest features.
- For
aptinstallations (Method 1 & 2):
bash
sudo apt update
sudo apt upgrade nodejs
- For NVM installations (Method 3):
bash
nvm install <new_version>
nvm use <new_version>
nvm alias default <new_version>
- For
ninstallations (Method 4):
bash

sudo n stable
# or
sudo n lts
Keeping your development environment current minimizes the risk of vulnerabilities and ensures compatibility with modern libraries and frameworks, which is crucial for maintaining a strong “Tech” foundation and preventing costly “Money” drains due to outdated systems.
Basic Node.js Project Setup
To kickstart your first Node.js project:
- Create a Project Directory:
bash

mkdir my-first-node-app

cd my-first-node-app
- Initialize npm:
bash

npm init -y
This creates apackage.jsonfile, which manages your project’s metadata and dependencies. - Create a simple
app.jsfile:
javascript

// app.js

console.log("Hello from Node.js on Ubuntu!");
- Run your app:
bash

node app.js
This basic setup allows you to start exploring the vast ecosystem of Node.js libraries and frameworks like Express.js, React, Angular, and Vue.js.
Troubleshooting Common Installation Issues
node: command not foundornpm: command not found:- For NVM users: Ensure NVM is sourced in your shell. Run
source ~/.bashrc(or your respective shell config file) and trynvm use <version>again. - For
aptusers: Verify the installation completed without errors. If issues persist, trysudo apt --fix-broken install.
- For NVM users: Ensure NVM is sourced in your shell. Run
- Permission Errors (especially with
npm install -g):
While tempting to usesudo npm install -g, it’s generally discouraged with NVM as it can lead to permission conflicts. NVM handles permissions for global installations automatically. If not using NVM, or if you encounter issues, ensure your user has appropriate permissions to the npm global directory, or consider configuring npm to install packages in a user-specific directory. This is crucial for maintaining a clean and secure “Tech” environment, preventing potential headaches and wasted “Money” on debugging. - Older
npmversion afternode -vshows latest Node.js:
Sometimes,npmmight not update automatically. You can updatenpmmanually:
bash

npm install -g npm@latest

Conclusion: Empowering Your Development Workflow on Ubuntu
Installing Node.js on Ubuntu is a gateway to building powerful, scalable, and high-performance applications. By understanding the different installation methods – from the simplicity of apt to the flexibility of NVM or n – you can tailor your development environment to meet the unique demands of each project. This adaptability not only streamlines your “Tech” workflow but also contributes significantly to your professional “Brand” as a proficient developer.
Embracing tools like Node.js and Ubuntu not only optimizes your development processes but also opens doors to lucrative career opportunities and efficient business solutions. The ability to quickly prototype, develop, and deploy applications with Node.js on a stable platform like Ubuntu means faster innovation, reduced operational costs, and ultimately, a better return on your “Money” investment in technology. As you embark on your Node.js journey, remember that a well-configured environment is the first step towards building exceptional software that makes a real impact.
aViewFromTheCave is a participant in the Amazon Services LLC Associates Program, an affiliate advertising program designed to provide a means for sites to earn advertising fees by advertising and linking to Amazon.com. Amazon, the Amazon logo, AmazonSupply, and the AmazonSupply logo are trademarks of Amazon.com, Inc. or its affiliates. As an Amazon Associate we earn affiliate commissions from qualifying purchases.