
In the complex ecosystem of modern computing, the relationship between hardware and software is governed by a critical layer of code known as device drivers. These small but powerful software components act as the essential translators, allowing an operating system like Windows, macOS, or Linux to communicate effectively with physical components such as graphics cards, network adapters, and printers. Learning how to install new drivers is not merely a maintenance task; it is a fundamental skill for ensuring system stability, unlocking hardware performance, and fortifying digital security. When drivers are outdated or incorrectly installed, the result is often a cascade of system errors, reduced frame rates in graphical applications, or complete hardware failure.
The Architecture of Device Drivers: The Vital Bridge Between Hardware and Software
To understand how to install drivers correctly, one must first understand their function within the kernel and user modes of an operating system. A device driver operates as a specialized set of instructions that tell the CPU how to interact with a specific peripheral. Because hardware manufacturers frequently release new versions of their products, operating systems cannot possibly include native support for every device on the market. Consequently, the responsibility of providing the interface falls to the manufacturer (OEM).
There are two primary types of drivers: kernel-mode and user-mode. Kernel-mode drivers are high-priority components that run in the most protected part of the operating system’s memory. If a kernel-mode driver fails, it often results in the “Blue Screen of Death” (BSOD) or a total system hang. User-mode drivers are generally used for peripheral devices like printers or USB storage; a failure here might crash the specific application using the device but will rarely take down the entire system. Understanding this distinction highlights why driver installation must be handled with precision—especially when dealing with core components like chipsets and GPUs.
Systematic Approaches to Driver Updates: Automation and Integration
For the vast majority of users, the most efficient way to install new drivers is through integrated system tools. Modern operating systems have become increasingly adept at managing hardware via centralized repositories.
Leveraging Windows Update and WHQL
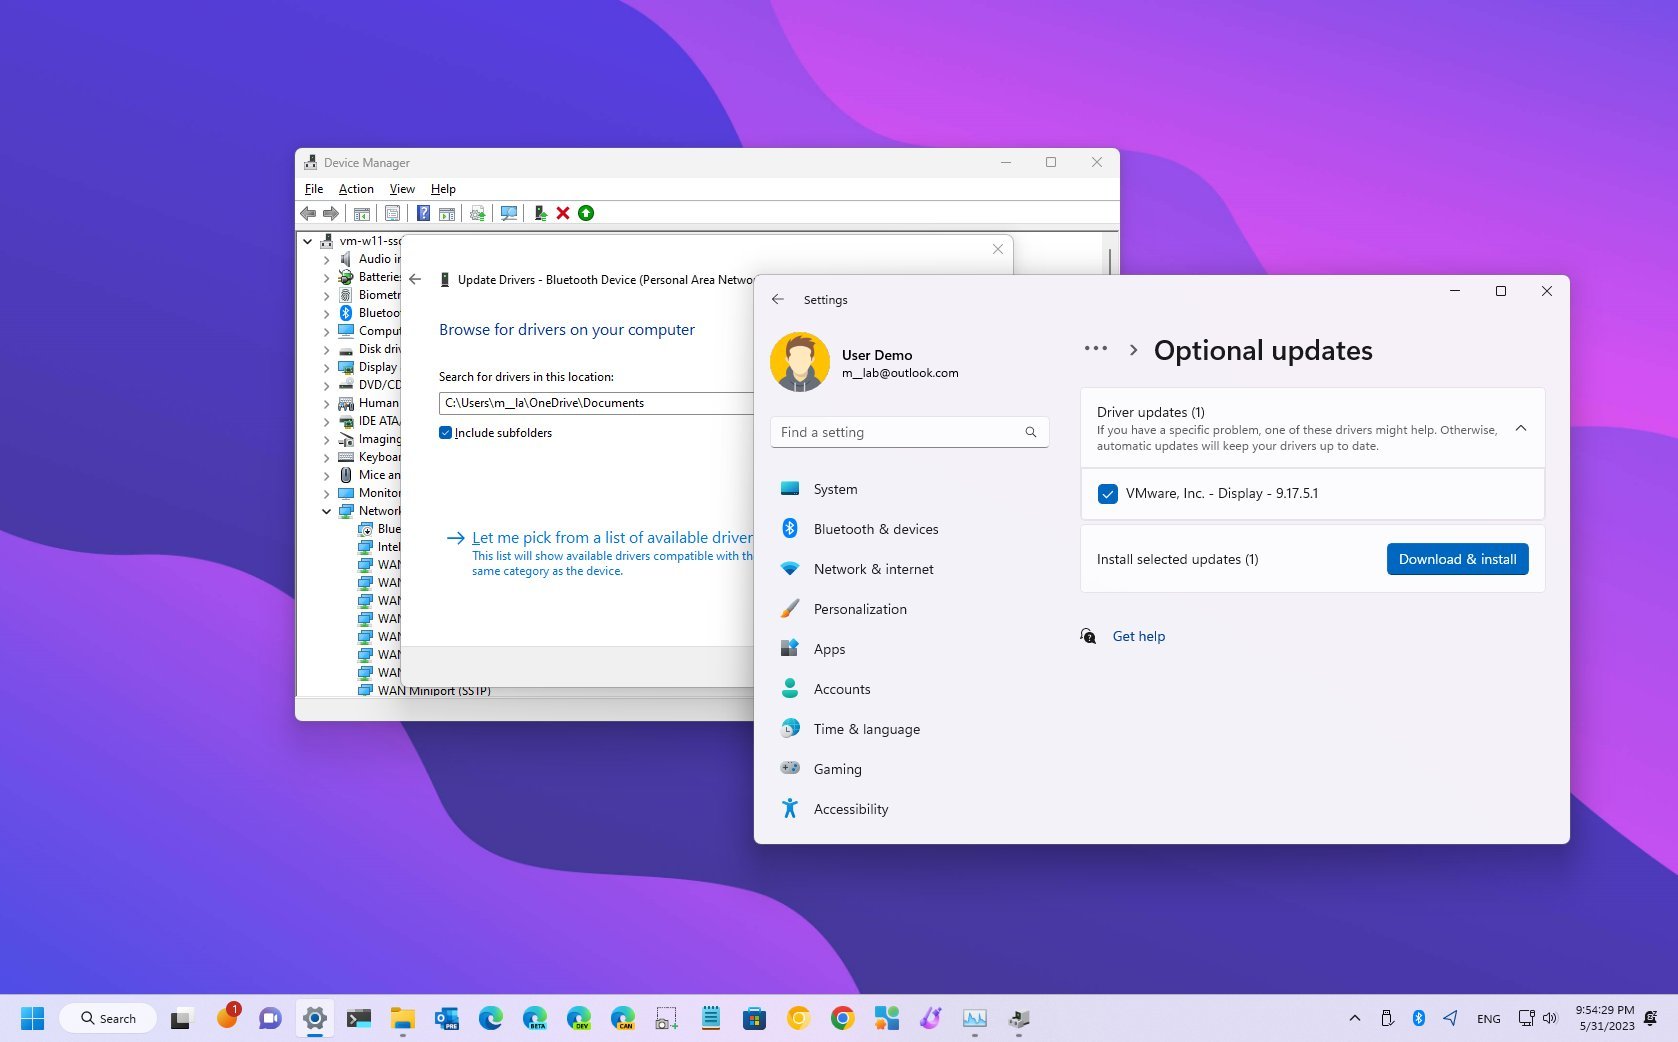
The primary gateway for driver installation on Windows is the Windows Update service. Microsoft utilizes the Windows Hardware Quality Labs (WHQL) testing process to certify that third-party drivers are stable and compatible. When you connect a new device, the system automatically queries the Windows Update servers for a certified driver. To manually trigger this, navigating to Settings > Windows Update > Check for updates is the first logical step. Often, driver updates are categorized as “Optional Updates” under the Advanced Options menu, requiring the user to manually select them for installation.
Manufacturer-Specific Management Software
While Windows Update provides stability, it often lacks the latest performance optimizations found in direct-from-manufacturer releases. For high-performance components, specialized management software is the industry standard.
-
NVIDIA GeForce Experience and AMD Software: Adrenalin Edition: These suites are essential for gamers and creative professionals. They provide “Game Ready” or “Studio” drivers that are optimized for specific software launches. These tools automate the download and installation process, often providing “Express” or “Custom” installation paths.
-
Intel Driver & Support Assistant (IDSA): This utility is indispensable for systems using Intel CPUs, integrated graphics, and Wi-Fi/Bluetooth modules. It scans the system via a web interface and identifies precisely which drivers are missing or outdated.
-
OEM Update Tools: Companies like Dell (SupportAssist), HP (Support Assistant), and Lenovo (Vantage) provide proprietary software that manages BIOS updates and firmware alongside standard drivers, ensuring the entire hardware stack is synchronized.
The Manual Installation Protocol: Precise Control for Advanced Systems
There are scenarios where automated tools fail—perhaps due to a lack of internet connectivity, an obsolete piece of hardware, or a corrupted update file. In these instances, a manual installation is required. This process demands a higher degree of technical literacy but offers the most control over the system environment.

Identifying Hardware via Device Manager
The first step in a manual installation is identifying the specific hardware revision. In Windows, this is done through the Device Manager. By right-clicking a component and selecting “Properties,” then navigating to the “Details” tab, users can find the “Hardware IDs.” These strings (containing Vendor and Device IDs) can be used to search manufacturer databases to find the exact software match, avoiding the common mistake of installing drivers for a similar but incompatible hardware model.
Downloading from Official OEM Repositories
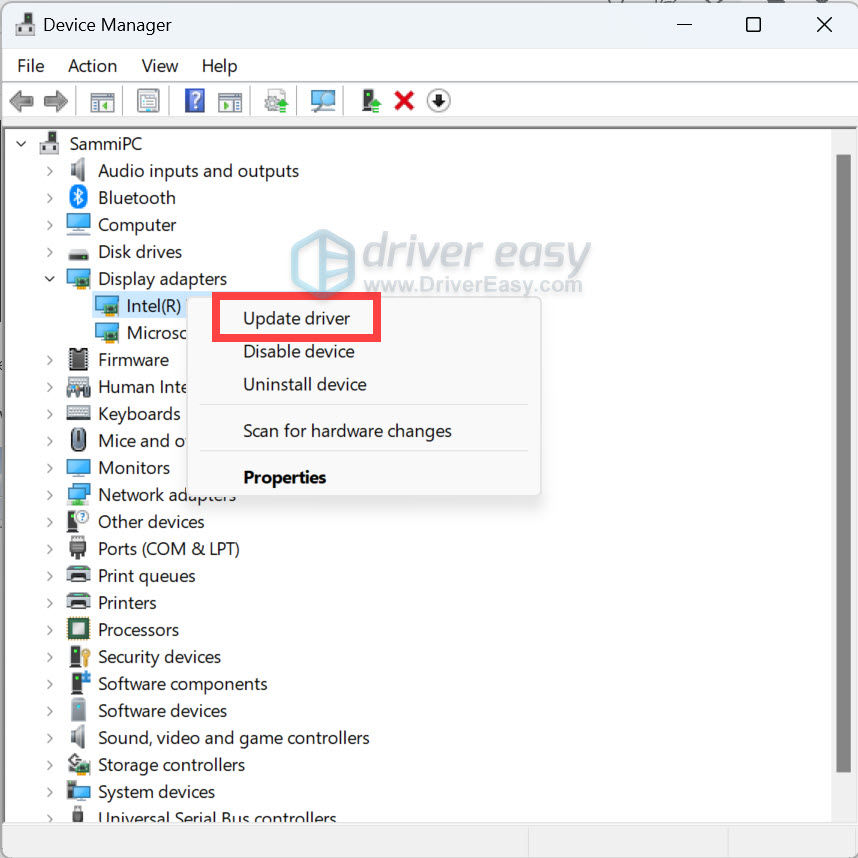
One must strictly avoid third-party “driver downloader” websites, which often bundle malware or provide incorrect files. Always navigate directly to the manufacturer’s official support page. When downloading, ensure the driver matches the operating system architecture (64-bit vs. 32-bit). Once the executable (.exe) or compressed folder (.zip) is downloaded, the installation can proceed. If the driver is provided as an .inf file without an installer, you must return to Device Manager, right-click the device, select “Update Driver,” and then choose “Browse my computer for drivers” to point the system to the specific folder.
Clean Installations and Driver Uninstallation
In cases of persistent graphical glitches or system instability, a “Clean Install” is recommended. This involves completely removing the existing driver before applying the new one. For graphics cards, tools like Display Driver Uninstaller (DDU) are used in Safe Mode to scrub the registry and system folders of any remnants of previous drivers. This prevents “driver conflict,” a state where legacy code interferes with the operation of new software.
Specialized Driver Management for High-Performance Workloads
Certain professional fields require specialized driver configurations that go beyond standard consumer needs. For example, in professional audio production, the installation of ASIO (Audio Stream Input/Output) drivers is mandatory. These drivers bypass the operating system’s standard audio mixing layers to provide low-latency communication between the software (DAW) and the hardware interface.
Similarly, in the realm of Artificial Intelligence and Data Science, installing the correct CUDA (Compute Unified Device Architecture) drivers is essential for leveraging GPU acceleration. This often involves a multi-step process: installing the base display driver, followed by the CUDA toolkit, and finally the cuDNN libraries. Each version must be perfectly compatible with the specific version of the AI framework (like PyTorch or TensorFlow) being used. Failure to align these versions will render the hardware acceleration useless, despite the drivers being “up to date” in a general sense.
Risk Mitigation, Stability, and Troubleshooting Best Practices
The process of installing new drivers is not without risk. Because drivers operate at a low level of the system, a faulty installation can render a computer unbootable. Adhering to a strict protocol of risk mitigation is essential for any professional environment.
Creating System Restore Points
Before initiating any major driver update—particularly for chipsets or BIOS/UEFI—it is imperative to create a System Restore point. This allows the user to revert the entire state of the operating system to a point in time before the installation occurred. If a new driver causes a boot loop, Windows Recovery Environment can use this restore point to fix the system without data loss.
Managing Driver Rollbacks
If a system becomes unstable immediately following an update, but still boots to the desktop, the “Roll Back Driver” feature in Device Manager is the most effective tool. The operating system keeps a backup of the previous driver version specifically for this purpose. Selecting this option replaces the problematic new driver with the known-stable previous version and reports the issue to the OS to prevent it from automatically re-installing the faulty version.
The Role of Firmware and BIOS
While often conflated with drivers, firmware and BIOS/UEFI updates represent a different layer of the stack. Firmware is software programmed into a hardware device’s non-volatile memory. Installing “drivers” for a modern SSD, for instance, often involves a firmware update to the controller itself. These updates are higher risk than standard driver installations because a power failure during the process can “brick” the hardware. Always ensure a stable power source (or a UPS) when performing firmware or BIOS updates.
In conclusion, the installation of new drivers is a nuanced balance between automation and manual oversight. By utilizing integrated tools for general maintenance, manufacturer software for performance-critical components, and manual techniques for troubleshooting, users can maintain a system that is both secure and highly optimized. In a digital landscape where hardware capabilities are constantly evolving, the ability to manage the software that drives that hardware is an indispensable pillar of technical proficiency.
aViewFromTheCave is a participant in the Amazon Services LLC Associates Program, an affiliate advertising program designed to provide a means for sites to earn advertising fees by advertising and linking to Amazon.com. Amazon, the Amazon logo, AmazonSupply, and the AmazonSupply logo are trademarks of Amazon.com, Inc. or its affiliates. As an Amazon Associate we earn affiliate commissions from qualifying purchases.