In today’s digital age, our computers are extensions of our lives, holding everything from precious family photos and critical work documents to our favorite games and entertainment libraries. As our digital footprint expands, so too does our need for storage space. The dreaded “Low Disk Space” notification can be a frustrating roadblock, hindering productivity and forcing us to constantly juggle and delete files. Fortunately, the process of installing more storage on your PC is more accessible than ever, and with a little guidance, you can significantly expand your digital real estate. This guide will walk you through the options, considerations, and step-by-step instructions to get your PC storage woes resolved.
Understanding Your Storage Needs and Options
Before diving into the physical installation, it’s crucial to understand what type of storage best suits your needs and your PC’s capabilities. The primary considerations revolve around capacity, speed, and budget.
Assessing Your Current Storage Situation
The first step is to take stock of your current storage. Open File Explorer (on Windows) or Finder (on macOS) and navigate to “This PC” or “Computer.” You’ll see your primary drives, usually labeled C: and possibly others. Right-click on each drive and select “Properties” to see how much space is used and how much is available. This will give you a baseline.
Consider what kind of data is consuming the most space. Are you a photographer with thousands of high-resolution images? A gamer with multiple large game installations? A video editor working with massive files? Or simply someone who downloads a lot of software and media? Your usage patterns will dictate the type and amount of storage you need.
The Two Main Types of PC Storage
When it comes to internal PC storage, you’ll primarily encounter two main technologies:
Hard Disk Drives (HDDs)
- Pros: HDDs offer the most affordable storage per gigabyte. They are excellent for storing large amounts of data where speed isn’t the absolute priority. Think of them as the workhorses for your documents, photos, videos, and less frequently accessed files.
- Cons: HDDs are mechanical, meaning they have moving parts (spinning platters and read/write heads). This makes them slower than SSDs and more susceptible to physical damage from drops or shocks.
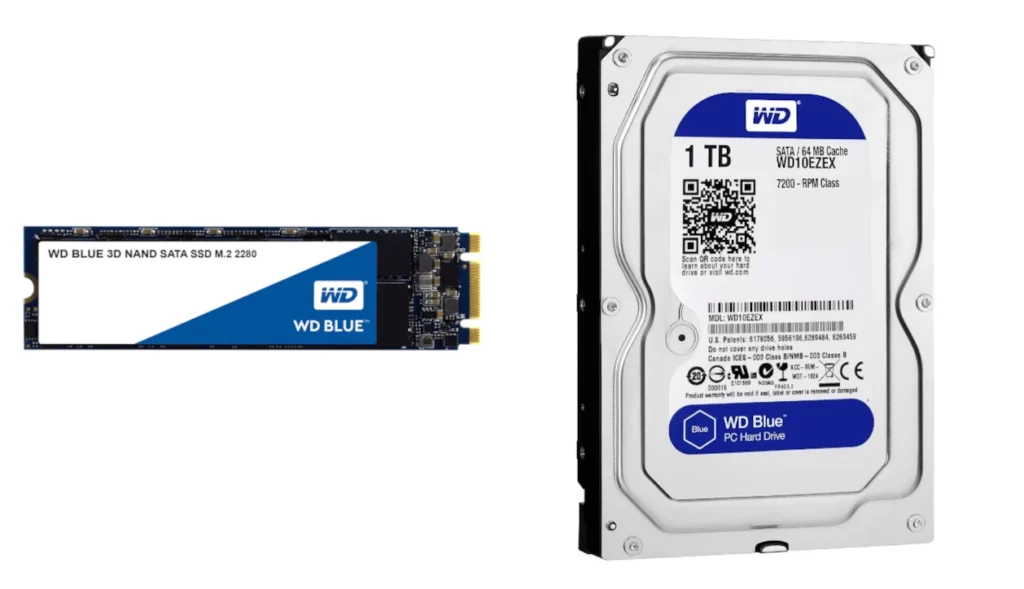
Solid State Drives (SSDs)
- Pros: SSDs are significantly faster than HDDs because they use flash memory with no moving parts. This translates to much quicker boot times, faster application loading, and snappier overall system responsiveness. They are ideal for your operating system, frequently used applications, and games you want to load quickly.
- Cons: SSDs are generally more expensive per gigabyte than HDDs, though prices have come down considerably. They also have a finite number of write cycles, meaning they can wear out over time, though for typical consumer use, this is rarely an issue.
Hybrid Drives and NVMe SSDs
Beyond these two core types, you might also encounter:
- Hybrid Drives (SSHDs): These combine a small SSD cache with a larger HDD. They offer a compromise, providing some speed benefits for frequently accessed data while maintaining large storage capacity at a lower cost than a pure SSD. However, dedicated SSDs and HDDs are more common and often offer better performance for their respective roles.
- NVMe SSDs: These are a type of SSD that connects directly to the motherboard via the PCIe interface, offering even faster speeds than standard SATA SSDs. They are usually the premium option for performance enthusiasts and are found in newer motherboards.
Internal vs. External Storage
While this article focuses on installing more storage on your PC, it’s worth briefly mentioning external storage. External Hard Drives and SSDs are easy to connect via USB and are excellent for backups, transporting large files, or expanding storage without opening your computer. However, for primary storage and maximum speed, internal solutions are generally preferred.
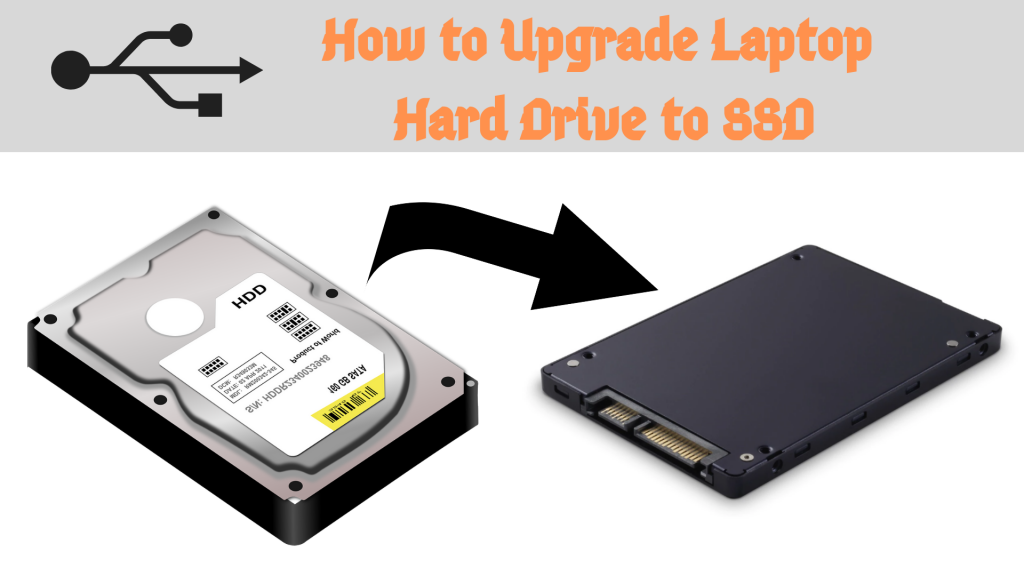
Installing a New Internal Hard Drive or SSD
The process of installing a new internal storage drive involves a few key steps, from purchasing the right drive to physically connecting it inside your PC.
Choosing the Right Drive for Your PC
Before you buy, ensure the drive is compatible with your PC.
- Form Factor: Most desktop PCs use 3.5-inch HDDs and 2.5-inch SSDs. Laptops typically use 2.5-inch drives. NVMe SSDs use an M.2 slot, which is a smaller form factor that plugs directly into the motherboard. Check your motherboard manual or PC specifications to determine what slots and bays are available.
- SATA vs. NVMe: Most SATA ports on motherboards support both SATA HDDs and 2.5-inch SATA SSDs. For NVMe SSDs, you’ll need an available M.2 slot that supports NVMe protocol.
- Power and Data Cables: HDDs and 2.5-inch SSDs require both a SATA data cable (connects to the motherboard) and a SATA power cable (connects to the power supply unit). Ensure your power supply has enough available SATA power connectors.
Step-by-Step Installation Guide
Important Safety Precaution: Before you begin, always disconnect your PC from the power outlet and ground yourself to prevent electrostatic discharge (ESD), which can damage components. You can do this by touching a metal part of the computer case or wearing an anti-static wrist strap.
-
Open Your PC Case:
- Desktops: Typically, the side panel is secured by screws at the back of the case. Remove these screws and slide or lift the panel off.
- Laptops: Opening a laptop is more complex and varies significantly by model. Consult your laptop’s manual or search for specific guides for your model. It often involves removing screws from the bottom and carefully prying open the chassis.
-
Locate Available Drive Bays and Slots:
- Desktops: Look for empty 3.5-inch or 2.5-inch drive bays. These are usually metal brackets or cages where you’ll slide the drive in. For NVMe SSDs, find an available M.2 slot on your motherboard.
- Laptops: Laptops may have a dedicated bay for a 2.5-inch drive or an M.2 slot.
-
Mount the New Drive:
- HDDs/2.5-inch SSDs: If your case has tool-less drive bays, simply slide the drive in and secure it with clips. If not, you’ll need to use screws (usually provided with the case or drive) to attach the drive to the bay.
- NVMe SSDs: Locate the M.2 slot. You’ll see a small screw hole at the end of the slot. Insert the NVMe SSD at an angle into the slot and then gently press it down. Secure it with the small screw provided by your motherboard manufacturer.
-
Connect the Data and Power Cables:
- For HDDs and 2.5-inch SSDs:
- SATA Data Cable: Connect one end to the back of the drive and the other end to an available SATA port on your motherboard. These ports are usually labeled “SATA.”
- SATA Power Cable: Connect the wider, flat connector from your power supply unit to the power connector on the back of the drive.
- For NVMe SSDs: These connect directly to the motherboard via the M.2 slot and do not require separate data or power cables.
- For HDDs and 2.5-inch SSDs:
-
Close Your PC Case: Once all connections are secure, reattach the side panel (desktops) or carefully reassemble the laptop.
Initializing and Formatting the New Drive
After physically installing the drive, your operating system needs to recognize and prepare it for use.
-
Boot Up Your PC: Turn on your computer. Your system should detect the new hardware.
-
Open Disk Management (Windows):
- Right-click on the Start button and select “Disk Management.”
- You will likely see your new drive listed as “Unallocated” or “Not Initialized.”
-
Initialize the Disk:
- Right-click on the new disk (it might be labeled “Disk 1,” “Disk 2,” etc.) and select “Initialize Disk.”
- You’ll be presented with partition style options: GPT (GUID Partition Table) or MBR (Master Boot Record). GPT is generally recommended for modern systems and drives larger than 2TB. MBR is older but still compatible with older systems. For most new installations, choose GPT. Click “OK.”
-
Create a New Simple Volume:
- Once initialized, the drive will show as “Unallocated.” Right-click on the unallocated space and select “New Simple Volume.”
- The “New Simple Volume Wizard” will appear. Click “Next.”
- Specify Volume Size: By default, it will use the maximum available space. You can create multiple partitions if desired, but for simplicity, keep the default to use the entire drive. Click “Next.”
- Assign Drive Letter: Choose an available drive letter for your new drive (e.g., D:, E:). Click “Next.”
- Format Partition:
- File System: For Windows, NTFS is the standard and recommended file system.
- Allocation Unit Size: Leave this at “Default.”
- Volume Label: Give your drive a descriptive name (e.g., “Storage,” “Games,” “Media”).
- Perform a quick format: Ensure this box is checked for a faster process.
- Enable file and folder compression: Generally, leave this unchecked unless you have a specific need.
- Click “Next” and then “Finish.”
-
Your New Drive is Ready: The drive will now be formatted and will appear in File Explorer with the drive letter you assigned, ready for you to start saving files.
Migrating Data and Optimizing Storage
Once your new drive is installed and recognized, you’ll want to start utilizing its space effectively.
Transferring Existing Data
If you’re replacing an old drive or simply want to move large files to your new storage, you can do so manually:
- Open File Explorer.
- Locate the files you want to move from your old drive.
- Copy and Paste: Right-click on the files or folders and select “Copy.” Then, navigate to your new drive, right-click in an empty space, and select “Paste.” For very large amounts of data, this can take a considerable amount of time.
For Boot Drives: If you’ve installed a new SSD as your primary boot drive and want to move your operating system and applications without reinstalling everything, you’ll need to clone your old drive to the new one. This process typically requires specialized cloning software (often provided by drive manufacturers or available from third-party developers) and a way to connect both drives simultaneously (either internally or via external enclosures). The cloning process effectively creates an exact replica of your old drive onto the new one.
Optimizing Storage Usage
Having more storage is great, but keeping it organized and efficient is key to long-term satisfaction.
- Strategize File Placement: Designate specific drives for specific purposes. For example, your fastest SSD could house your operating system and frequently used applications, while a larger HDD could be for your document archives, photo libraries, and movie collections.
- Regular Backups: Even with ample storage, data loss can still occur due to hardware failure, malware, or accidental deletion. Regularly back up your important files to another drive, an external backup solution, or cloud storage.
- Cloud Storage Integration: Services like Google Drive, OneDrive, and Dropbox offer convenient ways to store files in the cloud and sync them across devices. This can free up local storage space for frequently accessed items.
- Disk Cleanup Tools: Windows includes a Disk Cleanup utility that can help remove temporary files, system logs, and other junk files that accumulate over time, freeing up valuable space.

Conclusion: Expanding Your Digital Horizons
Installing more storage on your PC is a practical and rewarding upgrade that can significantly improve your computing experience. Whether you’re a gamer needing space for massive titles, a creative professional working with large media files, or simply someone who wants more room for their digital life, there’s a storage solution for you. By understanding your needs, choosing the right components, and following these straightforward installation and setup steps, you can banish low disk space warnings and enjoy a more expansive and efficient computing environment. The ability to store more, work faster, and enjoy your digital content without compromise is now within your reach.
aViewFromTheCave is a participant in the Amazon Services LLC Associates Program, an affiliate advertising program designed to provide a means for sites to earn advertising fees by advertising and linking to Amazon.com. Amazon, the Amazon logo, AmazonSupply, and the AmazonSupply logo are trademarks of Amazon.com, Inc. or its affiliates. As an Amazon Associate we earn affiliate commissions from qualifying purchases.