Minecraft, the sandbox phenomenon that has captivated millions, offers an unparalleled level of customization, and at the heart of this vibrant modding community lies Forge. Forge is a powerful modding API (Application Programming Interface) that acts as a bridge, allowing players to seamlessly integrate a vast array of custom modifications into their game. From adding entirely new dimensions and creatures to fine-tuning gameplay mechanics and visual aesthetics, mods can transform your Minecraft world into something entirely unique. This guide will walk you through the entire process of installing mods using Forge, ensuring a smooth and enjoyable modding journey.
Understanding the Forge Ecosystem
Before diving into the installation process, it’s crucial to grasp what Forge is and why it’s so integral to Minecraft modding. Forge isn’t a mod itself; rather, it’s a framework. Think of it as an operating system for mods. Many individual mods are designed specifically to run on Forge, meaning they require Forge to be installed in your Minecraft client for them to function. Without Forge, these mods would simply be incompatible with the game.
The beauty of Forge lies in its standardization. By providing a common set of tools and guidelines for mod developers, Forge simplifies the process of creating and distributing mods. This, in turn, leads to a more stable and organized modding environment for players. When you install a mod that’s compatible with Forge, you’re essentially telling Minecraft to load and run that mod through the Forge framework.
Why Mod Your Minecraft?
The reasons for delving into the world of Minecraft modding are as diverse as the mods themselves. For many, it’s about expanding gameplay possibilities. Perhaps you’re tired of the vanilla survival experience and crave more challenging enemies, complex crafting systems, or even entirely new magical abilities. Mods can introduce these elements with ease.
For others, the appeal lies in visual enhancements. Mods can overhaul textures, add realistic lighting effects, or even introduce dynamic weather systems, making your Minecraft world breathtakingly beautiful. Imagine exploring a world with ray-traced lighting or incredibly detailed block textures – mods can make this a reality.
Then there are the quality-of-life improvements. Some mods are designed to streamline tedious tasks, offer better inventory management, or provide helpful in-game information. These aren’t always flashy, but they can significantly enhance the overall enjoyment of playing the game.
Finally, creative expression is a massive driver. Modders often create mods that cater to specific interests, whether it’s advanced technology, intricate machinery, or fantastical creatures. This allows players to tailor their Minecraft experience to their exact preferences, building worlds that reflect their imagination.
Preparing for Installation: Essential Steps and Considerations
Before you embark on the actual installation, a few preparatory steps will ensure a smooth and error-free process. Rushing into mod installation without proper preparation can lead to frustrating crashes and compatibility issues.
1. Ensure Minecraft is Installed and Updated
This might seem obvious, but it’s the foundational requirement. You need a properly installed and functional version of Minecraft. Forge versions are often tied to specific Minecraft versions. For example, a mod designed for Minecraft 1.19.2 will only work with Forge installed for Minecraft 1.19.2. Attempting to use a mod meant for a different version will almost certainly result in errors.
Important Note on Minecraft Versions: Always check the mod’s requirements. Mod developers will clearly state which Minecraft version their mod is compatible with. Similarly, when downloading Forge, you’ll need to select the installer for the corresponding Minecraft version.
2. Back Up Your Minecraft World(s)
This is a critical step that cannot be stressed enough. Modding, by its nature, involves making changes to your game files. While Forge is generally stable, and most mods are well-tested, there’s always a small risk of data corruption or unintended consequences. A backup of your valuable Minecraft worlds will safeguard your progress should anything go wrong.
How to Back Up Your Worlds:
- Locate Your Minecraft Saves Folder:
- Windows: Press
Windows Key + R, type%appdata%.minecraftsaves, and press Enter. - macOS: Open Finder, press
Command + Shift + G, type~/Library/Application Support/minecraft/saves, and press Enter. - Linux: Navigate to
~/.minecraft/saves.
- Windows: Press
- Copy Your World Folders: Inside the “saves” folder, you’ll find folders named after your worlds. Copy these folders to a safe and separate location (e.g., an external hard drive, cloud storage, or another folder on your computer).
3. Identify Your Target Minecraft Version
As mentioned earlier, Forge and mods are version-specific. Determine which version of Minecraft you intend to mod. If you’re unsure, it’s generally recommended to stick with a recently updated and stable Minecraft version that has good mod support. Popular choices often include the latest few major releases (e.g., 1.18.2, 1.19.x, 1.20.x).
Installing Forge: The Foundation for Modding

With your preparations complete, it’s time to install Forge. This process is straightforward and involves downloading the Forge installer and running it.
Downloading the Forge Installer
- Visit the Official Forge Website: Navigate to the official Minecraft Forge website (files.minecraftforge.net). Be wary of unofficial download sites, as they can sometimes bundle malware.
- Select Your Minecraft Version: On the Forge website, you’ll see a list of Minecraft versions. Click on the version you’ve chosen for your modding adventure.
- Choose the Recommended or Latest Build: You’ll typically have two options: “Recommended” and “Latest.”
- Recommended: This is generally the most stable and thoroughly tested version. It’s the best choice for most users, especially beginners.
- Latest: This version includes the newest features and bug fixes but might be less stable than the recommended build.
- Click “Installer”: For the chosen version, click the “Installer” button.
- Wait for the Ad to Skip: You’ll likely be directed to an ad page. DO NOT CLICK ANYTHING ON THIS PAGE EXCEPT FOR THE “SKIP” BUTTON that will appear in the top-right corner after a few seconds. Clicking on ads can lead you to unwanted websites or downloads.
- Download the Forge Installer File: Once you click “skip,” the Forge installer (
.jarfile) will begin downloading.
Running the Forge Installer
- Locate the Downloaded File: Find the downloaded Forge installer
.jarfile in your Downloads folder. - Ensure Java is Installed and Updated: Forge installers are Java applications. You need to have Java Runtime Environment (JRE) installed on your computer. If you don’t have it, download it from the official Oracle Java website. It’s also a good idea to keep your Java installation updated.
- Run the Installer:
- Windows: Double-click the
.jarfile. If double-clicking doesn’t work, right-click the file, select “Open With,” and choose “Java(TM) Platform SE binary.” - macOS/Linux: You might need to open a terminal, navigate to the directory where the file is saved, and run the command:
java -jar forge-installer-filename.jar(replaceforge-installer-filename.jarwith the actual name of the file).
- Windows: Double-click the
- Select “Install Client” and Confirm Profile: The Forge installer window will appear. Ensure “Install client” is selected. The “Minecraft directory” should automatically point to your
.minecraftfolder. Click “OK.” - Wait for Installation to Complete: The installer will download necessary files and set up Forge for your chosen Minecraft version. You’ll see a progress bar. Once finished, a confirmation message will appear. Click “OK.”
Launching Minecraft with Forge
- Open the Minecraft Launcher: Launch your standard Minecraft Launcher.
- Select the Forge Profile: In the launcher’s profile selection dropdown (usually at the bottom left), you should now see a new profile named “forge” (or similar, followed by the Forge and Minecraft versions). Select this profile.
- Click “Play”: Click the “Play” button. Minecraft will now launch with Forge loaded. You should see a “Forge” splash screen during the loading process.
- Verify Installation: Once Minecraft loads, go to the main menu. You should see “Forge” listed in the bottom-left corner, along with the number of loaded mods (which will be zero at this stage). This confirms that Forge is installed correctly.
Installing Mods: Adding New Content to Your Game
With Forge successfully installed, you’re ready to add mods to your game. This is where the real magic happens.
Finding and Downloading Mods
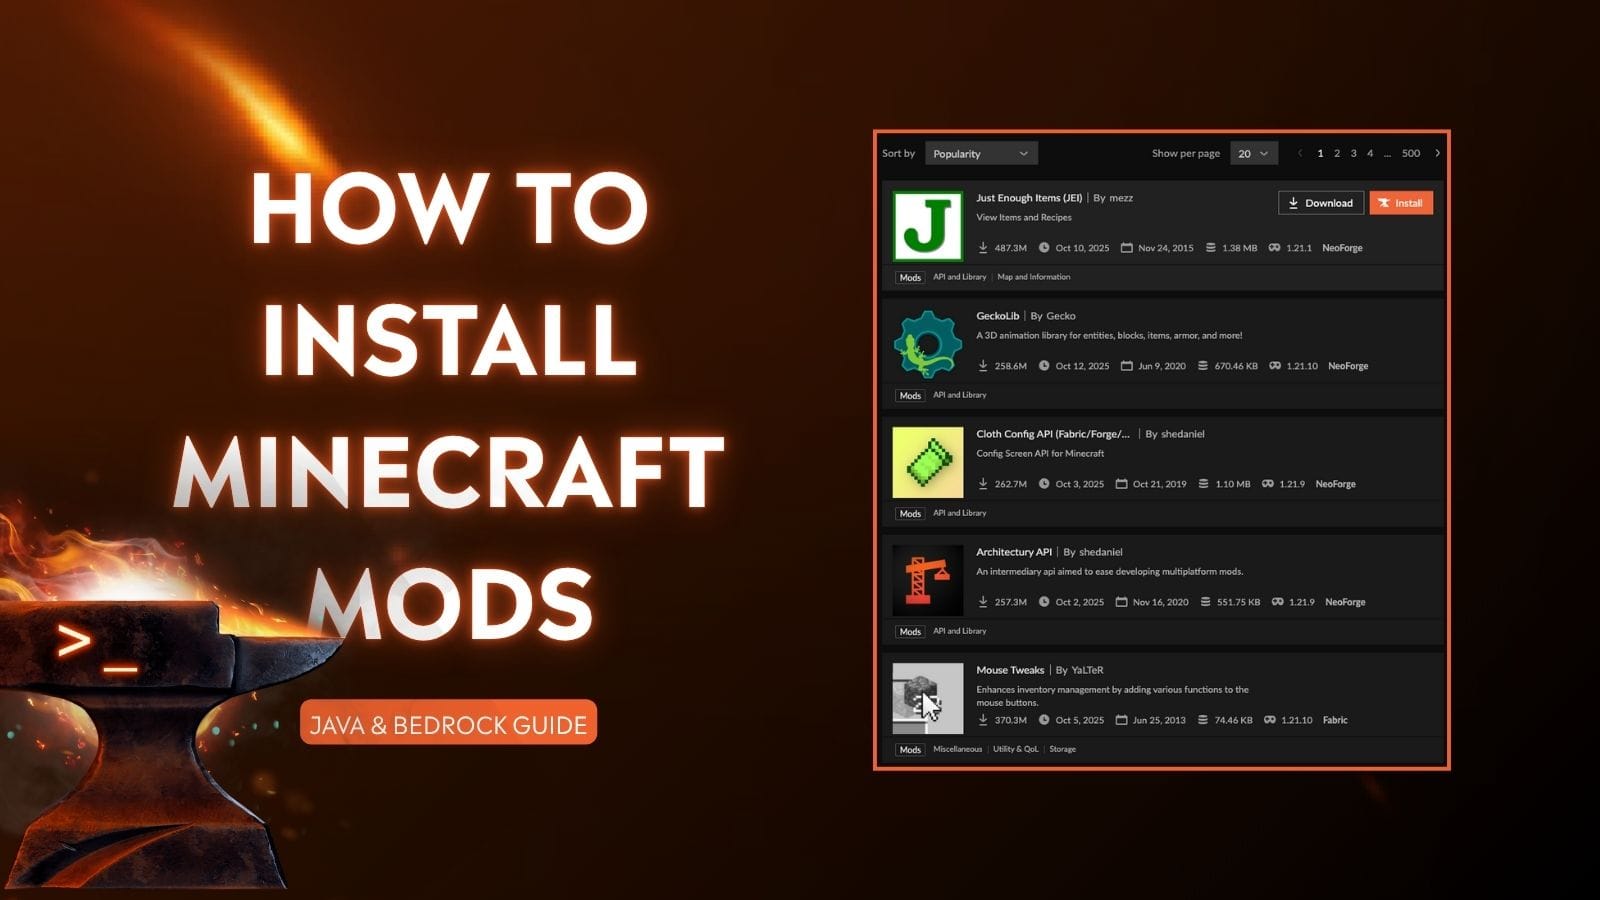
- Reputable Modding Websites: The primary source for Minecraft mods is Cursemeta/CurseForge (curseforge.com). This is the most trusted platform and hosts a vast library of mods, meticulously categorized and managed. Other reputable sites might exist, but always prioritize official sources or well-known community hubs.
- Check Mod Requirements: Crucially, always check the mod’s page for its requirements. This includes:
- Minecraft Version Compatibility: Ensure the mod is made for the Minecraft version you installed Forge for.
- Forge Version Compatibility: Some mods might also specify a minimum Forge version.
- Other Mod Dependencies: Some advanced mods require other specific mods to be installed alongside them. This is common for larger modpacks or complex mechanics.
- Download the Mod File: Mods typically come as
.jarfiles. Download the.jarfile for the mod you want to install.
The Mods Folder: Your Modding Hub
The “mods” folder is where you’ll place all your downloaded mod .jar files. Forge automatically looks for mods in this specific folder.
- Locate Your
.minecraftFolder: You’ll need to access your.minecraftfolder again.- Windows: Press
Windows Key + R, type%appdata%.minecraft, and press Enter. - macOS: Open Finder, press
Command + Shift + G, type~/Library/Application Support/minecraft, and press Enter. - Linux: Navigate to
~/.minecraft.
- Windows: Press
- Create the “mods” Folder (if it doesn’t exist): Inside your
.minecraftfolder, look for a folder named “mods.” If it’s not there, simply create a new folder and name it exactly “mods.” - Place Mod Files into the “mods” Folder: Copy the downloaded mod
.jarfiles directly into the “mods” folder. Do not extract them; they should remain as.jarfiles.
Launching the Game with Mods
- Ensure the Forge Profile is Selected: Open your Minecraft Launcher and make sure the “forge” profile is selected.
- Click “Play”: Launch Minecraft.
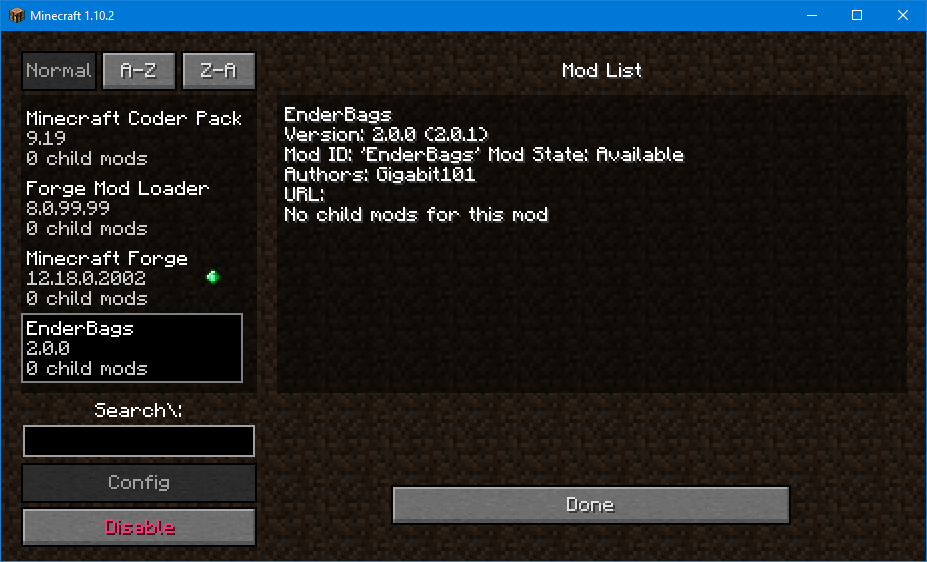
- Verify Mod Installation: Once Minecraft loads, go to the main menu. You should now see a “Mods” button. Click on it. This will display a list of all the mods that Forge has detected and loaded. If your mods appear in this list, they have been installed successfully.
Troubleshooting Common Issues and Best Practices
Even with careful installation, you might encounter some hiccups. Understanding common problems and employing best practices will help you resolve them quickly.
Dealing with Crashes and Errors
- “The game crashed whilst initializing game” or Similar Errors: This is the most common type of crash. It usually indicates a mod incompatibility or a missing dependency.
- Check Minecraft and Forge Versions: The most frequent culprit is running mods designed for a different Minecraft or Forge version.
- Check for Mod Dependencies: Reread the mod’s description to ensure you haven’t missed any other mods that need to be installed alongside it.
- Remove Mods One by One: If you’ve installed multiple mods and the game crashes, remove all but one mod from the “mods” folder, then try launching the game. If it works, add mods back one by one until you identify the problematic one.
- Check the
logsFolder: Inside your.minecraftfolder, there’s alogsfolder. Thelatest.logfile often contains crucial information about what caused the crash. You can often find specific error messages by searching online for them.
- In-Game Glitches or Visual Artifacts: This can sometimes be caused by texture pack conflicts, driver issues, or poorly coded mods.
- Update Graphics Drivers: Ensure your graphics card drivers are up to date.
- Test Mods Individually: If you suspect a specific mod is causing visual issues, test it on its own.
Best Practices for a Smooth Modding Experience
- Start Simple: When you’re new to modding, begin with a few well-known and stable mods. Don’t try to install dozens of complex mods at once.
- Read Descriptions Carefully: Mod developers put a lot of effort into their descriptions. They contain vital information about compatibility, installation, and known issues.
- Keep Mods Updated: Mod developers frequently release updates to fix bugs, improve performance, and add new features. Check for updates periodically, but always ensure the update is compatible with your Minecraft and Forge versions.
- Use Reputable Sources: Stick to official download sites like CurseForge to avoid malware and ensure you’re getting legitimate mod files.
- Organize Your Mods: As your mod collection grows, it can become difficult to manage. Consider creating subfolders within your “mods” folder for organization, although Forge primarily reads from the top level.
- Understand Modpacks: For a curated and often tested collection of mods, consider using a modpack launcher like CurseForge App, FTB App, or ATLauncher. These launchers simplify the installation of large mod collections and handle dependencies.
By following these steps and best practices, you’ll be well on your way to enjoying a vastly expanded and personalized Minecraft experience. Forge provides the essential framework for unlocking the true potential of this incredible game, and with a little patience and attention to detail, you can transform your blocky world into anything you can imagine.
aViewFromTheCave is a participant in the Amazon Services LLC Associates Program, an affiliate advertising program designed to provide a means for sites to earn advertising fees by advertising and linking to Amazon.com. Amazon, the Amazon logo, AmazonSupply, and the AmazonSupply logo are trademarks of Amazon.com, Inc. or its affiliates. As an Amazon Associate we earn affiliate commissions from qualifying purchases.