
Minecraft, the ubiquitous sandbox game that has captivated millions, offers a seemingly endless world to explore, build, and conquer. However, for many seasoned players, the vanilla experience, while rich, can eventually feel somewhat limited. This is where the vibrant and expansive world of Minecraft modding steps in, and at the heart of much of this customization lies Forge. Forge is a powerful modding API (Application Programming Interface) that acts as a bridge, allowing a vast array of community-created modifications to seamlessly integrate with your Minecraft game.
Whether you’re looking to introduce entirely new creatures, alter the fundamental mechanics of the game, add intricate technological advancements, or simply spice up your world with aesthetic enhancements, Forge is your gateway. This comprehensive guide will walk you through the essential steps of installing mods using Forge, transforming your Minecraft adventure into something truly unique and deeply personal. We’ll cover everything from understanding what Forge is, to selecting the right version, the installation process itself, and finally, how to effectively manage your newfound modded world.
Understanding the Forge Modding Ecosystem
Before diving into the technicalities, it’s crucial to grasp the role of Forge within the Minecraft modding landscape. Think of Forge as a foundational layer that provides the necessary tools and framework for mods to operate. Without it, most mods would simply not be compatible with the game. It’s not a mod itself, but rather a platform that enables other mods to function.
The Importance of Forge Versions
One of the most critical aspects of using Forge is understanding version compatibility. Minecraft is updated regularly, and with each new release, the underlying code changes. Mods are developed for specific Minecraft versions, and crucially, for specific versions of Forge that correspond to those Minecraft versions. Installing a mod designed for Minecraft 1.16.5 with Forge 1.16.5 on a Minecraft 1.19.2 installation will almost certainly lead to crashes and a non-functional game.
This is why it’s paramount to pay close attention to the version numbers. When you download a mod, always check which Minecraft and Forge versions it supports. This information is almost always readily available on the mod’s download page. Similarly, when you download Forge, you must ensure you download the version that matches your intended Minecraft game version.
Where to Find Mods: Reputable Sources
The internet is awash with places to download Minecraft mods, but not all sources are created equal. For your own digital security and to ensure you’re downloading legitimate and functional mods, sticking to reputable sources is highly recommended.
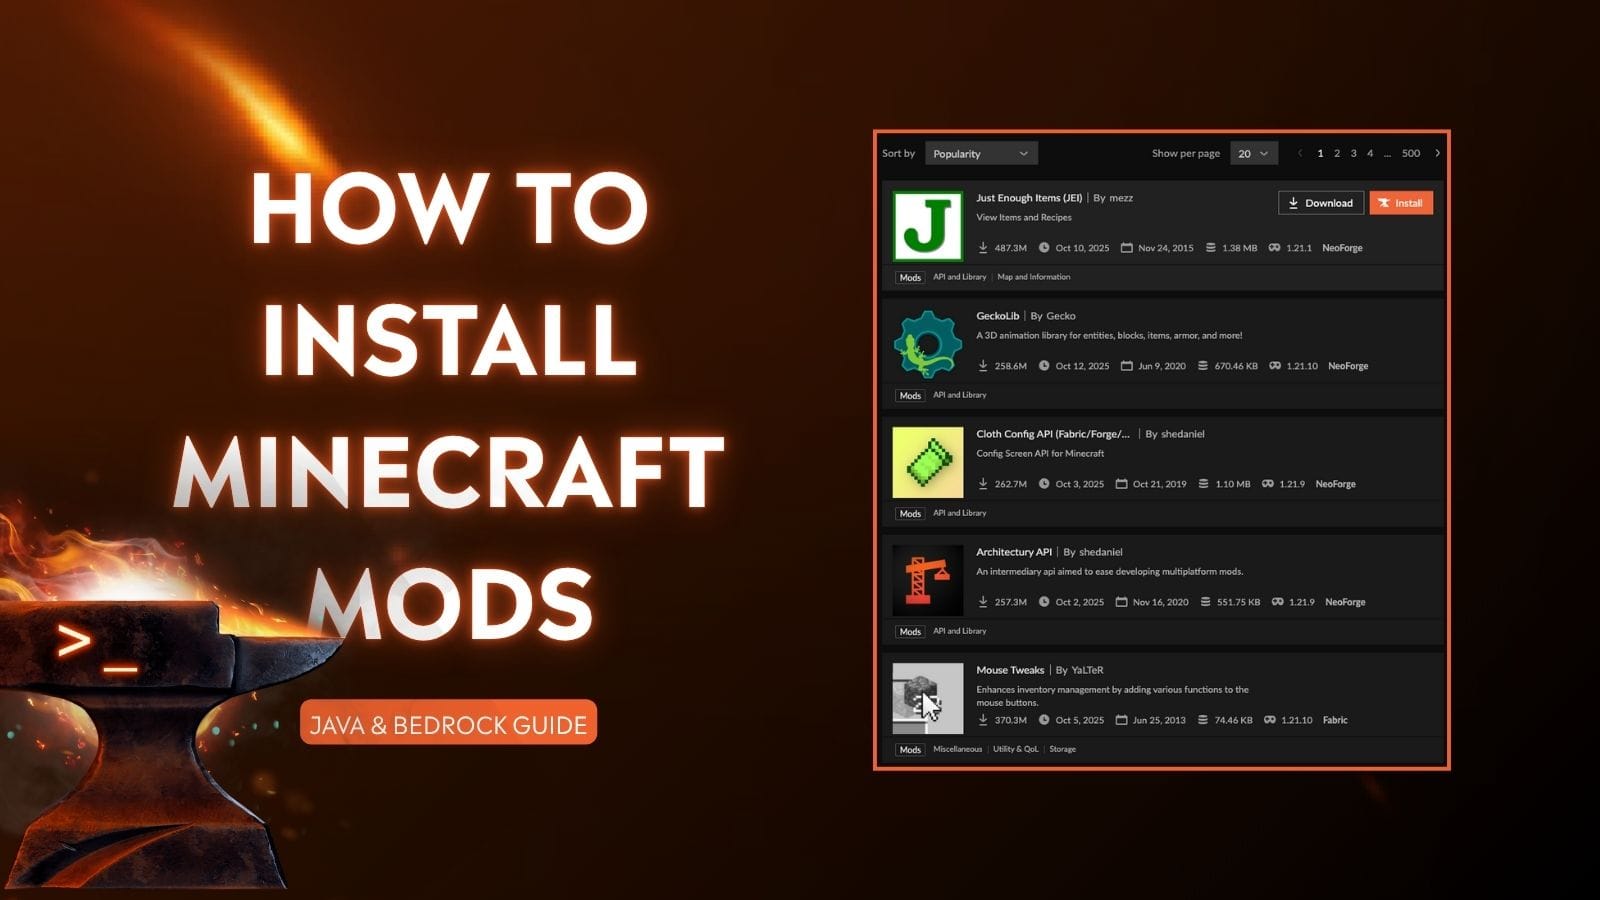
- CurseForge: This is arguably the largest and most popular platform for Minecraft mods, texture packs, and other content. It’s well-moderated, and you can find almost any mod imaginable here, complete with detailed descriptions, user reviews, and clear version information.
- Modrinth: A newer but rapidly growing platform, Modrinth offers a clean interface and a focus on open-source mods. It’s another excellent place to discover high-quality modifications.
- Official Mod Websites/Forums: Some individual mod developers maintain their own websites or dedicated threads on official Minecraft forums. While these can be direct sources, always exercise caution and ensure you’re on the genuine developer’s page.
Warning: Avoid downloading mods from unofficial aggregation sites or torrent trackers. These are often rife with malware, outdated versions, or outright scams that can compromise your computer’s security and ruin your gaming experience.
Step-by-Step: Installing Minecraft Forge
Now that you understand the foundational elements, let’s get down to the practical steps of installing Forge and your first mods.
1. Downloading and Installing Minecraft Forge
The process begins with obtaining the correct Forge installer for your desired Minecraft version.
Step 1: Identify Your Minecraft Version:
First, determine which version of Minecraft you want to play with mods. This is crucial for compatibility. If you’re unsure, it’s often best to stick with a more established, older version for your first modding endeavor, as these tend to have a wider selection of mature mods and Forge versions.
Step 2: Download the Forge Installer:
Navigate to the official Forge website (https://files.minecraftforge.net/). On the left-hand side, you’ll see a list of Minecraft versions. Click on the version you identified in Step 1. You will then be presented with two download options: “Latest” and “Recommended.” The “Recommended” version is generally more stable and less prone to bugs, making it the ideal choice for most users, especially beginners. Click the “Installer” button for your chosen version.
You might encounter an advertisement page. Do not click on anything on this page except for the “Skip” button in the top-right corner after the countdown. Clicking anywhere else could lead you to malicious websites.
Step 3: Run the Forge Installer:
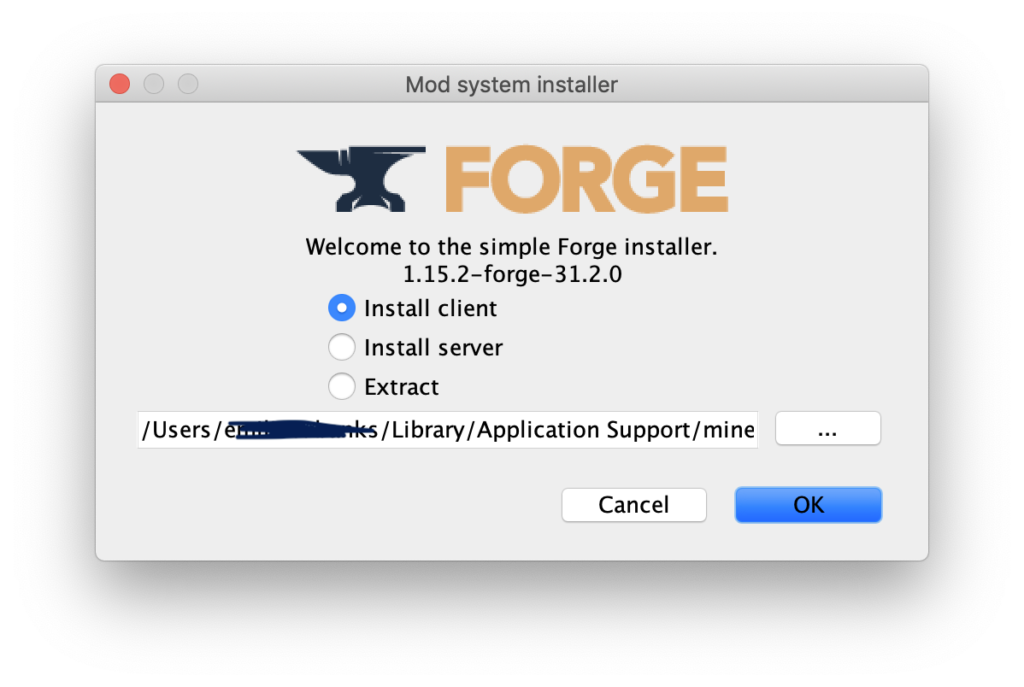
Once the installer JAR file has downloaded, locate it in your Downloads folder. Double-click the file to run it. A Forge installer window will appear.
- Install Profile: Ensure that “Install client” is selected. This is the default and what you need for playing Minecraft with mods.
- Game Directory: Leave this as the default unless you have a specific reason to change it. It points to your standard Minecraft installation folder.
Click “OK.” The installer will now download the necessary files and set up Forge for your chosen Minecraft version. You’ll see a progress bar, and upon completion, a success message will pop up.
2. Locating Your Minecraft Mods Folder
With Forge installed, your next step is to know where to place your downloaded mods. Each Minecraft installation has a dedicated folder for mods.
Step 1: Open Your Minecraft Launcher:
Launch the official Minecraft Launcher.
Step 2: Navigate to Installations:
Click on the “Installations” tab at the top of the launcher.
Step 3: Find Your Forge Installation:
You should see a new profile listed for the Forge version you just installed. Hover your mouse over this profile. To the right, you’ll see a folder icon. Click this icon.
This will open the Minecraft game directory folder in your file explorer. Within this folder, you should now see a newly created folder named “mods.” If it’s not there yet, don’t worry; it will typically appear once you launch Minecraft with the Forge profile for the first time.
3. Downloading and Placing Mods
Now comes the exciting part: adding mods to your game. Remember the importance of version compatibility discussed earlier.
Step 1: Download Your Desired Mods:
As mentioned, use reputable sources like CurseForge or Modrinth. When browsing for mods, pay extremely close attention to the required Minecraft and Forge versions. Download the JAR files for the mods you want.
Step 2: Place Mod JAR Files into the “mods” Folder:
Locate the “mods” folder within your Minecraft game directory (which you opened in the previous section). Drag and drop all the downloaded mod JAR files directly into this “mods” folder. Do not extract or uncompress these files. They need to be in their original JAR format.
4. Launching Minecraft with Mods
The final step is to load up your game and see your mods in action.
Step 1: Select Your Forge Profile:
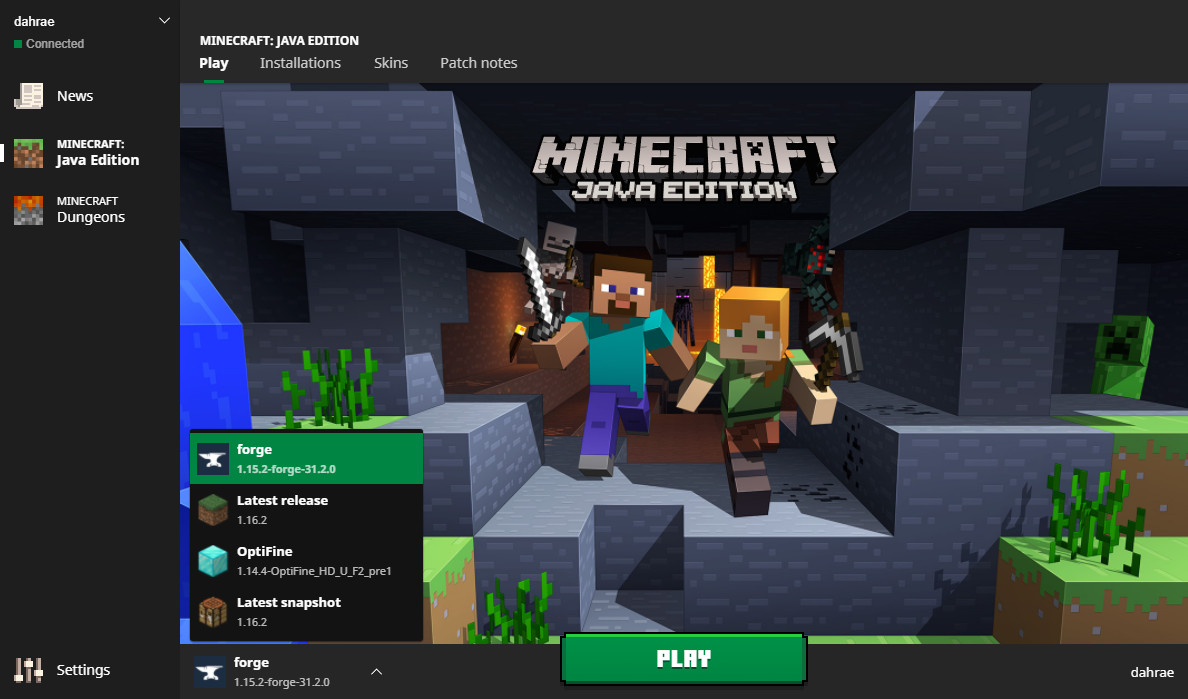
Open the Minecraft Launcher and go to the “Play” tab. In the bottom-left corner, next to the “Play” button, you’ll see a dropdown menu. Click on it and select the Forge installation profile you created earlier (it will usually be named after the Minecraft and Forge version, e.g., “forge-1.18.2”).
Step 2: Click “Play”:
Click the “Play” button. Minecraft will now launch with Forge enabled, and it will automatically detect and load any mods you’ve placed in the “mods” folder.
You may notice that the game takes a bit longer to load than usual. This is normal, as Forge is now initializing and processing all the loaded mods. Once the game loads, you should see indications of your mods, whether it’s new items in your inventory, different world generation, or new creatures appearing.
Troubleshooting Common Modding Issues
Even with careful installation, you might encounter problems. Here are some common issues and their solutions:
Crashes and Freezes
- Version Mismatch: This is the most frequent culprit. Double-check that both Forge and all your mods are for the exact same Minecraft version.
- Conflicting Mods: Sometimes, two or more mods might interfere with each other. Try removing mods one by one to identify the conflict.
- Missing Dependencies: Some mods require other mods (called libraries or core mods) to function. The mod’s description page will usually list these dependencies. Make sure you’ve downloaded and installed them.
- Corrupted Download: The mod file or Forge installer might have been corrupted during download. Try downloading them again.
- Insufficient RAM: Modded Minecraft can be more demanding on your system’s resources. If you have many large mods, consider allocating more RAM to Minecraft through the Minecraft Launcher’s settings (Profile Edit -> More Options -> JVM Arguments, look for
-Xmx2Gand change2Gto4Gor higher if your system has enough RAM).
Mods Not Appearing or Functioning
- Incorrect Placement: Ensure the mod JAR files are directly inside the “mods” folder, not in subfolders.
- Wrong Forge Version: Make sure you are launching the game with the correct Forge profile.
- Mod is Disabled: Some mods might have in-game configuration options that could disable certain features.
How to Report Bugs and Seek Help
If you encounter persistent issues, seeking help from the modding community is your best bet.
- Mod Page Comments/Discussions: Most mods on CurseForge and Modrinth have dedicated sections for comments and bug reports.
- Mod Developer’s Discord Server: Many mod developers have Discord servers where you can get direct support.
- Minecraft Modding Forums: Dedicated forums often have sections for troubleshooting.
When seeking help, always provide as much information as possible: your Minecraft version, Forge version, the list of mods you’re using, and any error messages you receive (often found in a “logs” folder within your Minecraft directory, specifically latest.log).
Beyond the Basics: Managing Your Modded Game
As you become more comfortable with installing mods, you might want to explore more advanced aspects of modding.
Mod Configuration Files
Many mods come with configuration files that allow you to tweak their settings without editing the mod’s code. These are usually found in a “config” folder within your Minecraft game directory. You can often open these files with a simple text editor (like Notepad) to change values, enable or disable features, or customize item IDs. Be cautious when editing these files, as incorrect changes can sometimes cause issues.
Modpacks
For those who want a curated and tested collection of mods, modpacks are an excellent option. These are pre-packaged sets of mods designed to work together, often with a specific theme or gameplay focus. Popular launchers like the FTB App, Technic Launcher, or the Overwolf App (which includes the CurseForge app) make it incredibly easy to download and install entire modpacks with a single click.
Performance Optimization
Modded Minecraft can sometimes be a strain on your computer’s performance. Besides allocating more RAM, consider using performance-enhancing mods like OptiFine (though ensure you download the Forge-compatible version if you’re using Forge) or Sodium and Iris (which are often used in Fabric modpacks but have Forge alternatives emerging). These mods can significantly improve frame rates and reduce lag.
Conclusion
Installing mods in Forge opens up a universe of possibilities for your Minecraft experience. By understanding the importance of version compatibility, utilizing reputable download sources, and following these step-by-step instructions, you can confidently embark on your modding journey. Whether you’re aiming for a hardcore survival challenge with new ores and monsters, a creative building spree with enhanced tools and blocks, or a complex technological automation system, Forge is the key to unlocking these incredible customizations. Remember to be patient, troubleshoot systematically, and most importantly, have fun exploring the limitless potential of your modded Minecraft world.
aViewFromTheCave is a participant in the Amazon Services LLC Associates Program, an affiliate advertising program designed to provide a means for sites to earn advertising fees by advertising and linking to Amazon.com. Amazon, the Amazon logo, AmazonSupply, and the AmazonSupply logo are trademarks of Amazon.com, Inc. or its affiliates. As an Amazon Associate we earn affiliate commissions from qualifying purchases.