
The evolution of Minecraft from a simple block-building game into a global cultural phenomenon is largely attributed to its open-ended nature. However, the true longevity of the title lies in its modularity. Modding—the practice of altering or adding to the game’s original code—has transformed Minecraft into an infinite sandbox for developers and gamers alike. At the heart of this technical ecosystem lies Minecraft Forge. Forge is not merely a tool; it is a sophisticated abstraction layer and modding API (Application Programming Interface) that allows disparate pieces of community-created software to coexist within the game’s environment. Understanding how to install and manage mods via Forge is a foundational skill for anyone looking to explore the cutting edge of community-driven software development.
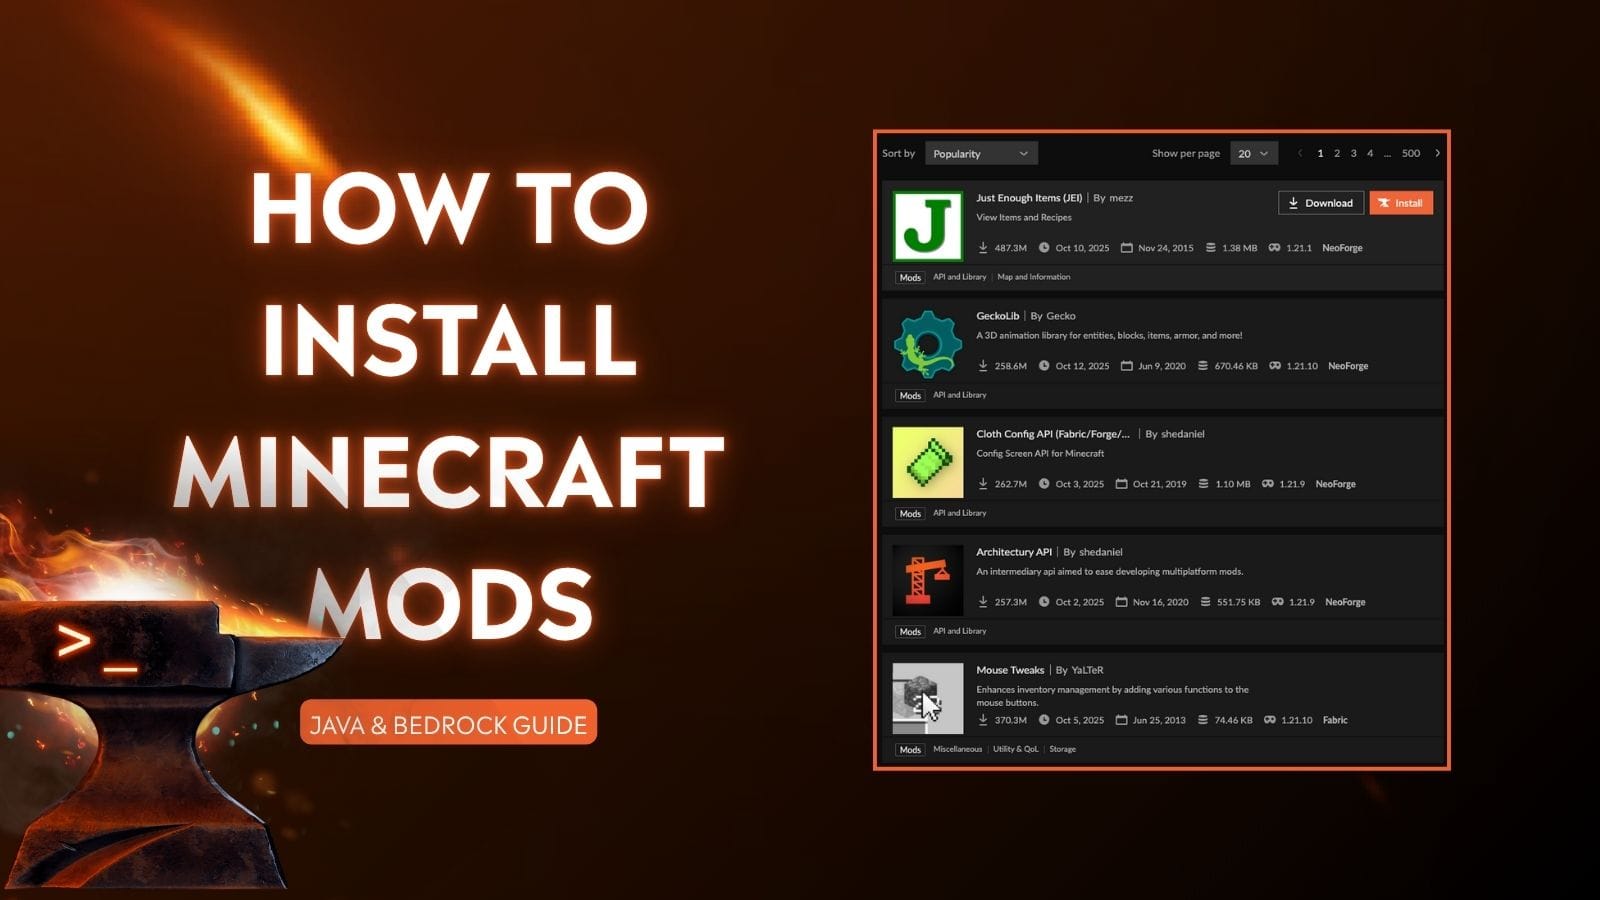
Understanding the Architecture of Minecraft Forge
Before diving into the installation process, it is essential to understand what Minecraft Forge is from a technical perspective. In the early days of modding, developers had to manually inject code into the Minecraft source files. This often led to “mod conflicts,” where two different mods tried to overwrite the same line of code, resulting in system crashes. Forge was developed to solve this problem by providing a standardized framework.
What is Minecraft Forge and Why It Matters?
Minecraft Forge acts as a middleman between the game’s base code and the user’s mods. By providing a common set of hooks and libraries, Forge allows developers to write code that interacts with the game without permanently altering the core files. For the end-user, this means better stability, easier updates, and the ability to run dozens—or even hundreds—of mods simultaneously. It effectively turns Minecraft into a platform for software deployment, similar to how an operating system manages various applications.
Compatibility and Version Management
One of the most critical technical aspects of modding is version parity. Minecraft is frequently updated by its developers, and each update often breaks existing mods. Forge is version-specific; for example, if you are running Minecraft 1.20.1, you must install the specific version of Forge designed for 1.20.1. Furthermore, every mod you download must also match that specific version. Maintaining this technical synchronization is the most vital step in ensuring a stable gameplay experience.
The Step-by-Step Installation Process for Forge
Installing Forge is a process of integrating a third-party API into a proprietary software environment. It requires attention to detail regarding file paths and system requirements.
Preparing Your System and Backing Up Files
Before any installation, a professional approach to software modification begins with data integrity. Navigate to your local application data folder (usually %appdata%.minecraft on Windows) and create a backup of your “saves” and “screenshots” folders. Additionally, ensure that you have the latest version of the Java Runtime Environment (JRE) installed. Since Minecraft is built on Java, Forge requires a robust JRE to execute its installation scripts and manage mod assets effectively.
Downloading and Executing the Forge Installer
To begin the installation, visit the official Minecraft Forge repository. It is vital to download the “Installer” version rather than the “Mdk” or “Source” versions, which are intended for developers.
-
Select the Version: Choose the Minecraft version on the left-hand sidebar that matches the mods you intend to use.
-
Download: Click on the “Installer” link. You will likely encounter an ad-wall; wait for the “Skip” button to appear to ensure you are downloading the legitimate .jar file.
-
Execution: Locate the downloaded
.jarfile and run it. A dialog box will appear. Select “Install Client” and ensure the path points to your default Minecraft directory. -
Verification: Once the installation finishes, open the Minecraft Launcher. In the “Installations” tab, you should now see a new profile named “Forge.”
Integrating and Managing Your Mod Library

With the Forge API successfully installed, the next phase involves the deployment of actual mod files. This is where the customization of the software environment truly begins.
Sourcing Reliable Mods from Trusted Repositories
In the tech world, security is paramount. Mods are executable Java files, which means they have the potential to carry malicious code if sourced from untrustworthy sites. Professional modders primarily use two repositories: CurseForge and Modrinth. These platforms vet their content and provide detailed versioning logs, making it easier to find compatible software. Always check the “Dependencies” section of a mod’s page; many advanced mods require supplemental “Library” mods to function correctly.
Proper Placement and Directory Navigation
Once you have downloaded your desired mods (which will be in .jar format), you must place them in the correct directory for Forge to recognize them.
-
Open the “Run” command on your computer (Win + R) and type
%appdata%. -
Navigate to
.minecraftand then into themodsfolder. If this folder does not exist, you can create it manually, though Forge usually generates it upon its first successful launch. -
Drag and drop your
.jarfiles into this folder. -
Launch Minecraft using the Forge profile. On the main menu, a “Mods” button will now be visible, allowing you to verify that all software components have been loaded correctly.
Troubleshooting Common Software Conflicts and Performance Issues
Even with a robust API like Forge, technical friction is common when running highly customized software environments. Identifying and resolving these issues is key to maintaining a functional system.
Identifying Version Mismatches and Dependency Errors
If the game fails to launch or crashes upon startup, the culprit is usually a version mismatch. Forge provides a “Crash Report” or “Latest Log” in the .minecraft/logs directory. These text files are invaluable for troubleshooting. Look for phrases like NullPointerException or Incompatible Mod. Often, the log will explicitly state which mod is causing the failure and which version is required. Systematically removing mods one by one (the “binary search” method) can also help isolate the problematic software.
Optimizing Java Memory Allocation
Mods increase the computational load on your system, particularly regarding RAM. By default, the Minecraft Launcher may only allocate 2GB of RAM, which is often insufficient for modded play. To fix this:
-
Go to the “Installations” tab in the Minecraft Launcher.
-
Click the three dots on your Forge profile and select “Edit.”
-
Click “More Options.”
-
In the “JVM Arguments” field, find the text that says
-Xmx2G. -
Change the
2Gto a higher number (e.g.,4Gor8G), depending on your system’s total RAM. This allows the Java Virtual Machine to utilize more memory, significantly reducing “stuttering” and “out of memory” errors.
The Future of Modding and Community-Driven Software
The technical framework established by Forge has implications far beyond gaming. It represents a successful model of “extensible software architecture,” where a community can iterate on a product faster than the original developers.
Emerging Trends in Procedural Generation and AI Mods
As we look forward, the modding scene is increasingly integrating advanced tech trends. We are seeing mods that utilize machine learning for smarter NPC (Non-Player Character) behavior and complex procedural generation algorithms that create realistic geological formations. These advancements are often tested and perfected within the Forge ecosystem before similar concepts make their way into mainstream software development.
The Role of Modding in Software Education
For many, Forge is an entry point into the world of software engineering. By interacting with Java-based mods, users learn about file structures, API calls, and environment variables. The “tech-literacy” gained from managing a complex Forge installation is a transferable skill, applicable to everything from server management to software QA testing.
In conclusion, installing Minecraft mods using Forge is a gateway into a sophisticated world of software customization. By understanding the underlying architecture of the Forge API, meticulously following installation protocols, and mastering the art of troubleshooting, users can transform their digital environment. This process highlights the incredible power of community-driven technology, proving that when users are given the tools to innovate, the possibilities for software evolution are truly limitless. Whether you are looking to enhance graphical fidelity or introduce entirely new mechanics, Forge remains the gold standard for technical excellence in the modding community.
aViewFromTheCave is a participant in the Amazon Services LLC Associates Program, an affiliate advertising program designed to provide a means for sites to earn advertising fees by advertising and linking to Amazon.com. Amazon, the Amazon logo, AmazonSupply, and the AmazonSupply logo are trademarks of Amazon.com, Inc. or its affiliates. As an Amazon Associate we earn affiliate commissions from qualifying purchases.