In the ever-evolving landscape of cybersecurity, having access to powerful tools for ethical hacking, penetration testing, and digital forensics is paramount. Kali Linux stands as the undisputed champion in this arena, offering a vast array of specialized utilities designed for security professionals and enthusiasts alike. While installing Kali Linux directly onto your hardware is an option, a more flexible, secure, and often preferred method, especially for learning and experimentation, is to run it within a virtual machine. This comprehensive guide will walk you through every step of installing Kali Linux on Oracle VM VirtualBox, transforming your existing computer into a robust cybersecurity workstation without altering your primary operating system.

Virtualization technology allows you to run multiple operating systems simultaneously on a single physical machine, each isolated within its own virtual environment. VirtualBox, a free and open-source solution from Oracle, is an excellent choice for this purpose, providing a user-friendly interface and robust performance. By encapsulating Kali Linux within a virtual machine, you can freely experiment with its potent tools, test potentially risky software, and even practice exploits in a sandboxed environment, all without fear of compromising your host system. This approach is not just about convenience; it’s about creating a safe, controlled learning space crucial for anyone delving into the intricacies of digital security.
Pre-installation Essentials: Gathering Your Arsenal
Before embarking on the installation journey, it’s crucial to gather all necessary components and ensure your system meets the minimum requirements. Adequate preparation streamlines the process and prevents common pitfalls, ensuring a smooth setup for your virtual Kali Linux environment.
Understanding System Requirements for Kali Linux
While VirtualBox handles the virtualization, Kali Linux itself has specific resource demands. To ensure optimal performance and a responsive user experience, it’s recommended to allocate sufficient resources to your virtual machine (VM).
- RAM (Memory): While Kali Linux can theoretically run with as little as 1GB of RAM, a minimum of 2GB is strongly recommended for comfortable operation, especially if you plan to run multiple tools simultaneously or perform memory-intensive tasks. For serious work or to avoid sluggishness, 4GB or more is ideal, depending on your host system’s total RAM.
- CPU (Processor): A modern dual-core processor is generally sufficient. While VirtualBox can utilize multiple cores, assigning at least 2 CPU cores to your Kali Linux VM will significantly improve performance and responsiveness. Ensure your host system’s CPU supports virtualization technologies like Intel VT-x or AMD-V, and that these features are enabled in your BIOS/UEFI settings.
- Disk Space: Kali Linux requires a minimum of 20GB of hard drive space for a basic installation. However, considering future updates, additional tools, and saved project files, allocating 30GB to 50GB is a safer bet. Remember, this space will be carved out of your host system’s storage.
- Host System OS: VirtualBox runs on Windows, macOS, and Linux. Ensure your host operating system is up-to-date and stable.
Downloading Oracle VM VirtualBox
The first piece of software you need is VirtualBox itself. It acts as the hypervisor, allowing you to create and manage virtual machines.
- Navigate to the Official VirtualBox Website: Open your web browser and go to
www.virtualbox.org. - Locate the Downloads Section: Click on the “Downloads” link, usually prominent on the homepage.
- Choose Your Host OS Package: Select the appropriate VirtualBox package for your host operating system (e.g., “Windows hosts,” “macOS hosts,” “Linux distributions”).
- Download and Install VirtualBox: Follow the on-screen prompts to download the installer. Once downloaded, run the installer and accept the default settings, unless you have specific reasons to change them. This process is straightforward, much like installing any other application on your system.
- Download the VirtualBox Extension Pack (Optional but Recommended): On the same downloads page, you’ll find the “VirtualBox Extension Pack.” Download this and install it after VirtualBox. The Extension Pack provides additional functionalities like USB 2.0/3.0 support, VirtualBox RDP, disk encryption, and PXE boot for Intel cards, enhancing your VM experience. To install it, open VirtualBox, go to
File > Preferences > Extensions, click the “+” icon, and select the downloaded.vbox-extpackfile.
Obtaining the Kali Linux ISO Image
The next crucial component is the Kali Linux installation image. Always download it from the official source to ensure its integrity and security.
- Visit the Official Kali Linux Website: Go to
www.kali.org/downloads/. - Select the Appropriate ISO: You’ll typically find several versions. For most users, the “Kali Linux 64-bit (Installer)” is the recommended choice. There might also be “Live” versions or “bare metal” options, but the “Installer” version is what we need for a permanent installation on VirtualBox.
- Choose a Download Method: You can usually download directly via HTTP or use a torrent client. Direct download is often simpler for most users.
- Verify the Checksum (Crucial Security Step): After downloading, it’s absolutely vital to verify the integrity of the downloaded ISO file. Attackers can sometimes modify ISOs to inject malware. Kali provides SHA256 checksums on its download page.
- On Windows: Open PowerShell and navigate to the directory where you saved the ISO. Run
Get-FileHash -Algorithm SHA256 "kali-linux-*.iso". - On macOS/Linux: Open Terminal and navigate to the directory. Run
shasum -a 256 "kali-linux-*.iso". - Compare the generated checksum with the one provided on the Kali download page. If they don’t match, the file is corrupted or tampered with, and you should re-download it.
- On Windows: Open PowerShell and navigate to the directory where you saved the ISO. Run
Setting Up Your Virtual Environment in VirtualBox
With VirtualBox installed and the Kali Linux ISO downloaded and verified, the next step is to create a new virtual machine and configure its settings to host Kali Linux. This involves defining the VM’s name, operating system type, allocating memory, and setting up its virtual hard disk.
Creating a New Virtual Machine
- Launch VirtualBox: Open the Oracle VM VirtualBox Manager application.
- Click “New”: In the VirtualBox Manager window, click the “New” button (usually a blue star icon) to start the “Create Virtual Machine” wizard.
- Name and Operating System:
- Name: Give your VM a descriptive name, such as “Kali Linux” or “KaliPentestLab.”
- Machine Folder: You can leave the default or choose a different location to store your VM files.
- Type: Select “Linux.”
- Version: Select “Debian (64-bit),” as Kali Linux is based on Debian. If “Debian (64-bit)” isn’t available, ensure virtualization is enabled in your host’s BIOS/UEFI.
- Click “Next.”
- Memory Size:
- Allocate RAM to your VM. As discussed, 2048 MB (2GB) is a good minimum, but 4096 MB (4GB) or more is recommended if your host system has ample RAM. Ensure you don’t allocate more than half of your host system’s total RAM to avoid performance issues on your host.
- Click “Next.”
- Hard Disk:
- Select “Create a virtual hard disk now.”
- Click “Create.”
- Hard Disk File Type:
- Choose “VDI (VirtualBox Disk Image),” which is VirtualBox’s native format.
- Click “Next.”
- Storage on Physical Hard Disk:
- Select “Dynamically allocated.” This means the virtual disk file will only grow as you use space inside the VM, rather than immediately taking up all the allocated space on your host. This saves physical disk space.
- Click “Next.”
- File Location and Size:
- File location: The default location is usually fine.
- Size: Set the size of your virtual hard disk. 30 GB to 50 GB is recommended. This is the maximum size the dynamically allocated disk can grow to.
- Click “Create.”
Your new Kali Linux VM is now created and listed in the VirtualBox Manager.
Advanced Virtual Machine Settings
Before starting the installation, it’s wise to tweak a few more settings for optimal performance and functionality.
- Select Your VM: In the VirtualBox Manager, select your newly created “Kali Linux” VM.
- Click “Settings”: Click the “Settings” button (gear icon).
- System Settings:
- Motherboard: Ensure “Enable I/O APIC” is checked. For the “Boot Order,” you can uncheck “Floppy” as it’s not needed.
- Processor: Go to the “Processor” tab. Allocate at least 2 CPUs to your VM. Ensure “Enable PAE/NX” is checked.
- Acceleration: Verify that “Enable VT-x/AMD-V” and “Enable Nested Paging” are checked.
- Display Settings:
- Screen: Go to the “Screen” tab. Increase “Video Memory” to at least 64 MB or 128 MB (depending on your host’s GPU memory). Enable “3D Acceleration” if your host hardware supports it.
- Storage Settings (Mounting the Kali ISO): This is a critical step to tell VirtualBox where to find the Kali Linux installer.
- Go to the “Storage” tab.
- Under “Controller: IDE,” click on the “Empty” CD icon.
- On the right side, click the smaller CD icon next to “Optical Drive.”
- Select “Choose a disk file…”
- Browse to the location where you saved your Kali Linux ISO file, select it, and click “Open.”
- Now the ISO file should appear under “Controller: IDE” as your virtual optical drive.
- Network Settings (Optional but Recommended):
- Go to the “Network” tab.
- Adapter 1: The default “NAT” mode is usually fine for basic internet access. However, for penetration testing scenarios where Kali needs to interact with other machines on your local network (e.g., scanning other VMs or devices), you might prefer “Bridged Adapter.”
- NAT: Your VM gets its own IP address from VirtualBox and shares your host’s IP for external network access. It’s isolated from your local network.
- Bridged Adapter: Your VM acts as a separate device on your physical network, getting an IP address directly from your router. This allows it to communicate with other devices on your LAN as if it were a physical machine.
- Choose the adapter mode that best suits your needs. For beginners, NAT is simpler.
- Click “OK”: Save all your changes.
The Kali Linux Installation Process
With the virtual machine configured, it’s time to power it on and proceed with the Kali Linux installation, which mirrors a physical installation process but occurs entirely within the VirtualBox environment.
Starting the Virtual Machine and Booting Kali
- Start the VM: In the VirtualBox Manager, select your “Kali Linux” VM and click the “Start” button (green arrow).
- Boot Menu: The VM window will open, and you’ll see the Kali Linux boot menu.
- Select “Graphical install” using the arrow keys and press Enter. This option provides a user-friendly, mouse-driven installation experience.
Language, Location, and Keyboard Configuration
The graphical installer will guide you through basic localization settings.
- Language: Choose your preferred installation language (e.g., English). Click “Continue.”
- Location: Select your geographical location. This helps set the correct time zone and locale. Click “Continue.”
- Keyboard Layout: Choose your keyboard layout (e.g., American English). Click “Continue.”
Network Setup
Kali will attempt to configure your network.
- Hostname: Enter a hostname for your system (e.g., “kali,” “kali-vm”). Click “Continue.”
- Domain Name (Optional): You can leave this blank unless you’re part of a specific network domain. Click “Continue.”
User and Password Creation

This is a critical step for securing your Kali Linux installation. Kali Linux no longer defaults to a root user with a default password. You must create a non-root user during installation.
- Full Name: Enter your full name. Click “Continue.”
- Username: Create a username for your account (e.g., “kaliuser,” “pentester”). Click “Continue.”
- Password: Set a strong password for your new user account. Re-enter it to confirm. Remember this password! Click “Continue.”
Disk Partitioning
This is where you tell Kali how to use the virtual hard disk you created earlier. For a straightforward installation, the guided method is ideal.
- Partitioning Method: Select “Guided – Use the entire disk.” This is safe as you are operating within a virtual disk, not your physical drive. Click “Continue.”
- Select Disk: Choose the virtual disk (it will typically be
/dev/sdaand show the size you allocated, e.g., “32.2 GB VBOX HARDDISK”). Click “Continue.” - Partitioning Scheme: Select “All files in one partition (recommended for new users).” This is the simplest option. Click “Continue.”
- Confirm Changes: Review the proposed partition layout. When ready, select “Finish partitioning and write changes to disk.” Click “Continue.”
- Write Changes to Disk?: Select “Yes” to confirm writing the changes. Click “Continue.”
The installer will now format the virtual disk and copy files. This process might take some time.
Software Selection
During this phase, you can choose which desktop environment and collection of tools to install.
- Desktop Environment: The default selections (GNOME desktop environment, Xfce, KDE Plasma) are fine. GNOME is a common choice. You can deselect some if you prefer a minimal install, but for beginners, leaving the defaults will provide a full experience.
- Metapackages: The “kali-linux-default” metapackage is usually checked, providing a standard set of tools. You can customize this if you have specific needs.
- Click “Continue.” The installation of selected software will proceed, which can take a considerable amount of time depending on your internet speed and system resources.
GRUB Boot Loader Installation
The GRUB boot loader is essential for starting Kali Linux.
- Install the GRUB boot loader to the master boot record?: Select “Yes.” Click “Continue.”
- Device for boot loader installation: Select the virtual disk you partitioned earlier (e.g.,
/dev/sda). Do NOT select your host system’s physical drive! Click “Continue.”
Completing the Installation and Rebooting
Once GRUB is installed, the installation process is nearly complete.
- The installer will finalize everything.
- You’ll be prompted that the installation is complete. Click “Continue” to reboot your virtual machine.
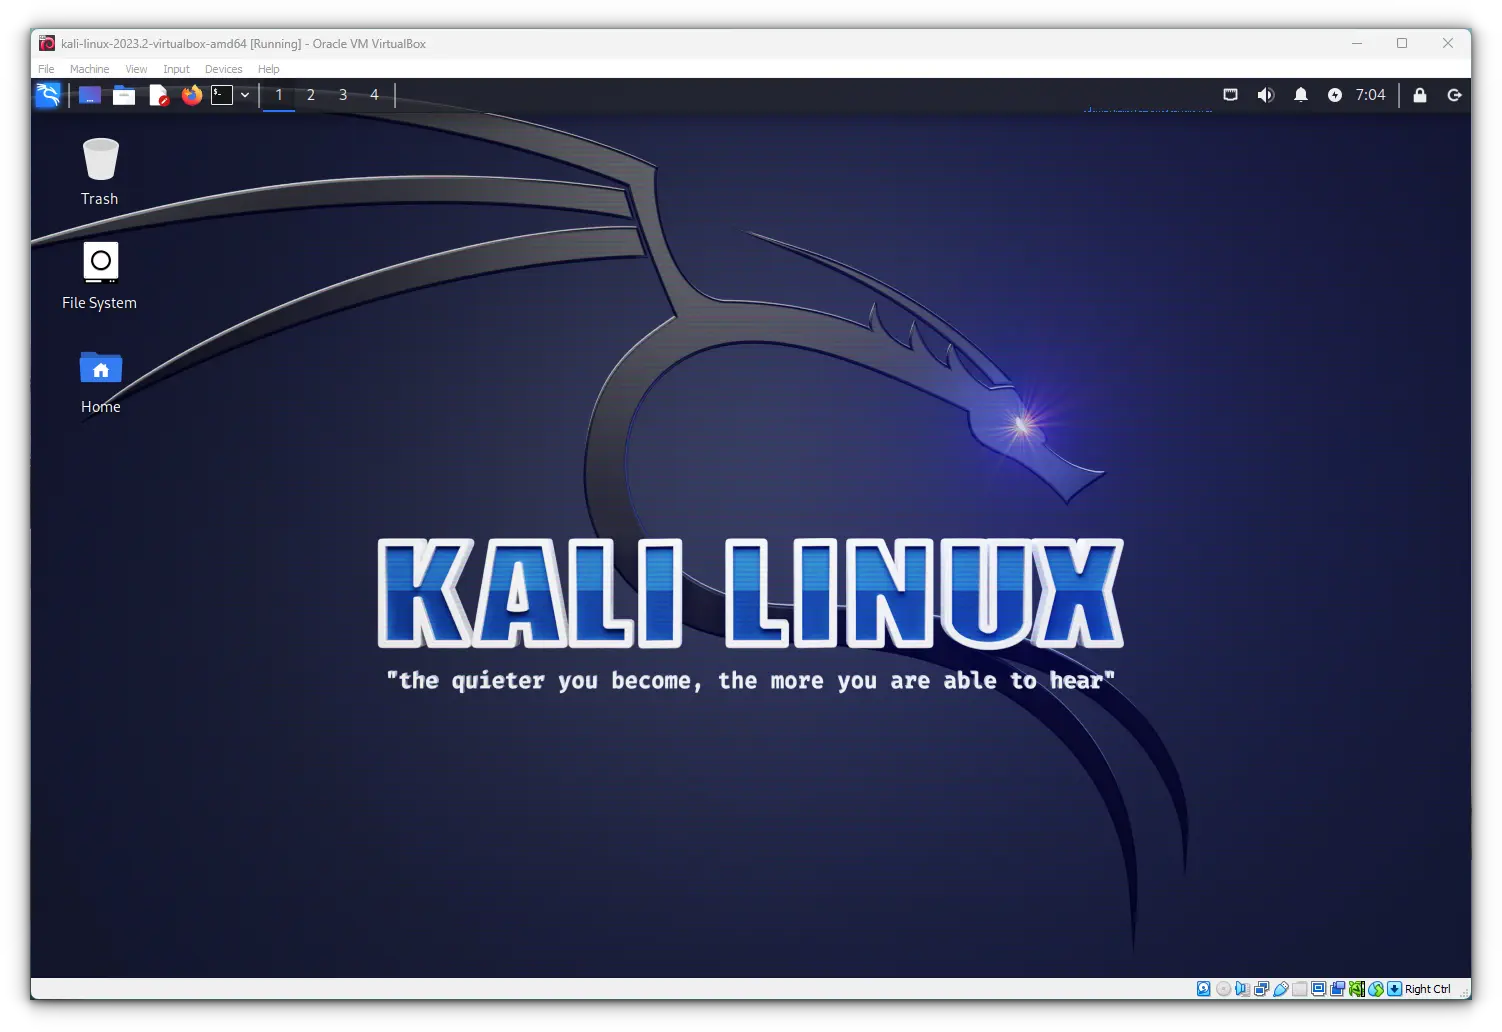
- As the VM reboots, Kali Linux should now boot from its installed operating system, and you’ll be greeted by the login screen. Log in with the username and password you created earlier.
Post-Installation & Essential Configuration
Congratulations! You now have a functional Kali Linux installation within VirtualBox. However, a few critical post-installation steps will enhance your experience, improve performance, and ensure your system is up-to-date.
Removing the Installation Media
After a successful installation, it’s good practice to “eject” the virtual ISO from your VM.
- Power Off VM (or go to Devices menu): While the VM is running, you can go to
Devices > Optical Drives > Remove disk from virtual drivein the VirtualBox VM window menu. Alternatively, power off the VM, go to its settings (Storage), select the Kali ISO under the IDE controller, and click the small disk icon with a minus sign to remove it. This prevents the VM from accidentally booting back into the installer.
Updating Kali Linux
Keeping your Kali Linux installation updated is paramount for security and access to the latest tools.
- Open a Terminal: Once logged into Kali, open a terminal window (usually an icon on the desktop or in the applications menu).
- Update Package Lists: Run the following command to refresh the list of available packages:
bash

sudo apt update
Enter your user password when prompted. - Perform a Full Upgrade: This command will upgrade all installed packages to their latest versions, install new dependencies, and remove obsolete packages. This is crucial after a fresh install.
bash

sudo apt full-upgrade -y
The-yflag automatically confirms prompts, saving time. This process can take a while depending on the number of updates. - Clean Up: Remove any unnecessary packages that were installed as dependencies but are no longer needed.
bash

sudo apt autoremove -y

sudo apt clean
- Reboot: After a major upgrade, especially if the kernel or critical system components were updated, it’s always best to reboot.
bash

sudo reboot
Installing VirtualBox Guest Additions
VirtualBox Guest Additions are a set of device drivers and system applications that optimize the guest operating system (Kali Linux in this case) for better performance and usability within VirtualBox. They enable features like:
- Automatic Screen Resizing: The guest display automatically adjusts when you resize the VM window.
- Shared Clipboard: Copy and paste between your host and guest OS.
- Drag’n’Drop: Drag files between host and guest.
- Shared Folders: Easily share files between host and guest.
- Better Mouse Pointer Integration: Seamless mouse movement without needing to capture and release.
Here’s how to install them:
- Ensure Kali is Fully Updated: Make sure you’ve completed the
sudo apt update && sudo apt full-upgradesteps. - Install Essential Build Tools: Open a terminal in Kali and install the necessary packages for compiling the Guest Additions modules:
bash

sudo apt install -y linux-headers-$(uname -r) build-essential dkms
- Insert Guest Additions CD Image: In the VirtualBox VM window, go to
Devices > Insert Guest Additions CD image.... This will virtually mount the Guest Additions ISO inside your Kali VM. - Navigate to the CD Directory: Open the file manager in Kali. You should see a new CD-ROM drive mounted. Navigate into this directory (e.g.,
/media/cdrom0or a similar path). - Run the Installer Script: Open a terminal in that directory (or
cdto it) and run the installer script with root privileges:
bash

cd /media/cdrom0

sudo ./VBoxLinuxAdditions.run
If you encounter permission issues, you might need to make the script executable first:sudo chmod +x VBoxLinuxAdditions.run. - Reboot: After the installation completes, reboot your Kali Linux VM:
bash

sudo reboot
Upon reboot, you should notice the enhanced features working, such as automatic screen resizing.
Customizing Your Kali Environment
With Kali fully installed and optimized, you can now personalize your environment and start exploring its vast toolset.
- Theme & Appearance: Kali Linux often comes with a dark theme by default, which is popular among security professionals. You can customize desktop backgrounds, themes, and icon sets through system settings.
- Install Additional Tools: While Kali comes with hundreds of tools, you might need specific ones not included by default. Use
sudo apt install <tool-name>to install them from the repositories. - Understand Your Tools: Take time to familiarize yourself with the categories of tools available in Kali (e.g., Information Gathering, Vulnerability Analysis, Web Application Analysis, Exploitation Tools, Forensics). Start with basic tools and gradually work your way up.
- Snapshots: VirtualBox’s snapshot feature is invaluable for Kali. Take a snapshot of your clean, fully updated Kali Linux VM. This allows you to revert to a pristine state if you break something, encounter issues, or simply want to roll back after an experiment.
Conclusion: Your Gateway to Cybersecurity Exploration
Installing Kali Linux on VirtualBox is a foundational step for anyone serious about cybersecurity, ethical hacking, or digital forensics. This guide has provided you with a detailed, step-by-step roadmap, from preparing your host system and downloading the necessary components to configuring your virtual machine, executing the installation, and performing essential post-installation optimizations.
By leveraging VirtualBox, you’ve created a safe, isolated, and highly flexible environment to explore Kali Linux’s powerful capabilities without risking your primary operating system. This setup empowers you to learn, experiment, and develop critical cybersecurity skills in a controlled sandbox. Remember, the journey into cybersecurity is continuous; always keep your Kali Linux updated, back up important work, and never stop learning. Your virtual Kali workstation is now ready to become your primary laboratory for mastering the art and science of digital security.
aViewFromTheCave is a participant in the Amazon Services LLC Associates Program, an affiliate advertising program designed to provide a means for sites to earn advertising fees by advertising and linking to Amazon.com. Amazon, the Amazon logo, AmazonSupply, and the AmazonSupply logo are trademarks of Amazon.com, Inc. or its affiliates. As an Amazon Associate we earn affiliate commissions from qualifying purchases.