
Navigating the world of printer maintenance can sometimes feel like deciphering a complex technological puzzle. Among the most common and essential tasks is replenishing your printer’s ink. This guide is specifically designed to demystify the process of installing ink cartridges in Canon printers, a crucial step for maintaining print quality and ensuring your device operates smoothly. Whether you’re a home user printing school projects, a small business owner churning out marketing materials, or a creative professional relying on consistent color output, understanding how to properly install ink is fundamental.
This article will delve into the practicalities of ink installation, covering everything from identifying the correct cartridges to troubleshooting common issues. We’ll explore the nuances of different Canon printer models and the ink systems they employ, ensuring you have the knowledge to tackle this task with confidence. By the end of this guide, you’ll be equipped to perform this routine maintenance with efficiency, saving you time and potentially preventing costly errors.

Understanding Your Canon Printer’s Ink System
Before you can successfully install new ink, it’s vital to understand the specific ink system your Canon printer utilizes. Canon employs a variety of technologies, but the two most prevalent are FINE (Full-photolithography Inkjet Nozzle Engineering) hybrid ink systems and ChromaLife100 systems.
The FINE Hybrid Ink System
Many modern Canon inkjet printers, particularly those aimed at home and small office users, feature a FINE hybrid ink system. This system is characterized by a combination of pigment-based black ink and dye-based color inks.
- Pigment-based Black Ink: The black ink cartridge in a FINE hybrid system typically uses pigment-based ink. Pigment inks consist of solid particles suspended in a liquid. This makes them more durable, water-resistant, and fade-resistant, ideal for sharp text documents.
- Dye-based Color Inks: The color ink cartridges (cyan, magenta, and yellow) in this system generally use dye-based inks. Dye inks are made of colorants dissolved in a liquid. They tend to produce more vibrant colors and smoother gradations, which are particularly beneficial for printing photos.
The “hybrid” aspect refers to the fact that the print head itself is integrated with the ink cartridges. When you replace an ink cartridge, you’re essentially replacing a portion of the print head. This design can lead to excellent print quality and potentially simpler maintenance, as a worn-out print head can be renewed with a new cartridge.
The ChromaLife100 System
For users who prioritize long-lasting prints, especially photographs, Canon’s ChromaLife100 system is a key feature. This technology combines enhanced Canon inks, genuine Canon photo paper, and Canon printers.
- Enhanced Ink Formulations: ChromaLife100 inks are specifically formulated to work synergistically with compatible Canon photo papers. These inks offer improved resistance to fading from light, air, and heat, meaning your printed photos can last for generations under optimal conditions.
- Synergy with Photo Paper: The effectiveness of ChromaLife100 is maximized when using genuine Canon photo papers designed for this system. The paper coatings interact with the ink to provide superior archival qualities.
While the specific ink cartridges might look similar across different Canon models, understanding whether your printer benefits from the ChromaLife100 system can influence your choice of ink and paper for long-term photo preservation.
Identifying Your Printer Model and Ink Cartridges
The most crucial step before purchasing or installing ink is to accurately identify your Canon printer model and the corresponding ink cartridges it requires. This information is paramount to avoid purchasing incompatible ink, which can lead to printing errors, poor quality output, or even damage to your printer.
- Locate Your Printer Model Number: Your printer’s model number is typically found on the front, top, or back of the device. It’s often displayed prominently. If you’re unsure, consult your printer’s user manual or the original packaging. For example, models might be labeled as PIXMA TS3320, MAXIFY MB2720, or SELPHY CP1300.
- Check the Printer’s Display (if applicable): Many Canon printers with digital displays will show the model number on their startup screen or within the settings menu.
- Refer to the Ink Cartridge Packaging: If you still have the old ink cartridges, the model number or series is usually printed on them.
- Consult the Canon Website: The most reliable method is to visit the official Canon website for your region. Navigate to the support section and enter your printer model number. This will lead you to a dedicated page where you can find information on compatible ink cartridges, drivers, and user manuals. Canon often provides a “find your ink” tool that allows you to input your printer model and see a list of required cartridges.
- Ink Cartridge Numbering System: Canon uses a specific numbering system for its ink cartridges (e.g., PG-240XL, CL-241, PGI-280XXL, CLI-281XL). The prefix (PG, CL, PGI, CLI) often indicates the ink type (Pigment Black, Color Dye, Pigment Black Ink Tank, Color Ink Tank), and the numbers and suffixes (XL, XXL) denote the capacity or yield.
Purchasing the correct ink cartridges is the first step towards a successful ink installation. Always double-check that the cartridges you buy are explicitly listed as compatible with your specific Canon printer model.
The Step-by-Step Guide to Installing Canon Printer Ink
Once you have identified the correct ink cartridges, the physical installation process is generally straightforward. However, following the steps carefully ensures a smooth and error-free replacement.
Step 1: Prepare Your Printer and Workspace
Before you begin, it’s essential to create a conducive environment for the ink replacement.
- Turn On Your Printer: Ensure your Canon printer is powered on and not in an error state. Many Canon printers will automatically move the print head carriage to a designated position for ink cartridge replacement when powered on. If it doesn’t, you might need to initiate this through the printer’s control panel or software.
- Open the Printer Cover: Locate the access panel for the ink cartridges. This is usually a flap or lid on the top or front of the printer that lifts open. Refer to your printer’s manual if you’re unsure of its location.
- Wait for the Print Head Carriage to Move: After opening the cover, the print head carriage, which holds the ink cartridges, should slide to an accessible position. Crucially, do not force the carriage to move manually. Wait for it to stop completely before proceeding. If it doesn’t move, check if the printer is powered on and if there are any error lights.
- Clear Your Workspace: Have your new ink cartridges ready. Ensure you have a clean, flat surface to place the printer on and an area where you can open the new ink cartridges without making a mess.
Step 2: Removing the Old Ink Cartridges
Carefully removing the old cartridges prevents damage to the printer and ensures the new ones can be seated correctly.
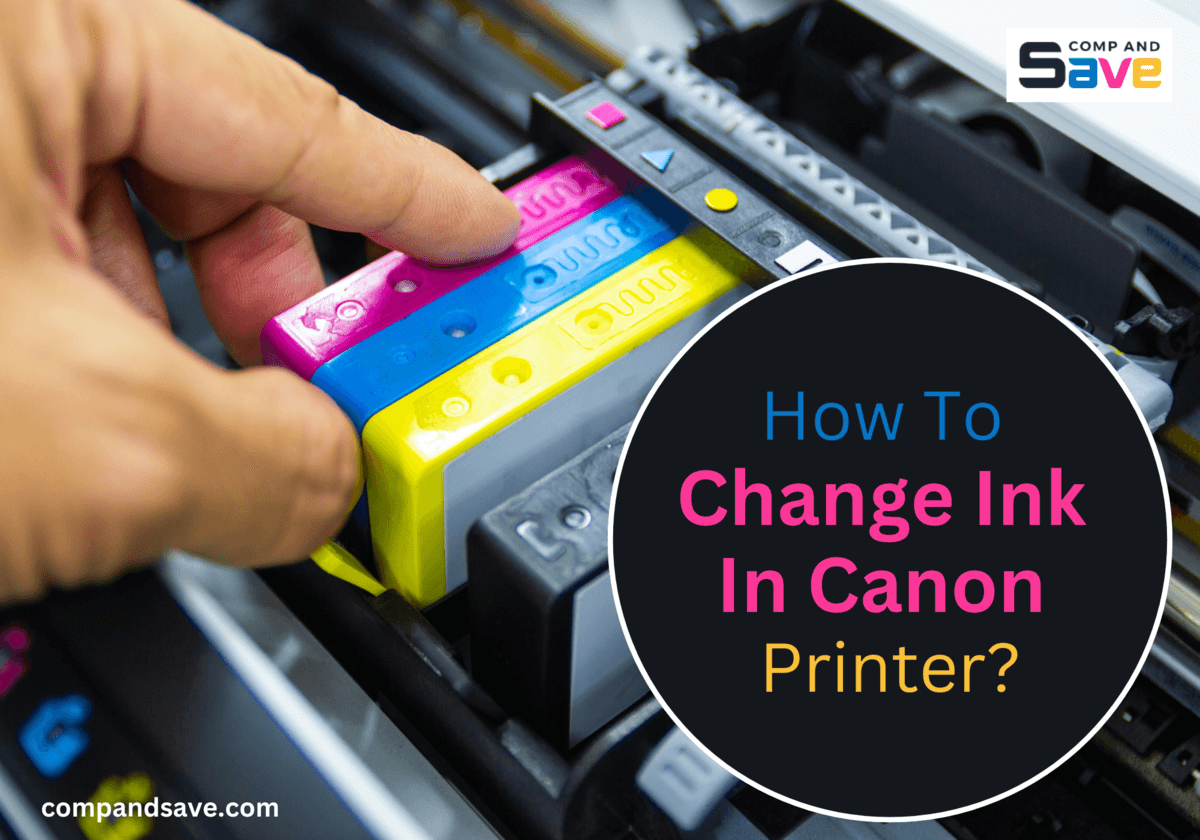
- Identify the Empty Cartridge: The printer’s display or error lights will often indicate which ink cartridge needs replacing. If not, you may need to check the ink levels via your computer’s printer utility software. The print head carriage will likely have specific slots for each color and black ink.
- Release the Cartridge Latch: Each ink cartridge is secured by a latch or clip. When the carriage is in position, you’ll see these. Gently press down on the latch or tab associated with the cartridge you wish to remove. This will disengage the cartridge from its slot.
- Gently Pull the Cartridge Out: Once the latch is released, carefully and steadily pull the ink cartridge straight up and out of its slot. Avoid wiggling it excessively, as this can bend or damage the contacts or the slot itself.
- Dispose of Old Cartridges Responsibly: Used ink cartridges are often recyclable. Check with your local recycling facilities or printer manufacturer for their recycling programs.
Step 3: Installing the New Ink Cartridges
This is the core step of the process. Precision and care are key.
- Unpack the New Cartridge: Remove the new ink cartridge from its packaging. Handle it by its plastic edges, avoiding touching the ink nozzles or the electrical contacts.
- Remove Protective Tape/Covers: New Canon ink cartridges usually have a protective tape or plastic cover over the ink outlet or the electrical contacts. Carefully peel off this tape. Do not touch the ink nozzles or the gold electrical contacts. These components are sensitive and must remain clean for proper operation. Some cartridges may have a plastic tab to pull, while others have a peel-off tape. Refer to the instructions on the cartridge packaging if unsure.
- Insert the New Cartridge: Align the new ink cartridge with the correct slot in the print head carriage. The cartridge should only fit into its designated slot – you’ll notice a specific shape and orientation. Gently slide the cartridge into the slot until it clicks into place. You should feel it seat securely.
- Ensure it’s Firmly Seated: Once inserted, gently push down on the top of the cartridge until the latch clicks back into its original position, securing the cartridge. You should hear a distinct “click” sound. If it doesn’t click, it might not be fully seated. Remove it and reinsert it carefully.
- Repeat for All Cartridges: If you are replacing multiple cartridges, repeat steps 2 and 3 for each one.
Step 4: Closing the Printer and Initializing
After the new ink cartridges are installed, you need to finalize the process and allow the printer to recognize the new ink.
- Close the Printer Cover: Once all new cartridges are securely installed, close the printer’s access cover.
- Printer Initialization: The printer will likely begin an initialization or alignment process automatically. This is essential for the printer to recognize the new ink and calibrate the print heads. This process can take a few minutes. You might hear the print head carriage moving and making various noises.
- Follow On-Screen Prompts: Your printer’s display or your computer’s printer software will likely guide you through a print head alignment process. This usually involves printing a test page and then instructing you to scan that page back into the printer or select the best-looking pattern on your computer. Follow these on-screen instructions carefully. This step is critical for ensuring accurate color reproduction and sharp text.
- Print a Test Page: Once the alignment is complete, it’s always a good idea to print a test page. This allows you to visually confirm that the new ink is being recognized correctly and that the print quality is satisfactory. You can typically print a test page from your printer’s settings menu or through the printer driver software on your computer.
By following these detailed steps, you can confidently install new ink in your Canon printer, ensuring optimal performance and print quality.
Troubleshooting Common Ink Installation Issues
Even with clear instructions, printer maintenance can sometimes present challenges. Here are some common issues encountered during Canon ink installation and their solutions.
“Ink Cartridge Not Recognized” Error
This is a frequent problem and can be frustrating. It means the printer’s sensors aren’t detecting the newly installed cartridge.
- Ensure Correct Cartridge Model: Double-check that you have installed the exact cartridge model recommended for your printer. Incompatible cartridges will not be recognized.
- Reseat the Cartridge: The most common fix is to remove the cartridge and reinsert it. Ensure it’s pushed in firmly until you hear the latch click. Sometimes, a slight misalignment is the culprit.
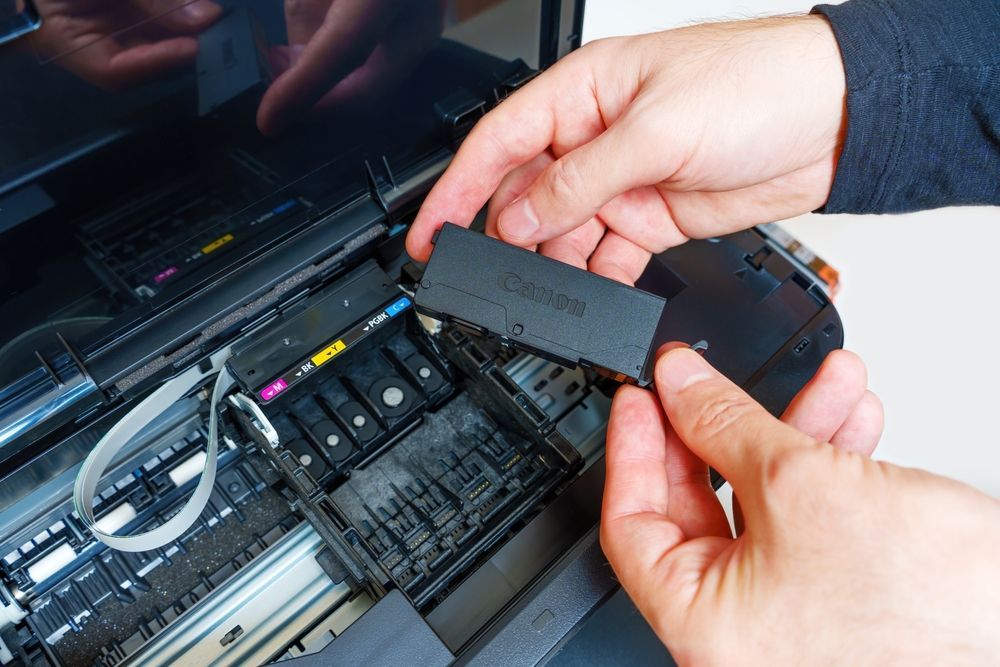
- Check Electrical Contacts: Carefully inspect the gold electrical contacts on both the ink cartridge and inside the print head carriage slot. Ensure they are clean and free from any smudges or debris. If dirty, gently wipe them with a dry, lint-free cloth. Avoid touching the contacts with your fingers.
- Remove Protective Tape: Verify that all protective tape, plastic covers, or tabs have been completely removed from the cartridge, especially around the ink outlet and electrical contacts.
- Clean the Cartridge Chip: Some users report success by gently wiping the small chip on the cartridge with a pencil eraser or a slightly damp cloth (ensure it’s completely dry afterward).
- Restart the Printer: Power off the printer, wait 30 seconds, and then power it back on. Sometimes, a simple reboot can resolve communication issues.
- Try the Old Cartridge (if applicable): If the error persists with the new cartridge, try reinserting the old one (if it was working previously). If the old cartridge is recognized, it strongly suggests the new cartridge is faulty or incompatible.
Poor Print Quality After Ink Installation
If you notice streaks, missing colors, faded prints, or smudged output after installing new ink, it’s usually an indication that the printer needs to perform some internal adjustments.
- Run the Print Head Cleaning Utility: Most Canon printers have a built-in cleaning function accessible through the printer’s control panel or the printer driver software on your computer. Run this utility, as it cleans the print heads and ink nozzles, which can resolve issues caused by air bubbles or dried ink. You may need to run this utility 1-2 times.
- Perform Print Head Alignment: As mentioned earlier, after installing new ink, it’s crucial to perform print head alignment. This calibrates the print heads to ensure precise ink droplet placement. Access this function through your printer’s settings or software.
- Check Ink Levels: Even though the cartridges are new, sometimes the printer’s sensors may not register the full capacity immediately. Check the ink levels via the printer software to ensure the printer acknowledges the new ink.
- Use Genuine Canon Ink and Paper: For the best results and to minimize compatibility issues, always use genuine Canon ink cartridges and compatible Canon photo paper, especially if you have a ChromaLife100-enabled printer. Third-party or remanufactured cartridges can sometimes lead to unexpected quality issues.
- Inspect the Print Head: In rare cases, there might be physical damage to the print head or the carriage. If you notice any visible damage, contact Canon support.
Ink Leaking
Ink leaks are rare with genuine cartridges if installed correctly, but can happen.
- Ensure Proper Installation: The most common cause of leaks is improper installation, where the cartridge is not fully seated or the protective tape was not removed correctly.
- Check for Damaged Cartridge: Inspect the new cartridge for any cracks or damage to the casing. If you find any, do not use it and contact the retailer or Canon for a replacement.
- Clean Up Spilled Ink Immediately: If ink spills, use a damp cloth to clean the area thoroughly. Avoid using harsh chemicals that could damage the printer’s components.
By being aware of these common issues and their solutions, you can effectively resolve most ink installation problems and ensure your Canon printer continues to produce high-quality prints. Regular maintenance and the use of genuine supplies are key to a hassle-free printing experience.
aViewFromTheCave is a participant in the Amazon Services LLC Associates Program, an affiliate advertising program designed to provide a means for sites to earn advertising fees by advertising and linking to Amazon.com. Amazon, the Amazon logo, AmazonSupply, and the AmazonSupply logo are trademarks of Amazon.com, Inc. or its affiliates. As an Amazon Associate we earn affiliate commissions from qualifying purchases.