The landscape of generative artificial intelligence has shifted dramatically from static imagery to dynamic video synthesis. Leading this charge is HunyuanVideo, a state-of-the-art, open-source large video generation model developed by Tencent. Unlike previous iterations of video AI that struggled with temporal consistency or resolution, HunyuanVideo utilizes a Diffusion Transformer (DiT) architecture to produce high-quality, cinematic clips from simple text prompts. For developers, researchers, and AI enthusiasts, the ability to run this model locally offers unparalleled creative control. This guide provides a detailed, technical walkthrough of the installation process, hardware requirements, and optimization strategies to get HunyuanVideo running on your local machine.

Understanding the Architecture and Hardware Requirements
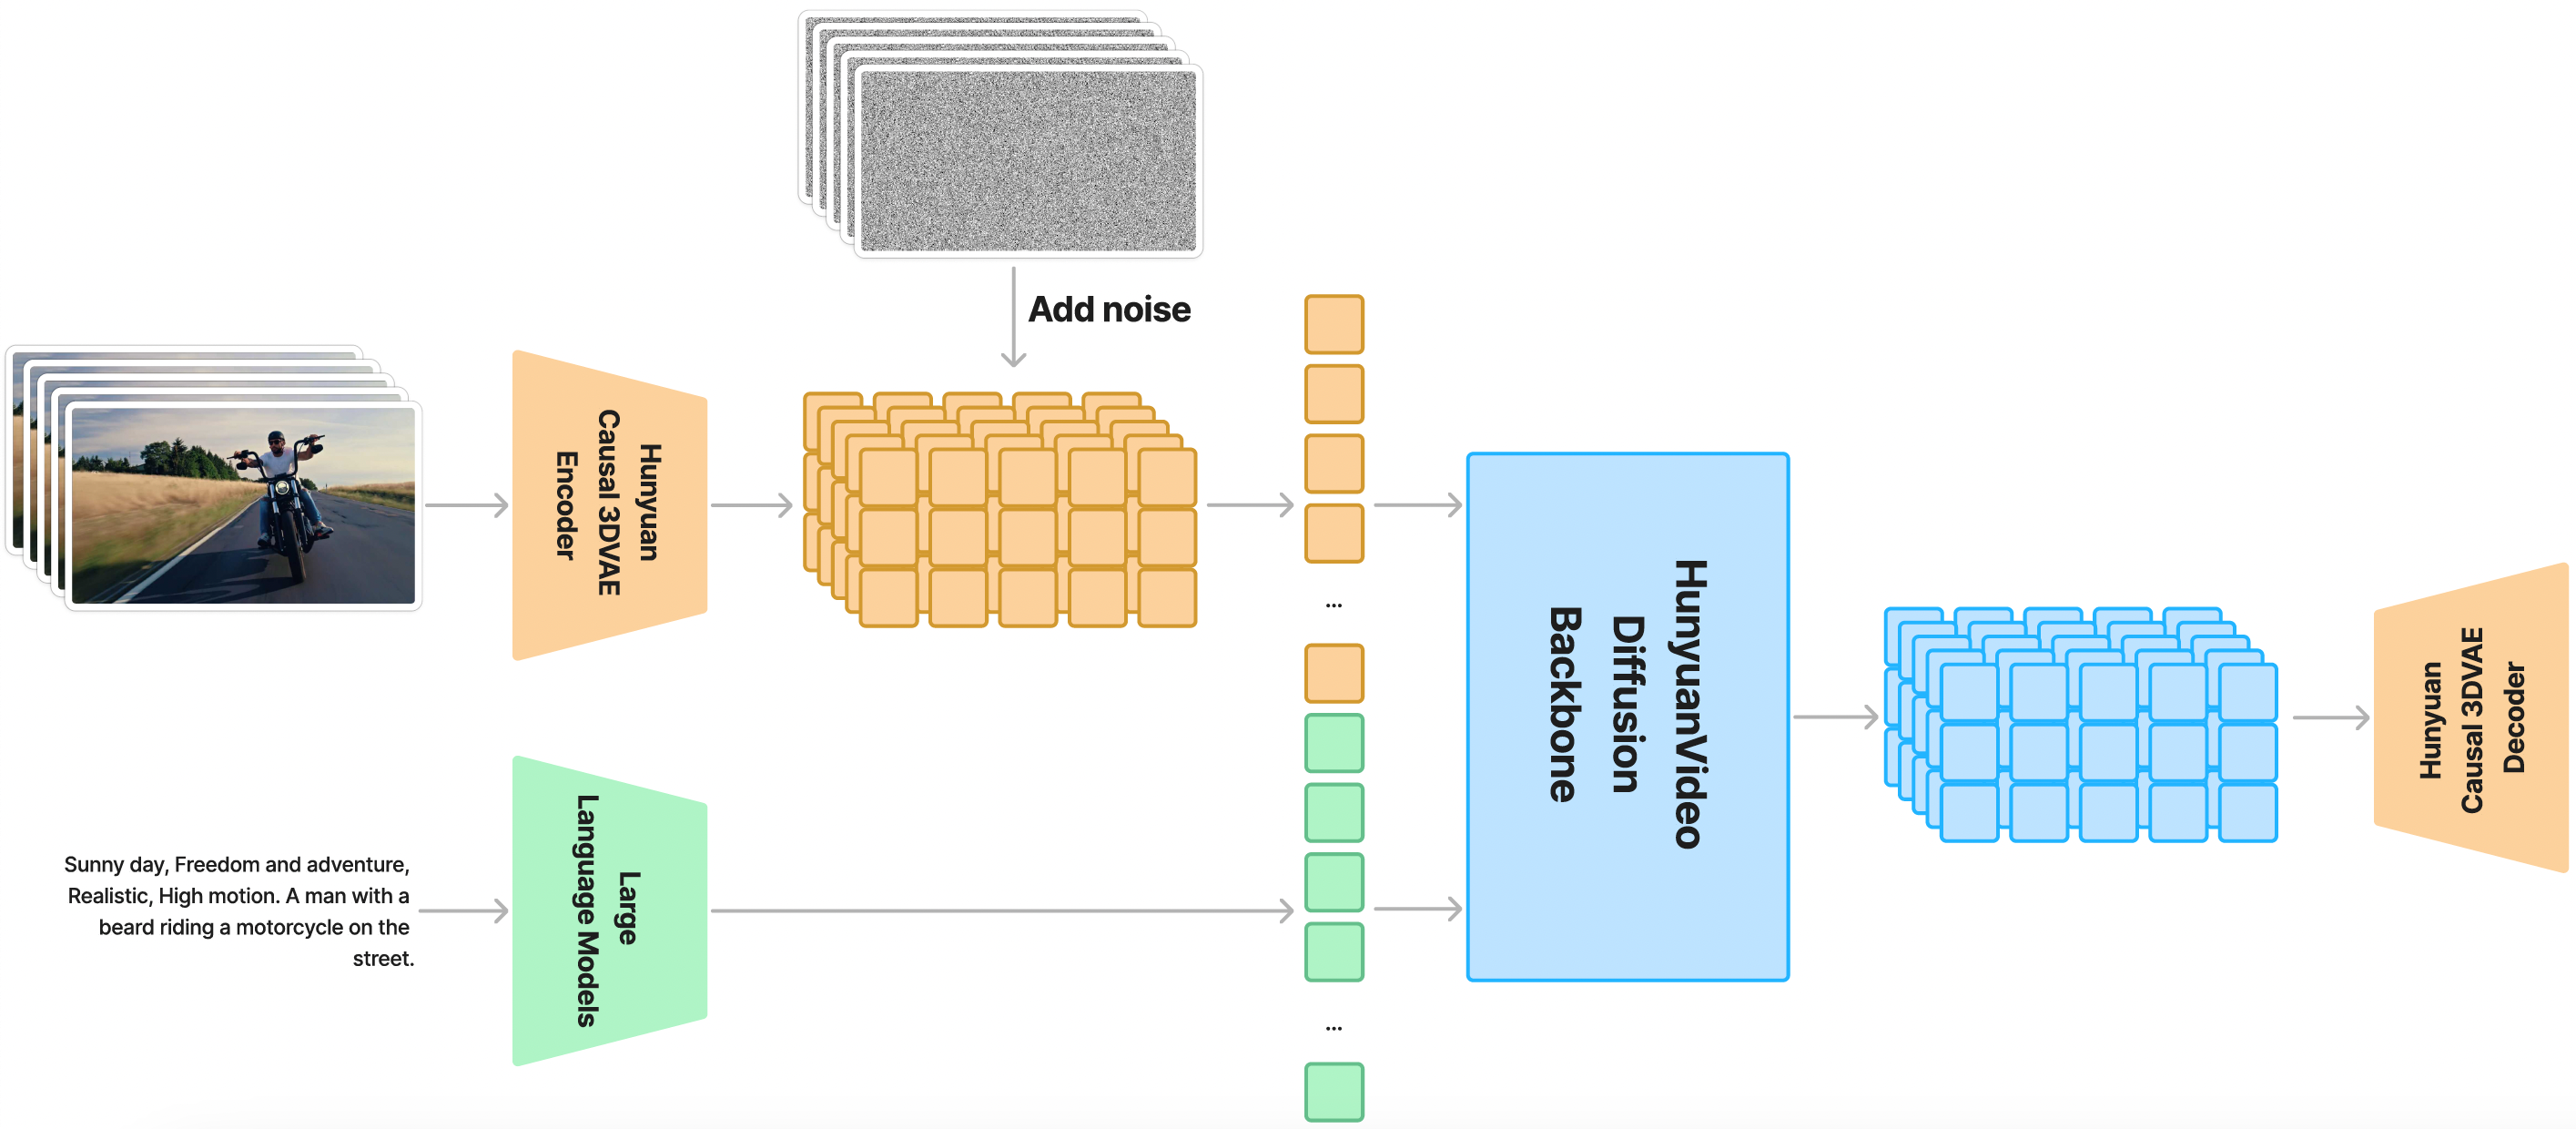
Before diving into the command line, it is essential to understand what makes HunyuanVideo unique and why its hardware requirements are significantly higher than standard image generation models like Stable Diffusion. HunyuanVideo is built on a “large-to-small” DiT architecture, which allows it to process complex spatial and temporal data simultaneously. This complexity requires substantial computational power and memory.
The Core Technology Behind HunyuanVideo
HunyuanVideo operates by encoding video data into a compressed latent space and then using a transformer-based diffusion process to reconstruct high-fidelity video frames. It supports a wide range of aspect ratios and resolutions, making it one of the most versatile open-source models available. Because it processes sequences of frames rather than individual images, the “context window” for the GPU is much larger, necessitating advanced memory management.
Minimum and Recommended GPU Specifications
To run HunyuanVideo effectively, your hardware must meet specific thresholds:
- Operating System: Linux (Ubuntu 20.04/22.04 is preferred) or Windows 10/11 via WSL2.
- GPU: NVIDIA remains the industry standard here. You will need a card with high VRAM (Video RAM).
- Minimum: NVIDIA RTX 3090 or 4090 with 24GB VRAM. (You may run lower-resolution outputs with 16GB VRAM using quantization techniques, but stability is not guaranteed).
- Recommended: NVIDIA A100 or H100 (80GB VRAM) for professional-grade production and training.
- System RAM: 32GB is the bare minimum, though 64GB is recommended to handle the weight loading process.
- Storage: At least 100GB of free SSD space for the model weights and dependencies.
Step-by-Step Local Installation Guide
Installing HunyuanVideo involves setting up a specific Python environment, cloning the official source code, and downloading large weight files (checkpoints). Precision during this phase prevents environment conflicts that are common in AI software setups.
Setting Up Your Python Environment with Conda
Using a virtual environment is non-negotiable for AI tools to avoid breaking system-level dependencies. We recommend using Anaconda or Miniconda.
- Open your terminal or PowerShell.
- Create a new environment:
conda create -n hunyuanvideo python=3.10 -y - Activate the environment:
conda activate hunyuanvideo - Install the necessary CUDA-enabled PyTorch version. Ensure your CUDA drivers (11.8 or 12.1) match the version you install:
pip install torch torchvision torchaudio --index-url https://download.pytorch.org/whl/cu121
Cloning the Repository and Installing Dependencies
Once the environment is active, you need to pull the code from the official repository.
- Clone the repository:
git clone https://github.com/Tencent/HunyuanVideo.git - Navigate into the directory:
cd HunyuanVideo - Install the required libraries:
pip install -r requirements.txt
Note: This process may take several minutes as it downloads large packages like Transformers, Diffusers, and Accelerate.
Downloading and Placing Model Weights
The weights are the “brain” of the AI. These are typically hosted on Hugging Face. You will need to download the Text Encoder (usually CLIP or T5), the VAE (Variational Autoencoder), and the main DiT weights.
- Create a folder named
ckpts(checkpoints) within your project directory. - Download the weights from the official Hunyuan Hugging Face repository. Ensure you have the
hunyuan-video-v1.0.ptfile and the associated configuration files. - Structure your folders as follows:
HunyuanVideo/

├── ckpts/

│   ├── hunyuan-video-v1.0.pt

│   ├── text_encoder/

│   └── vae/
Advanced Integration: Using HunyuanVideo with ComfyUI
While the command-line interface (CLI) is functional, many creators prefer a graphical user interface (GUI) for a more intuitive workflow. ComfyUI, a node-based GUI for diffusion models, has quickly added support for HunyuanVideo through custom nodes.
Why Use a Node-Based Interface?
ComfyUI allows you to visualize the pipeline of video generation. You can see exactly how the text prompt is encoded, how the latent frames are sampled, and how the VAE decodes the final video. Furthermore, ComfyUI handles VRAM more efficiently than standard scripts, often allowing users with 16GB or 20GB cards to produce results that would otherwise crash the CLI.
Installing Custom Nodes and Managers
To use HunyuanVideo in ComfyUI, follow these steps:
- Ensure you have a working installation of ComfyUI.
- Install the ComfyUI Manager if you haven’t already.
- Search for “HunyuanVideo Wrapper” or “Kijai HunyuanVideo Nodes” in the Manager.
- Install the nodes and restart ComfyUI.
- Move your model weights into the
ComfyUI/models/checkpointsorComfyUI/models/diffusion_modelsfolder as specified by the node developer. - Load a “HunyuanVideo Workflow” (JSON file), which connects the prompt, model, and sampler nodes automatically.
Optimization Techniques for Performance and Stability
Running high-resolution video AI locally can push hardware to its thermal limits. Optimization is key to preventing “Out of Memory” (OOM) errors and speeding up the inference process.
Leveraging Flash Attention and xformers
Standard attention mechanisms in transformers scale quadratically with sequence length, which is disastrous for video. By installing Flash Attention 2 or xformers, you can reduce memory consumption and increase generation speed by up to 30%.
- To install Flash Attention:
pip install flash-attn --no-build-isolation - Ensure your GPU architecture (e.g., Ampere or Ada Lovelace) supports these optimizations.
Managing VRAM Limits and Quantization
If you are struggling with a 24GB VRAM limit, “Quantization” is your best friend. This process involves converting the model weights from high-precision (FP32 or BF16) to lower precision (FP8 or NF4).
- FP8 Quantization: This significantly reduces the memory footprint without a substantial loss in visual quality. Most ComfyUI wrappers for HunyuanVideo include a toggle for FP8 mode.
- Tiled VAE Decoding: Video VAEs are notorious for consuming massive amounts of VRAM. Using “Tiled VAE” breaks the video into smaller spatial or temporal chunks for decoding, allowing you to generate longer videos on consumer hardware.
Troubleshooting Common Installation and Runtime Hurdles
The intersection of Python, CUDA, and bleeding-edge AI code is often fraught with errors. Understanding how to diagnose these issues will save hours of frustration.
CUDA Driver Conflicts and Environment Errors
A common error is RuntimeError: CUDA error: no kernel image is available for execution. This usually means the version of PyTorch you installed does not support the compute capability of your GPU, or your system CUDA drivers are outdated.
- Solution: Check your CUDA version with
nvidia-smi. Ensure yourpip install torchcommand matches that version exactly. If you are on a 40-series card, ensure you are using CUDA 11.8 or higher.

Missing Dependencies and Version Mismatches
If you see errors regarding missing modules like diffusers or transformers, it is possible that the requirements.txt file didn’t finish installing correctly.
- Solution: Re-run
pip install -r requirements.txt. If a specific package fails, try installing it individually (e.g.,pip install transformers --upgrade). Also, ensure that thehuggingface-hubis logged in if the model needs to verify your account credentials viahuggingface-cli login.
By following this guide, you should have a functional, optimized installation of HunyuanVideo. As Tencent continues to update the model, stay tuned to the official repository for performance patches and new features. The era of high-fidelity, local AI video generation is officially here, and with the right setup, the only limit is your imagination and your GPU’s cooling system.
aViewFromTheCave is a participant in the Amazon Services LLC Associates Program, an affiliate advertising program designed to provide a means for sites to earn advertising fees by advertising and linking to Amazon.com. Amazon, the Amazon logo, AmazonSupply, and the AmazonSupply logo are trademarks of Amazon.com, Inc. or its affiliates. As an Amazon Associate we earn affiliate commissions from qualifying purchases.