Fiberglass Reinforced Panels (FRP) have emerged as a versatile and durable material for a wide range of applications, from residential renovations to commercial installations. Their robust nature, resistance to moisture and chemicals, and ease of maintenance make them an attractive choice for walls, ceilings, and even as protective coverings in demanding environments. However, achieving a professional and long-lasting finish with FRP requires a thorough understanding of the installation process. This guide, drawing upon the core principles of technology, brand perception, and financial prudence, will walk you through the essential steps of installing FRP panels, ensuring a successful and cost-effective outcome.
Understanding the Technology Behind FRP and Its Application
Before diving into the practicalities of installation, it’s crucial to appreciate the technology that makes FRP so effective. FRP panels are composite materials, typically consisting of a polymer matrix reinforced with glass fibers. This combination provides excellent strength-to-weight ratio, superior impact resistance, and remarkable durability. The manufacturing process itself is a testament to modern material science, allowing for consistent quality and tailored properties to suit various needs.
The Benefits of Choosing FRP: More Than Just Durability
When considering materials for a project, the decision often hinges on a combination of performance, aesthetics, and long-term value. FRP panels excel in all these areas, making them a smart choice that aligns with a forward-thinking approach to construction and renovation.
- Unparalleled Durability and Longevity: The inherent strength of fiberglass, combined with the protective polymer resin, creates a material that can withstand significant wear and tear. This translates to a longer lifespan for your installation, reducing the need for frequent repairs or replacements. From high-traffic areas in commercial spaces to utility areas in homes, FRP’s resilience is a significant advantage.
- Moisture and Chemical Resistance: One of FRP’s most celebrated attributes is its imperviousness to moisture, mold, and mildew. This makes it an ideal solution for environments prone to dampness, such as bathrooms, kitchens, laundries, and food processing facilities. Furthermore, its resistance to a wide array of chemicals prevents degradation, ensuring its integrity in industrial settings where exposure to harsh substances is common.
- Hygienic and Easy to Clean: The smooth, non-porous surface of FRP panels is inherently hygienic. It prevents the absorption of liquids and contaminants, making it incredibly easy to clean and sanitize. This is a critical factor in maintaining sanitary conditions in healthcare, food service, and other sensitive environments. A simple wipe-down is often all that’s needed to keep them looking pristine.
- Aesthetic Versatility: While often perceived as purely functional, FRP panels come in a surprising array of finishes, colors, and textures. They can mimic the look of tile, stone, wood, or even brushed metal, allowing for creative design possibilities. This versatility ensures that FRP can seamlessly integrate into various aesthetic styles, enhancing the overall visual appeal of a space.
- Cost-Effectiveness in the Long Run: While the initial investment in FRP panels might be comparable to other materials, their longevity, low maintenance requirements, and resistance to damage contribute to significant cost savings over time. Reduced repair bills, fewer replacements, and less frequent deep cleaning all add up to a more financially prudent choice for any project.
Choosing the Right FRP Panels for Your Project
The “how-to” of installing FRP begins with informed selection. Understanding the different types of FRP and their specific applications will ensure you procure the right material for the job, maximizing both performance and budget.
- Panel Thickness and Core Material: FRP panels vary in thickness, with thicker panels offering greater rigidity and impact resistance. The core material can also differ, with some options providing enhanced fire resistance or sound dampening properties. Consider the intended use of the panels – high-impact areas will benefit from thicker, more robust options.
- Surface Finishes and Textures: As mentioned, FRP offers a broad spectrum of aesthetic choices. Beyond color, consider the surface texture. Glossy finishes can make a space feel brighter and are easier to wipe down, while textured finishes can offer a more subtle look and potentially provide some slip resistance.
- Adhesives and Fasteners: The choice of adhesive is critical for a secure and durable installation. Ensure you select an adhesive specifically designed for FRP and the substrate it will be applied to. Similarly, if fasteners are used, ensure they are corrosion-resistant.
The Installation Process: A Step-by-Step Approach
The installation of FRP panels, while requiring precision, is a manageable DIY project with the right tools and preparation. This section breaks down the process into actionable steps, ensuring a professional finish.
Preparation is Key: Laying the Foundation for Success
A successful FRP installation hinges on meticulous preparation. Rushing this stage can lead to adhesion issues, uneven surfaces, and a less than satisfactory final result. This preparation phase aligns with a brand’s commitment to quality and meticulous execution, ensuring that the end product reflects professionalism.
- Surface Preparation: The substrate onto which the FRP panels will be installed must be clean, dry, and structurally sound. Remove any old wallpaper, paint, adhesive, or debris. The surface should be smooth and free of significant imperfections. For porous surfaces like drywall, a primer may be necessary to ensure proper adhesion. If installing in a damp environment, consider a moisture barrier.
- Measuring and Cutting: Accurately measure the areas where the FRP panels will be installed. Plan your layout carefully to minimize waste and ensure that any seams will be aesthetically pleasing or easily concealed. FRP can be cut using standard woodworking tools such as circular saws, jigsaws, or utility knives. Always wear safety glasses and a dust mask when cutting FRP, as fiberglass dust can be an irritant. For clean cuts, consider using a fine-tooth blade.
- Acclimatization: Before installation, allow the FRP panels to acclimatize to the room temperature and humidity for at least 24-48 hours. This helps prevent expansion or contraction issues after installation, which can lead to warping or gapping.
Applying the Adhesive and Installing the Panels
This is the core of the installation process, where careful application and precise placement are paramount. This step directly impacts the perceived quality and longevity of the installed panels, akin to a brand delivering on its promises.
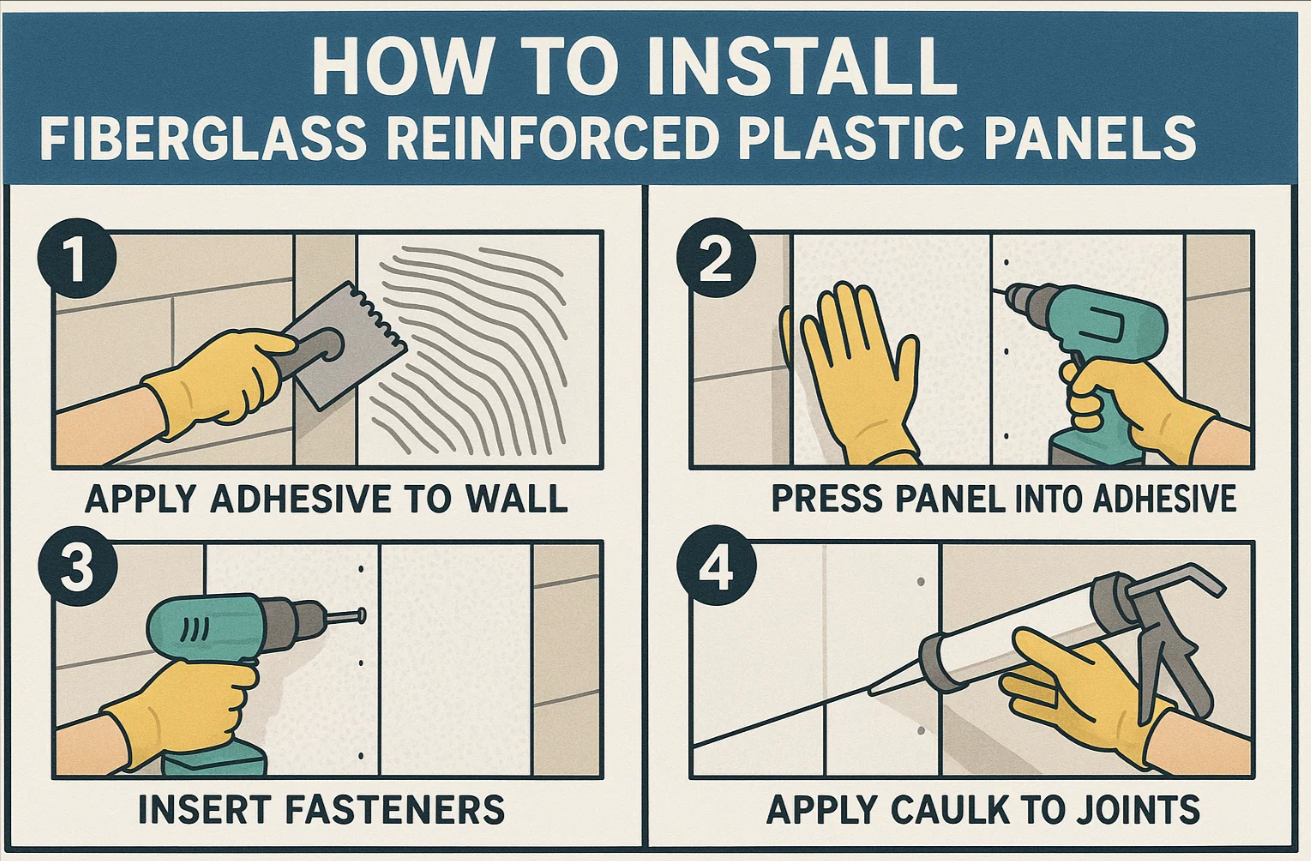
- Adhesive Application: Apply the recommended adhesive evenly to the back of the FRP panel or the substrate, following the manufacturer’s instructions. Use a notched trowel to ensure consistent coverage and to create ridges that promote good adhesion. Work in manageable sections to prevent the adhesive from drying out before the panel can be placed.
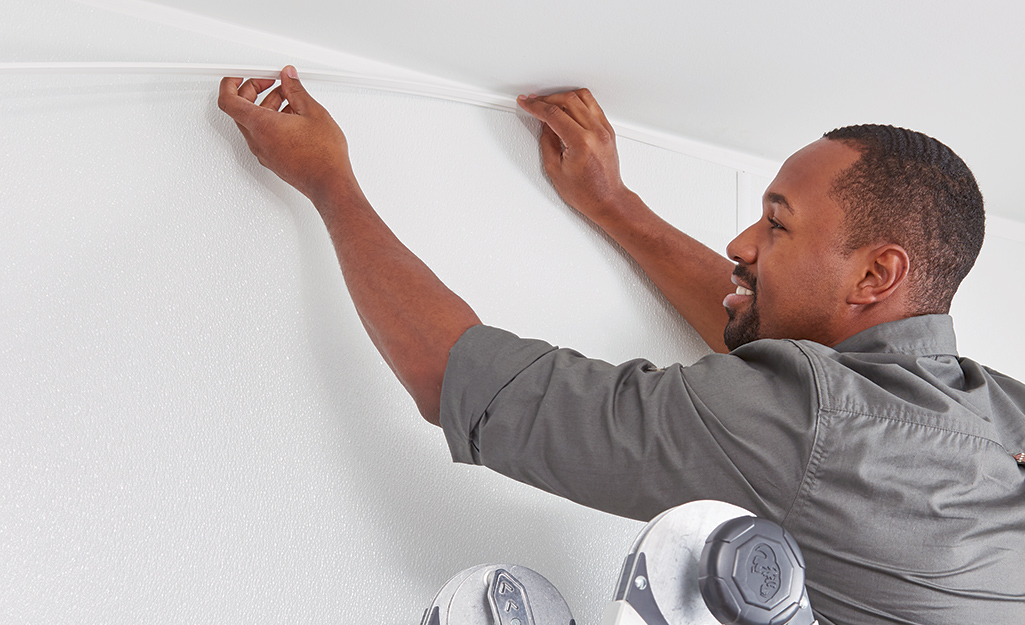
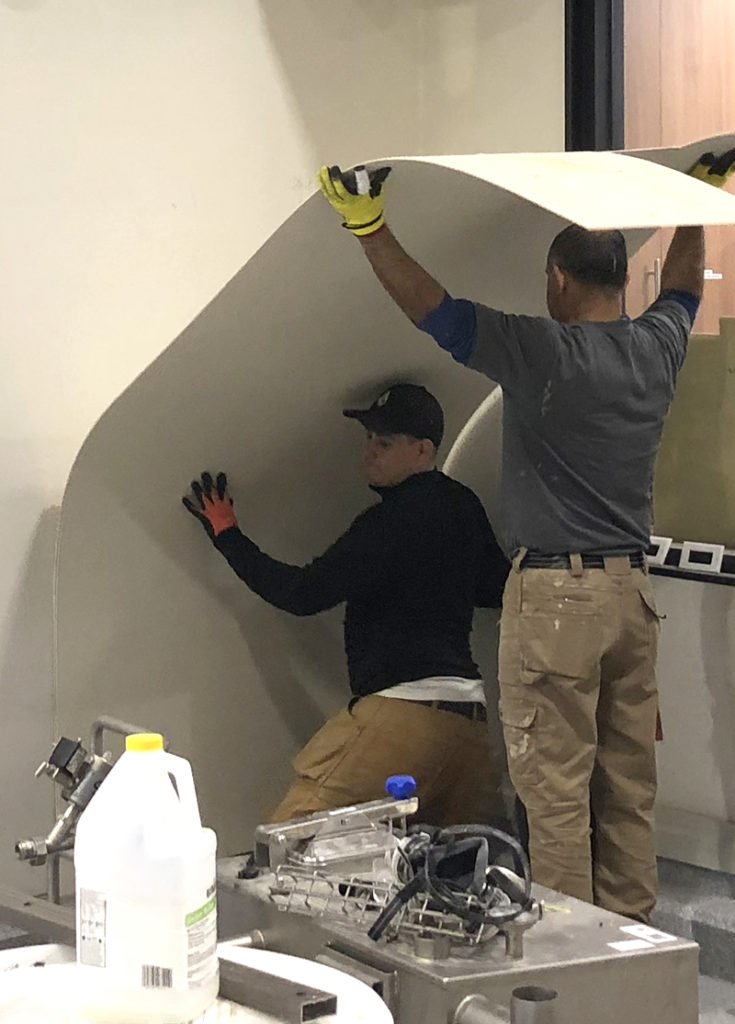
- Panel Placement and Securing: Carefully position the first panel, ensuring it is plumb and level. Press the panel firmly into the adhesive, working from the center outwards to eliminate any air bubbles. A roller can be used to ensure even pressure and maximum contact between the panel and the substrate. Repeat this process for subsequent panels, aligning them closely to create tight seams.
- Seam Treatment: The treatment of seams is critical for both aesthetics and functionality, especially in areas prone to moisture. Depending on the system, seams can be butted together tightly, or a specific FRP seam tape or sealant may be required. For a watertight seal, consider using a silicone sealant specifically designed for FRP.
Finishing Touches and Final Inspection
The final steps involve refining the installation and ensuring a polished, professional look. This meticulous attention to detail mirrors a brand’s commitment to excellence and customer satisfaction.
- Trimming and Edging: Once the panels are installed, carefully trim any excess material at edges, corners, or around fixtures. Install any necessary trim pieces or moldings to create clean, finished edges. This not only enhances the appearance but also protects the edges of the FRP.
- Cleaning and Curing: Clean off any excess adhesive or smudges immediately with a damp cloth. Allow the adhesive to cure fully according to the manufacturer’s recommendations before exposing the installed panels to heavy use or moisture.
- Final Inspection: Conduct a thorough inspection of the entire installation. Check for any gaps, loose panels, or imperfections in the seams. Address any issues promptly to ensure a durable and aesthetically pleasing result.
Financial Considerations and Long-Term Value of FRP Installations
Investing in FRP panels for your project is not just about the immediate installation; it’s about a strategic financial decision that yields returns in durability, low maintenance, and overall value. This aligns with a savvy approach to personal and business finance, where long-term benefits are prioritized.
- Return on Investment (ROI): While the upfront cost of FRP might be a consideration, its longevity and resistance to damage contribute to a strong ROI. By avoiding frequent repairs and replacements, and by minimizing the need for specialized cleaning, FRP installations prove to be a cost-effective solution over their lifespan. This is particularly true in commercial settings where downtime for repairs can be incredibly costly.
- Reduced Maintenance Costs: The ease of cleaning and the inherent resistance to stains, mold, and mildew significantly reduce ongoing maintenance expenses. This translates into savings on cleaning supplies, labor, and the potential for specialized treatments often required for other materials.
- Increased Property Value: In residential and commercial properties, the use of durable, hygienic, and aesthetically pleasing materials like FRP can enhance perceived value. A well-installed FRP system signals quality and longevity, which can be attractive to potential buyers or tenants.
- Budgeting for the Project: When budgeting for an FRP installation, factor in the cost of the panels themselves, the appropriate adhesive and sealant, any necessary tools (trowels, rollers, cutting blades), and potential trim pieces. Obtaining multiple quotes for materials and, if applicable, for professional installation can help ensure you are getting the best value for your money.
By understanding the technology behind FRP, meticulously following the installation process, and considering the long-term financial implications, you can confidently embark on your FRP panel project. This comprehensive approach ensures not only a functional and durable outcome but also a smart investment that contributes to the overall success and value of your property.
aViewFromTheCave is a participant in the Amazon Services LLC Associates Program, an affiliate advertising program designed to provide a means for sites to earn advertising fees by advertising and linking to Amazon.com. Amazon, the Amazon logo, AmazonSupply, and the AmazonSupply logo are trademarks of Amazon.com, Inc. or its affiliates. As an Amazon Associate we earn affiliate commissions from qualifying purchases.