A well-cooled PC is a happy PC. Overheating can cripple performance, shorten the lifespan of your components, and even lead to system instability. While your computer likely came with stock fans, upgrading or adding more can significantly improve thermal management, especially if you’re pushing your hardware with demanding tasks like gaming, video editing, or even intensive multitasking. This guide will walk you through the process of installing PC fans, from understanding your needs to the final connection, ensuring your system stays cool and runs optimally.
Understanding Your Cooling Needs: Why More Fans?
Before you start unscrewing panels, it’s crucial to understand why you might need to install additional PC fans. The primary goal of PC fans is to facilitate airflow. Intake fans draw cool air from the outside into your PC case, while exhaust fans expel hot air generated by your components. A balanced airflow system is essential for efficient cooling.

Factors Influencing Cooling Requirements:
- Component Heat Output: High-performance CPUs and GPUs generate a substantial amount of heat. Overclocking these components further amplifies their thermal output, making robust cooling a necessity.
- Case Design and Airflow: Some PC cases have better inherent airflow than others. Limited ventilation or poor fan placement can create “hot spots” within the case, where heat accumulates.
- Usage Patterns: If you primarily use your PC for light tasks like web browsing and word processing, stock cooling might suffice. However, for demanding workloads, gaming, or intensive creative work, upgraded cooling is almost always beneficial.
- Environmental Factors: The ambient temperature of your room can also impact your PC’s internal temperature. A warmer room will naturally lead to a warmer PC.
Types of PC Fans and Their Roles:
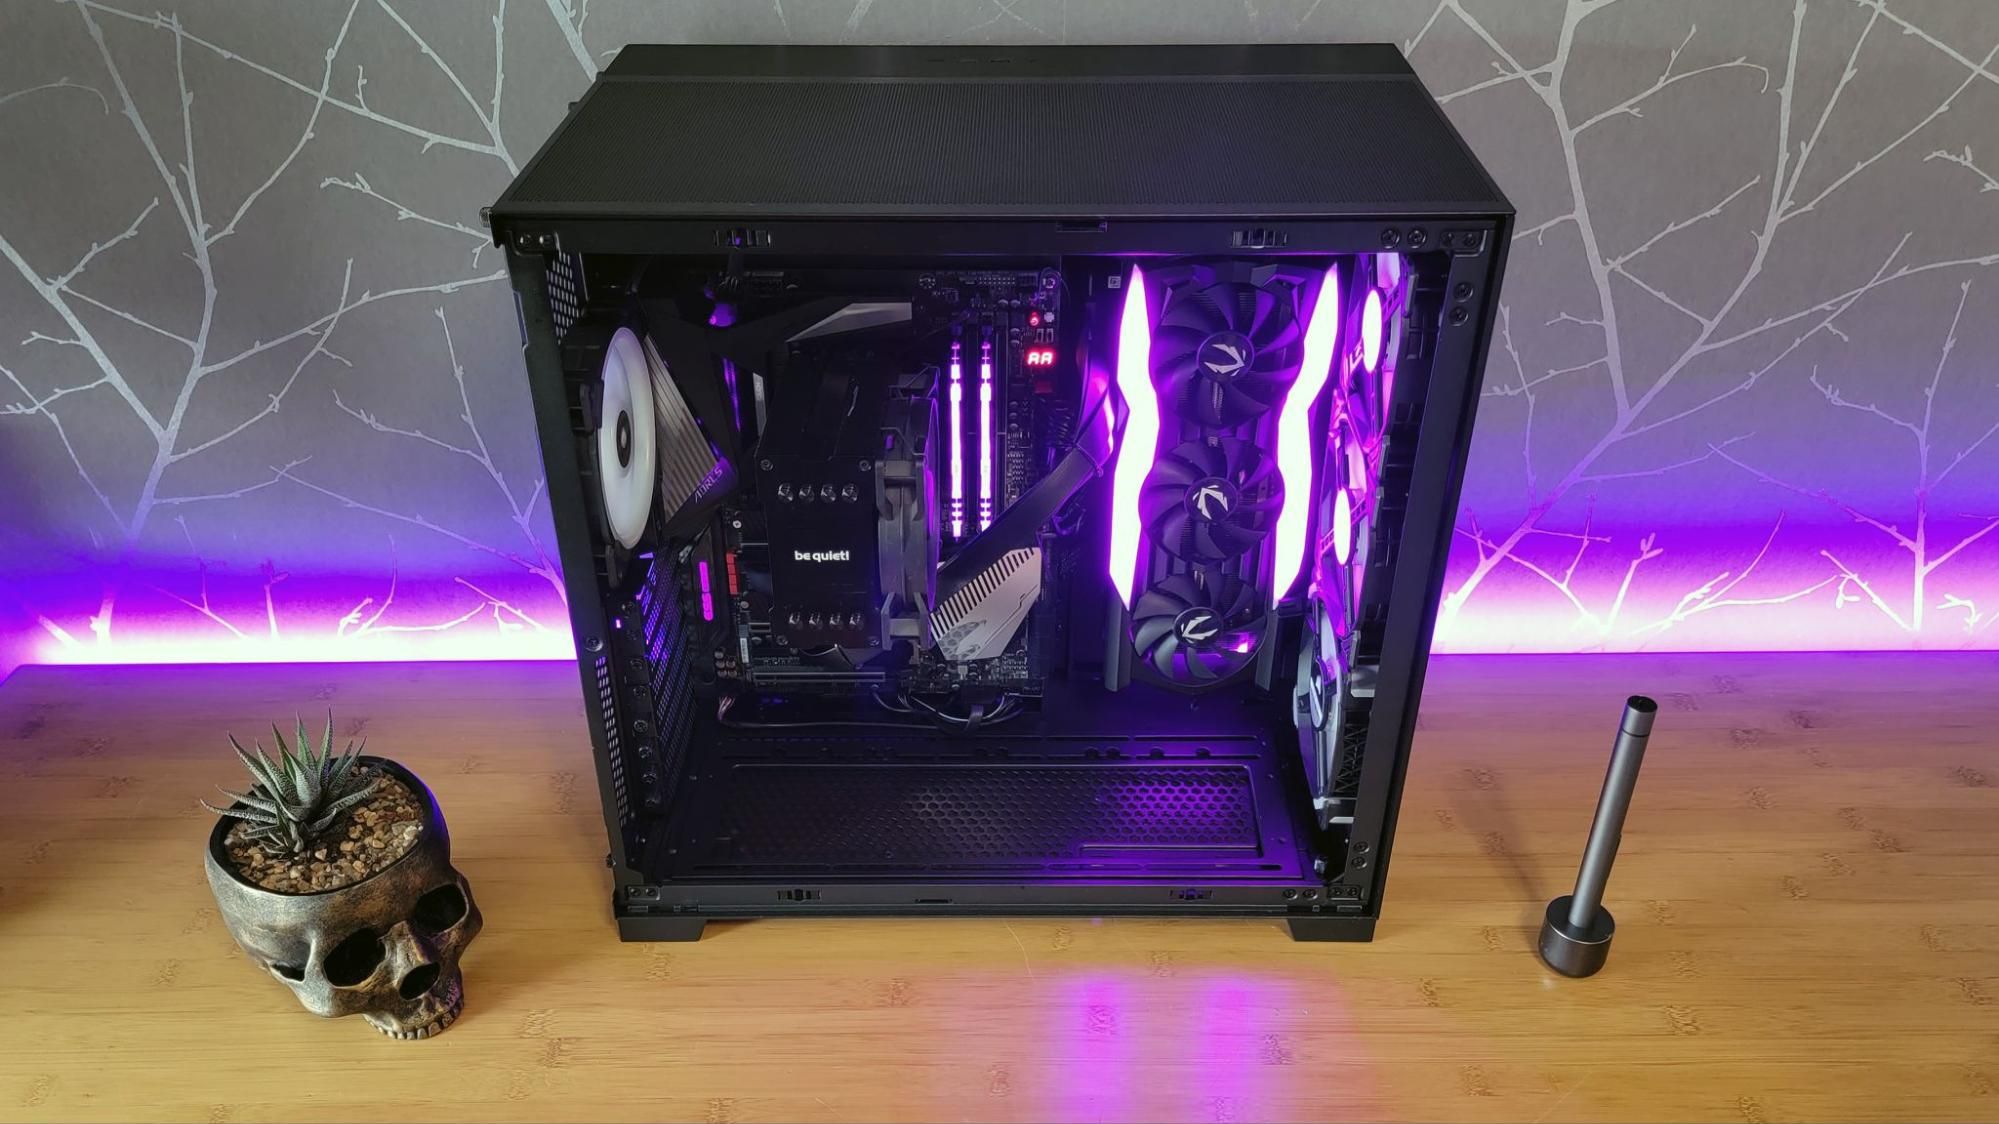
- Case Fans: These are the most common type of fans you’ll be installing. They are responsible for general airflow within the PC chassis. They come in various sizes, with 120mm and 140mm being the most prevalent.
- CPU Cooler Fans: These fans are attached directly to your CPU heatsink. They are critical for dissipating the heat generated by the processor. While often pre-installed with CPU coolers, they can be replaced or upgraded.
- GPU Fans: Graphics cards typically have their own integrated cooling solutions, often featuring multiple fans. While you generally don’t install separate fans directly onto a GPU, ensuring good case airflow around it is crucial.
- Radiator Fans (for liquid cooling): If you have an All-In-One (AIO) liquid cooler or a custom water-cooling loop, fans are mounted on the radiator to dissipate heat from the coolant.
The Benefits of Enhanced Cooling:
- Improved Performance: Lower temperatures allow your CPU and GPU to maintain higher clock speeds for longer periods, preventing thermal throttling (where components slow down to prevent overheating).
- Increased Component Lifespan: Excessive heat is a primary cause of component degradation. Keeping your components cool can significantly extend their operational life.
- Quieter Operation: In some cases, by improving airflow, you can allow your existing fans to run at lower speeds, resulting in a quieter system.
- System Stability: Overheating can lead to random shutdowns, BSODs (Blue Screen of Death), and other system instability issues. Better cooling promotes a more reliable computing experience.
Pre-Installation Essentials: What You’ll Need
Before you dive into the physical installation, it’s important to gather the necessary tools and components and prepare your workspace. This will make the process smoother and prevent potential issues.
Essential Tools and Materials:
- New PC Fans: Ensure you’ve purchased fans that are compatible with your case and motherboard. Consider size (120mm, 140mm), connector type (3-pin or 4-pin PWM), and airflow/noise ratings (CFM and dBA).
- Screwdriver Set: A Phillips head screwdriver is essential. Magnetic tips can be incredibly helpful in preventing dropped screws.
- Anti-Static Wrist Strap: This is crucial to prevent electrostatic discharge (ESD), which can damage sensitive PC components.
- Zip Ties or Velcro Straps: For cable management. Tidy cables not only look better but also improve airflow by not obstructing it.
- Dust Blower or Compressed Air: To clean out existing dust from your case before installing new fans.
- Work Surface: A clean, well-lit, and non-carpeted surface is ideal to minimize static electricity.
- Your PC Case Manual: This can provide specific details about fan mounting points and dimensions.
- Your Motherboard Manual: This will be essential for identifying fan headers.
Preparing Your Workspace and PC:
- Power Down and Unplug: Shut down your PC completely and disconnect the power cable from the wall outlet. For extra safety, press the power button a few times to discharge any residual power in the capacitors.
- Ground Yourself: Before touching any internal components, attach your anti-static wrist strap to your wrist and connect the other end to an unpainted metal part of your PC case. This continuously grounds you, preventing static buildup.
- Open the PC Case: Refer to your case manual for instructions on how to remove the side panel. Typically, this involves unscrewing a few screws at the back of the case.
- Clean Existing Dust: Use a dust blower or compressed air to gently remove any dust buildup from inside your case, especially around existing fans and heatsinks. Dust acts as an insulator, hindering cooling efficiency.
The Installation Process: Step-by-Step Guide
With your tools ready and your PC prepped, you’re ready to begin the physical installation of your new PC fans. The process is generally straightforward, but attention to detail is key.
Mounting the Fan:

- Identify Mounting Locations: Your PC case will have designated mounting points for fans. These are usually pre-drilled holes on the front, top, rear, and sometimes the bottom or side panels of the case.
- Determine Airflow Direction: This is critical. Fans have an arrow on the side indicating the direction of airflow and often a symbol indicating the direction of the blade rotation.
- Intake Fans: These should be positioned to draw cool air into the case. Typically, front and bottom fans are intake.
- Exhaust Fans: These should be positioned to push hot air out of the case. Typically, rear and top fans are exhaust.
- Balanced Airflow: Aim for a slight positive pressure (more intake than exhaust) or neutral pressure to help prevent dust from entering through unsealed gaps.
- Align the Fan: Place the fan over the desired mounting holes, ensuring the airflow direction arrow points correctly for intake or exhaust.
- Secure the Fan: Use the screws provided with your new fans (or sometimes with your case) to attach the fan to the case. Gently screw them in, ensuring not to overtighten, which could strip the threads or crack the fan housing. Some cases use rubber grommets or standoffs to reduce vibration and noise.
Connecting the Fan to the Motherboard:
- Locate Fan Headers: On your motherboard, you’ll find connectors labeled “FAN,” “SYSFAN,” or “CHAFAN.” These are where you’ll connect your case fans. They are usually 4-pin headers, though some might be 3-pin.
- Understand 3-pin vs. 4-pin (PWM) Connectors:
- 3-pin: These fans are typically controlled by voltage. The motherboard adjusts the fan speed by varying the voltage supplied.
- 4-pin (PWM – Pulse Width Modulation): These offer more precise fan speed control. The motherboard sends pulses to the fan, allowing for a wider range of speeds and more efficient, quieter operation, especially at lower RPMs.
- Connect the Fan Cable: Align the connector on the fan’s cable with the corresponding pins on the motherboard header. There’s usually a plastic key to ensure correct orientation, preventing incorrect insertion. Gently push the connector until it’s seated firmly.
- Connect to a Fan Hub or Controller (Optional): If your case came with a fan hub or controller, or if you purchased one separately, you can connect multiple fans to this device, which then connects to a single header on your motherboard or directly to the power supply. This is particularly useful if you have more fans than available headers.
- Connect to Power Supply (for some fan hubs): Some fan hubs or controllers may require a SATA power connector from your power supply unit (PSU) to operate.
Cable Management:
- Route Cables: Carefully route fan cables behind the motherboard tray or along the edges of the case, out of the main airflow path.
- Secure Cables: Use zip ties or Velcro straps to bundle cables neatly. This not only improves aesthetics but also prevents cables from obstructing fan blades or airflow.
Testing and Optimization: Ensuring Peak Performance
Once all fans are physically installed and connected, it’s time to test your work and fine-tune your cooling setup for optimal performance and acoustics.
Initial Boot-Up and BIOS Check:
- Power On Your PC: Reconnect your power cable and turn on your computer.
- Access BIOS/UEFI: As your PC boots, repeatedly press the designated key (often Del, F2, F10, or F12 – check your motherboard manual) to enter your BIOS or UEFI settings.
- Monitor Fan Speeds: Within the BIOS, look for a hardware monitoring section. You should see the RPMs of your newly installed fans. Verify that they are spinning and reporting speeds.
- Check Fan Settings: Most BIOS/UEFI interfaces allow you to adjust fan curves – how fan speeds respond to temperature changes. You can set them to “Silent,” “Standard,” “Performance,” or create custom curves. For initial testing, “Standard” or “Auto” is usually a good starting point.
Software for Monitoring and Control:
While BIOS settings offer a good baseline, specialized software provides more granular control and real-time monitoring of your system’s temperatures and fan speeds.
- HWiNFO: A comprehensive system information and monitoring tool that provides detailed readouts on temperatures, voltages, fan speeds, and much more.
- MSI Afterburner (primarily for GPUs, but has fan control): While known for GPU overclocking and monitoring, it also offers fan speed control for both your graphics card and can sometimes interact with CPU and case fans, depending on your motherboard.
- Argus Monitor: A powerful paid utility that offers advanced fan control for all connected fans based on various sensor readings.
- Motherboard Manufacturer Software: Many motherboard manufacturers (e.g., ASUS, Gigabyte, ASRock) provide their own utilities for fan control and system monitoring specific to their hardware.
Stress Testing for Stability:
After ensuring fans are operational, it’s crucial to stress test your system to see how your new cooling setup performs under load.
- Download Stress Testing Software:
- Prime95: Excellent for CPU stress testing.
- FurMark: Ideal for GPU stress testing.
- AIDA64: A versatile tool that can stress multiple components simultaneously.
- Run the Tests: Start the stress tests one by one or in combination while actively monitoring your CPU and GPU temperatures using your chosen software (HWiNFO is highly recommended here).
- Observe Temperatures: Pay close attention to the peak temperatures reached by your components. For most CPUs and GPUs, it’s generally advisable to keep temperatures below 80-85°C under sustained heavy load. If temperatures are still too high, you may need to reconsider fan placement, airflow direction, or even invest in more powerful fans or a better cooler.
- Listen for Noise: While monitoring temperatures, also note the noise levels. If your fans are excessively loud, you might need to adjust fan curves in your BIOS or software to find a balance between cooling and acoustics.
Fine-Tuning Your Fan Curves:
Once you have a baseline understanding of your system’s thermal behavior, you can optimize your fan curves. The goal is to have fans ramp up when temperatures rise and quiet down when the system is idle.
- Experiment: Start with less aggressive curves and gradually increase fan speeds at higher temperatures until you find a setting that provides adequate cooling without being too noisy.
- Consider Different Scenarios: You might want different fan curves for gaming (higher speeds) versus general desktop use (lower speeds).
Installing PC fans is a rewarding upgrade that can have a significant impact on your computer’s performance, stability, and longevity. By understanding your needs, preparing diligently, and following these steps, you can ensure your PC stays cool and performs at its best.
aViewFromTheCave is a participant in the Amazon Services LLC Associates Program, an affiliate advertising program designed to provide a means for sites to earn advertising fees by advertising and linking to Amazon.com. Amazon, the Amazon logo, AmazonSupply, and the AmazonSupply logo are trademarks of Amazon.com, Inc. or its affiliates. As an Amazon Associate we earn affiliate commissions from qualifying purchases.