
Oblivion, Bethesda’s iconic open-world RPG released in 2006, remains a beloved title for its expansive world, deep lore, and unparalleled freedom. However, like many games of its era, it struggles to keep pace with modern visual fidelity standards. This is where the magic of upscaling technologies comes into play. While NVIDIA’s Deep Learning Super Sampling (DLSS) and AMD’s FidelityFX Super Resolution (FSR) are designed for contemporary hardware, a clever community-driven project has emerged, allowing players to bridge this gap and bring a taste of these advanced upscaling techniques to Oblivion. Specifically, the “DLSS-to-FSR 3” mod aims to inject the latest version of FSR, FSR 3, into Oblivion, potentially offering a significant boost in performance and visual clarity, even on hardware that wouldn’t natively support DLSS.
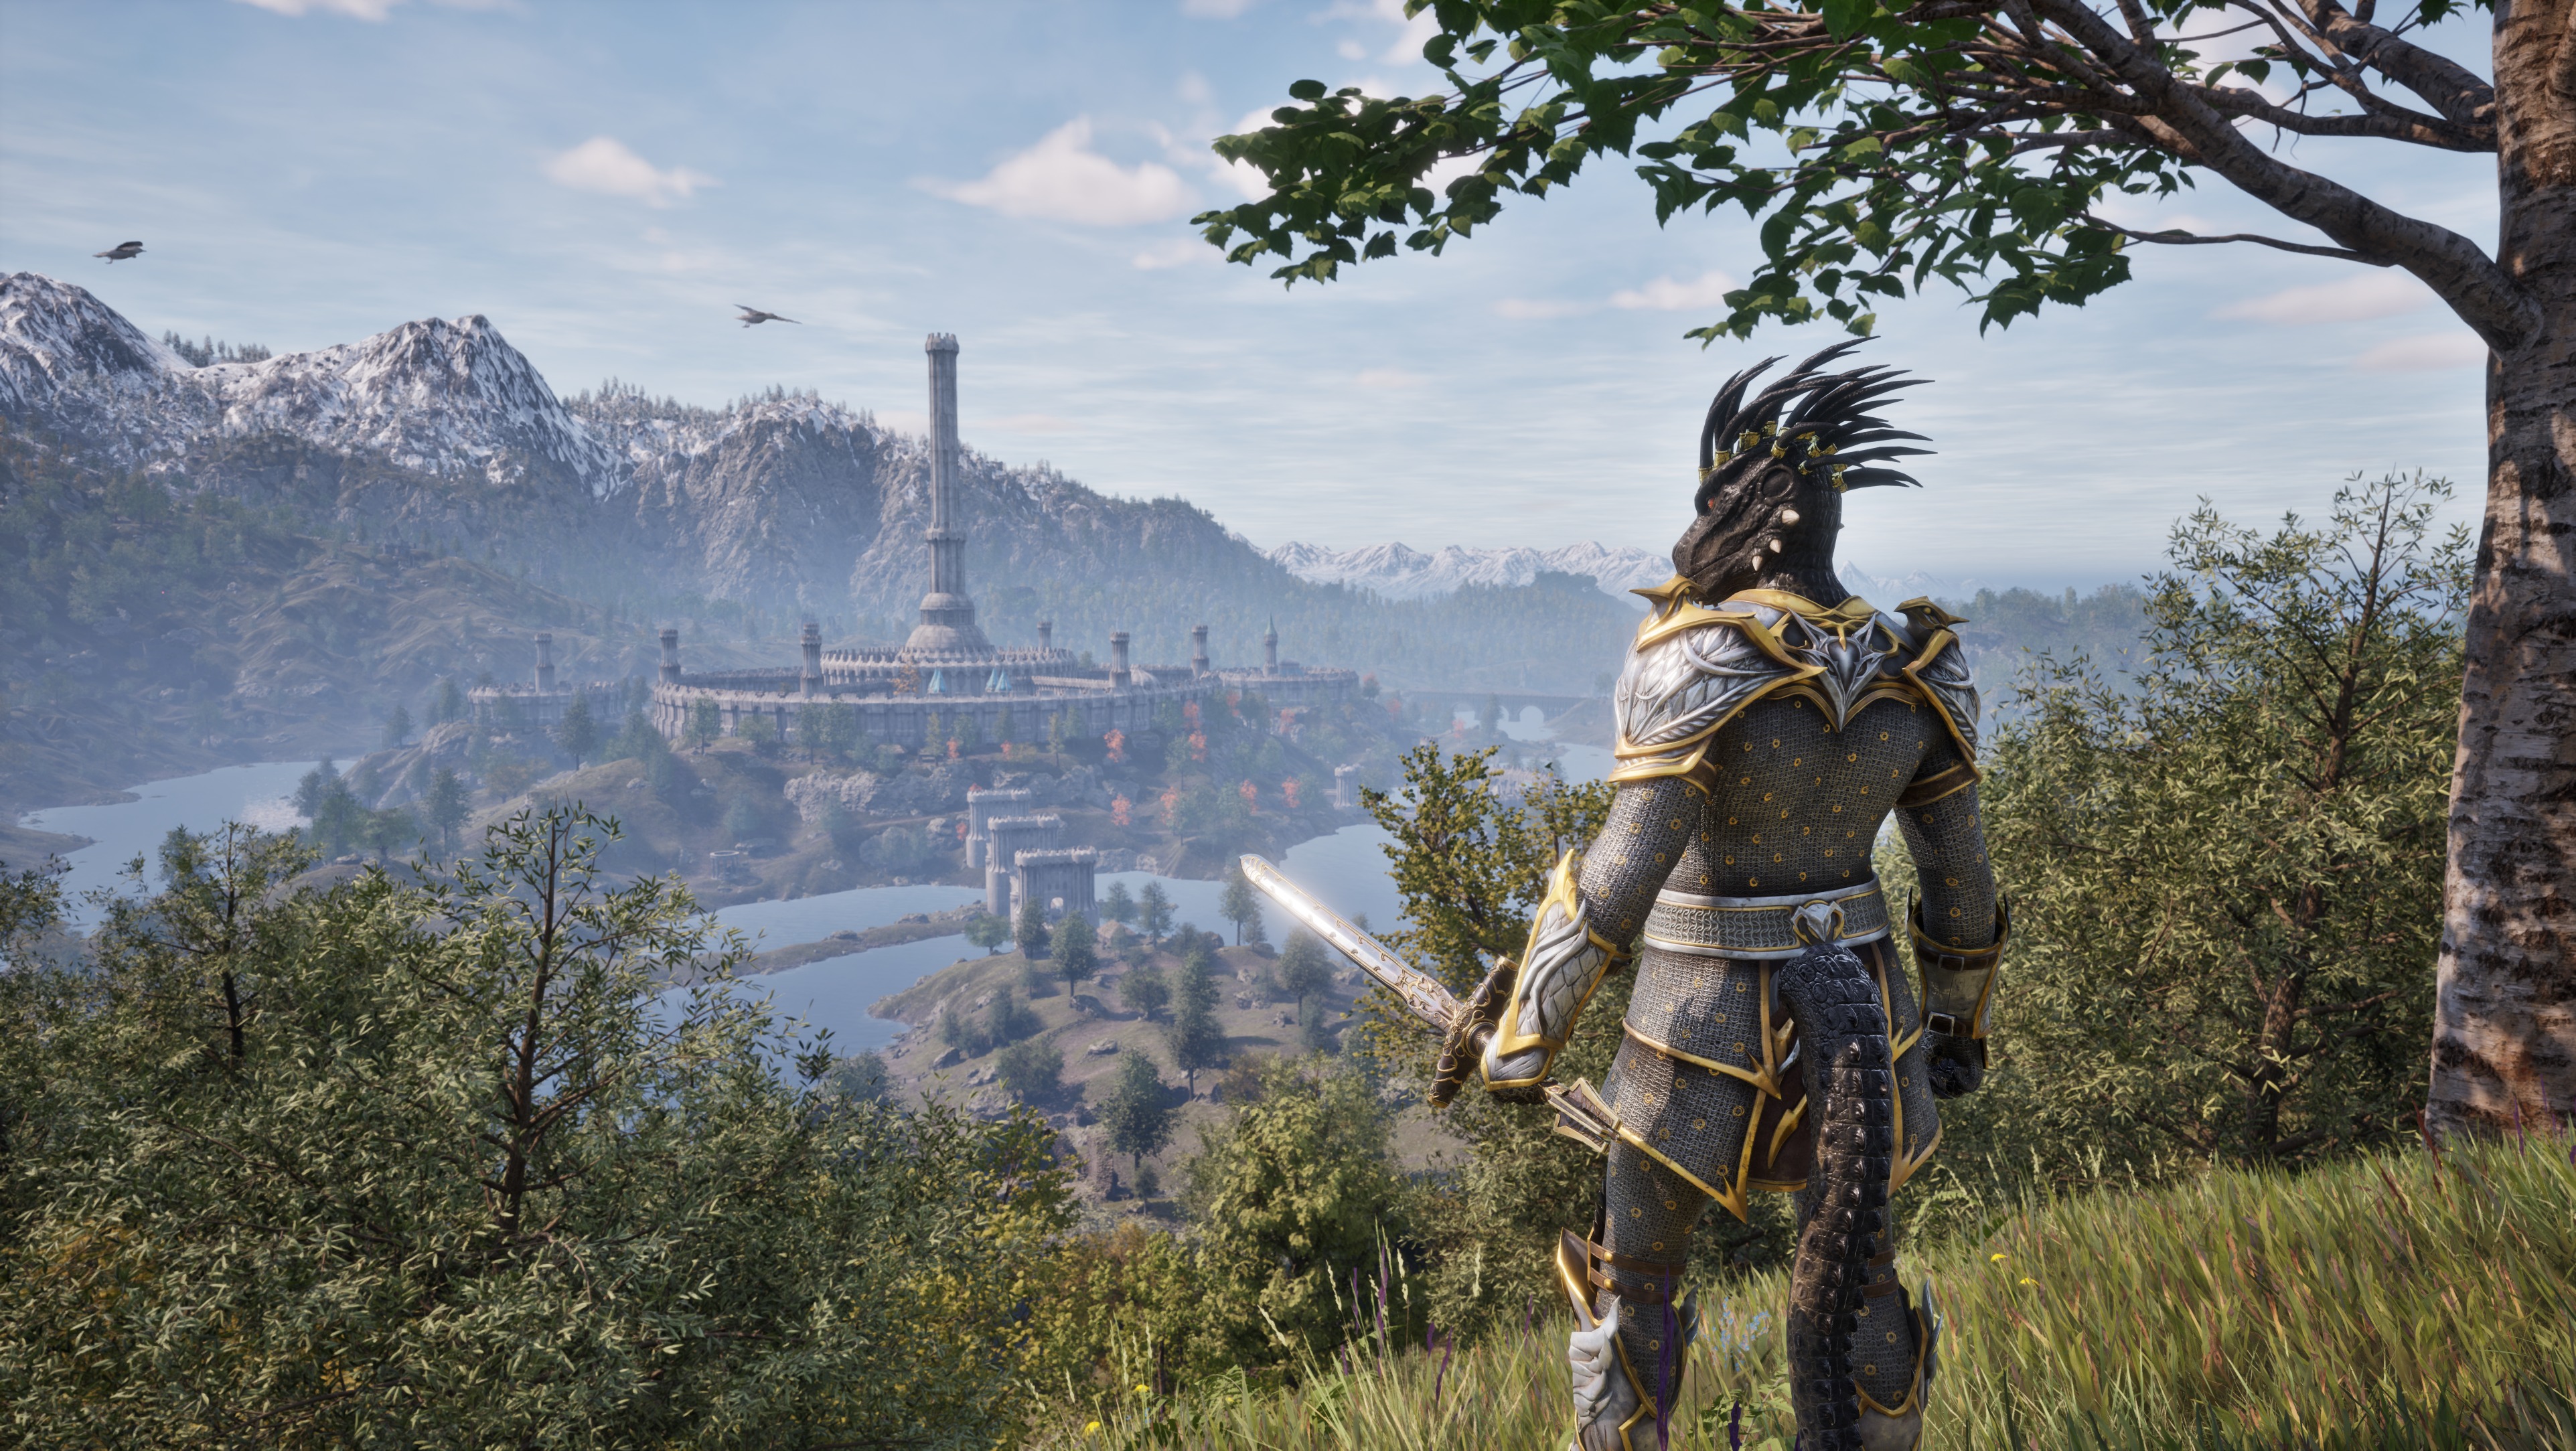
This guide will walk you through the process of installing this exciting mod, transforming your Oblivion Remastered experience. We’ll cover everything from understanding the underlying technologies to troubleshooting common issues, ensuring you can fully enjoy a revitalized classic.
Understanding the Technologies: DLSS, FSR, and the Power of Upscaling
Before diving into the installation process, it’s crucial to understand what DLSS and FSR are and why this mod is so significant.
DLSS: NVIDIA’s AI-Powered Upscaling
NVIDIA’s Deep Learning Super Sampling (DLSS) is a proprietary AI-powered image upscaling technology. It uses dedicated Tensor Cores on GeForce RTX GPUs to intelligently reconstruct lower-resolution frames into higher-resolution images. The core idea is to render the game at a lower internal resolution, significantly reducing the strain on the GPU, and then use AI to upscale the image to your monitor’s native resolution. This process not only improves frame rates but can also enhance image quality by reducing aliasing and improving texture detail, effectively making the game look sharper and more detailed than native rendering at the lower resolution. DLSS is a closed-source technology, meaning it’s exclusive to NVIDIA hardware.
FSR: AMD’s Open-Source Upscaling Solution
AMD’s FidelityFX Super Resolution (FSR) is an open-source spatial upscaling technology. Unlike DLSS, FSR doesn’t rely on AI or dedicated hardware. Instead, it uses advanced edge detection and sharpening algorithms to upscale lower-resolution frames. FSR is designed to be hardware-agnostic, meaning it can work on a wide range of GPUs, including those from NVIDIA and Intel, not just AMD.
FSR has gone through several iterations, with FSR 3 being the latest and most significant advancement. FSR 3 introduces Frame Generation, a revolutionary feature that interpolates entirely new frames between traditionally rendered frames. This means that even if your GPU is struggling to produce a consistent frame rate, FSR 3 can artificially boost the perceived smoothness of gameplay by generating additional frames. This is a game-changer for older or less powerful hardware, offering a substantial uplift in fluidity.
The “DLSS-to-FSR 3” Mod: Bridging the Gap
The “DLSS-to-FSR 3” mod, as its name suggests, is an ingenious community effort. It doesn’t magically enable NVIDIA’s DLSS on non-NVIDIA hardware, nor does it directly port FSR 3’s proprietary frame generation to Oblivion. Instead, it acts as a translator and injector.
This mod essentially tricks games that have native DLSS support into thinking they are running on an NVIDIA GPU. It then intercepts the DLSS calls and replaces them with FSR 3 equivalents. This allows players to leverage the performance benefits of FSR 3’s upscaling and, crucially, its Frame Generation capabilities within Oblivion, a game that would never have received native support for these modern technologies. This is particularly exciting for Oblivion Remastered, which aims to improve visuals and performance, making FSR 3 a perfect fit for enhancing the experience.
Preparing for Installation: What You’ll Need
Before you embark on the journey of enhancing Oblivion’s visuals, ensure you have the following prerequisites in place. This preparation will ensure a smoother installation process and minimize potential conflicts.
System Requirements and Compatibility
The “DLSS-to-FSR 3” mod is designed to inject FSR 3 functionality. While FSR 3 is generally hardware-agnostic, there are some important considerations:
- Graphics Card: While FSR 3 is designed to be compatible with a wide range of GPUs, performance and stability can vary. Generally, a GPU capable of running Oblivion at a reasonable native framerate will see the most benefit. Modern mid-range to high-end GPUs will likely yield the best results.
- Operating System: Ensure you are running a modern version of Windows (Windows 10 or 11).
- Oblivion Remastered Installation: This mod is specifically for Oblivion Remastered. Ensure you have a clean and functional installation of Oblivion Remastered already set up. Mod conflicts are a common source of issues, so a stable base installation is crucial.
- Game Version: Verify that your Oblivion Remastered installation is up-to-date and compatible with the mod. Check the mod’s specific requirements.
Essential Tools and Downloads

You’ll need a few key pieces of software and the mod files themselves:
- Oblivion Mod Manager (OBMM) or Vortex Mod Manager: A mod manager is essential for organizing and installing mods for Oblivion. OBMM is a classic choice, while Vortex is a more modern and user-friendly option. Download your preferred manager and install it.
- The “DLSS-to-FSR 3” Mod Files: You’ll need to download the specific mod files. This usually involves finding the mod on a reputable modding website like Nexus Mods. Look for the latest version of the “DLSS-to-FSR 3” mod specifically designed for Oblivion. Be sure to download the core mod files and any accompanying compatibility patches or DLLs.
- Latest Graphics Drivers: Ensure your graphics drivers are up-to-date for both NVIDIA and AMD. Outdated drivers can cause compatibility issues with graphics-intensive mods and technologies.
Important Note on Mod Sources: Always download mods from trusted sources like Nexus Mods. Be cautious of downloading from unofficial or less reputable websites, as these can contain malware or outdated/broken versions of mods.
Step-by-Step Installation Guide
Now that you have everything prepared, let’s get to the core of the process. Follow these steps carefully to install the “DLSS-to-FSR 3” mod for Oblivion Remastered.
Installing the Core Mod Files
This is typically the most straightforward part of the process, involving placing the mod files in the correct directories. The exact method might vary slightly depending on the mod’s specific structure, so always refer to the mod’s installation instructions provided by the author.
- Locate your Oblivion Remastered Installation Folder: This is the main directory where Oblivion Remastered is installed on your computer.
- Extract the Mod Files: If you downloaded a compressed archive (like a .zip or .rar file), extract its contents to a temporary location.
- Copy and Paste or Use Mod Manager:
- Manual Installation (if instructed): The mod’s readme file will likely detail which files go into which folders within your Oblivion installation. This often involves copying
.dllfiles to the game’s root directory (whereOblivion.exeis located) and potentially placing other assets into theDatafolder. - Mod Manager Installation (Recommended): If you are using OBMM or Vortex, you will typically open the mod manager, select “Add Mod” or “Install from File,” and point it to the mod’s archive. The mod manager will then guide you through the installation process, automatically placing files in their correct locations and handling potential conflicts.
- Manual Installation (if instructed): The mod’s readme file will likely detail which files go into which folders within your Oblivion installation. This often involves copying
Configuring DLSS-to-FSR 3 Settings
Once the core files are installed, you’ll need to configure the mod to your liking. This is where you’ll enable FSR 3’s features and adjust its parameters for optimal performance and visual quality.
- Locate Configuration Files: The “DLSS-to-FSR 3” mod often comes with configuration files. These might be
.inifiles or accessible through an in-game overlay. Check the mod’s documentation for their exact location. Common locations include the game’s root directory or a dedicatedpluginsorconfigfolder. - Adjusting Upscaling Resolution:
- Within the configuration files, you’ll likely find settings related to the Render Scale or Resolution Scale. This determines the internal resolution at which the game is rendered before being upscaled by FSR 3.
- Lowering this value will increase performance but may reduce image sharpness.
- Higher values will improve image quality but may decrease performance.
- Experiment with values like 0.75 (75%), 0.66 (66%), or 0.50 (50%) to find a balance that works for your hardware.
- Enabling Frame Generation:
- This is the most crucial setting for boosting perceived smoothness. Look for a setting like “EnableFrameGeneration” or “FrameGeneration”. Ensure this is set to
1orTrueto enable it. - Note: Frame Generation requires a relatively stable base framerate to work effectively. If your game is consistently dropping below a certain threshold, Frame Generation might not provide significant benefits and could even introduce artifacts.
- This is the most crucial setting for boosting perceived smoothness. Look for a setting like “EnableFrameGeneration” or “FrameGeneration”. Ensure this is set to
- Other FSR 3 Settings:
- You might find options for different FSR 3 Quality Presets (e.g., Ultra Quality, Quality, Balanced, Performance). These presets adjust various internal FSR 3 parameters to optimize for different levels of visual fidelity and performance.
- Explore settings related to Anti-Aliasing and Sharpening if available, as these can further fine-tune the image.
Tip: Always back up your configuration files before making any changes. This allows you to easily revert to a previous state if something goes wrong.
Troubleshooting Common Issues and Optimizing Performance
Even with careful installation, you might encounter issues. This section provides solutions to common problems and tips for squeezing the most performance out of your modded Oblivion experience.
Resolving Installation and Loading Problems
- Mod Manager Errors: If your mod manager reports errors during installation, carefully re-read the mod’s instructions. Ensure you have the correct version of the mod manager and that it’s compatible with Oblivion. Try reinstalling the mod manager and the mod.
- Game Not Launching: If Oblivion Remastered fails to launch after installing the mod, it’s likely a conflict.
- Disable other mods: Temporarily disable all other mods you have installed and try launching the game again. If it works, re-enable your other mods one by one, testing the game after each to identify the culprit.
- Check DLLs: Ensure the
.dllfiles from the mod are in the correct game directory. Missing or corrupted DLLs are a common cause of crashes. - Verify Game Files: If you’re using a platform like Steam, verify the integrity of your Oblivion game files.
- CTDs (Crashes to Desktop): Frequent crashes indicate instability. This can be due to mod conflicts, corrupted game files, or insufficient system resources.
- Clean Save Files: Sometimes, mod changes can corrupt existing save files. Try starting a new game to see if the issue persists.
- Check for Compatibility Patches: The mod author may have released compatibility patches for other popular Oblivion mods. Ensure you have installed any necessary patches.

Maximizing Performance and Visual Fidelity
- Experiment with Render Scale: As mentioned earlier, the Render Scale is your primary tool for balancing performance and visuals. A small adjustment here can have a significant impact.
- Frame Generation Sensitivity: While Frame Generation is powerful, it’s not always perfect. If you notice visual artifacts, ghosting, or input lag, try disabling Frame Generation temporarily or adjusting its related settings if available.
- Graphics Settings in Oblivion: Lowering some in-game graphics settings (like shadows, draw distance, or texture quality) can free up GPU resources that FSR 3 can then utilize for upscaling and frame generation.
- Monitor Refresh Rate: For the best experience with Frame Generation, ensure your monitor’s refresh rate is set correctly in your Windows display settings.
- NVIDIA Control Panel/AMD Radeon Software: While this mod bypasses native DLSS/FSR implementation, it’s still worth ensuring that any global graphics settings in your GPU control panel are not actively interfering. Sometimes, specific settings like “Antialiasing” or “Texture Filtering” can be tweaked for better results.
- Overclocking (Use with Caution): If you’re comfortable with it, a mild GPU overclock can provide additional headroom for demanding graphical settings. However, always proceed with caution and monitor temperatures to avoid damaging your hardware.
By understanding these troubleshooting steps and optimization techniques, you can ensure a smooth and visually stunning experience with your modded Oblivion Remastered. The ability to leverage FSR 3’s capabilities in such a classic title is a testament to the creativity and dedication of the modding community, offering a new lease on life for a game that continues to capture the hearts of players worldwide. Enjoy exploring Cyrodiil with a newfound visual and performance boost!
aViewFromTheCave is a participant in the Amazon Services LLC Associates Program, an affiliate advertising program designed to provide a means for sites to earn advertising fees by advertising and linking to Amazon.com. Amazon, the Amazon logo, AmazonSupply, and the AmazonSupply logo are trademarks of Amazon.com, Inc. or its affiliates. As an Amazon Associate we earn affiliate commissions from qualifying purchases.