
The world of AI-generated art is exploding, and at its forefront, providing a powerful and flexible platform for creators, is ComfyUI. This node-based interface offers unparalleled control over your AI image generation workflow, allowing for intricate experimentation and the creation of truly unique visuals. However, for newcomers, the installation process might seem a little daunting. Fear not! This guide will walk you through every step, from understanding the prerequisites to getting your first AI image generated with ComfyUI.
Whether you’re a seasoned tech enthusiast looking to dive into advanced AI art generation, a brand strategist seeking to understand the emerging capabilities of AI in creative industries, or simply someone curious about the technological trends shaping our digital future, this tutorial is for you. We’ll demystify the installation and provide the foundation for you to explore the vast potential of ComfyUI.
Understanding the Landscape: Why ComfyUI?
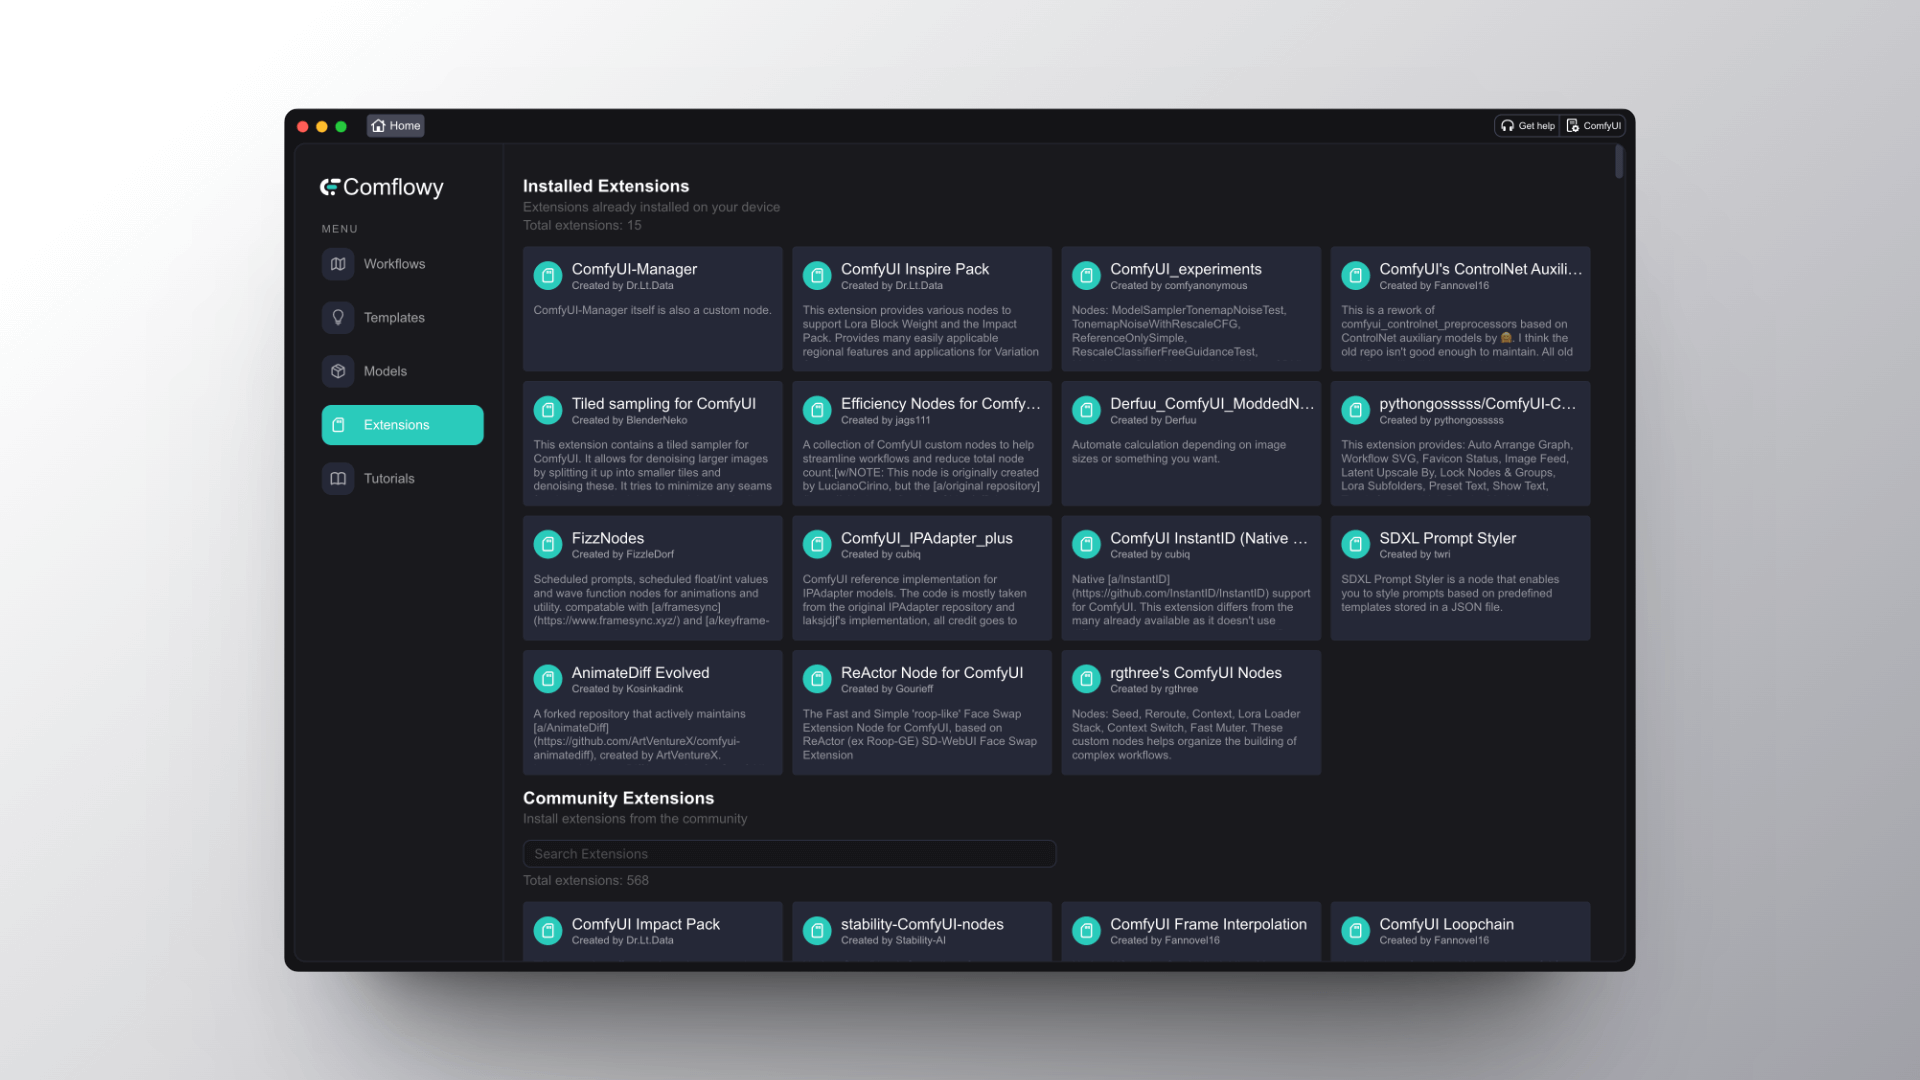
Before we get into the nitty-gritty of installation, it’s crucial to understand what makes ComfyUI stand out. Unlike many user-friendly, one-click AI art generators, ComfyUI operates on a node-based system. Think of it like a visual programming language for AI art. You connect different “nodes” – each representing a specific function or model – to create a workflow. This approach offers:
- Unprecedented Control: You can precisely define every step of the image generation process, from the initial prompt and model selection to the intricate details of sampling and upscaling.
- Flexibility and Experimentation: The node-based structure encourages experimentation. You can easily swap out components, try different model combinations, and build complex workflows that would be impossible in more rigid interfaces.
- Efficiency and Resource Management: ComfyUI is known for its efficiency, allowing you to leverage your hardware more effectively. You can also optimize workflows for faster generation times.
- Community and Extensibility: A vibrant community constantly develops custom nodes and workflows, expanding ComfyUI’s capabilities far beyond its core functionality.
This level of control makes ComfyUI particularly appealing to those who want to push the boundaries of AI art, optimize their creative pipeline, or simply understand the underlying mechanics of AI image generation.
Prerequisites for ComfyUI Installation
To ensure a smooth installation, you’ll need to have a few things in place. These are standard for most modern AI art generation setups and ensure you have the necessary software and hardware to run ComfyUI effectively.
Hardware Requirements: The Power Behind the Pixels
While ComfyUI itself is software, it relies heavily on your computer’s hardware to perform complex computations. The most critical component is your graphics processing unit (GPU).
- GPU (Graphics Card): This is non-negotiable for serious AI art generation.
- NVIDIA GPUs: These are generally the most well-supported and offer the best performance for Stable Diffusion-based models, which ComfyUI primarily utilizes. A minimum of 6GB VRAM is recommended for basic functionality, but 8GB or more will provide a significantly better experience, allowing for higher resolutions and more complex workflows.
- AMD GPUs: Support for AMD GPUs is improving, but it can still be more complex to set up and may not offer the same level of performance or compatibility as NVIDIA. If you have an AMD card, you’ll want to research specific compatibility guides for your chosen operating system.
- Integrated Graphics: Integrated graphics (like those built into many Intel CPUs) are not sufficient for running ComfyUI. You’ll need a dedicated graphics card.
- RAM (System Memory): While less critical than VRAM, having 16GB of RAM is recommended. More RAM will help your system handle larger models and complex workflows without slowdowns.
- Storage: You’ll need sufficient free space for the ComfyUI installation, Python, Git, and importantly, the AI models themselves. Models can range from a few gigabytes to tens of gigabytes each. An SSD (Solid State Drive) is highly recommended for faster loading times.
Software Requirements: The Foundation of Your Workflow
ComfyUI relies on a few key software components to function. Installing these correctly is crucial.
- Python: ComfyUI is built on Python. You’ll need a specific version.
- Python 3.10.x: This is the recommended and most compatible version for ComfyUI. Avoid installing the very latest Python versions (e.g., 3.11 or 3.12) initially, as they might not be fully supported by all ComfyUI dependencies. You can download Python from the official python.org website. Crucially, during installation, make sure to check the box that says “Add Python to PATH.” This makes it easier for ComfyUI to find and use your Python installation.
- Git: Git is a version control system that ComfyUI uses to manage its files and updates.
- You can download Git from the official git-scm.com website.
- During the Git installation, you can generally accept the default settings, but ensure that the option to “Use Git from the Windows Command Prompt” (or equivalent for your OS) is selected.
Installing ComfyUI: Step-by-Step
Now that you have the prerequisites in place, let’s dive into the installation process itself. This guide will primarily focus on Windows, as it’s the most common operating system for this type of software, but the core principles apply to macOS and Linux with slight command-line variations.
1. Cloning the ComfyUI Repository
The first step is to download the ComfyUI application files from its official GitHub repository.
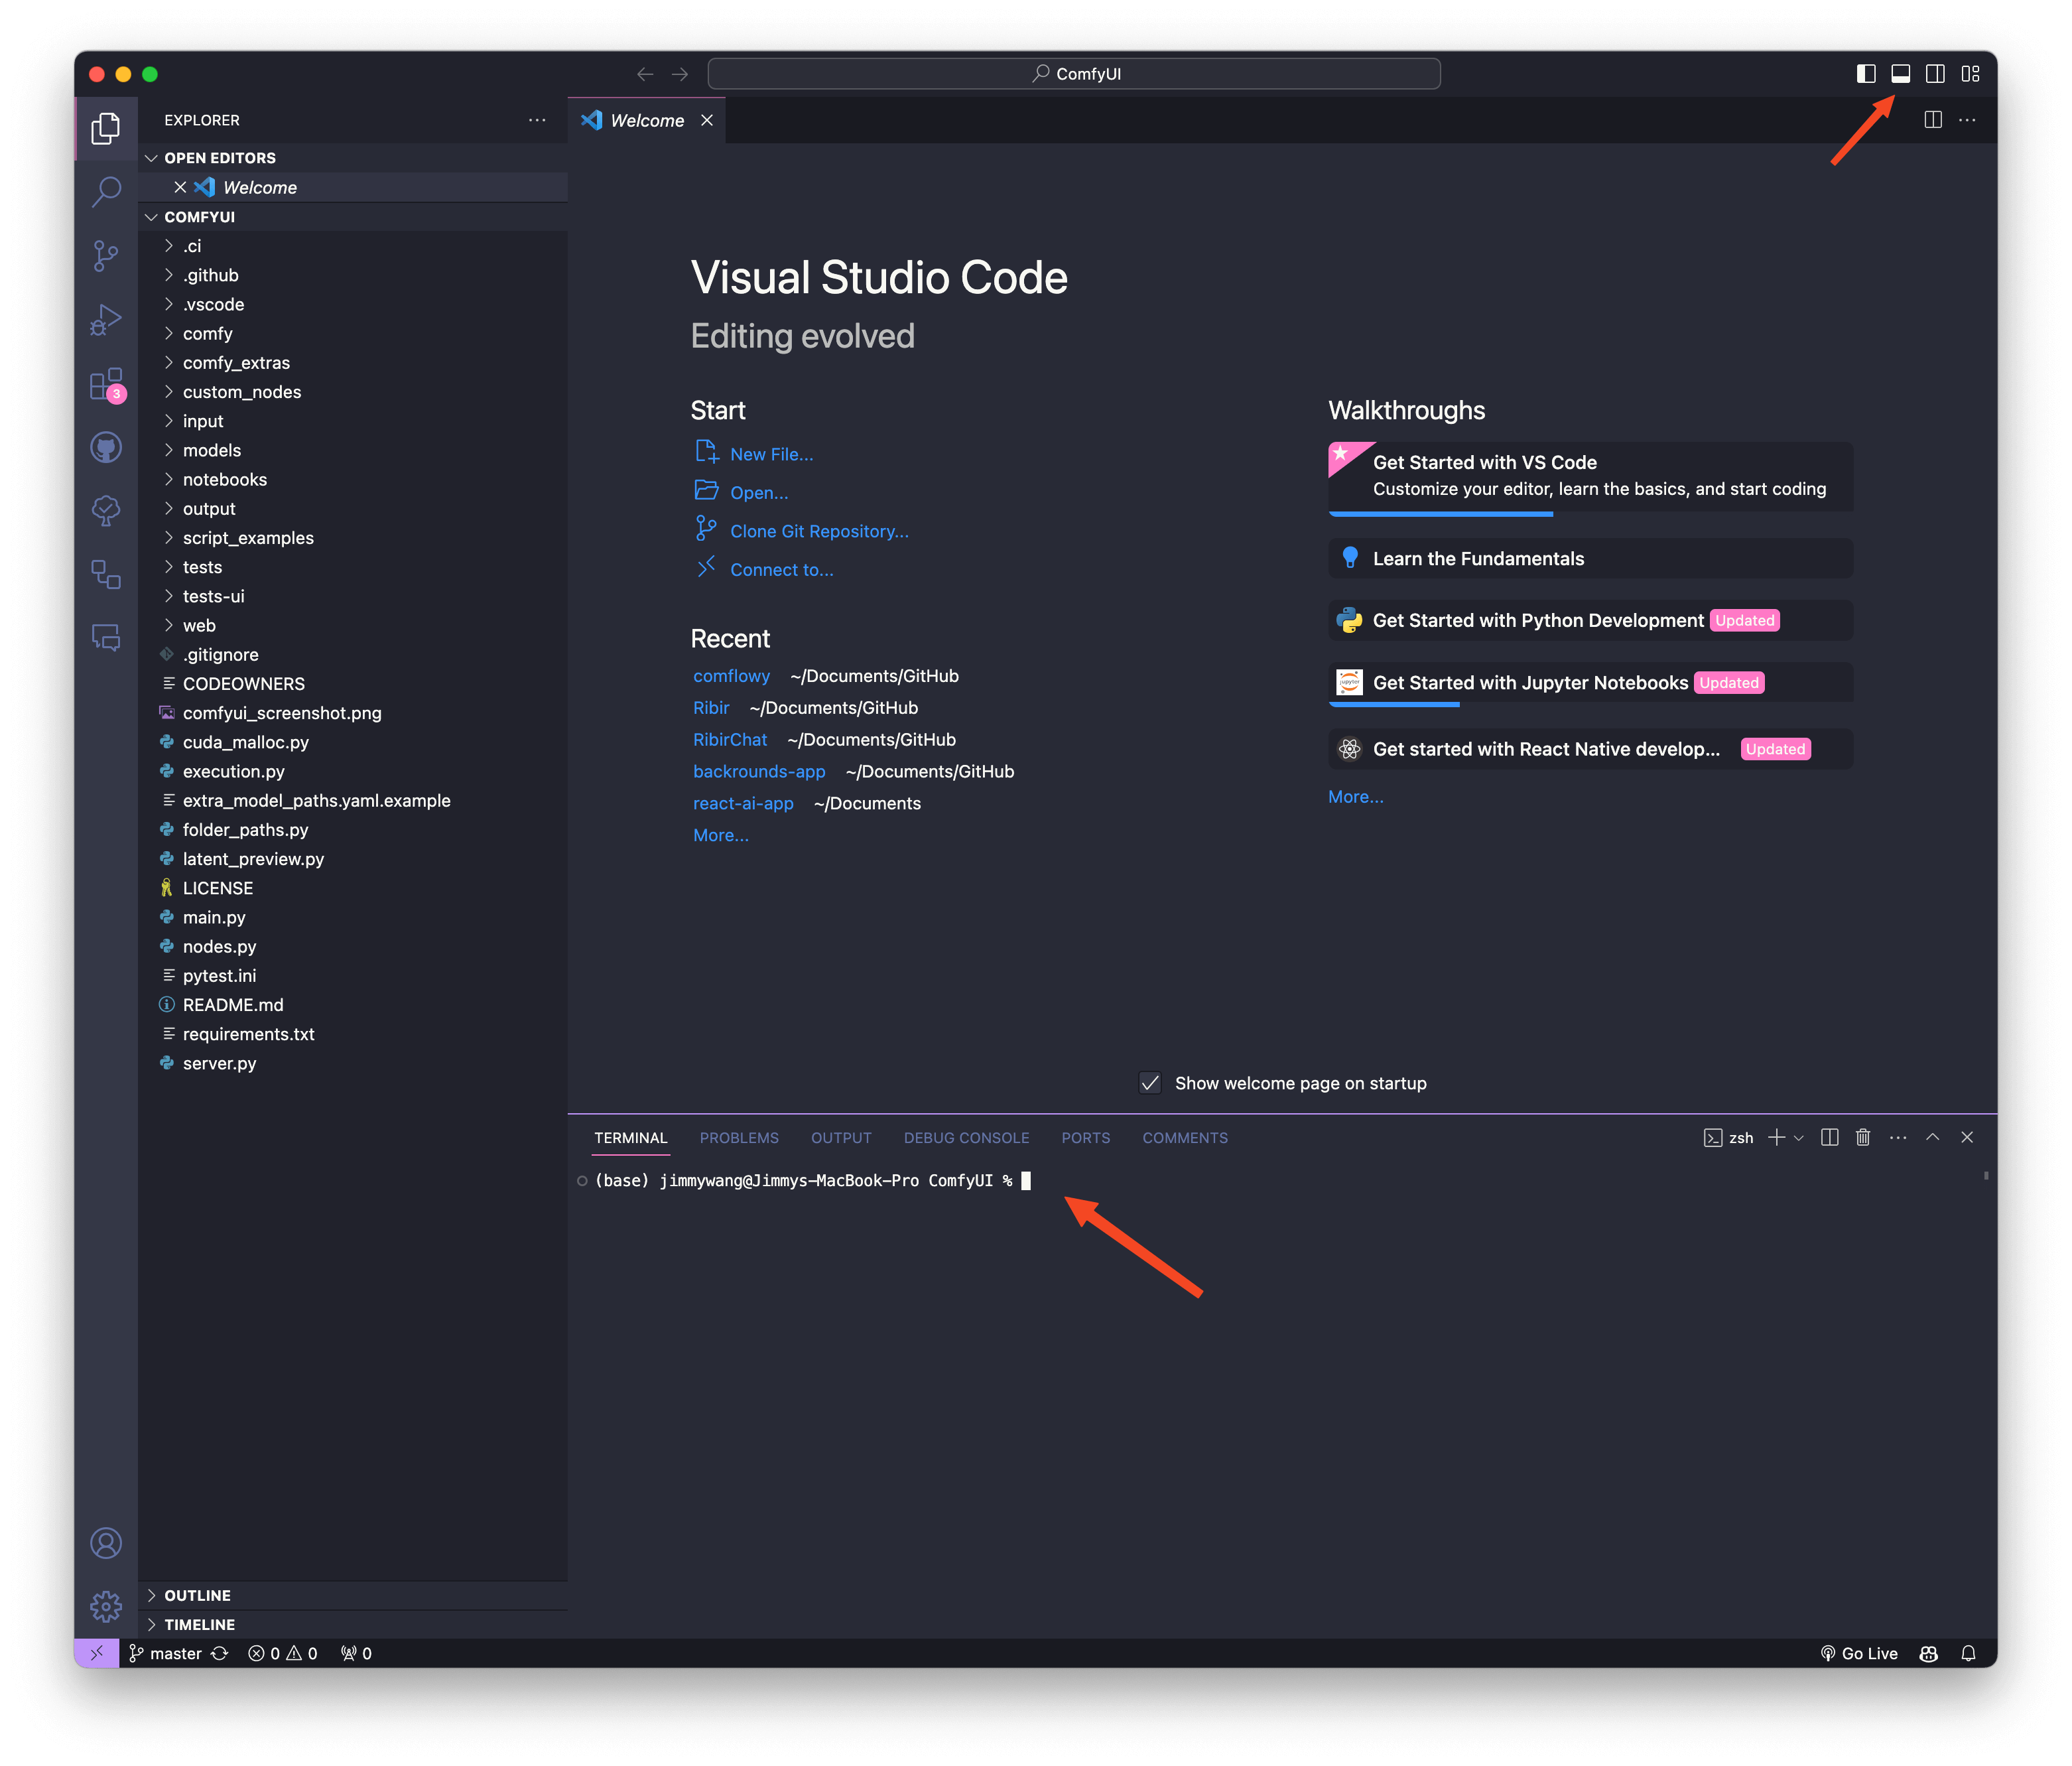
- Open your Command Prompt or Terminal: Search for “cmd” in the Windows search bar and open it. On macOS or Linux, open your Terminal application.
- Navigate to your desired installation directory: You’ll want to choose a location on your computer where you want to install ComfyUI. It’s a good practice to create a dedicated folder for AI-related software. For example, to navigate to a folder named “AI-Tools” on your D: drive, you would type:
bash

D:

cd AI-Tools
If the folder doesn’t exist, you can create it first usingmkdir AI-Toolsand thencd AI-Tools. - Clone the ComfyUI repository: Once you’re in your chosen directory, use the following Git command to download the ComfyUI files:
bash

git clone https://github.com/comfyanonymous/ComfyUI.git
This command will create a new folder named “ComfyUI” within your current directory and download all the necessary files from GitHub into it.
2. Installing Dependencies and Running ComfyUI
With the core ComfyUI files downloaded, you now need to install the Python packages that ComfyUI relies on.
-
Navigate into the ComfyUI directory: Use the
cdcommand again to enter the newly created ComfyUI folder:
bash

cd ComfyUI
-
Install Python Dependencies: ComfyUI comes with a
requirements.txtfile that lists all the necessary Python packages. You can install them using pip, Python’s package installer.- Windows:
bash

pip install -r requirements.txt
You might also see instructions mentioningpython -m pip install -r requirements.txt. Both are generally equivalent, but usingpython -m pipcan sometimes be more explicit about which Python installation is being used. - macOS/Linux:
bash

pip3 install -r requirements.txt
(On macOS and Linux,pip3is typically used for Python 3 installations).
This process can take some time as it downloads and installs various packages. You might see warnings or errors related to specific packages; often, these are not critical and can be ignored unless they prevent ComfyUI from starting.
- Windows:
-
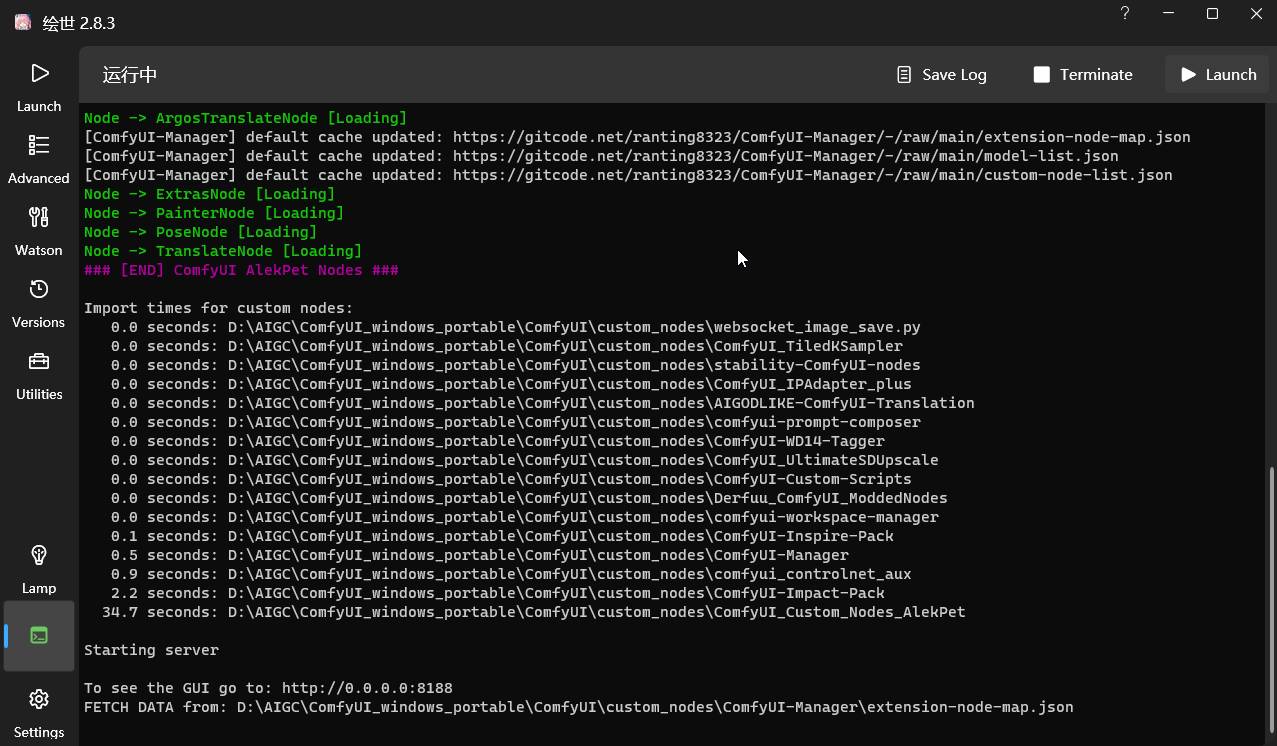
Download AI Models: ComfyUI itself doesn’t come with any AI models. You need to download these separately. The most common models used with ComfyUI are Stable Diffusion checkpoints.
- Where to find models: A popular hub for Stable Diffusion models is Civitai (civitai.com). You’ll also find models on Hugging Face.
- Model format: Look for
.safetensorsor.ckptfiles..safetensorsis generally preferred for security reasons. - Where to place models: Create a folder named
modelsinside your ComfyUI installation directory (the same directory where you rangit clone). Inside themodelsfolder, create subfolders for different types of models:models/checkpoints(for base Stable Diffusion models)models/loras(for LoRA fine-tunes)models/embeddings(for textual inversions)- And so on, depending on the types of models you download.
- Downloading a base model: For your first setup, it’s recommended to download a popular base model like SD 1.5, SDXL Base 1.0, or a finely tuned variant. Place the downloaded
.safetensorsor.ckptfile into themodels/checkpointsfolder.
-
Launch ComfyUI: Once the dependencies are installed and you have at least one model downloaded, you can launch ComfyUI.
- Windows: Double-click the
run_nvidia_gpu.batfile (if you have an NVIDIA GPU) orrun_cpu.bat(if you have a powerful CPU and no compatible GPU, though this will be very slow) located in the ComfyUI root directory. - macOS/Linux: Open your Terminal, navigate to the ComfyUI directory, and run:
bash

python main.py
or for specific GPU configurations, you might use:
bash

python main.py --use-directml  # For DirectML on Windows with AMD/Intel GPUs

python main.py --preview-method latency  # For potentially faster previews
If everything is set up correctly, your web browser should automatically open to a local address (usually
http://127.0.0.1:8188). If it doesn’t, you can open your web browser manually and go to that address. - Windows: Double-click the
Navigating the Node-Based Interface
The ComfyUI interface is a blank canvas where you build your AI art generation workflow using nodes.
Understanding the Canvas and Nodes
- The Canvas: This is your workspace. You can pan and zoom around it.
- Nodes: These are the building blocks of your workflow. Each node performs a specific task.
- Adding Nodes: Right-click on the canvas to bring up a menu and select “Add Node.” You can search for specific node types.
- Connecting Nodes: Nodes have input and output “sockets.” You connect the output of one node to the input of another by clicking and dragging a wire between them. The data type of the connection matters – you can’t connect a text prompt output to an image input, for example.
- Node Categories: Nodes are typically categorized by their function, such as Loaders (for loading models), Samplers (for generating images), Upscalers, Conditioning (for prompts), etc.
Building a Basic Workflow
Let’s create a simple workflow to generate your first image.
-
Load a Checkpoint:
- Right-click on the canvas ->
Add Node->Loaders->Load Checkpoint. - Click on the dropdown within the “Load Checkpoint” node. It should list the models you placed in the
models/checkpointsfolder. Select your downloaded model.
- Right-click on the canvas ->
-
Add a CLIP Text Encode (Prompting):
- Right-click ->
Add Node->conditioning->CLIP Text Encode (Prompt). - You will need two of these: one for your positive prompt and one for your negative prompt.
- Connect the
MODELoutput of the “Load Checkpoint” node to themodelinput of both “CLIP Text Encode” nodes. - In the first “CLIP Text Encode” node, type your positive prompt in the text area (e.g., “a majestic dragon flying over a fantasy landscape, digital art”).
- In the second “CLIP Text Encode” node, type your negative prompt (e.g., “ugly, deformed, low quality, blurry”).
- Right-click ->
-
Add a Sampler:
- Right-click ->
Add Node->।ips(orsampling) ->KSampler. - Connect the
MODELoutput of the “Load Checkpoint” node to themodelinput of the “KSampler.” - Connect the
EMBEDDINGoutput of the positive “CLIP Text Encode” node to thepositiveinput of the “KSampler.” - Connect the
EMBEDDINGoutput of the negative “CLIP Text Encode” node to thenegativeinput of the “KSampler.” - Configure the KSampler:
seed: Set to -1 for a random seed each time, or a specific number for reproducible results.steps: Controls how many diffusion steps are taken (e.g., 20-40 is a good starting point).cfg: Classifier-Free Guidance scale (higher values mean the AI follows your prompt more strictly, but can lead to artifacts; 7-12 is common).sampler_name,scheduler,method: These affect the sampling process. Experiment with these! For beginners,euler_ancestralas the sampler andexponentialas the scheduler are often good starting points.
- Right-click ->
-
Add a VAE Decode:
- Right-click ->
Add Node->।ips(orvae) ->VAE Decode. - Connect the
LATENToutput of the “KSampler” to thelatentinput of the “VAE Decode.” - Connect the
VAEoutput of the “Load Checkpoint” node to thevaeinput of the “VAE Decode.”
- Right-click ->
-
Add a Save Image Node:
- Right-click ->
Add Node->io(oroutput) ->Save Image. - Connect the
IMAGEoutput of the “VAE Decode” node to theimageinput of the “Save Image” node.
- Right-click ->
-
Queue the Prompt:
- At the bottom left of the ComfyUI window, you’ll see a “Queue Prompt” button. Click it!
Your first AI image should now be generated and saved in the ComfyUI/output/ directory.
Troubleshooting Common Installation Issues
Even with the best guides, you might encounter hiccups. Here are some common problems and their solutions:
Dependency Errors during Installation
- Problem:
pip install -r requirements.txtfails with errors. - Solution:
- Python Version: Double-check that you are using Python 3.10.x.
- PATH Issues: Ensure Python and Pip are correctly added to your system’s PATH environment variable. Reinstall Python and ensure the “Add to PATH” checkbox is ticked.
- Internet Connection: Some packages require a stable internet connection to download.
- Antivirus/Firewall: Occasionally, antivirus software can interfere with package installations. Try temporarily disabling it (with caution).
- Specific Errors: If a particular package fails, search online for that specific error message along with “ComfyUI” or “Python.” Often, there’s a known fix or an alternative package that can be used.
ComfyUI Fails to Launch or Browser Doesn’t Open
- Problem: You run the
.batfile orpython main.py, but nothing happens, or the browser doesn’t load the interface. - Solution:
- Command Prompt Output: Look at the command prompt window. It will usually display error messages. Read them carefully.
- Python Errors: If you see Python traceback errors, they often point to missing dependencies or incorrect configurations.
- Port Conflict: If the interface doesn’t open, another application might be using port 8188. You can try launching ComfyUI with a different port using
python main.py --port 8189(or any other available port). - GPU Drivers: Ensure your GPU drivers are up to date. Outdated drivers are a common cause of issues with AI software.
No Models Found in the Node
- Problem: The “Load Checkpoint” node doesn’t list any models.
- Solution:
- Correct Folder: Verify that you’ve placed your
.safetensorsor.ckptmodel files in theComfyUI/models/checkpointsdirectory. - File Format: Ensure the files are indeed valid model files and not corrupted.
- Restart ComfyUI: Sometimes, ComfyUI needs to be restarted for it to recognize newly added models.
- Correct Folder: Verify that you’ve placed your
Slow Generation Speeds
- Problem: Images take an extremely long time to generate.
- Solution:
- Hardware: This is often a hardware limitation. Ensure you have a dedicated GPU with sufficient VRAM.
- Model Size: Larger models (like SDXL) require more VRAM and processing power than smaller ones (like SD 1.5).
- Resolution and Steps: Generating at very high resolutions or with many diffusion steps will naturally take longer.
- Workflow Complexity: Very complex workflows with many nodes can also slow things down.
By following these steps and understanding the common troubleshooting points, you should be well on your way to mastering ComfyUI and unlocking your creative potential in AI art generation. Happy creating!
aViewFromTheCave is a participant in the Amazon Services LLC Associates Program, an affiliate advertising program designed to provide a means for sites to earn advertising fees by advertising and linking to Amazon.com. Amazon, the Amazon logo, AmazonSupply, and the AmazonSupply logo are trademarks of Amazon.com, Inc. or its affiliates. As an Amazon Associate we earn affiliate commissions from qualifying purchases.