
The transition to macOS, whether you are coming from a Windows environment or upgrading from an older version of Apple’s ecosystem, represents a shift toward a more streamlined, user-centric computing experience. While the interface is designed to be intuitive, the technical nuances of how software is integrated into the system can vary significantly depending on the source of the application. Understanding how to install apps on a Mac is not merely about clicking “download”; it involves understanding the architecture of macOS, the security protocols in place to protect your data, and the various formats that developers use to distribute their tools.
In this comprehensive guide, we will explore the different methodologies for installing software, from the curated environment of the Mac App Store to the more technical world of third-party installers and command-line package managers. By the end of this article, you will have a professional-level understanding of software management on macOS.
The App Store: The Safest and Simplest Method
For the majority of users, the Mac App Store is the primary gateway for acquiring new tools. Apple designed this platform to mirror the experience of the iOS App Store, prioritizing security, ease of use, and seamless updates. Every application hosted on the App Store undergoes a rigorous review process to ensure it adheres to Apple’s privacy standards and technical guidelines.
Navigating the Mac App Store Interface
The Mac App Store is built into the macOS operating system and can be accessed via the blue “A” icon in your Dock or through the Applications folder. The interface is divided into several categories, such as “Discover,” “Create,” “Work,” and “Play,” curated by Apple’s editorial team. When you find an app you wish to install, the process is straightforward: click the “Get” button (or the price tag for paid apps), and then click “Install.”
Behind the scenes, the Mac App Store handles the authentication via your Apple ID. This link is crucial because it ties your software licenses to your identity rather than a specific machine. This means that if you buy a new Mac, you can simply sign in and download all your previously purchased software without needing to hunt for serial keys or activation codes.
Managing Updates and Re-downloads
One of the most significant advantages of using the App Store is the centralized update mechanism. Instead of each application running its own background update checker, the App Store monitors all installed software. You can set your Mac to download and install updates automatically in the “Software Update” section of System Settings.
Furthermore, if you accidentally delete an app or need to free up space, the “Purchased” tab (accessible by clicking your profile name at the bottom of the sidebar) allows you to re-download any app you have previously acquired. This cloud-based library management ensures that your software ecosystem remains consistent across all your authorized Apple devices.
Installing Third-Party Software: DMG, PKG, and Direct Downloads
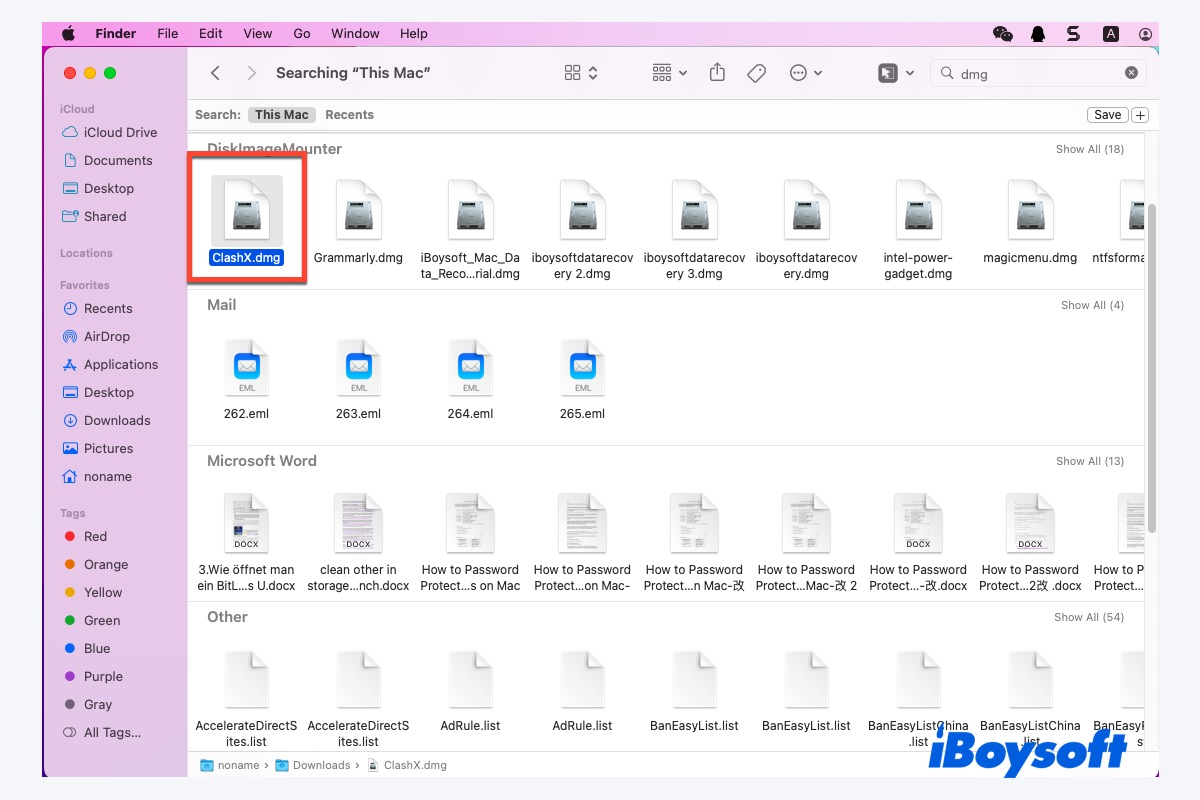
Despite the convenience of the App Store, many professional-grade applications—such as Adobe Creative Cloud, Google Chrome, or specialized development tools—are distributed directly by the developers. These applications typically come in three formats: Disk Images (.dmg), Installer Packages (.pkg), or simple Compressed Archives (.zip).
The DMG Workflow: Drag-and-Drop Simplified
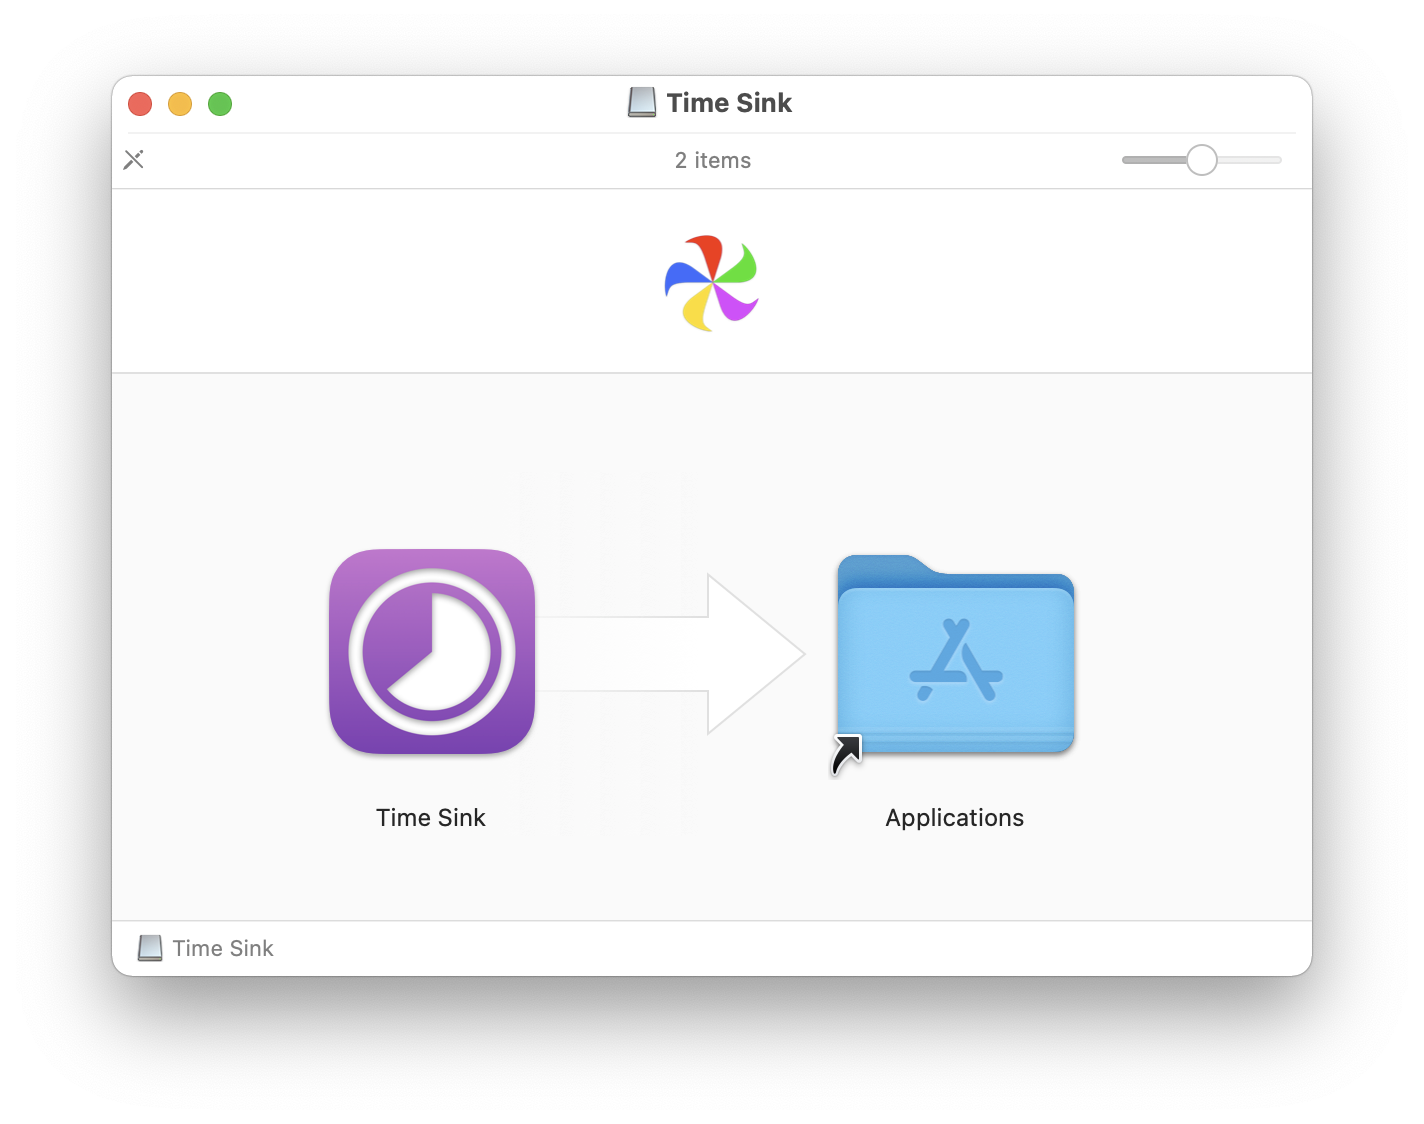
The most common format for Mac software outside the App Store is the .dmg file. A DMG is essentially a virtual disk. When you double-click it, macOS “mounts” it as if you had plugged in a physical external drive. Usually, a window will pop up showing the application icon and a shortcut to your “Applications” folder.
The installation process here is unique to macOS: you physically click and drag the app icon into the Applications folder. This action copies the application bundle into the system’s primary software directory. It is a common mistake for new users to run the app directly from the DMG window; this is suboptimal as the app will not be properly installed and will disappear once the DMG is ejected. Always remember to drag the icon to the Applications folder and then “Eject” the virtual disk from your desktop or Finder sidebar.
The PKG Installer: Guided Installations for Complex Software
While many apps are self-contained bundles, some require deeper integration with the system. These are usually distributed as .pkg files. Unlike the drag-and-drop simplicity of DMGs, a PKG file launches a guided installation wizard.
This “Installer” app will walk you through a series of steps, including reviewing software licenses, selecting a destination disk, and often requiring your administrator password. This method is typically used for software that needs to install background services, drivers, or plugins into the system-level Library folders. Because PKG files have the authority to modify system files, it is imperative to only run them if they originate from a trusted, verified source.
Security and Permissions: Navigating Gatekeeper and SIP
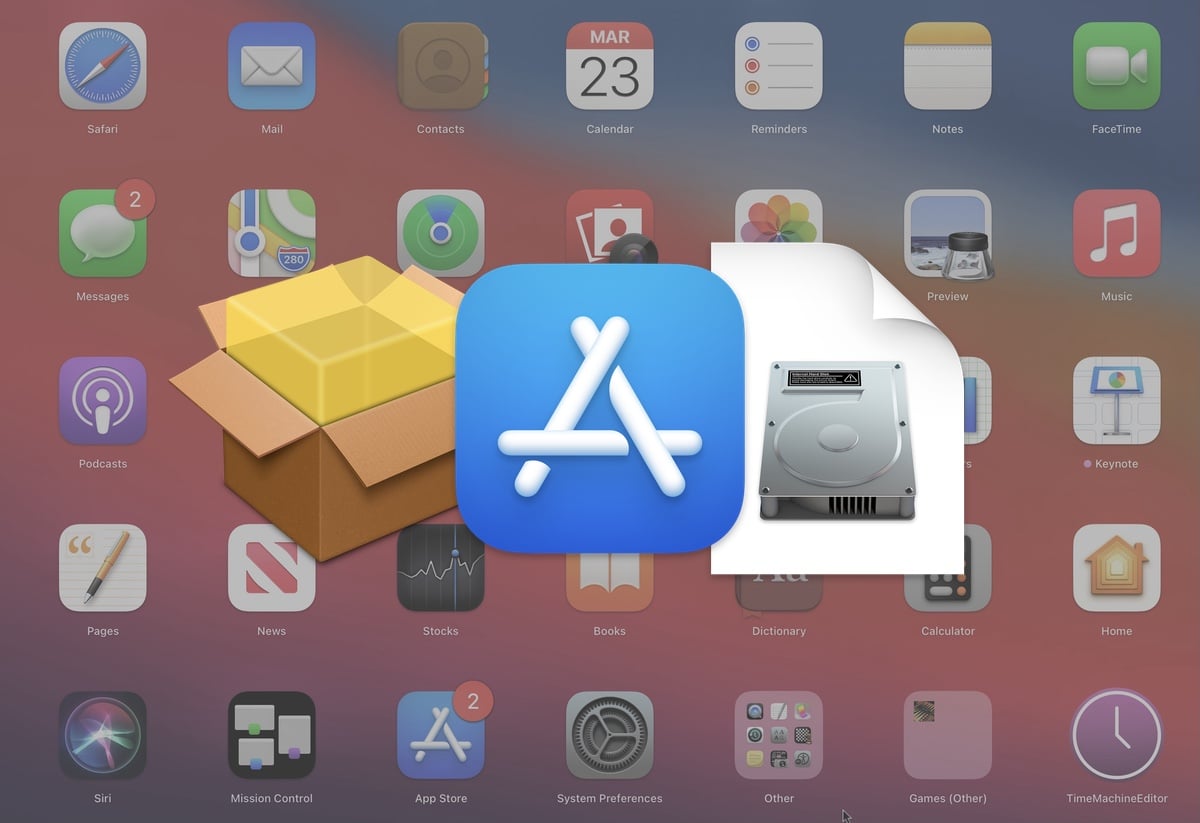
Apple’s commitment to security is embodied in two major features: Gatekeeper and System Integrity Protection (SIP). These systems act as a digital “bouncer,” checking the credentials of any software that attempts to run on your Mac. For users installing software from the web, encountering security prompts is a common occurrence.
Understanding Apple’s Gatekeeper and Notarization
Gatekeeper is the security layer that ensures only trusted software runs on your Mac. By default, macOS is set to allow apps from “App Store and identified developers.” When you download an app from the web, macOS checks if the developer has registered with Apple and if the app has been “notarized”—a process where Apple scans the software for malicious content before it is distributed.
If you attempt to open an app from an unverified developer, you will likely see a warning stating that the app “cannot be opened because it is from an unidentified developer.” This is not necessarily an indication that the software is harmful, but rather that it hasn’t gone through Apple’s formal notarization process.
Troubleshooting “App Can’t Be Opened” Errors
If you are certain that a piece of software is safe despite the Gatekeeper warning, you can manually override the security block. To do this, do not simply double-click the app. Instead, right-click (or Control-click) the application and select “Open.” A different dialog box will appear, this time giving you the option to “Open” the app anyway.
Alternatively, you can go to System Settings > Privacy & Security. Scroll down to the “Security” section, where you will see a message regarding the app that was blocked. You can click “Open Anyway” to grant a one-time exception. This professional level of control allows users to utilize niche or open-source software while maintaining a high overall security posture.
Advanced Installation Methods for Power Users
For developers, IT professionals, and power users, the standard GUI-based installation methods can sometimes be inefficient. macOS, being built on a Unix foundation, offers powerful command-line tools that can automate and streamline software management.
Using Homebrew for Command-Line Efficiency
Homebrew is often referred to as “the missing package manager for macOS.” It allows users to install, update, and manage software using the Terminal. For anyone who manages dozens of utilities, Homebrew is a game-changer. Once installed, adding a new tool is as simple as typing brew install [app name].
Homebrew also features a “Cask” extension, which allows for the installation of large GUI applications like Spotify, VS Code, or Discord. The benefit of using a package manager is the ability to update all your software—both command-line tools and GUI apps—with a single command: brew upgrade. This level of automation is highly valued in technical workflows.
Web Apps and Progressive Web Apps (PWAs)
In recent versions of macOS (specifically Sonoma and later), Apple has integrated the ability to turn any website into a standalone “Web App.” By using the “Add to Dock” feature in Safari, you can create a dedicated icon for a web service like Gmail or Slack. These apps function independently of the browser, with their own window and simplified interface. While not a traditional “installation,” this method is becoming increasingly popular for cloud-based tools, reducing the overhead on system resources.
Best Practices for App Management and Uninstallation
Installing an app is only half the battle; maintaining a clean and efficient system requires knowing how to manage and remove software correctly.
Keeping Your System Lean: Proper Uninstallation
On macOS, most apps are “bundles” (folders that look like a single file). Deleting an app is usually as simple as dragging it to the Trash. However, many apps leave behind small configuration files, caches, and logs in the ~/Library/Application Support folder.
To ensure a “clean” uninstall, professionals often use third-party utilities like AppCleaner. These tools scan the system for all associated files linked to the application you want to remove, ensuring that no “ghost” files remain to clutter your storage. Keeping your Applications folder curated not only saves disk space but also reduces the number of background processes that can slow down your Mac over time.
Organizing Your Launchpad and Dock
Finally, once your apps are installed, organization is key to productivity. The Launchpad provides an iOS-like view of all your apps, where you can create folders by dragging one icon onto another. The Dock should be reserved for your most-used applications. For everything else, the most efficient way to launch an app is via Spotlight (Cmd + Space); simply type the first few letters of the app name and hit Enter. This bypasses the need for visual searching and keeps your workflow fast and focused.
By mastering these various installation avenues—from the curated App Store to the robust Homebrew package manager—you can ensure your Mac remains a powerful, secure, and highly customized tool tailored to your specific technological needs.
aViewFromTheCave is a participant in the Amazon Services LLC Associates Program, an affiliate advertising program designed to provide a means for sites to earn advertising fees by advertising and linking to Amazon.com. Amazon, the Amazon logo, AmazonSupply, and the AmazonSupply logo are trademarks of Amazon.com, Inc. or its affiliates. As an Amazon Associate we earn affiliate commissions from qualifying purchases.