
The Graphics Processing Unit (GPU) is the powerhouse of the modern computing experience. Whether you are a competitive gamer seeking the highest frame rates, a creative professional rendering complex 3D scenes, or a data scientist training machine learning models, the efficiency of your hardware is dictated almost entirely by the software that manages it. For NVIDIA users, the driver is the critical bridge between the operating system and the silicon.
Installing an NVIDIA driver might seem like a routine task, but doing it correctly—and choosing the right version—is essential for system stability and peak performance. A poorly installed driver can lead to graphical artifacts, application crashes, or even the dreaded “Blue Screen of Death.” Conversely, a well-optimized installation ensures that you are leveraging the latest features such as Deep Learning Super Sampling (DLSS), real-time ray tracing, and Reflex low-latency technology. This guide provides a deep dive into the nuances of NVIDIA driver installation, from selecting the right branch to troubleshooting complex deployment issues.
Understanding the Driver Landscape: Game Ready vs. Studio Drivers
Before beginning the installation process, it is vital to understand that NVIDIA offers two distinct driver branches tailored to different user workflows. While the underlying architecture of these drivers is often similar, their testing and release cycles differ significantly.
NVIDIA Game Ready Drivers (GRD)
For the vast majority of users, Game Ready Drivers are the standard choice. These drivers are released frequently, often coinciding with the launch of major AAA gaming titles. NVIDIA’s engineers work closely with game developers to ensure that the driver includes “day-one” optimizations, bug fixes, and performance profiles for the latest releases. If your primary goal is to have the best possible experience in the newest games, the GRD branch is your destination.
NVIDIA Studio Drivers (SD)
The Studio Driver branch is designed specifically for content creators—those working in Adobe Premiere Pro, Autodesk Maya, Blender, and DaVinci Resolve. While these drivers can still run games perfectly well, their priority is stability and extensive testing across professional creative applications. Studio Drivers are updated less frequently than Game Ready Drivers, but they undergo a more rigorous certification process to ensure that long render times or complex project workflows are not interrupted by software regressions.
Choosing Your Driver
If you use your PC for both gaming and professional work, the choice depends on your priority. Most users will find the Game Ready Driver more than stable enough for occasional creative work, while full-time professionals should opt for the Studio Driver to minimize the risk of software-related downtime.
Preparing Your System for Installation
A successful driver installation begins with preparation. Installing a new driver over a corrupt or outdated one can sometimes lead to registry conflicts. Before downloading any files, you should identify your specific hardware and clean up your current environment.
Identifying Your Hardware
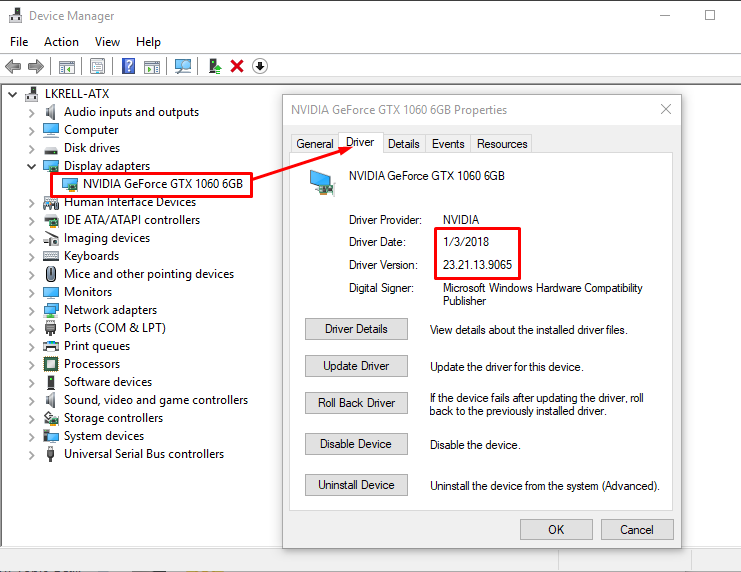
To download the correct driver, you need to know your GPU model and your operating system version. On Windows, you can quickly find this by right-clicking the Start button and selecting “Device Manager.” Under “Display adapters,” you will see your specific NVIDIA GPU listed (e.g., NVIDIA GeForce RTX 4080). Additionally, verify whether you are running a 64-bit version of Windows 10 or Windows 11, as drivers are not interchangeable between significantly different operating system architectures.
The Case for Display Driver Uninstaller (DDU)
In most cases, the standard NVIDIA installer can handle the transition from an old driver to a new one. However, if you are upgrading from an older generation (e.g., moving from a GTX 10-series to an RTX 40-series) or if you are switching from an AMD GPU to NVIDIA, a “Clean Install” using Display Driver Uninstaller (DDU) is highly recommended.
DDU is a third-party utility that completely wipes all traces of previous display drivers, including registry keys, folders, and leftover files that the standard uninstaller might miss. Using DDU in Windows “Safe Mode” ensures that no files are in use during the deletion process, providing a “tabula rasa” for your new NVIDIA driver.
Methods of Installation: Manual vs. GeForce Experience
There are two primary ways to install an NVIDIA driver: the automated route via GeForce Experience and the manual route via the NVIDIA website.
Method 1: NVIDIA GeForce Experience
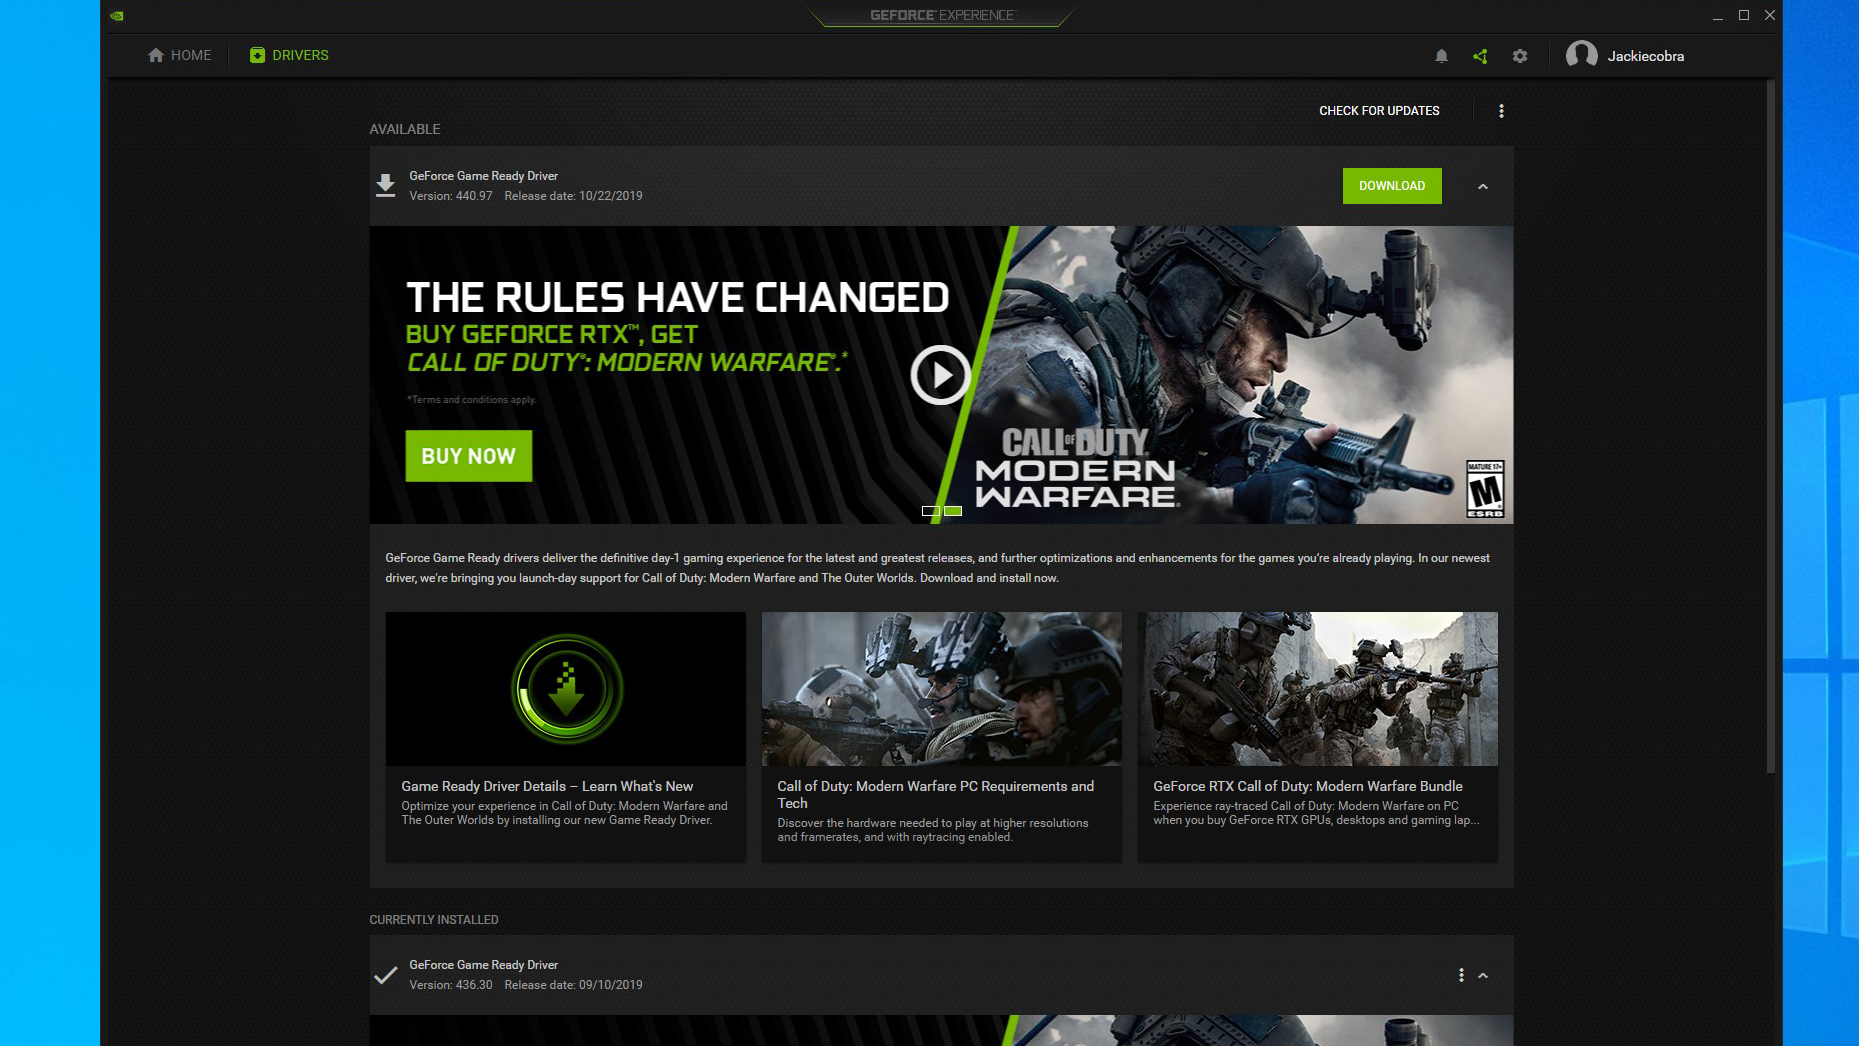
GeForce Experience is a companion application that manages driver updates, optimizes game settings, and provides tools for recording gameplay.
-
Download and Launch: If not already installed, download GeForce Experience from NVIDIA’s website.
-
Check for Updates: Navigate to the “Drivers” tab in the top-left corner.
-
Download: Click “Check for Updates.” If a new version is available, click “Download.”
-
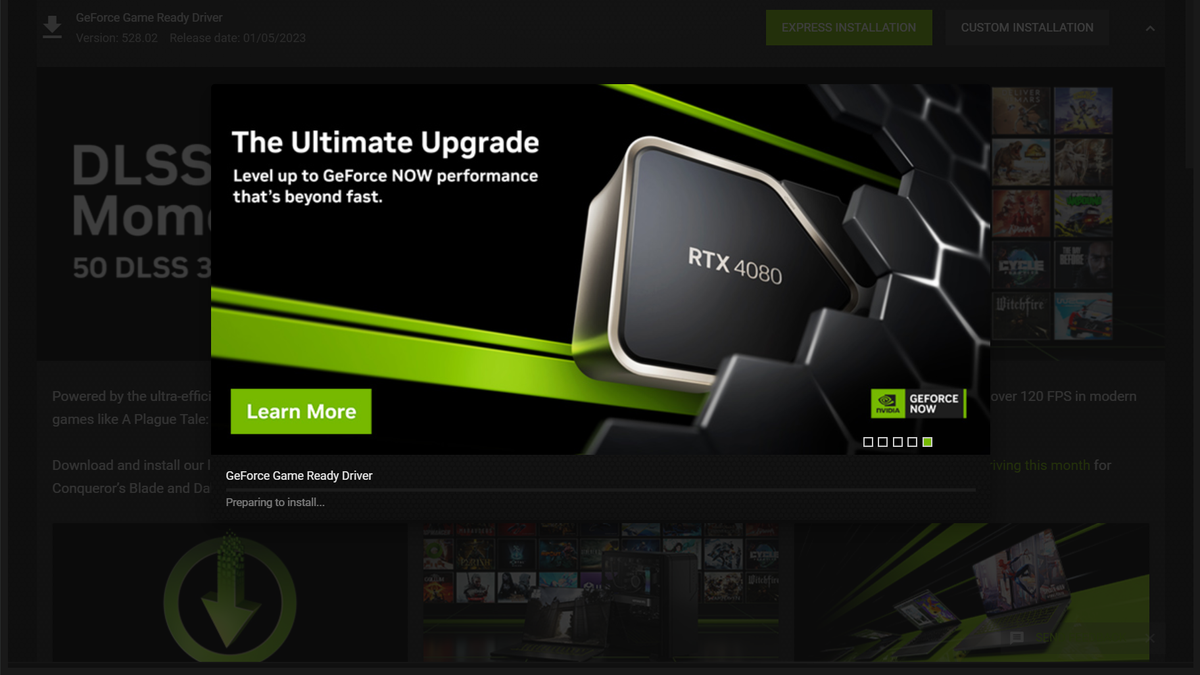
Installation Type: Once the download is complete, you will be prompted to choose between “Express Installation” and “Custom Installation.” Express is faster, but Custom allows you to perform a “Clean Installation,” which resets all NVIDIA settings to default—a useful step if you have been experiencing performance issues.
Method 2: Manual Installation (Recommended for Advanced Users)
Manual installation offers the most control over what is placed on your system. It is also the preferred method for those who wish to avoid installing the GeForce Experience overlay to keep their system as lean as possible.
-
Visit the NVIDIA Driver Downloads Page: Go to the official NVIDIA website.
-
Select Specifications: Use the dropdown menus to select your Product Type, Product Series, Operating System, and Download Type (Game Ready vs. Studio).
-
Download the Executable: Save the .exe file to your desktop.
-
Run the Installer: Double-click the file. It will extract the installation files to a temporary folder.
-
NVIDIA Installer Options: You will be asked whether you want to install “NVIDIA Graphics Driver and GeForce Experience” or just the “NVIDIA Graphics Driver.” Choose the latter for a minimalist setup.
-
Custom Installation: Select “Custom (Advanced)” and click Next. Here, you can uncheck components you don’t need, such as the HD Audio Driver or the USB-C Driver (if your card doesn’t utilize them). Ensure the “Perform a clean installation” box is checked if you want to wipe previous profiles.
Post-Installation Optimization and Verification
Once the installation is complete, your screen may flicker or momentarily go black. This is normal behavior as the operating system hands over control of the display to the new driver. After the installer finishes, there are a few critical steps to ensure everything is functioning correctly.
Verifying the Installation
Right-click on your desktop and select “NVIDIA Control Panel.” Navigate to “System Information” in the bottom-left corner. This will display your current driver version. Cross-reference this with the version number you downloaded to ensure the update was successful.
Optimizing the NVIDIA Control Panel
The default settings in the NVIDIA Control Panel are designed for maximum compatibility, not necessarily maximum performance. To get the most out of your hardware, consider the following tweaks:
-
Manage 3D Settings: Under “Power management mode,” change the setting to “Prefer maximum performance.” This prevents the GPU from down-clocking during intense tasks, though it may increase power consumption at idle.
-
Change Resolution: Ensure that your monitor is running at its native resolution and, more importantly, its highest supported refresh rate (e.g., 144Hz or 240Hz). Many users unknowingly run high-end monitors at the default 60Hz.
-
Configure Surround, PhysX: Ensure that the PhysX processor is set to your GPU rather than “Auto-select” to ensure the workload isn’t accidentally shifted to your CPU.
Enabling Resizable BAR
If you have a modern RTX 30 or 40-series GPU and a compatible motherboard, ensure that Resizable BAR is enabled. This technology allows the CPU to access the entire GPU frame buffer at once, rather than in small increments, leading to measurable performance gains in many modern titles. You can check the status of Resizable BAR in the “System Information” menu of the NVIDIA Control Panel.
Troubleshooting Common Installation Issues
Despite NVIDIA’s robust software stack, installations can occasionally fail. Understanding how to navigate these hurdles is key to maintaining a healthy system.
“NVIDIA Installer Failed”
This error is often caused by background processes or Windows Update attempting to install a generic driver simultaneously. To fix this, disconnect your internet to prevent Windows from auto-downloading drivers, run DDU to clean the failed attempt, and try the manual installer again.
Graphical Artifacts or Stuttering
If you notice screen tearing, flickering, or unexpected frame drops after an update, the driver version itself may have a bug specific to your hardware configuration. In this scenario, the best course of action is to “roll back” to a previous version. NVIDIA maintains an archive of older drivers on their website for this exact purpose.
Version Mismatch and Compatibility Issues
Always ensure you are not trying to install a desktop driver on a laptop (notebook) GPU. While the names are similar (e.g., RTX 4070 vs RTX 4070 Laptop), the thermal limits and power delivery systems require specific mobile driver packages provided in the “Notebook” section of NVIDIA’s download page.
Conclusion
The process of installing an NVIDIA driver is more than just a clicking a “Next” button; it is a fundamental maintenance task that defines your relationship with your hardware. By understanding the differences between Game Ready and Studio drivers, utilizing tools like DDU for clean starts, and fine-tuning settings in the NVIDIA Control Panel, you ensure that your system remains a high-performance machine. Regular updates are not just about new features; they are about security, stability, and ensuring that your investment in high-end silicon continues to deliver the best possible digital experience.
aViewFromTheCave is a participant in the Amazon Services LLC Associates Program, an affiliate advertising program designed to provide a means for sites to earn advertising fees by advertising and linking to Amazon.com. Amazon, the Amazon logo, AmazonSupply, and the AmazonSupply logo are trademarks of Amazon.com, Inc. or its affiliates. As an Amazon Associate we earn affiliate commissions from qualifying purchases.