
In today’s digitally saturated world, where games are becoming increasingly colossal in size and our digital libraries expand exponentially, managing storage space has become a perennial challenge for PC gamers. While solid-state drives (SSDs) offer lightning-fast load times, their cost can be prohibitive for larger capacities. This is where the humble thumb drive, or USB flash drive, enters the arena. Although not typically the first choice for game installations due to perceived speed limitations, it’s a perfectly viable and often practical solution for certain scenarios. Whether you’re looking to free up space on your primary SSD, want to carry your game library with you on the go, or simply need a temporary solution, installing an Epic Games title onto a thumb drive is an achievable task.
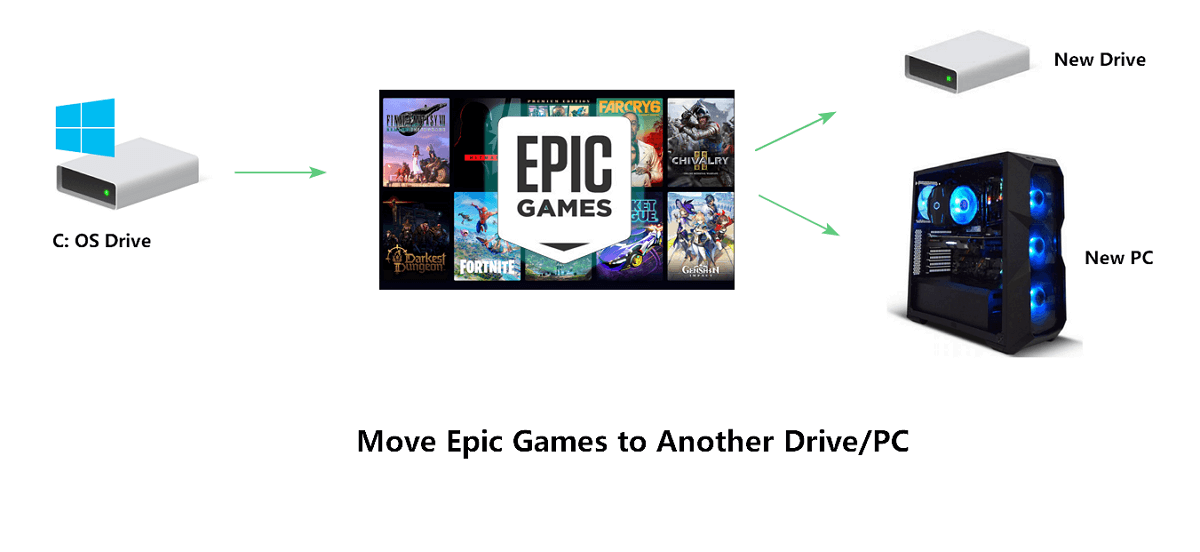
This guide will walk you through the process, demystifying any potential complexities and equipping you with the knowledge to successfully install and run your favorite Epic Games titles directly from a USB flash drive. We’ll delve into the prerequisites, the core installation steps, important considerations regarding performance, and how to manage your games effectively once they’re on your portable storage.
Understanding the Nuances of Thumb Drive Game Installations
Before we dive into the mechanics, it’s crucial to set realistic expectations. Installing games on a thumb drive isn’t a one-size-fits-all solution, and its suitability depends heavily on the type of games you play and your tolerance for potential performance differences.
Why Choose a Thumb Drive for Game Installations?
Several compelling reasons might lead you to consider installing Epic Games titles on a thumb drive:
- Space Management: Perhaps your main gaming SSD is bursting at the seams. Moving less frequently played or older titles to a thumb drive can free up valuable space for newer, more demanding games or your operating system.
- Portability: Imagine being able to take your gaming library with you to a friend’s house, a LAN party, or even a different computer without needing to re-download massive game files. A thumb drive makes this possible.
- Cost-Effectiveness: Compared to purchasing a large external SSD, a high-capacity thumb drive can be a significantly more budget-friendly option for storing games.
- Temporary Solutions: If you’re waiting for a new internal drive to arrive or are troubleshooting storage issues, a thumb drive can serve as a temporary home for your games.
- Digital Security and Data Backup: While not its primary purpose, a thumb drive can also act as a portable backup of game installation files, offering a degree of data redundancy.
Potential Drawbacks and Performance Considerations
It’s essential to acknowledge that thumb drives, by their nature, generally offer lower read/write speeds compared to internal SSDs. This can translate to:
- Longer Load Times: Games installed on a thumb drive may experience noticeably longer initial loading screens and in-game loading sequences.
- Slightly Slower Asset Streaming: During gameplay, textures and other game assets might take a fraction longer to load, potentially leading to minor visual pop-in in some titles.
- Durability and Longevity: While modern thumb drives are quite robust, they are not designed for the constant, high-intensity read/write operations that gaming can involve. Over time, heavy usage could theoretically impact their lifespan more than an SSD.
However, for many games, especially those that aren’t heavily reliant on rapid asset streaming or extremely quick loading (e.g., indie games, older titles, or games with less demanding graphics), the performance difference might be negligible or perfectly acceptable. The key is to choose a fast thumb drive and understand the trade-offs.
Preparing Your Thumb Drive for Epic Games
Before you can begin installing, some crucial preparation steps are necessary to ensure a smooth and successful installation process. This involves selecting the right thumb drive and formatting it correctly.
Choosing the Right Thumb Drive
The performance of your game installation will be directly tied to the speed and capacity of your thumb drive.
- Capacity: Epic Games titles can range from a few gigabytes to over 100GB. Ensure your thumb drive has sufficient free space to accommodate the game you intend to install, plus a little extra for potential updates or future patches. Aim for at least 64GB, and preferably 128GB or larger, for a comfortable experience with most modern games.
- Speed (USB Standard): This is perhaps the most critical factor. Look for thumb drives that support USB 3.0, USB 3.1 (Gen 1 or Gen 2), or USB 3.2. These standards offer significantly higher transfer speeds than older USB 2.0 drives. The higher the “Gen” and the faster the advertised read/write speeds, the better the performance will be. Avoid USB 2.0 drives for game installations, as they will be painfully slow.
- Brand Reliability: Stick with reputable brands known for producing reliable storage devices. This can prevent unexpected data corruption or drive failure.
Formatting Your Thumb Drive
For optimal compatibility and performance with game installations, it’s generally recommended to format your thumb drive using the NTFS file system.
Why NTFS?
- Larger File Support: NTFS supports individual files much larger than 4GB, which is a limitation of the older FAT32 file system. Many modern game installation files exceed this size.
- Better Performance and Reliability: NTFS offers features like journaling and file compression that can improve performance and data integrity.
How to Format Your Thumb Drive (Windows):
- Connect the Thumb Drive: Insert your thumb drive into a USB port on your computer.
- Open File Explorer: Press
Windows Key + Eto open File Explorer. - Locate the Thumb Drive: In the left-hand pane, click on “This PC.” Your thumb drive will appear under “Devices and drives.”
- Right-Click and Format: Right-click on your thumb drive’s icon and select “Format…”
- Select File System: In the “File system” dropdown menu, choose NTFS.
- Allocation Unit Size: You can generally leave this at “Default allocation size.”
- Volume Label: You can give your thumb drive a descriptive name (e.g., “Epic Games Drive”).
- Quick Format: Ensure “Quick Format” is checked. This is faster.
- Start Formatting: Click the “Start” button. You will receive a warning that all data on the drive will be erased. Confirm by clicking “OK.”
Important: Formatting will erase all existing data on the thumb drive. Ensure you have backed up any important files before proceeding.
Installing Epic Games Titles on a Thumb Drive
With your thumb drive prepared and formatted, you’re ready to install your Epic Games. The process is remarkably similar to installing on your internal drive, with one key difference: selecting your thumb drive as the installation location.
Step-by-Step Installation Guide
- Launch the Epic Games Launcher: Open the Epic Games Launcher application on your PC.
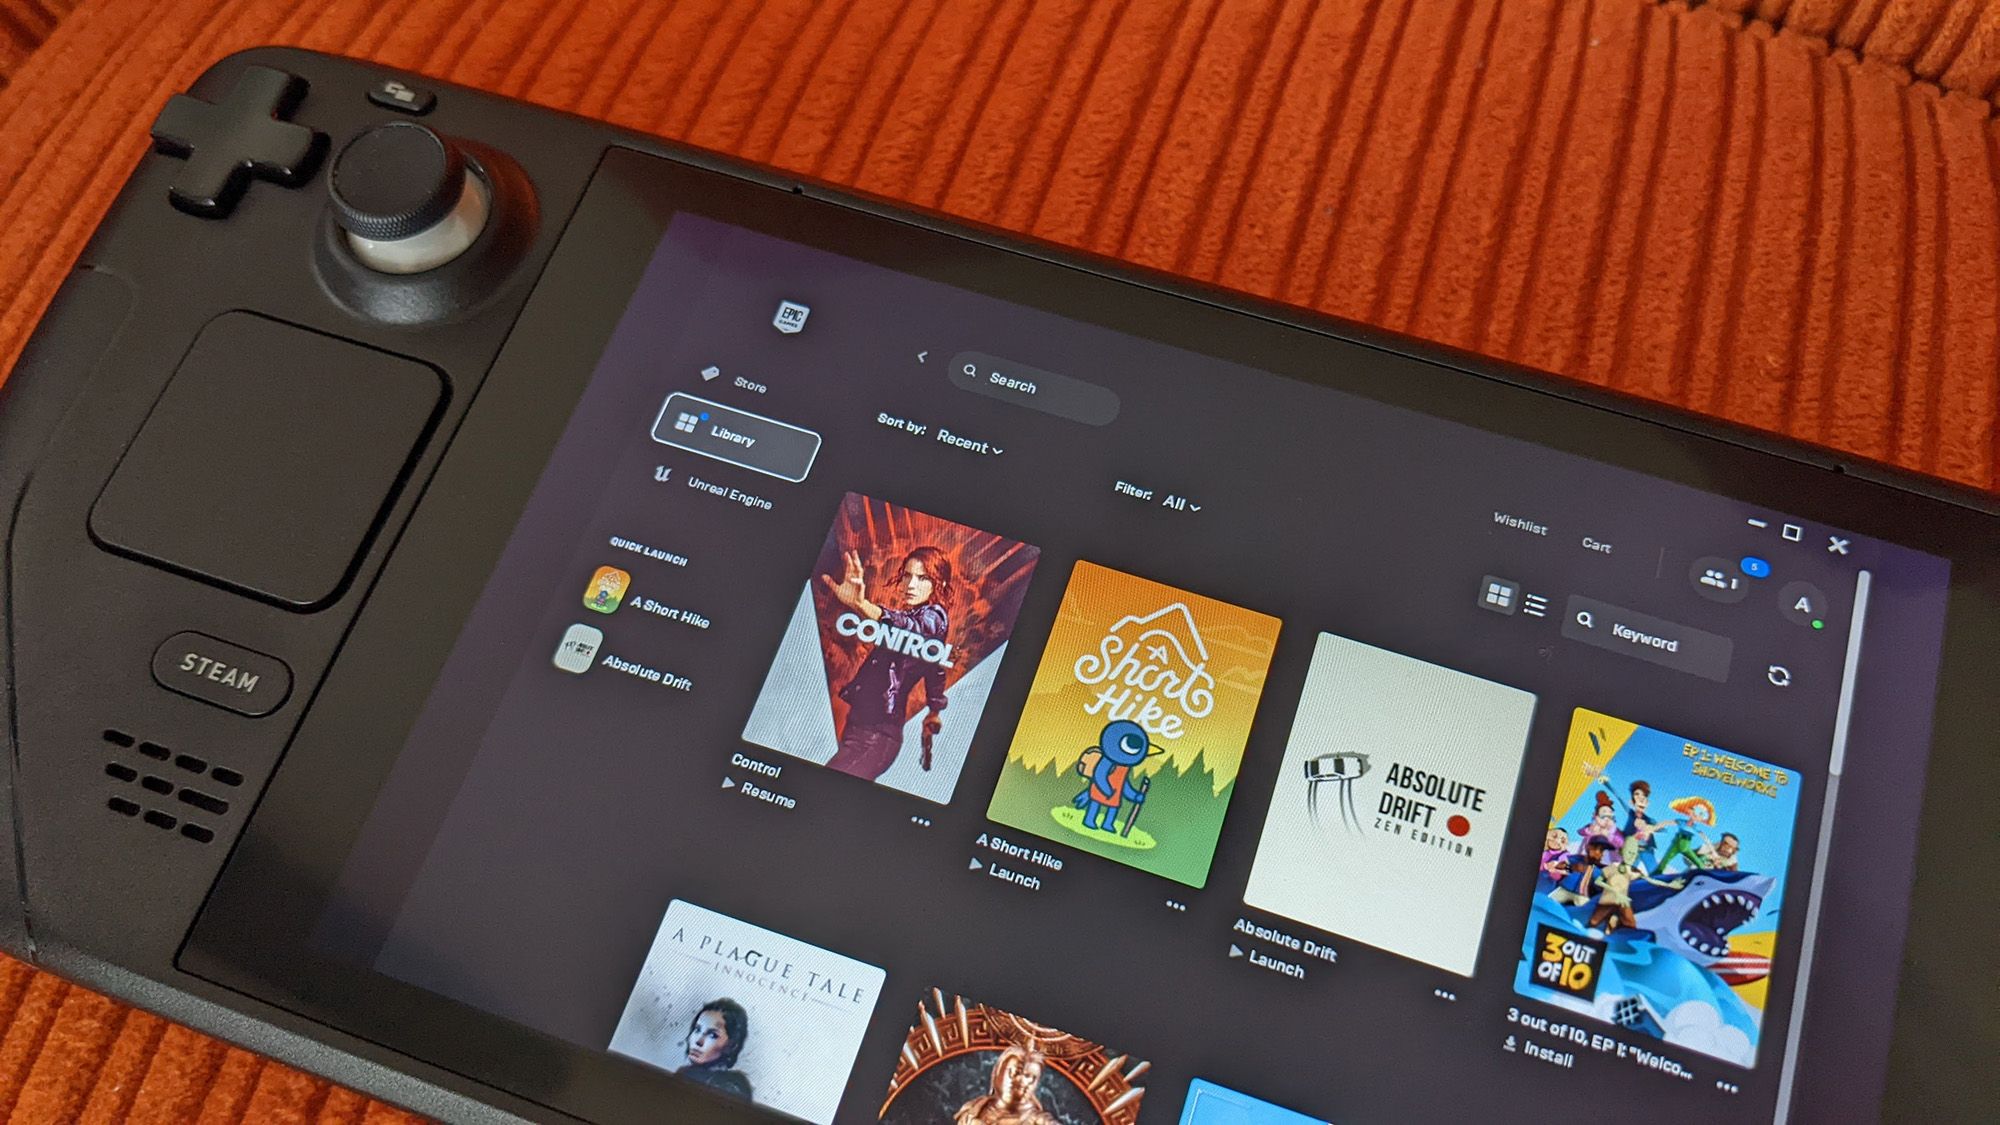
- Navigate to Your Library: Click on “Library” in the left-hand menu to view your purchased and installed games.
- Select the Game: Find the game you wish to install on your thumb drive and click on it.
- Initiate Installation: Click the “Install” button.
- Choose Installation Location: This is the critical step. Before the download begins, the launcher will prompt you to select an installation directory.
- Click on the dropdown menu that shows your default installation path (usually on your C: drive).
- You will see a list of available drives. Select your thumb drive.
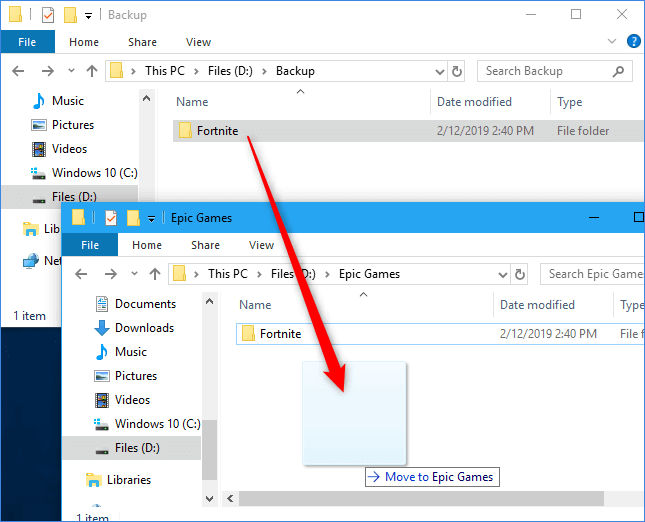
- You may need to click “Browse” to navigate to your thumb drive and create a new folder for your games (e.g., “D:Epic Games” where “D:” is your thumb drive’s letter). It’s good practice to create a dedicated folder on your thumb drive for all your Epic Games installations to keep things organized.
- Confirm Installation: Once you’ve selected the correct folder on your thumb drive, click “Install” or “Continue.”
- Download and Installation: The Epic Games Launcher will now begin downloading and installing the game directly onto your thumb drive. The progress will be displayed in the launcher.
Post-Installation Verification
After the installation is complete, it’s wise to perform a quick check:
- Verify Game Files: In the Epic Games Launcher, you can often right-click on a game in your library or find a “Verify” option within the game’s settings. This will check the integrity of the installed files and redownload any that might be corrupted. This is a good practice for any installation, but especially when using portable storage.
- Launch the Game: Attempt to launch the game from the Epic Games Launcher. Ensure it starts up correctly and that you can begin playing.
Managing and Launching Games from Your Thumb Drive
Once your games are installed on the thumb drive, you’ll need to know how to manage them and ensure they launch correctly each time.
Launching Games Reliably
When you want to play a game installed on your thumb drive, you’ll need to ensure the drive is connected and recognized by your PC.
- Connect Thumb Drive: Make sure your thumb drive is plugged into a USB port.
- Open Epic Games Launcher: Launch the Epic Games Launcher.
- Locate Game: Find the game in your library. The launcher should recognize that the game is already installed.
- Launch: Click the “Launch” button.
Important Note on Drive Letters: If you connect your thumb drive to a different computer, or even the same computer but the drive letter has changed (e.g., it was D: and is now E:), the Epic Games Launcher might not immediately recognize the installation. In such cases, you might need to:
- Use the “Locate” Feature: Sometimes, the launcher will prompt you to “Locate” the game if it can’t find it at the expected path. You can then browse to the game’s installation folder on your thumb drive.
- Re-associate (Rarely Needed): In very rare instances, you might need to uninstall and reinstall the launcher itself, pointing it to the correct location of your games. However, this is usually not necessary.
Moving Games Between Drives (and Back)
The Epic Games Launcher provides a built-in feature to move installed games between different drives, which is incredibly useful when managing your thumb drive.
- Connect Thumb Drive: Ensure your thumb drive is plugged in.
- Open Epic Games Launcher: Launch the launcher.
- Navigate to Game Settings: Go to your “Library,” find the game you want to move, and click on the three dots (…) or right-click to access game options. Select “Manage Installation” or a similar option.
- Change Installation Location: You should see an option to “Change Installation Location” or “Move Game.”
- Select New Location: Choose the desired destination. This could be another thumb drive, an external HDD, or an internal SSD. You can also use this to move games from your thumb drive back to your internal storage if needed.
- Confirm Move: Initiate the move process. The launcher will copy the game files to the new location.
Game Updates and Patches
When a game you’ve installed on a thumb drive receives an update, the process is the same as usual. The Epic Games Launcher will detect the update and download/install it directly to the existing location on your thumb drive. Ensure you have sufficient free space on the drive for the update.
Uninstallation and Cleanup
To uninstall a game from your thumb drive:
- Open Epic Games Launcher.
- Navigate to Game Options: Find the game in your library, click the three dots (…) or right-click, and select “Uninstall.”
- Confirm Uninstall.
This will remove the game’s files from your thumb drive. You can then manually delete the game’s installation folder on the thumb drive if desired, though the launcher usually handles this.
Conclusion: A Practical Approach to Game Storage
Installing Epic Games titles on a thumb drive is a practical and often overlooked method for managing your gaming library. While it requires careful consideration of drive speed and capacity, and may involve slightly longer load times, the benefits of increased portability, space management, and cost-effectiveness are undeniable. By following the steps outlined in this guide – from selecting and formatting your thumb drive to understanding the installation and management processes – you can effectively expand your gaming horizons and keep your favorite titles accessible wherever you go. Remember to always prioritize fast USB 3.0 or higher drives and the NTFS file system for the best possible experience. Happy gaming!
aViewFromTheCave is a participant in the Amazon Services LLC Associates Program, an affiliate advertising program designed to provide a means for sites to earn advertising fees by advertising and linking to Amazon.com. Amazon, the Amazon logo, AmazonSupply, and the AmazonSupply logo are trademarks of Amazon.com, Inc. or its affiliates. As an Amazon Associate we earn affiliate commissions from qualifying purchases.