
In the rapidly evolving landscape of digital productivity and interactive entertainment, automation has transitioned from a luxury to a necessity for many users. Whether you are a software tester performing repetitive UI checks, a data entry specialist handling high-volume tasks, or a gamer looking to optimize click-intensive mechanics, the auto clicker stands as a vital tool. This guide provides a professional overview of how to select, install, and configure auto clicker software across various platforms, ensuring both efficiency and security.
Understanding Auto Clickers: Efficiency in the Digital Age
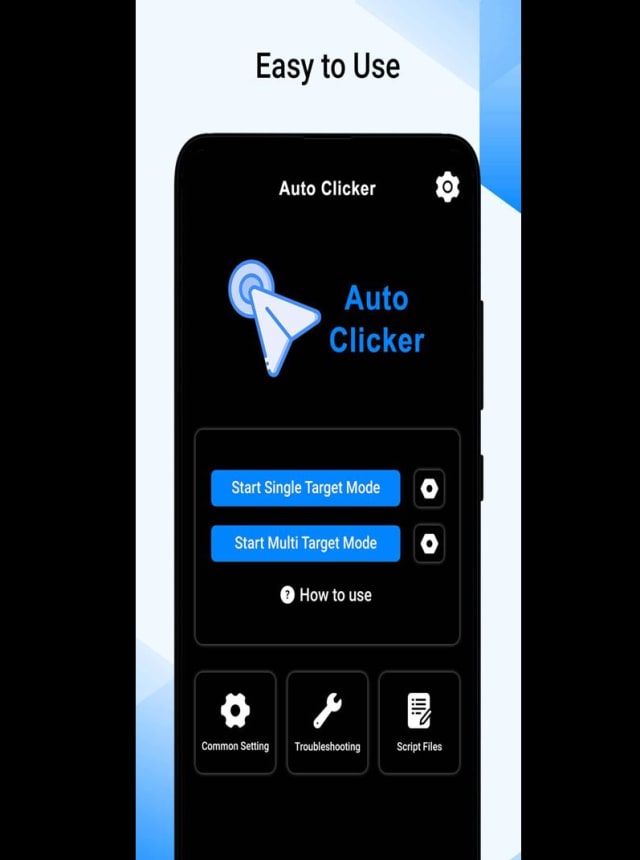
At its core, an auto clicker is a type of software or macro that can be used to automate the clicking of a mouse on a computer screen. By simulating human input, these tools allow users to bypass the physical strain and monotony associated with repetitive clicking. In the context of modern technology, these utilities are categorized under automation software, designed to enhance the workflow of users across diverse sectors.
What is an Auto Clicker?
An auto clicker works by interacting with the Operating System’s (OS) application programming interface (API) to send mouse-click events to specific coordinates or active windows. Unlike physical hardware modifications, software-based clickers are highly customizable, allowing users to define the frequency, duration, and type of click (left, right, or middle-click). Modern iterations also include “record and play” features, which can mirror complex sequences of movements and clicks.
Use Cases: Productivity vs. Gaming
The utility of an auto clicker is bifurcated into two main streams: professional productivity and gaming. In a professional environment, developers use these tools for “stress testing” applications, ensuring that software can handle rapid inputs without crashing. In the gaming sphere, particularly within “incremental” or “idle” games, auto clickers are used to maintain progress while the user is away from the keyboard (AFK), effectively managing resources and leveling up characters with precision.
Choosing the Right Software for Your Operating System
Before proceeding with an installation, it is imperative to select a software package that aligns with your specific operating system and security requirements. Not all auto clickers are created equal; some offer minimalist interfaces, while others provide robust scripting engines.
Windows Solutions (OP Auto Clicker and GS Auto Clicker)
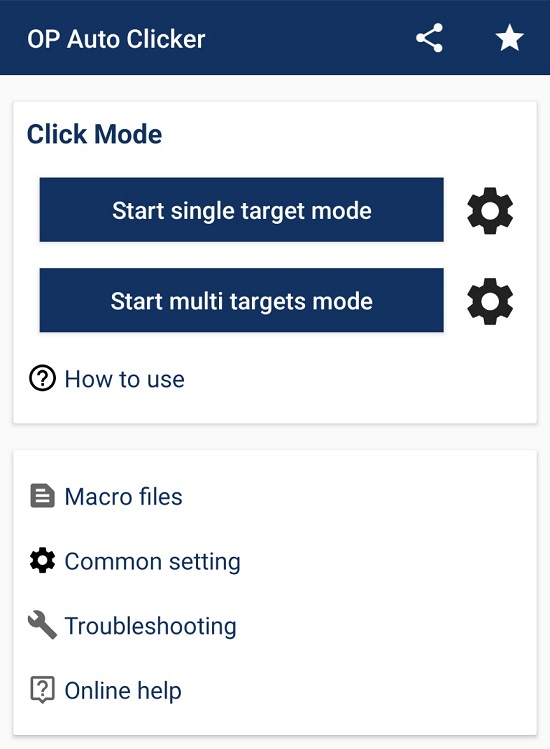
For Windows users, the market is dominated by “OP Auto Clicker” and “GS Auto Clicker.” These are lightweight, portable applications that do not require extensive system resources. OP Auto Clicker is particularly favored for its clean UI and its ability to function in the background. It supports two types of clicking: at your dynamic cursor position or at a pre-specified fixed location.
macOS Alternatives
The macOS ecosystem is more restrictive regarding system permissions, necessitating specialized software. Tools like “MurGaa Auto Clicker” or “iClicker” are specifically engineered to navigate the Accessibility permissions required by macOS to simulate hardware input. These tools often come with more sophisticated “AppleScript” integration, allowing for deeper automation within the Mac environment.
Mobile Options for Android and iOS
Mobile automation has seen a surge in popularity. Android users can utilize “Auto Clicker – Automatic Tap,” which leverages Android’s Accessibility Services. However, iOS users face more hurdles due to Apple’s “sandboxing” security model. For iOS, automation is typically achieved through the built-in “Switch Control” feature within the Accessibility settings, rather than through third-party executable apps.
Step-by-Step Installation and Configuration Guide
The installation process for an auto clicker is generally straightforward, but it requires careful attention to detail to ensure the software functions correctly within your system’s security framework.
Downloading from Secure Sources
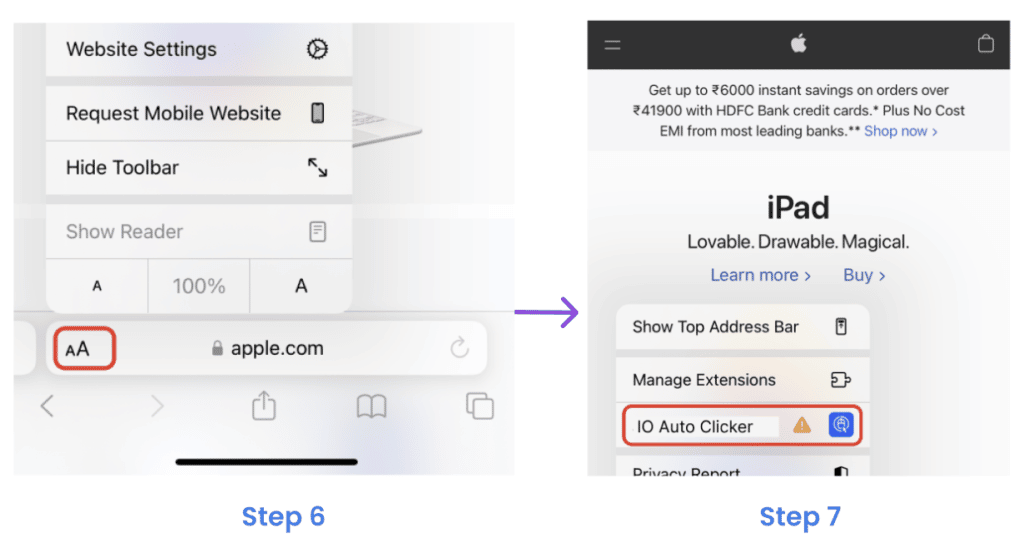
The first step is sourcing the executable file. To maintain digital security, always download from official repositories or verified hosting platforms like SourceForge or the Microsoft Store. Avoid third-party “re-pack” sites that may bundle the software with unwanted adware or malware. Once the .exe (Windows) or .dmg (Mac) file is downloaded, it is advisable to run a quick scan using your resident antivirus software.
Executing the Setup and Granting Permissions
Most Windows auto clickers are “portable,” meaning they do not require a formal installation wizard; you simply run the application. However, for the software to send clicks to other windows, you may need to “Run as Administrator.” On macOS, after dragging the application to your “Applications” folder, you must navigate to System Preferences > Security & Privacy > Privacy > Accessibility and check the box next to your auto clicker to grant it permission to control your computer.
Configuring Click Intervals and Hotkeys
Once the application is open, the configuration panel is your primary interface.
- Click Interval: Set the time between each click. This can range from hours down to milliseconds. For most high-speed tasks, 100ms is a standard starting point.
- Click Options: Choose between single or double clicks and select the mouse button (Left, Right, or Middle).
- Click Repeat: Decide whether the clicker should run until stopped manually or for a specific number of repetitions.
- Hotkeys: This is the most critical configuration. Set a unique “Start/Stop” hotkey (e.g., F6 or Ctrl+Shift+Z) that does not conflict with existing system shortcuts. This allows you to toggle the automation instantly.
Advanced Settings and Automation Strategies
For power users, simple clicking is often insufficient. Advanced configurations allow for more nuanced interactions with digital interfaces, bridging the gap between simple clicking and full-scale robotic process automation (RPA).
Target Point Selection (Dynamic vs. Fixed)
Standard automation usually follows the mouse cursor (Dynamic). However, if you are multitasking, you should utilize “Fixed Location” clicking. By using the “Pick Point” tool within the software, you can lock the auto clicker onto a specific X and Y coordinate on your monitor. This allows the clicks to continue at that exact spot even if you move your mouse elsewhere or minimize the window (depending on the software’s capabilities).
Utilizing Macro Recordings
Some high-end auto clickers offer a “Macro” or “Record” function. This feature records your actual mouse movements, delays, and keyboard inputs over a period of time. When played back, the software replicates the entire sequence. This is invaluable for complex workflows, such as navigating through a series of menu screens or performing a specific “rotation” of actions in a simulation environment.
Click Frequency and Latency Management
In tech-heavy applications, clicking too fast can lead to “input lag” or application instability. If the click interval is set to 1 millisecond, the software may overwhelm the CPU’s ability to process the UI updates. It is recommended to find the “Sweet Spot”—the maximum speed at which the target application can still register each individual click accurately.
Best Practices for Digital Security and Software Integrity
As with any software that takes control of your input devices, maintaining a high standard of digital hygiene is paramount. Users must be aware of the security and ethical implications of using automation tools.
Avoiding Malware and Third-Party Risks
Because auto clickers interact with the system at a low level, they are sometimes flagged as “False Positives” by antivirus software. To mitigate risk, always verify the MD5 or SHA-256 checksum of the download if provided by the developer. Furthermore, never provide “Full Disk Access” to an auto clicker unless it is a reputable, well-reviewed application, as this could theoretically allow malicious scripts to access sensitive data.
Legal and Ethical Considerations
In the professional tech world, auto clickers are legitimate tools for testing and efficiency. However, in the gaming industry, the use of auto clickers can be a contentious issue. Many online multiplayer games consider auto clickers a violation of their Terms of Service (ToS), categorizing them as “unfair advantages” or “cheating.” Before using an auto clicker in a gaming context, ensure you are not risking an account ban. In competitive environments, it is always better to rely on human skill rather than automated scripts.
Maintaining Software Updates
Technological environments are constantly shifting. OS updates (like moving from Windows 10 to Windows 11) can sometimes break the functionality of older auto clicker versions. Regularly check the developer’s website for updates to ensure compatibility with the latest security patches and display driver updates. Keeping your software current ensures that the interaction between the clicker and your GPU’s rendering of the UI remains seamless and crash-free.
By following these professional guidelines, users can effectively harness the power of auto clickers to eliminate redundancy and maximize digital output. Whether for refining a software build or achieving peak efficiency in a digital environment, the correct installation and configuration of an auto clicker is a foundational skill in the modern tech toolkit.
aViewFromTheCave is a participant in the Amazon Services LLC Associates Program, an affiliate advertising program designed to provide a means for sites to earn advertising fees by advertising and linking to Amazon.com. Amazon, the Amazon logo, AmazonSupply, and the AmazonSupply logo are trademarks of Amazon.com, Inc. or its affiliates. As an Amazon Associate we earn affiliate commissions from qualifying purchases.