
In today’s fast-paced digital world, efficiency is key. Whether you’re a student, a professional, or a casual computer user, you’re likely juggling numerous applications, documents, and websites on a daily basis. Navigating through folders and application menus to access your most frequently used items can become a significant time drain. This is where desktop shortcuts come into play. A well-placed shortcut on your desktop acts as a direct gateway, allowing you to launch applications, open specific files, or visit important web pages with just a couple of clicks.
This comprehensive guide will walk you through the simple yet powerful process of installing shortcuts on your desktop, transforming your computing experience from cluttered to streamlined. We’ll explore various methods, catering to different types of shortcuts, and touch upon the broader benefits of organizing your digital workspace.
Understanding the Power of Desktop Shortcuts
Before diving into the “how-to,” it’s crucial to appreciate why desktop shortcuts are so valuable. They are more than just icons; they are strategic tools for enhancing productivity and simplifying your workflow.
Enhancing Productivity and Streamlining Your Workflow
Imagine needing to access your project management software, your favorite code editor, and a frequently visited research paper. Without shortcuts, this might involve opening your start menu, searching for each application, and then navigating to your document’s location. With shortcuts, each of these items can be a single click away from your desktop. This reduction in navigation time, multiplied across hundreds or thousands of daily interactions, can lead to substantial time savings and a less frustrating computing experience.
Furthermore, well-organized shortcuts can create a visual representation of your most important digital assets, reducing cognitive load. Instead of trying to remember where everything is stored, you have a readily accessible visual cue. This is particularly beneficial for complex projects or when managing multiple roles (e.g., personal finance apps alongside work-related software).
Organizing Your Digital Workspace
A cluttered desktop can be as detrimental to productivity as a messy physical workspace. Shortcuts provide a clean and intuitive way to organize your most frequently accessed items without cluttering your main file system. You can group related shortcuts together, creating mini-hubs for specific tasks or projects. For instance, you might have a group of shortcuts for “Work,” another for “Creative Projects,” and a third for “Personal Finance.” This visual organization not only makes it easier to find what you need but also helps maintain a sense of order and control over your digital environment.
Accessibility and Quick Launching
The primary benefit of a desktop shortcut is immediate accessibility. Instead of digging through menus, you can launch your favorite browser, a critical document, or a frequently used utility application in seconds. This is especially useful for time-sensitive tasks or when you need to quickly switch between different applications and resources.
Creating Shortcuts for Applications
The most common type of shortcut is one that launches an application. This process is straightforward and is the foundation for creating shortcuts for other items.
Locating the Application’s Executable File
To create a shortcut for an application, you first need to locate its executable file. This is the file that actually runs the program (often ending in .exe on Windows).
- For installed applications: Most applications, when installed, create an entry in your operating system’s Start Menu or Applications folder. You can typically find these by:
- Windows: Clicking the Start button, scrolling through the list of applications, or typing the application’s name into the search bar. Once you find the application in the search results or list, right-click on it. In the context menu that appears, look for an option like “Open file location.” This will often take you directly to the shortcut in your Start Menu folder. To get to the actual executable, you might need to right-click that shortcut again and select “Open file location” one more time.
- macOS: Applications are usually found within the “Applications” folder in Finder. You can access this by clicking on “Go” in the menu bar and selecting “Applications,” or by using Spotlight search (Command + Space) and typing the application’s name. Once found, you can drag the application icon directly to your desktop to create an alias (macOS’s equivalent of a shortcut).
The Drag-and-Drop Method (Windows)
This is arguably the simplest and most intuitive method for creating application shortcuts on Windows.
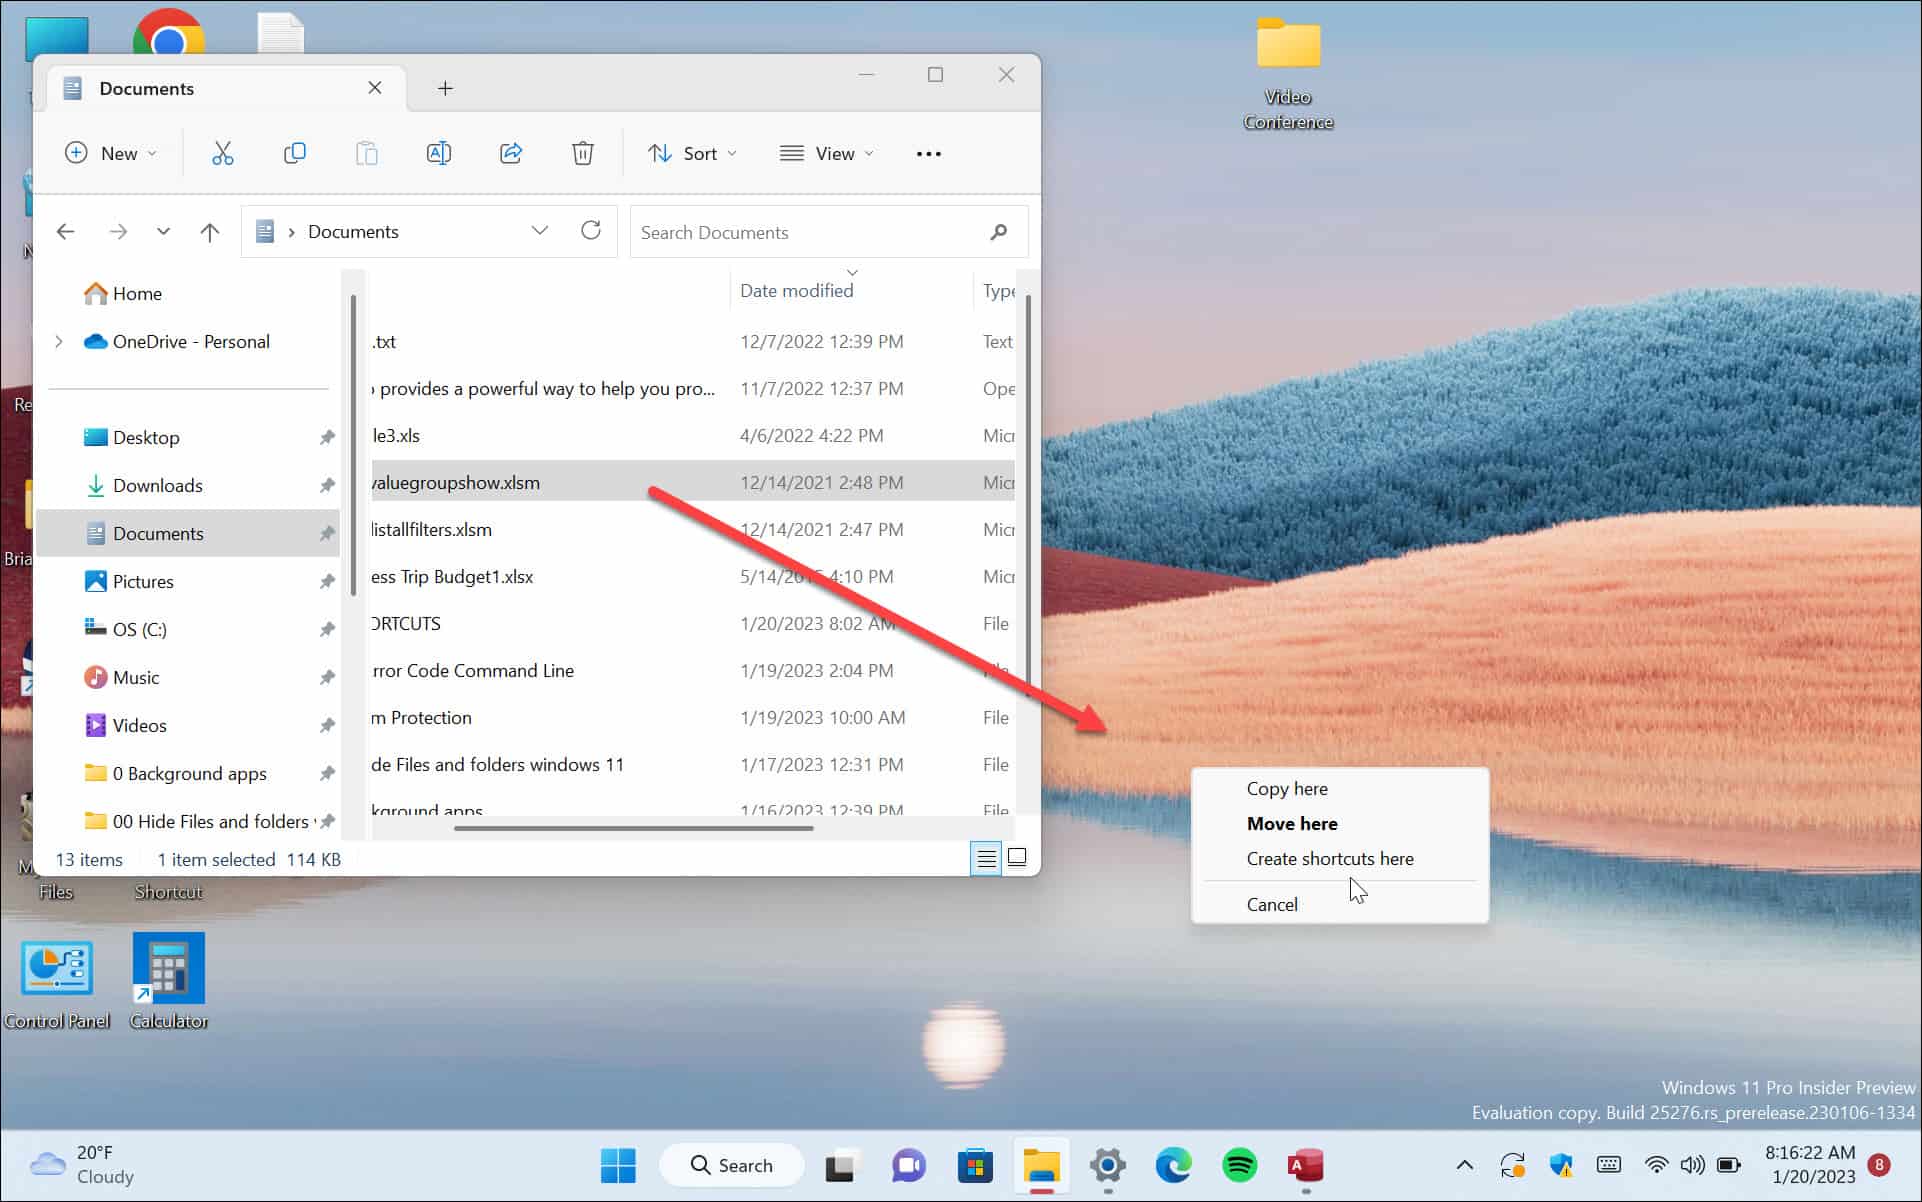
- Open File Explorer and navigate to the location where you found the application’s executable file (as described above).
- Right-click and hold on the executable file (e.g.,
chrome.exe). - Drag the file to an empty space on your desktop.
- Release the right mouse button. A context menu will appear.
- Select “Create shortcuts here.” An icon representing your application will appear on your desktop.
Using the “Create Shortcut” Wizard (Windows)
This method provides a more guided approach and is useful if you’re having trouble finding the executable directly or want to create a shortcut to a specific program that isn’t immediately visible.
- Right-click on an empty area of your desktop.
- In the context menu, hover over “New.”
- Select “Shortcut.” The “Create Shortcut” wizard will appear.
- In the “Type the location of the item:” field, you’ll need to enter the path to the executable file. You can also click the “Browse…” button to navigate to the file through a standard file explorer window.
- Once the path is entered or selected, click “Next.”
- You will be prompted to “Type a name for this shortcut.” Enter a descriptive name (e.g., “Google Chrome,” “My Project Folder”).
- Click “Finish.” Your new shortcut will appear on the desktop.
Creating Aliases (macOS)
On macOS, the concept is similar, but the term used is “alias.”
- Open Finder and navigate to the application you wish to create a shortcut for.
- Click and drag the application icon from the Finder window to your desktop. macOS automatically creates an alias.
- Alternatively, you can right-click (or Control-click) on the application icon, select “Make Alias,” and then drag the newly created alias to your desktop.
Creating Shortcuts for Files and Folders
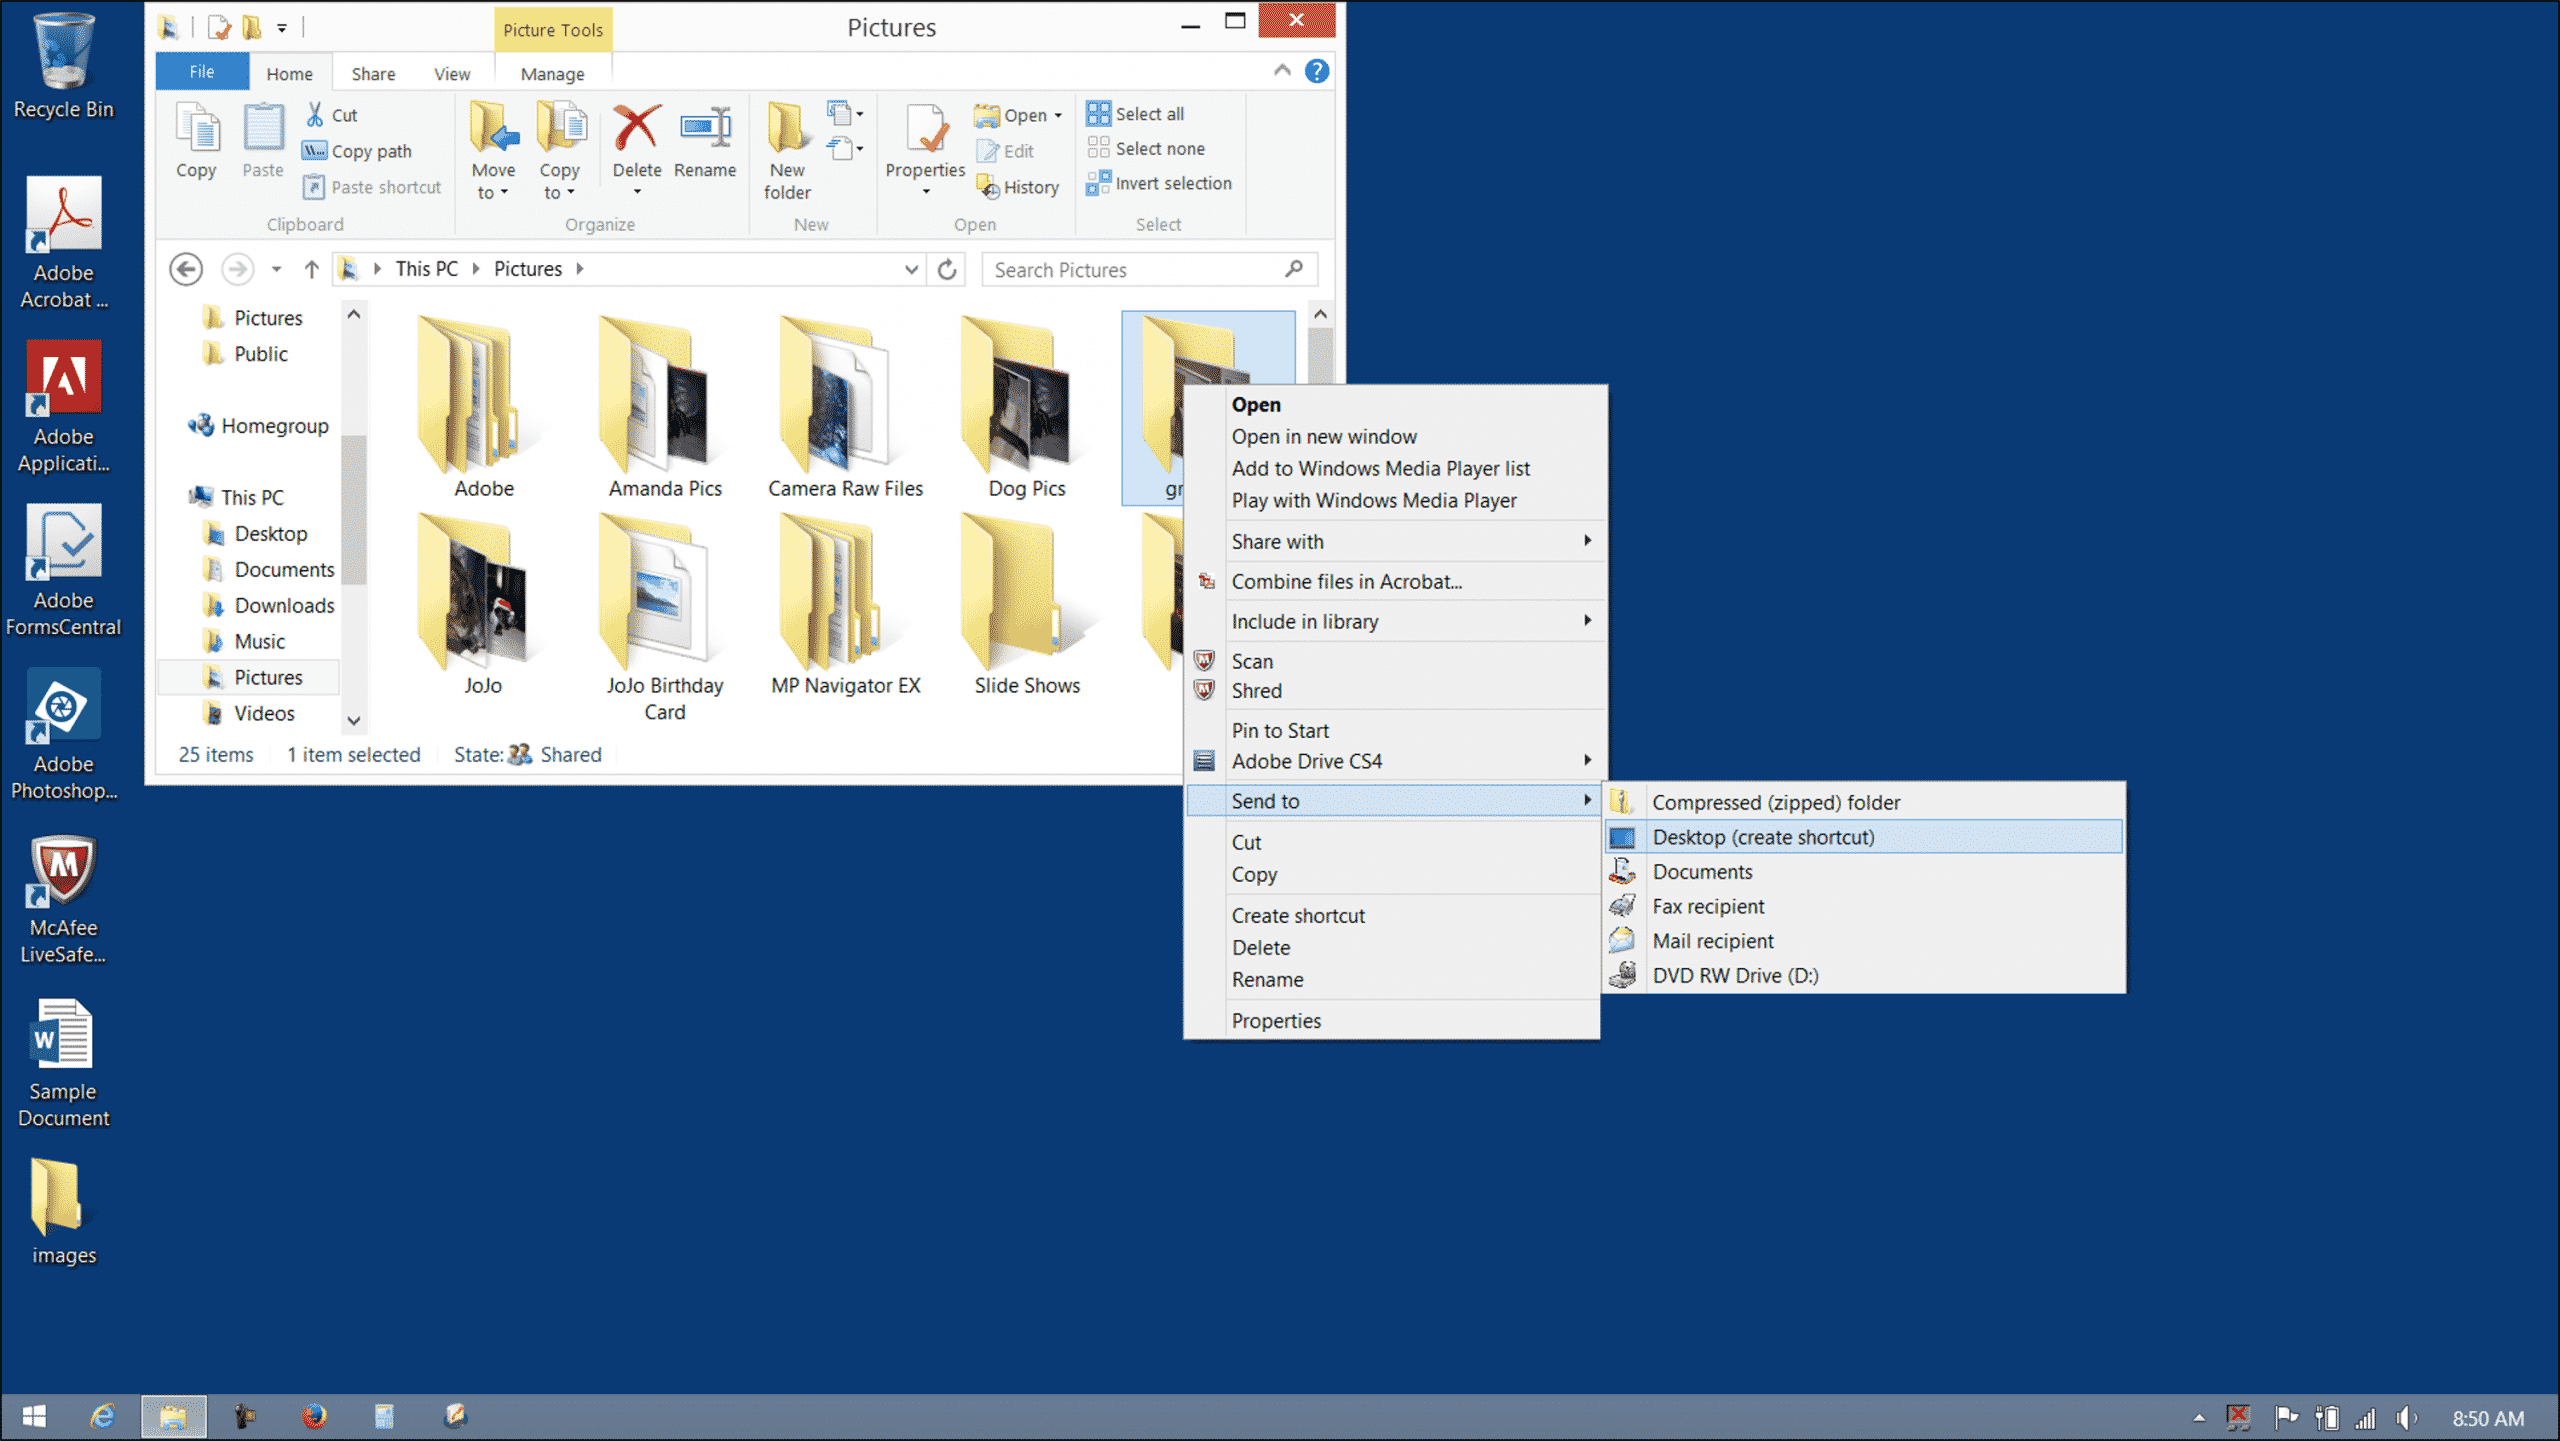
Beyond applications, you’ll often want quick access to specific documents, images, videos, or entire folders. The process is very similar.
The Drag-and-Drop Method for Files and Folders
This is the most common and easiest way to create shortcuts for local files and folders.
- Open File Explorer (Windows) or Finder (macOS).
- Navigate to the file or folder for which you want to create a shortcut.
- Right-click and hold on the file or folder.
- Drag it to an empty space on your desktop.
- Release the right mouse button. A context menu will appear.
- Select “Create shortcuts here” (Windows) or simply release the mouse button after dragging (macOS, which creates an alias by default).
Using the “Create Shortcut” Wizard for Files and Folders (Windows)
This method works identically to creating application shortcuts, with the only difference being the “location of the item” you specify.
- Right-click on an empty area of your desktop.
- In the context menu, hover over “New.”
- Select “Shortcut.”
- In the “Type the location of the item:” field, enter the full path to your file or folder, or click “Browse…” to locate it.
- Click “Next.”
- Type a name for this shortcut and click “Finish.”
Creating Shortcuts for Websites
In the age of information, quick access to frequently visited websites is a significant productivity booster. Many browsers offer a straightforward way to achieve this.
Using Your Web Browser
Most modern web browsers allow you to create desktop shortcuts for websites. The exact steps may vary slightly between browsers (Chrome, Firefox, Edge, Safari), but the general principle is the same.
-
Google Chrome:
- Navigate to the website for which you want to create a shortcut.
- Click the three vertical dots (More menu) in the top-right corner of the browser window.
- Hover over “More tools.”
- Select “Create shortcut…”
- A dialog box will appear. You can choose to have it open as a window or as a tab. Click “Create.”
-
Microsoft Edge:
- Navigate to the website.
- Click the three horizontal dots (Settings and more menu) in the top-right corner.
- Hover over “Apps.”
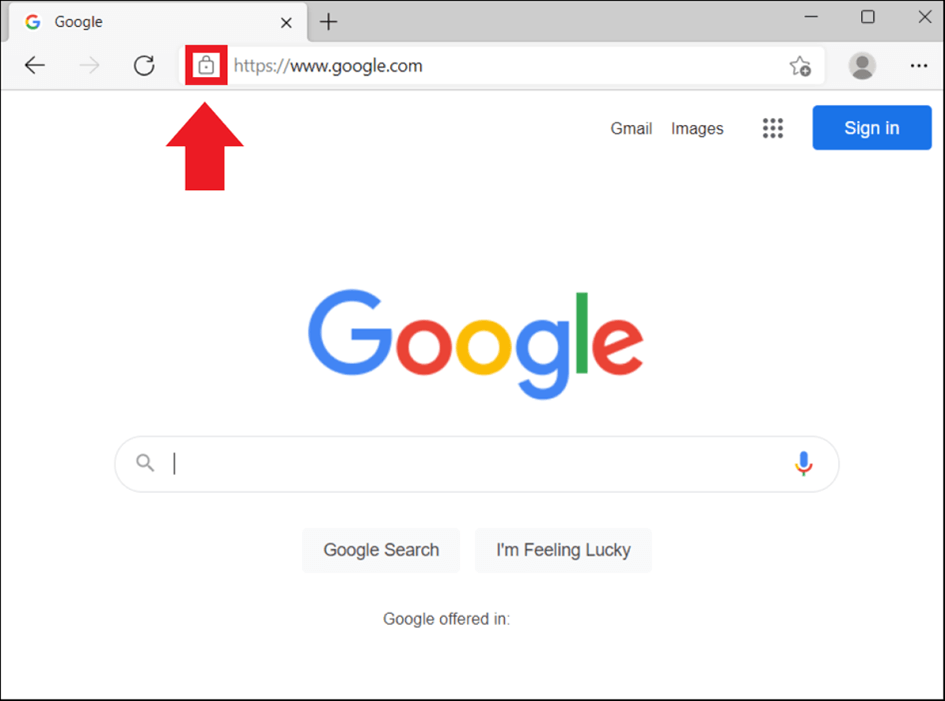
- Select “Install this site as an app.” (This creates a shortcut that can sometimes function as a standalone application). Alternatively, you can drag the website icon from the address bar to your desktop.
-
Mozilla Firefox:
- Navigate to the website.
- Click the three horizontal lines (Open menu) in the top-right corner.
- Drag the website’s favicon (the small icon to the left of the URL in the address bar) directly to your desktop.
-
Apple Safari (macOS):
- Navigate to the website.
- Click and drag the website’s favicon from the left side of the address bar to your desktop.
Customizing and Managing Your Shortcuts
Once you’ve created your shortcuts, you can further refine your desktop’s organization and functionality.
Renaming and Deleting Shortcuts
- Renaming: To rename a shortcut, right-click on it and select “Rename.” Type your desired new name and press Enter.
- Deleting: To delete a shortcut, right-click on it and select “Delete,” or select the shortcut and press the Delete key on your keyboard. Note that deleting a shortcut does not delete the original file, folder, or application.
Changing Shortcut Icons
A common way to visually distinguish between similar shortcuts or to simply personalize your desktop is by changing their icons.
-
Windows:
- Right-click on the shortcut and select “Properties.”
- In the Properties window, go to the “Shortcut” tab.
- Click the “Change Icon…” button.
- You can select an icon from the current application’s icon library, browse for
.icofiles, or use icons from system files likeshell32.dllorimageres.dllwhich contain a wealth of common icons. - Select your desired icon and click “OK” twice.
-
macOS:
- Find an image file (e.g., a
.pngor.jpg) that you want to use as an icon. Open it in Preview. - Press Command + C to copy the image.
- Right-click (or Control-click) on the alias you want to customize.
- Select “Get Info.”
- In the Info window, click on the small icon in the top-left corner. It will become highlighted.
- Press Command + V to paste your copied image.
- Find an image file (e.g., a
Organizing Shortcuts into Folders
To prevent your desktop from becoming overwhelmed, especially if you create many shortcuts, you can group them into folders.
- Right-click on an empty area of your desktop.
- Select “New” > “Folder.”
- Give the folder a descriptive name (e.g., “Work Tools,” “Creative Apps,” “Important Links”).
- Drag and drop your shortcuts into this folder to keep your desktop clean and organized.
Conclusion
Mastering the art of installing shortcuts on your desktop is a small skill that yields significant returns in terms of productivity and digital organization. By understanding how to create shortcuts for applications, files, folders, and websites, you can tailor your computing environment to your specific needs, reducing wasted time and making your daily tasks smoother and more efficient. Whether you prefer the simplicity of drag-and-drop or the guided approach of a wizard, the ability to place essential digital assets just a click away is a fundamental aspect of effective computer usage. Take the time to implement these techniques, and you’ll quickly discover how much more streamlined and enjoyable your digital life can become.
aViewFromTheCave is a participant in the Amazon Services LLC Associates Program, an affiliate advertising program designed to provide a means for sites to earn advertising fees by advertising and linking to Amazon.com. Amazon, the Amazon logo, AmazonSupply, and the AmazonSupply logo are trademarks of Amazon.com, Inc. or its affiliates. As an Amazon Associate we earn affiliate commissions from qualifying purchases.