
Upgrading your Graphics Processing Unit (GPU) is one of the most impactful enhancements you can make to your personal computer, whether you’re a hardcore gamer seeking higher frame rates, a creative professional demanding faster rendering times, or simply looking to breathe new life into an aging system. The GPU is the engine that drives your visual experience, translating raw data into stunning images on your screen. While the prospect of delving into your PC’s internals might seem daunting to some, installing a new GPU is a surprisingly straightforward process that most users can accomplish with a little preparation and careful execution. This comprehensive guide will walk you through every step, from pre-installation checks to post-installation optimization, ensuring a smooth and successful upgrade.
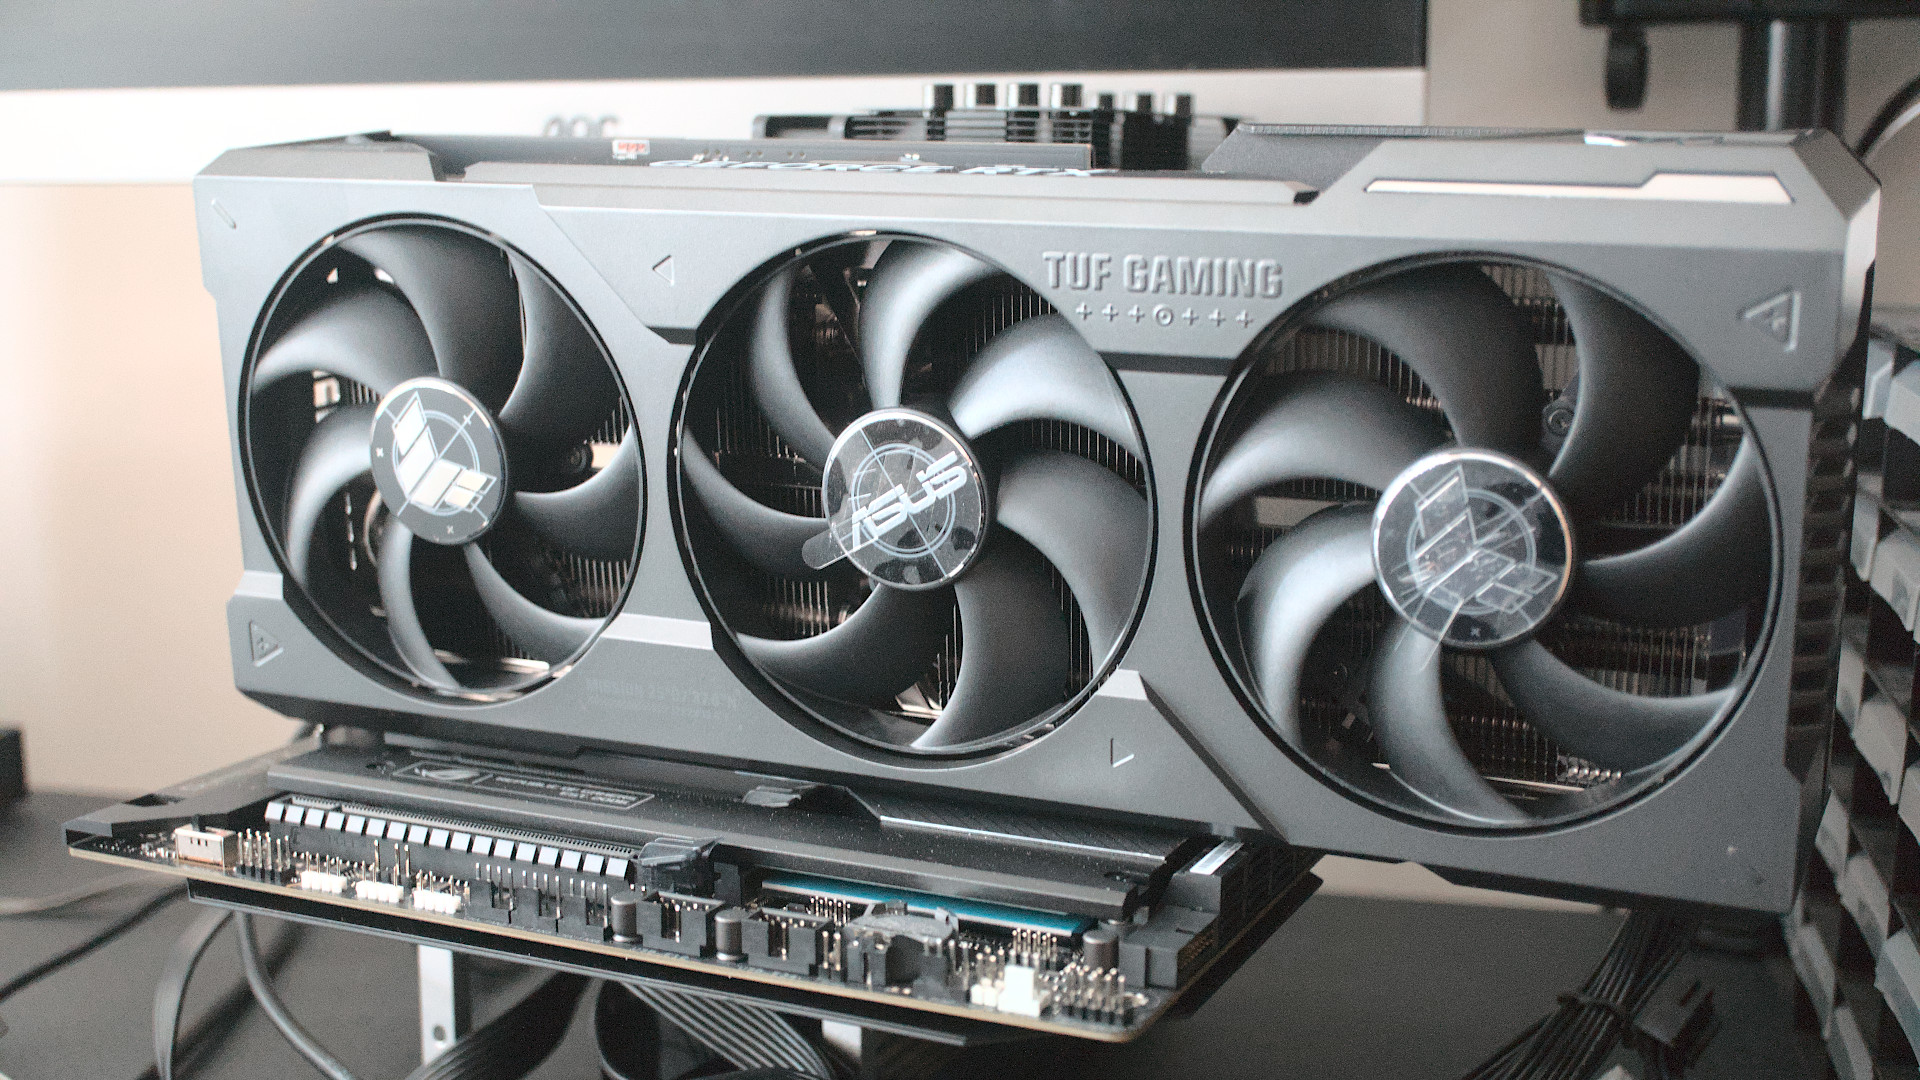
1. Preparing for Your GPU Upgrade
Before you even think about opening your PC case, a thorough preparation phase is crucial. This step minimizes potential issues and ensures that your new hardware integrates seamlessly into your existing setup. Neglecting these initial checks can lead to compatibility problems, power shortages, or even damage to components.
Essential Tools and Safety Precautions
To begin, gather the necessary tools. You’ll primarily need a Phillips-head screwdriver to open your PC case and secure the new card. A small anti-static wrist strap is highly recommended to prevent electrostatic discharge (ESD), which can irreparably damage sensitive electronic components. If you don’t have one, frequently touching a grounded metal object (like the bare metal of your PC case) before and during the process can offer some protection. Additionally, a can of compressed air can be useful for cleaning out dust from your PC’s interior, particularly the PCIe slot where the new GPU will reside. Work in a well-lit, clean, and stable environment to prevent dropping small screws or misplacing components. Always unplug your PC from the wall socket before beginning any work inside the case.
Verifying Compatibility and Power Requirements
The most critical aspect of preparation is ensuring your new GPU is compatible with your current system. First, check your motherboard: it must have an available PCI Express (PCIe) x16 slot. Most modern motherboards do, but it’s wise to confirm. Next, consider physical clearance: GPUs vary significantly in size, so measure the available space in your PC case to ensure the new card will fit without obstructing other components or fans. Pay close attention to its length, height, and thickness.
Equally important are the power requirements. Every GPU has a recommended power supply unit (PSU) wattage. Locate your current PSU’s wattage rating and compare it to the new GPU’s specification. If your current PSU is insufficient, you’ll need to upgrade it as well, which adds another layer to the installation process. Additionally, check the required power connectors (e.g., 6-pin, 8-pin, or 12-pin PCIe connectors) and confirm your PSU has the necessary cables. Adapters can sometimes be used, but a direct connection from the PSU is always preferable for stability and safety.
Backing Up Data and Uninstalling Old Drivers
While a GPU upgrade typically doesn’t directly impact your data, it’s always good practice to back up any critical files before performing significant hardware changes. This provides peace of mind in the unlikely event of unforeseen issues. More importantly, before physically replacing the card, you must uninstall your old GPU drivers. Using driver uninstallation utilities like Display Driver Uninstaller (DDU) is highly recommended. Run DDU in Windows Safe Mode to completely remove all traces of previous drivers, preventing potential conflicts with your new hardware. A clean slate ensures optimal performance and stability for your new graphics card.
2. The Uninstallation Process (If Applicable)
If you’re upgrading from an existing graphics card, the first step inside your PC case involves safely removing the old component. This process is generally straightforward but requires a gentle touch to avoid damaging the motherboard or the old card.
Disconnecting Peripherals and Opening Your PC Case
Before anything else, ensure your computer is completely shut down and unplugged from the wall. Disconnect all external peripherals, including monitors, keyboards, mice, and any USB devices. Move your PC to your designated workspace. Carefully open your PC case, typically by unscrewing thumb screws or standard screws on the rear panel and sliding off the side panel. Take care to lay the case flat on its side to provide easy access to the motherboard and components.
Removing the Old Graphics Card
Once the case is open, locate your current GPU. It will be the large card plugged into one of the PCIe x16 slots, usually the topmost one, and connected to your monitor cables. First, disconnect any power cables running from your PSU to the GPU. These typically have a clip or latch that needs to be pressed or squeezed to release them. Next, locate the screw or latch securing the GPU to the PC case’s rear I/O bracket. Unscrew it. Finally, and this is crucial, find the small plastic or metal retention clip at the end of the PCIe slot, nearest the front of the case. Gently press or pull this clip to release the GPU from the slot. Once released, carefully pull the GPU straight out of the slot. Avoid wiggling or twisting the card unnecessarily to prevent damage to the PCIe slot.
Cleaning the PCIe Slot and Case Interior
With the old GPU removed, now is an excellent time for a quick internal cleaning. Use your can of compressed air to blow away any accumulated dust from the empty PCIe slot. Direct short bursts of air, holding the can upright to prevent propellant discharge. Also, give the rest of your case a quick clean, paying attention to fans, heatsinks, and other areas where dust tends to accumulate. A clean environment aids in better airflow and component longevity.
3. Installing Your New Graphics Card
This is the moment of truth – physically installing your powerful new GPU. Precision and care are paramount to ensure a secure and functional connection. Take your time, and don’t force anything.
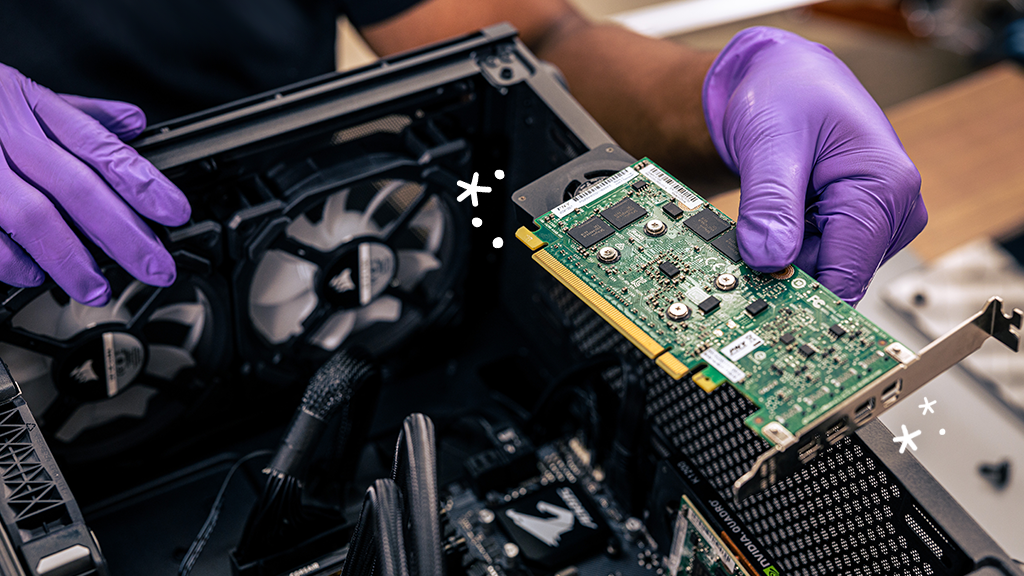
Seating the GPU in the PCIe Slot
Carefully unbox your new GPU, handling it by its edges and avoiding direct contact with the golden connector pins or the circuit board. Align the PCIe connector on the bottom of the GPU with the open PCIe x16 slot on your motherboard. The GPU should slot in smoothly. Apply gentle, even pressure to both ends of the card until you hear a click, indicating that the retention clip has engaged and the card is fully seated. Visually inspect the card to ensure it’s level and fully inserted into the slot. You shouldn’t see any of the golden pins once it’s properly seated.
Connecting Power Cables
With the GPU firmly in place, it’s time to provide it with power. Refer to your GPU’s specifications for the required power connectors (e.g., one or more 6-pin, 8-pin, or 12-pin connectors). Route the appropriate power cables from your PSU to the GPU, making sure to connect all necessary cables. These connectors are usually keyed, meaning they only fit in one orientation. Push them in firmly until they click into place. Do not leave any required power connectors unplugged, as this will prevent the GPU from functioning correctly and could potentially damage it. Cable management at this stage can help improve airflow and aesthetics.
Securing the GPU and Closing the Case
Once the GPU is fully seated and powered, secure it to the PC case’s rear I/O bracket using the screw or latch you removed earlier. This prevents the card from sagging or becoming dislodged during transport or vibration. Double-check all connections: ensure the GPU is fully seated, power cables are secure, and any other components you might have moved are back in place. With everything confirmed, reattach the side panel of your PC case and secure it with its screws.
4. Post-Installation Configuration and Testing
The physical installation is only half the battle. The next crucial steps involve software setup and verification to ensure your new GPU is operating at its full potential.
Booting Up and Installing New Drivers
Reconnect your monitor to the appropriate video output port on your new GPU. Reconnect all other peripherals and plug your PC back into the wall. Power on your computer. If everything went correctly, your PC should boot up, and you should see a display on your monitor. Windows might automatically install generic drivers or detect the new hardware, but you’ll need the manufacturer’s specific drivers for optimal performance. Visit the official website of your GPU manufacturer (e.g., NVIDIA or AMD) and download the latest drivers for your specific model and operating system. Install these drivers, typically by running an executable file and following the on-screen prompts. A system reboot will likely be required after installation.
Optimizing Settings and Performance Benchmarks
After the drivers are installed, delve into the GPU’s control panel (NVIDIA Control Panel or AMD Radeon Software). Here, you can fine-tune various settings, such as resolution, refresh rate, anti-aliasing, and anisotropic filtering, to suit your preferences and optimize performance for your favorite applications or games. Consider running a synthetic benchmark tool (e.g., 3DMark, FurMark) or testing a demanding game to gauge your new GPU’s performance. Compare the results to online benchmarks for similar setups to ensure your card is performing as expected. Monitor temperatures and clock speeds during these tests to confirm stable operation.
Troubleshooting Common Issues
Despite careful installation, you might encounter issues. If your PC doesn’t boot, double-check all power connections, ensure the GPU is fully seated, and confirm your monitor is plugged into the correct GPU port. If you experience display issues or crashes, try uninstalling and reinstalling drivers using DDU in Safe Mode again. If your system boots but doesn’t detect the GPU, check your motherboard’s BIOS/UEFI settings to ensure the correct PCIe slot is prioritized or that integrated graphics are not set as primary. Persistent issues might indicate a faulty card, an incompatible PSU, or a motherboard problem, requiring further investigation or professional assistance.
5. Maximizing Your New GPU’s Potential
With your new GPU installed and confirmed operational, there are further steps you can take to unlock its full power and ensure longevity.
Understanding Software Features and Overclocking
Modern GPUs come with sophisticated software suites that offer much more than just driver management. Explore features like game optimization profiles, streaming overlays, video recording tools, and fan control. For advanced users seeking every ounce of performance, overclocking — increasing the GPU’s clock speeds beyond factory settings — can provide a noticeable boost. However, overclocking requires careful research, monitoring of temperatures, and incremental adjustments to avoid instability or hardware damage. Always proceed with caution and only use reliable overclocking software provided by your GPU manufacturer or reputable third parties.

Future-Proofing Your System
While no component truly “future-proofs” a system indefinitely, a powerful new GPU significantly extends the lifespan of your gaming or workstation PC. To maximize its long-term value, ensure your cooling solution is adequate, maintain good cable management for optimal airflow, and regularly clean your PC to prevent dust buildup. Keep your GPU drivers updated, as manufacturers frequently release performance improvements and bug fixes. Understanding how to manage your GPU’s settings and keeping it cool will help it perform optimally for years to come, delaying the need for your next upgrade.
Installing a new GPU is a rewarding DIY project that empowers you with enhanced visual fidelity and computing power. By following these steps meticulously, even a novice can confidently undertake this upgrade, transforming their PC into a more capable and enjoyable machine. Embrace the journey, and enjoy the fruits of your labor!
aViewFromTheCave is a participant in the Amazon Services LLC Associates Program, an affiliate advertising program designed to provide a means for sites to earn advertising fees by advertising and linking to Amazon.com. Amazon, the Amazon logo, AmazonSupply, and the AmazonSupply logo are trademarks of Amazon.com, Inc. or its affiliates. As an Amazon Associate we earn affiliate commissions from qualifying purchases.