
In an increasingly connected world, our vehicles are evolving from mere modes of transport into extensions of our digital lives. For many, the factory-installed car stereo, while functional, often falls short of delivering the immersive audio experience or cutting-edge connectivity we’ve come to expect from our smartphones and home entertainment systems. Upgrading your car stereo isn’t just about louder bass or clearer highs; it’s about integrating modern technology, enhancing your driving experience, and potentially even elevating your car’s perceived value and personal brand.
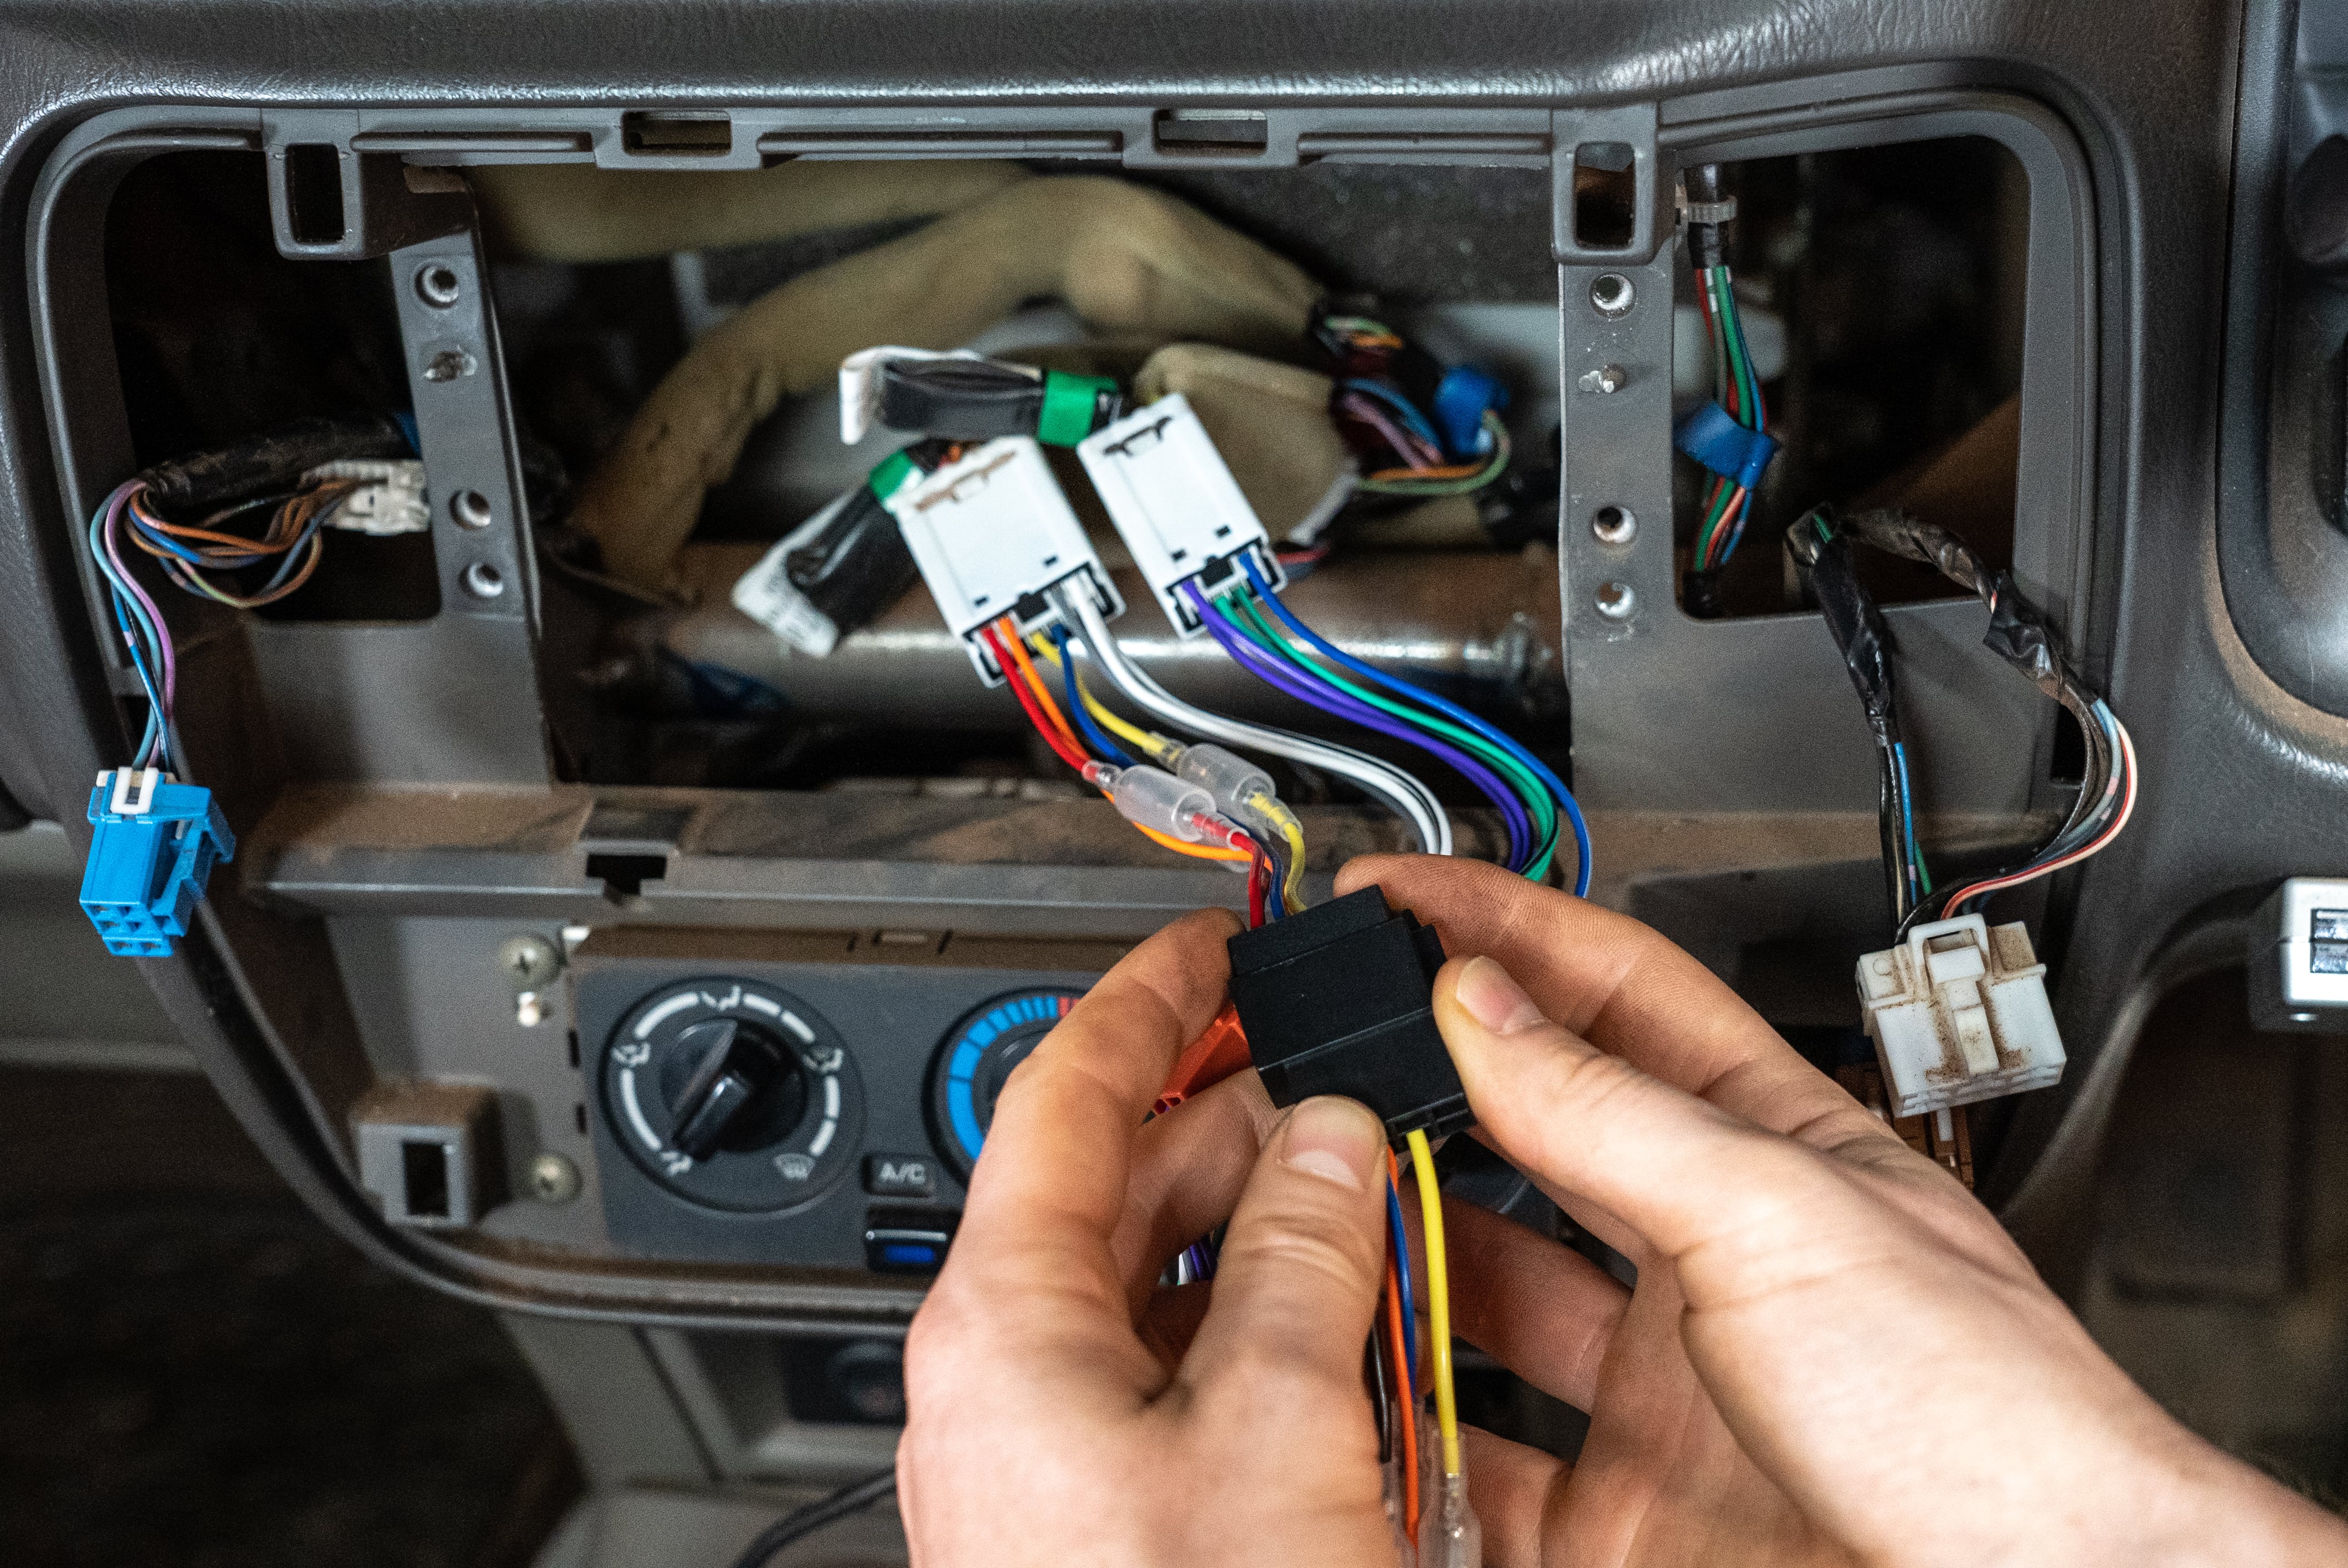
This comprehensive guide will walk you through the entire process of installing a new car stereo, empowering you to tackle this seemingly daunting task with confidence. We’ll delve into the necessary preparations, the step-by-step installation, and the critical finishing touches, all while highlighting the technological advancements, cost-saving benefits, and brand considerations that make this a worthwhile DIY project.
The Allure of an Audio Upgrade: Why Modernize Your Ride?
The decision to replace your car’s stereo system often stems from a desire for improved functionality, superior sound quality, or the integration of modern digital features. It’s a prime example of how technology can transform an everyday experience.
Beyond Basic Sound: The Tech Revolution in Car Audio
The evolution of car audio technology has been nothing short of revolutionary. Gone are the days when a car stereo was simply a device to play radio or CDs. Modern head units are sophisticated computing devices designed to be the central hub of your in-car entertainment and information system.
Today’s aftermarket stereos offer an array of features that seamlessly integrate with your digital lifestyle. Apple CarPlay and Android Auto are perhaps the most sought-after integrations, mirroring your smartphone’s interface onto the car’s display. This provides safe and intuitive access to navigation apps like Google Maps or Waze, music streaming services such as Spotify or Apple Music, hands-free calling, and messaging. This level of connectivity isn’t just a convenience; it’s a significant leap in tech integration, turning your car into a truly smart vehicle.
Beyond smartphone mirroring, many new stereos boast high-resolution touchscreens, Bluetooth connectivity for wireless audio streaming and calls, multiple USB ports for device charging and media playback, and advanced digital signal processing (DSP) capabilities. A DSP allows for precise audio tuning, equalization, time alignment, and crossover settings, offering audiophiles an unparalleled level of control over their soundstage. Some units even include built-in GPS navigation, rearview camera inputs for enhanced safety, and compatibility with steering wheel controls, ensuring you retain existing car functionalities.
When considering a new stereo, delve into the specifications – look for higher wattage per channel for clearer sound at volume, robust pre-outs for future amplifier upgrades, and diverse codec support for high-quality audio files. Also, with increasing connectivity, consider the digital security aspects. Ensure your chosen unit has reputable firmware, and be mindful of connecting to unknown Wi-Fi networks if the stereo offers hotspot capabilities. Regular firmware updates provided by the manufacturer can also keep your system secure and up-to-date with the latest features and bug fixes, much like updates for your smartphone or computer.
Elevating Your Car’s Interior and Personal Brand
An upgraded car stereo does more than just play music; it significantly enhances the aesthetic appeal and user experience of your car’s interior. A sleek, modern touchscreen unit can instantly update the look of an older dashboard, making the vehicle feel more contemporary and premium. This isn’t just about visual appeal; it’s about the brand experience of your car.
Think of your car as an extension of your personal brand. A modern, feature-rich stereo reflects attention to detail and a desire for quality and functionality. It shows you value technology and comfort, which can subconsciously influence how others perceive your vehicle and, by extension, you. For cars nearing resale, a well-chosen and professionally installed aftermarket stereo can even be a significant selling point, especially if the original unit was outdated or lacked essential modern features. While a DIY installation saves money, a clean, seamless integration of the new unit can positively impact the car’s resale value by showcasing a thoughtful upgrade rather than a cobbled-together modification. Conversely, a poor installation with visible gaps or mismatched trim pieces can detract from the car’s overall appeal and value.
Furthermore, the improved functionality of a new stereo, from intuitive navigation to crystal-clear hands-free calls, contributes to a more enjoyable and less stressful driving experience. This improvement in daily usability is a direct return on your investment, both in terms of money saved on professional installation and the enhanced quality of your commute or road trips. Choosing a reputable brand for your new head unit (e.g., Pioneer, Kenwood, Alpine, Sony, JVC) also plays into this, as these brands are known for their reliability, sound quality, and integration capabilities, aligning with a desire for quality and performance.
Preparation is Key: Assembling Your Arsenal and Planning the Project
Before you even think about removing screws, meticulous preparation is paramount. This phase is crucial for a smooth installation, preventing frustration, and avoiding costly mistakes.
Essential Tools and Components: An Investment in Success
A successful DIY car stereo installation hinges on having the right tools and components at hand. Think of this as investing in your success, both in terms of the finished product and the money you save by not hiring a professional.
Here’s a breakdown of what you’ll typically need:
- Trim Removal Tools: These plastic or nylon pry tools are indispensable for safely removing dashboard panels without scratching or damaging the delicate plastic or upholstery. This is a small money investment that prevents much larger repair costs or aesthetic detriments (which can impact your car’s brand value).
- Screwdrivers: A set of Phillips and flat-head screwdrivers will cover most screws encountered. Magnetic tips are a bonus for preventing dropped screws in tight spaces.
- Wire Strippers/Crimpers: Essential for preparing wires and securely attaching connectors. A good quality tool ensures clean cuts and strong crimps, vital for reliable electrical connections.
- Electrical Tape: High-quality electrical tape is necessary for insulating connections and tidying up wiring harnesses.
- Multimeter: While optional for basic installs, a multimeter is invaluable for troubleshooting electrical issues, verifying power sources, and identifying wires – a crucial tech tool for any automotive electrical work.
- Zip Ties/Velcro Straps: For organizing and securing wires, preventing rattles, and maintaining a neat installation.
- New Head Unit: The star of the show! Ensure you’ve purchased the correct size (single-DIN or double-DIN) for your vehicle.
- Wiring Harness Adapter: This is perhaps the most critical component. It connects your new stereo’s wiring to your car’s factory wiring harness, allowing for a plug-and-play solution without cutting into your car’s original wiring. This preserves the car’s original brand integrity and makes future installations easier. Ensure it’s specific to your car’s make, model, and year.
- Mounting Kit/Dash Kit: This provides the correct bezel and brackets to securely mount your new stereo into your dashboard opening, ensuring a clean, factory-like fit (important for brand aesthetics). Again, this is specific to your car.
- Antenna Adapter: Many newer stereos use a different antenna connector than older factory units. Check if you need one to ensure your radio works.
- Solder Iron & Heat Shrink Tubing (Optional but Recommended): For the most durable and reliable wire connections, soldering and using heat shrink tubing is superior to crimping. This requires a bit more skill but offers a professional-grade connection that withstands vibrations and temperature changes, protecting your money investment in the long run by preventing intermittent issues.
By investing a modest amount in these tools and components, you not only save the substantial money cost of professional installation (which can easily run $100-$300 or more) but also gain valuable tech skills and the satisfaction of a job well done.
Safety First: Disconnecting Power and Pre-Installation Checks
Before reaching for any tools, safety must be your top priority. Automotive electrical systems can cause serious damage to components or even personal injury if not handled correctly.
- Disconnect the Battery: This is non-negotiable. Locate your car battery (usually under the hood, but sometimes in the trunk or under a rear seat) and disconnect the negative (black) terminal first. This prevents any accidental short circuits while you’re working with wires, protecting your car’s delicate electrical systems and your new stereo from potentially fatal damage – a direct money saver.
- Consult Manuals and Diagrams: Refer to your new stereo’s owner’s manual for specific wiring instructions and features. More importantly, try to find a wiring diagram for your specific car model. Many resources are available online (forums, Crutchfield, Metra, Axxess websites), providing color codes for your factory stereo’s wiring harness. This tech-savvy research is invaluable.
- Gather Existing Information: Before removing anything, take a moment to understand your car’s existing setup. Note where screws are, how trim pieces fit together, and the path of existing wiring. Pictures with your smartphone can be an immense help during reassembly. This proactive approach saves time and avoids guesswork later.
Taking these preliminary steps ensures a safer, more efficient, and ultimately more successful installation.
The Disassembly Dance: Liberating Your Old Head Unit
This is where the hands-on work begins. Removing the old stereo involves a careful, systematic approach to avoid damaging your car’s interior.
Navigating the Dashboard: Gentle Removal of Trim Panels
Most car stereos are integrated into the dashboard and surrounded by various trim panels. These panels are typically held in place by a combination of clips and screws.
- Identify Fasteners: Carefully inspect the surrounding dashboard area for any visible screws. These are often hidden behind small plastic covers or within air vents.
- Utilize Trim Tools: Using your plastic trim removal tools, gently pry around the edges of the trim panels. Start at a less visible seam and work your way around. The goal is to pop the clips loose without bending or scratching the plastic. Take your time, apply steady pressure, and listen for the characteristic “pop” of a released clip. This careful approach maintains the factory brand quality of your car’s interior.
- Store Parts Safely: As you remove screws and panels, keep them organized. A small container or a magnetic tray is ideal for screws, preventing them from getting lost in the car’s abyss.

Detaching the Old Stereo: Wires, Brackets, and Caution
Once the surrounding trim is out of the way, the old stereo unit itself will be accessible.
- Unscrew the Unit: Most factory stereos are secured by 4-6 screws. Remove these carefully.
- Slide Out the Stereo: Gently pull the old stereo out of its opening. Be mindful that it will still be connected by a tangle of wires.
- Disconnect Wiring: This is a crucial step. You’ll typically find:
- Main Wiring Harness: A large connector bundle supplying power, ground, and speaker outputs. Carefully depress any locking tabs and pull it straight out.
- Antenna Cable: Usually a coaxial cable with a single plug.
- Other Connectors (if applicable): These might include plugs for steering wheel controls, auxiliary inputs, USB, or external amplifiers.
- Take pictures of each connection before disconnecting. This is invaluable for understanding the existing tech setup and for troubleshooting later.
With the old unit fully disconnected and removed, you’re ready for the exciting part – integrating your new technology.
Seamless Integration: Installing Your New Head Unit
This is the core of the installation, where your new stereo comes to life. Precision and correct wiring are paramount here.
The Wiring Harness Tango: Connecting Old to New
This is often the most intimidating step for beginners, but with the right harness adapter, it becomes a color-matching exercise.
- Prepare the New Stereo’s Harness: Your new stereo will come with its own wiring harness, typically a bundle of colored wires terminating in a multi-pin connector that plugs into the back of the stereo.
- Connect the Adapter Harness: Take your vehicle-specific wiring harness adapter. Its wires will correspond to the wires on your new stereo’s harness (e.g., red to red for accessory power, yellow to yellow for constant power, black to black for ground, specific colors for left/right front/rear speakers).
- Make Connections:
- Crimping: Use your wire crimpers to connect matching wires from the stereo’s harness to the adapter harness. Strip about 1/2 inch of insulation from each wire, twist the strands together, insert them into a crimp cap, and crimp firmly. Pull gently to ensure a secure connection. This method is faster and easier for beginners.
- Soldering (Recommended for Durability): For a truly professional and robust connection, strip the wires, twist them together, then solder them. Once cooled, cover the joint with heat shrink tubing and use a heat gun to shrink it tightly. Soldering offers superior electrical conductivity and durability against vibration, ensuring your money investment in the stereo lasts without intermittent connection issues.
- Insulate Everything: Regardless of the method, ensure every connection is individually insulated with electrical tape or heat shrink tubing to prevent short circuits. This is a critical tech and safety step.
- Connect Antenna Adapter: If needed, connect the antenna adapter to your car’s factory antenna cable, then plug the adapter into the new stereo.
This meticulous approach to wiring ensures proper functionality and prevents electrical issues, protecting your car’s tech systems and your new audio setup.
Mounting and Securing: A Snug Fit
With the wiring harness prepared, it’s time to secure the new stereo in the dashboard opening.
- Attach Mounting Brackets: Your vehicle-specific mounting kit will include brackets that attach to the sides of your new stereo. These brackets will allow the stereo to screw into the factory mounting points in your dash. Follow the instructions provided with your mounting kit carefully. The goal is a flush, professional-looking fit that maintains the car’s brand aesthetic.
- Slide into Dash: Gently slide the new stereo, with its attached mounting brackets and connected wiring harness, into the dashboard opening. Be careful not to pinch or crimp any wires.
- Secure the Unit: Screw the stereo into place using the factory mounting points. Ensure it’s firmly secured and doesn’t wiggle.
Preliminary Power-Up: The Moment of Truth
Before completely reassembling your dashboard, perform a quick test.
- Reconnect Battery (Temporarily): Reconnect the negative terminal of your car battery.
- Power On and Test: Turn on your car’s ignition (to the accessory position) and power on the new stereo.
- Check for power.
- Test basic audio functions (radio, Bluetooth audio, USB audio).
- Verify speaker output (fader and balance).
- Test any primary features like Apple CarPlay/Android Auto.
- Ensure the antenna is working (check radio reception).
If everything works as expected, you’re in good shape! If not, immediately disconnect the battery and proceed to the troubleshooting section. This pre-check saves significant time and effort compared to having to disassemble the dashboard again later.
Finalizing Your Setup: Reassembly, Troubleshooting, and Enjoyment
You’re almost there! The final steps involve putting everything back together and fine-tuning your new audio experience.
The Reverse Process: Reassembling Your Dashboard
Reassembly is essentially the reverse of disassembly, but with added care to hide wires and ensure a clean finish.
- Tidy Up Wires: Before pushing the stereo fully into place, gently tuck any excess wiring harness behind the unit. Use zip ties or Velcro straps to bundle wires neatly. This prevents rattles, protects wires from damage, and ensures a clean, professional tech installation.
- Push Stereo into Place: Carefully slide the stereo completely into the dashboard opening until it’s flush.
- Reattach Trim Panels: Working in reverse, reattach any trim panels you removed. Make sure all clips align and snap into place firmly. Do not force panels; if something isn’t fitting, recheck for pinched wires or misaligned components.
- Replace Screws: Secure any screws that hold the trim panels in place.
- Reconnect Battery (Permanently): Reconnect the negative terminal of your car battery one final time.
Post-Installation Checks and Troubleshooting Common Issues
Even with the best preparation, issues can sometimes arise. Don’t panic; most problems are minor and easily fixable.
- No Power: Check the stereo’s fuse (usually on the back of the unit) and your car’s fuse box. Ensure the constant 12V (yellow wire) and accessory 12V (red wire) are connected correctly and receiving power (use your multimeter!). Also, confirm the ground wire (black) has a solid connection.
- No Sound: Check all speaker wire connections. Verify the amplifier remote wire (if applicable, typically blue) is connected. Ensure the fader and balance settings aren’t set to an extreme. If you have an external amplifier, check its power and fuses.
- Radio Not Working: Double-check the antenna connection and the antenna adapter.
- Apple CarPlay/Android Auto Not Working: Ensure your phone is connected via a quality USB cable (if wired) or correctly paired via Bluetooth/Wi-Fi. Check the stereo’s settings for smartphone integration.
- Steering Wheel Controls Not Working: If your car has steering wheel controls, you likely needed an additional adapter module. Ensure it’s correctly wired and programmed according to its instructions.
Consult your stereo’s manual and online forums (a great tech resource) for specific troubleshooting tips. Many modern stereos also require initial setup through their software interface, which is part of their tech design.
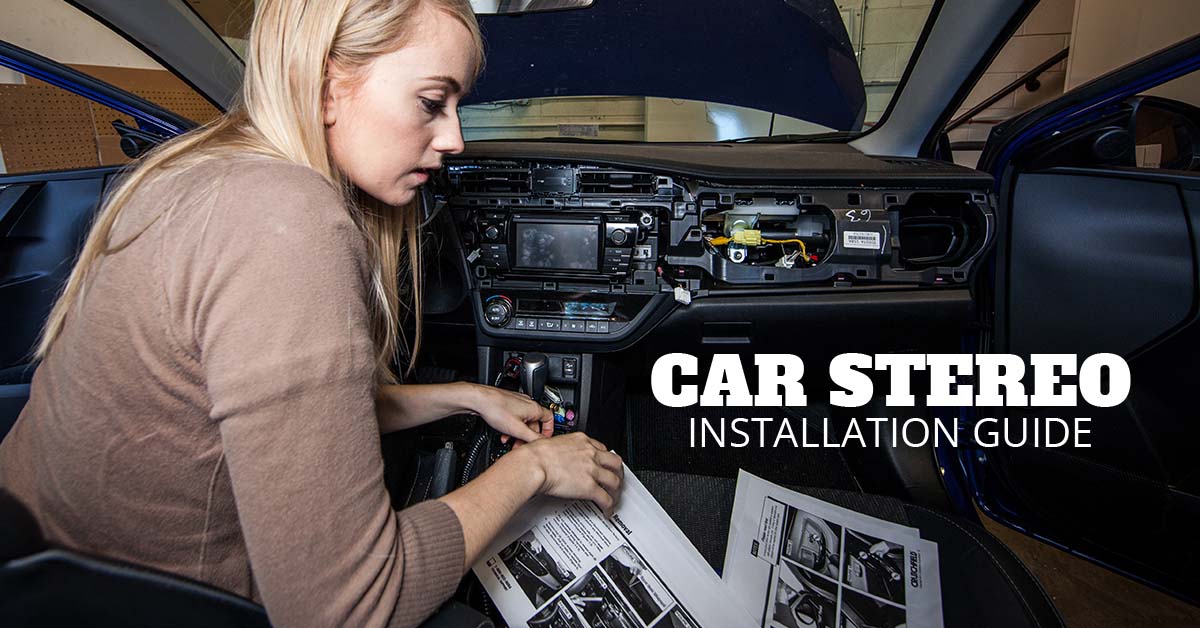
Maximizing Your Investment: Calibration and Future-Proofing
Your new stereo is installed, but the journey to perfect sound isn’t over.
- Sound Calibration: Spend time with your new stereo’s settings. Adjust the equalizer (EQ) to fine-tune the bass, midrange, and treble to your preference. Explore any DSP features like time alignment or crossover settings, which can dramatically improve sound quality, especially if you have aftermarket speakers. This meticulous calibration maximizes your money investment in quality audio components.
- Firmware Updates: Many smart stereos offer firmware updates via USB or Wi-Fi. Check the manufacturer’s website periodically for new updates, which can introduce new features, improve performance, or fix bugs, ensuring your tech stays current.
- Future Upgrades: A new head unit is often the first step in a larger audio overhaul. Consider adding an external amplifier for more power, upgrading your speakers, or installing a subwoofer for deeper bass. Plan these potential future money investments to build a truly immersive audio system.
By following these steps, you’ve not only successfully installed a new car stereo but also gained valuable experience, saved significant money, and enhanced your car’s tech capabilities and overall driving enjoyment. It’s a rewarding DIY project that truly integrates modern connectivity and superior audio into your daily commute.
aViewFromTheCave is a participant in the Amazon Services LLC Associates Program, an affiliate advertising program designed to provide a means for sites to earn advertising fees by advertising and linking to Amazon.com. Amazon, the Amazon logo, AmazonSupply, and the AmazonSupply logo are trademarks of Amazon.com, Inc. or its affiliates. As an Amazon Associate we earn affiliate commissions from qualifying purchases.