
The graphics processing unit (GPU) is arguably the most transformative component within a modern computer. Whether you are a creative professional rendering 4K video, a data scientist training neural networks, or a hardcore gamer seeking the immersion of ray-traced environments, the graphics card is the engine that drives your visual experience. However, for many users, the prospect of opening a PC case and manipulating expensive hardware can be daunting.
Installing a graphics card is a foundational skill in the world of technology. It represents a bridge between software aspirations and hardware reality. This guide provides an exhaustive, professional walkthrough of the installation process, ensuring that your transition to high-performance computing is seamless, safe, and optimized for longevity.
Phase 1: Pre-Installation Audits and Compatibility Checks
Before a single screw is turned, successful hardware integration begins with a rigorous compatibility audit. Technology is rarely “one size fits all,” and the relationship between your GPU, power supply, and chassis is critical.
Checking Power Supply (PSU) Capacity and Connectors
The most common point of failure in GPU upgrades is an underpowered Power Supply Unit. Modern high-end cards from the NVIDIA RTX 40-series or AMD Radeon RX 7000-series have significant power draws, often requiring a PSU rated for 750W to 1000W.
Beyond total wattage, you must verify the available connectors. Most modern cards require 8-pin or 6+2-pin PCIe power cables. The newest enthusiast-grade cards utilize the 12VHPWR connector. Ensure your PSU has the native cables required, as using multiple adapters can lead to power delivery instability or, in extreme cases, thermal damage.
Physical Clearance and Case Dimensions
Graphics cards have grown significantly in size over the last decade. “Triple-fan” designs can exceed 330mm in length and occupy up to four expansion slots in width. Before purchasing, consult your case’s manual for “GPU clearance” specifications. You must account for the length of the card relative to front-mounted fans or radiators, and the height of the card relative to the side panel. A card that is too wide will prevent the case from closing, while a card that is too long might necessitate the removal of drive cages.
Motherboard Compatibility and PCIe Standards
While the PCIe x16 slot has remained a standard for years, the generation of the slot matters for bandwidth. A PCIe 4.0 or 5.0 card will function in a PCIe 3.0 slot, but you may encounter minor performance bottlenecks in data-heavy tasks. Ensure the top-most PCIe slot on your motherboard is used, as this is typically the only slot wired for the full 16 lanes of bandwidth directly to the CPU.
Phase 2: The Physical Installation Process
Once compatibility is confirmed, the physical installation can begin. This process requires a clean workspace, a Phillips-head screwdriver, and a methodical approach to cable management.
Safety Protocols and Electrostatic Discharge (ESD)
Safety is paramount when handling sensitive silicon. Always shut down your PC entirely and flip the switch on the back of the PSU to the “Off” position. Unplug the power cable from the wall. To dissipate any remaining electrical charge in the capacitors, press and hold the PC’s power button for five seconds.
Regarding ESD, you do not necessarily need an anti-static wrist strap, though they are recommended. At a minimum, ensure you are working on a non-conductive surface (avoid carpets) and periodically touch the metal frame of the PC case to ground yourself.
Removing the Existing Hardware and Preparing the Slot
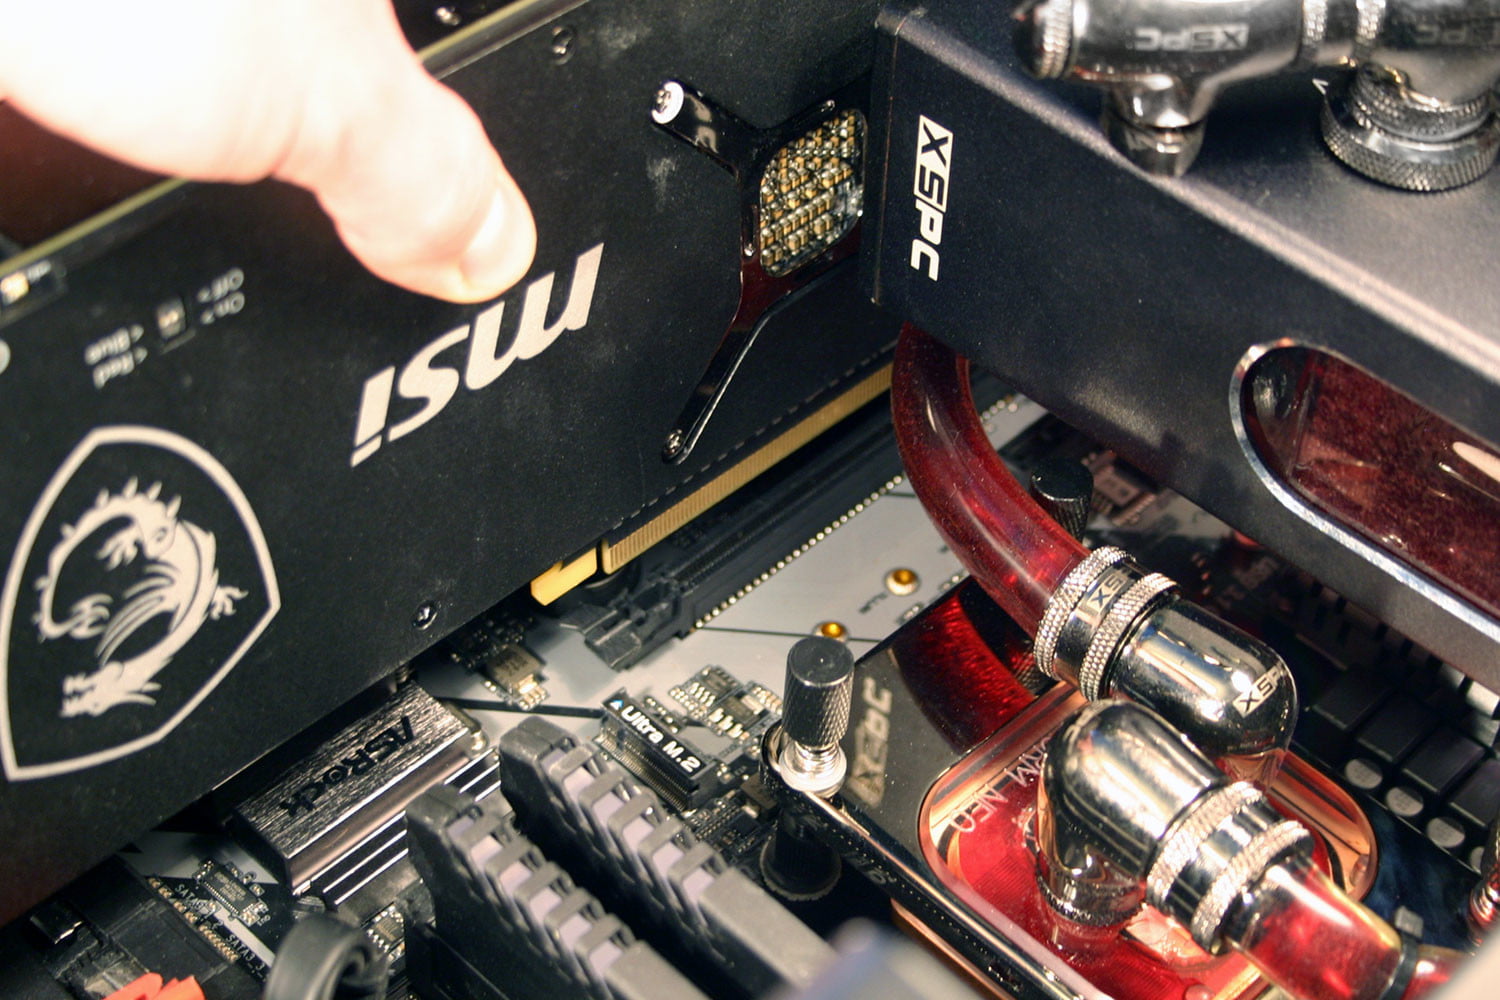
If you are upgrading an existing system, you must first remove the old card. Start by unplugging the PCIe power cables from the GPU. Next, unscrew the bracket screws that secure the card to the rear of the case.
The most critical step is releasing the PCIe slot retention clip. This is a small plastic lever located at the end of the slot on the motherboard. Gently press it down or pull it back (depending on the motherboard design) until you hear a click. Once released, pull the card straight out of the slot with even pressure. If you are building a new PC or using an empty slot, simply remove the metal “expansion slot covers” from the back of the case that correspond to where the new GPU will sit.
Seating and Securing the New GPU
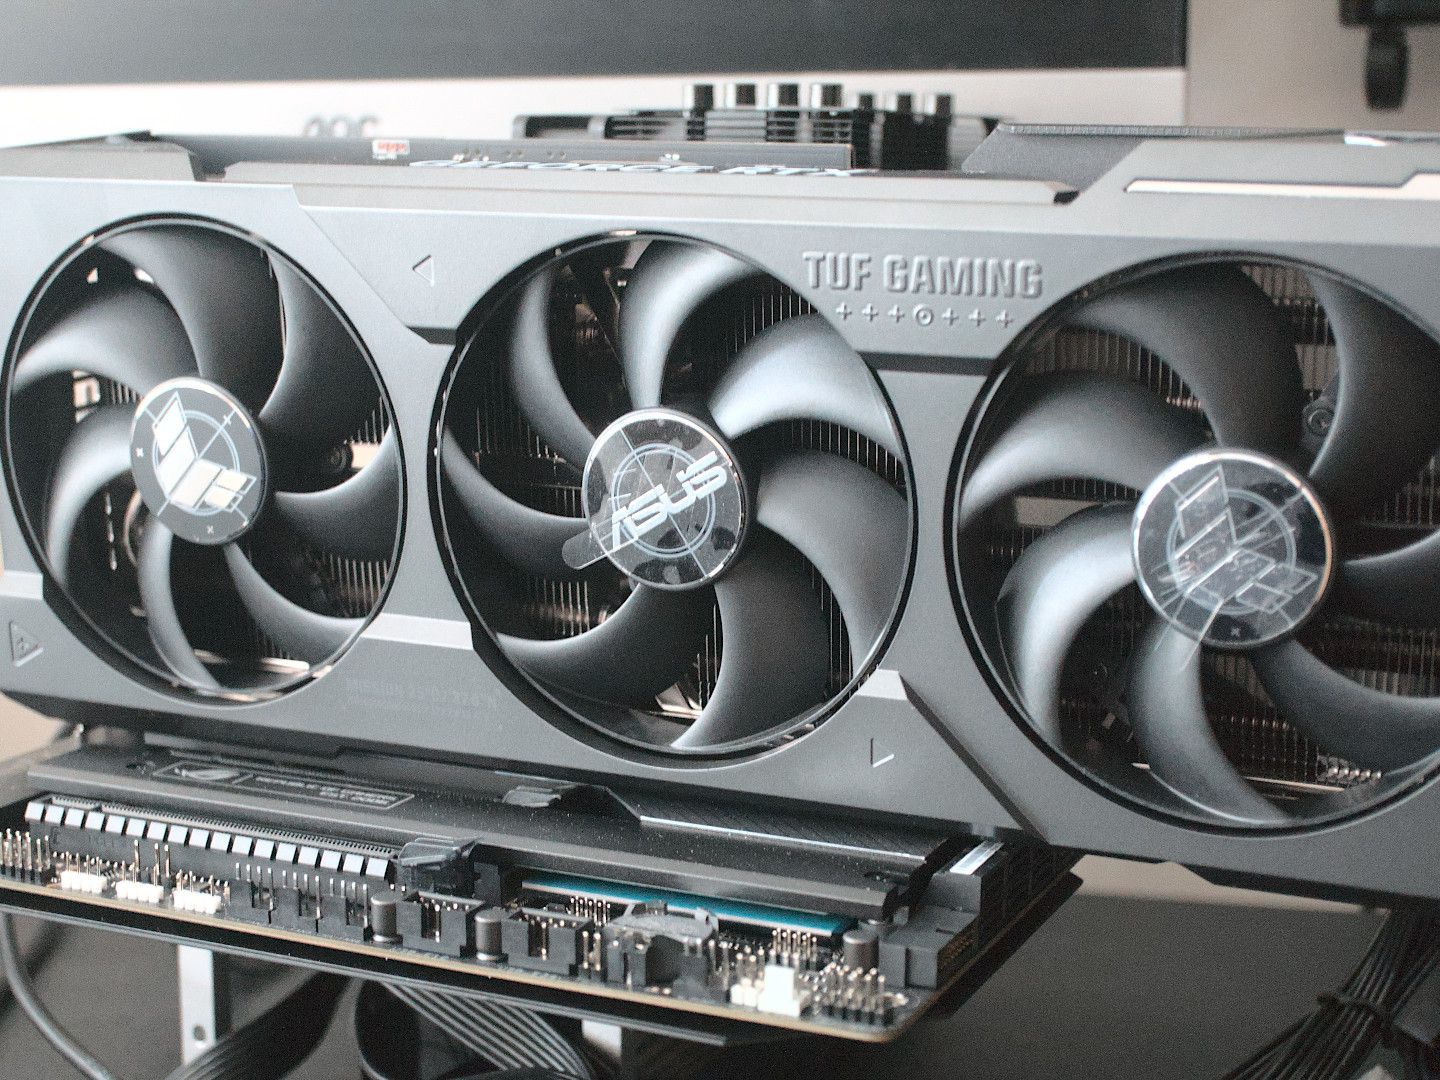
Align the graphics card’s gold contacts with the PCIe x16 slot. Ensure the video outputs (HDMI/DisplayPort) are facing the rear of the case. Lower the card into the slot, applying firm, even pressure until the retention clip clicks back into place, locking the card.
Once seated, use the screws you removed earlier to secure the card’s metal bracket to the PC case. This is vital to prevent “GPU sag,” which occurs when the weight of the card puts undue stress on the motherboard slot. For particularly heavy cards, consider using a GPU support bracket or “sag stick” to provide additional vertical reinforcement.
Power Connectivity and Cable Routing
Connect the PCIe power cables from your PSU to the card. Ensure they are pushed in all the way; a loose connection is a fire hazard and a common cause of system crashes. For a professional finish and better airflow, route these cables through the case’s cable management grommets. Avoid tight bends near the connector, especially with the newer 12VHPWR cables, to ensure consistent power delivery.
Phase 3: Software Configuration and Driver Optimization
The hardware is only half the battle. To leverage the power of your new GPU, the operating system must be told how to communicate with it.
Initial Boot and BIOS Verification
Plug your monitor directly into the graphics card—not the motherboard. If you plug into the motherboard, you will be using the CPU’s integrated graphics, rendering your new GPU useless. Power on the system. If you see the BIOS splash screen, the hardware installation is a success. If the screen remains black, double-check the seating of the card and the power connections.
Clean Driver Installation
Before installing new drivers, it is best practice to remove old ones. If switching from AMD to NVIDIA (or vice versa), use a utility like Display Driver Uninstaller (DDU) in Windows Safe Mode. This ensures no residual files interfere with the new hardware.
Once cleaned, visit the official website (NVIDIA, AMD, or Intel) to download the latest driver package. Avoid using generic Windows Update drivers, as they often lack the “Control Panel” features necessary for performance tuning and lack optimizations for the latest software and games.
Performance Monitoring and Thermal Baselining
After the drivers are installed, it is prudent to monitor the card’s behavior. Use software such as MSI Afterburner or the manufacturer’s proprietary suite (e.g., ASUS GPU Tweak) to check idle and load temperatures. A healthy GPU should idle between 30°C and 45°C and stay under 85°C under heavy load. If temperatures are excessively high, re-examine your case’s airflow or check for cable obstructions.
Phase 4: Troubleshooting and Long-term Maintenance
Even with careful installation, technical hurdles can arise. Understanding how to diagnose these issues is the mark of an advanced user.
Resolving Boot Failures and “No Signal” Errors
If the PC turns on but the monitor receives no signal, the most common culprit is an improperly seated card. Reseat the GPU and ensure the PCIe clip is fully engaged. If the problem persists, check your PSU. Many modern GPUs require separate cables for each power header rather than a single “daisy-chained” cable with two connectors. Ensure each 8-pin port on the card has a dedicated line back to the power supply.
Addressing Artifacting and System Instability
If you experience “artifacts” (strange lines or blocks on the screen) or your PC crashes during intensive tasks, this usually points to either a driver conflict or insufficient power. Re-run the DDU process and perform a “Clean Install” of the drivers. If instability continues, you may need to check the “Event Viewer” in Windows to see if “Display driver nvlddmkm stopped responding” errors are present, which may indicate a need for a more robust power supply.
Maintenance for Longevity
A graphics card is a significant investment. To maintain its performance, perform a physical cleaning every six months. Use compressed air to blow dust out of the cooling fins and fans. Dust buildup acts as an insulator, forcing fans to spin faster and potentially leading to thermal throttling, where the card slows itself down to prevent heat damage.

Conclusion
Installing a graphics card is more than just a hardware upgrade; it is a gateway to the modern digital frontier. By following a structured approach—emphasizing compatibility, physical precision, and software hygiene—you ensure that your system remains stable and performant for years to come. In the rapidly evolving landscape of technology, the ability to maintain and upgrade your own hardware remains one of the most valuable skills a user can possess, providing both cost savings and the satisfaction of a truly optimized machine.
aViewFromTheCave is a participant in the Amazon Services LLC Associates Program, an affiliate advertising program designed to provide a means for sites to earn advertising fees by advertising and linking to Amazon.com. Amazon, the Amazon logo, AmazonSupply, and the AmazonSupply logo are trademarks of Amazon.com, Inc. or its affiliates. As an Amazon Associate we earn affiliate commissions from qualifying purchases.