In the ever-evolving digital landscape, visual appeal plays a crucial role in everything from personal projects to professional branding and even the way we consume information. Fonts, the very building blocks of our written communication, are far more than just characters on a screen. They convey tone, evoke emotion, and significantly impact readability and aesthetic. Whether you’re a graphic designer looking to elevate your latest masterpiece, a content creator aiming for a unique brand voice, or simply someone who wants to personalize their computing experience, understanding how to install new fonts in Windows 10 is an essential skill.
This comprehensive guide will walk you through the process, demystifying what might seem like a technical hurdle. We’ll cover everything from where to find fonts to the various methods of installation, ensuring you can confidently expand your typographic arsenal. Given that our website delves into a broad spectrum of topics, including Tech, Brand, and Money, the ability to customize fonts touches upon all these areas. For tech enthusiasts, it’s about leveraging software capabilities. For brands, it’s about maintaining a consistent and impactful visual identity. And for those focused on financial aspects, a well-chosen font can enhance the professionalism of your business documents or personal financial reports, subtly contributing to your overall credibility.
Understanding Font Files and Sources
Before we dive into the installation process, it’s important to understand what a font is and where you can acquire them.
What is a Font File?
At its core, a font file is a piece of software that contains the digital information for a typeface. This information dictates how each character, letter, number, and symbol is displayed on your screen and printed on paper. Font files come in various formats, with the most common for Windows being:
- TrueType Font (.TTF): This is a widely used format known for its scalability and compatibility across different operating systems. TTF fonts are often a good choice for general use.
- OpenType Font (.OTF): An evolution of TrueType, OpenType fonts offer more advanced typographic features, such as ligatures, stylistic alternates, and extended character sets. They are generally preferred for professional design work due to their flexibility.
- Font Collections (.TTC): Less common for individual font installation, TTC files can contain multiple related fonts (e.g., different weights of the same typeface) within a single file.
While other formats exist, Windows 10 primarily supports TTF and OTF for direct installation.
Where to Find Fonts
The world of typography is vast, and the availability of fonts is virtually limitless. Here are some common and reliable sources:
Free Font Resources
For those on a budget or working on personal projects, numerous websites offer high-quality fonts completely free of charge. It’s crucial to pay attention to the licensing terms of free fonts, as some may be for personal use only, while others allow for commercial use.
- Google Fonts: A fantastic repository of open-source fonts that are free for commercial and personal use. You can browse, preview, and download them directly from their website.
- DaFont: A very popular site with a massive collection of free fonts, often categorized by style (e.g., script, gothic, techno). Remember to check the license for each font.
- Font Squirrel: Curated for commercial use, Font Squirrel offers a selection of high-quality free fonts that have been thoroughly vetted.
- Urban Fonts: Another extensive library of free fonts, though it’s essential to review usage rights.
Premium Font Marketplaces
For professional designers, businesses, and individuals seeking unique, high-quality, or licensed fonts, premium marketplaces offer a vast selection. These fonts typically come with clear licensing agreements for various uses.
- Adobe Fonts (formerly Typekit): If you subscribe to Adobe Creative Cloud, you gain access to a vast library of premium fonts that can be activated and used across your applications.
- MyFonts: A leading marketplace for commercial fonts, offering an extensive range of typefaces from independent foundries and major foundries alike.
- Fontspring: Similar to MyFonts, Fontspring is another excellent source for purchasing professional fonts with flexible licensing options.
- Creative Market: This marketplace offers a wide array of design assets, including fonts, often bundled with other graphic design elements.
When downloading fonts from any source, always be mindful of the file format (.ttf or .otf are ideal for Windows installation) and the associated license. Understanding licensing is particularly important for brand consistency and legal compliance in commercial projects.
Installing Fonts in Windows 10: Multiple Methods
Windows 10 offers several straightforward ways to install new fonts. We’ll explore the most common and efficient methods.
Method 1: The “Right-Click and Install” Method (Quickest)
This is by far the simplest and fastest way to install a single font or a small collection of fonts.
Steps:
- Locate the Font File: Navigate to the folder where you have downloaded and extracted your font files. You should see files with
.ttfor.otfextensions. - Select the Font File(s):
- To install a single font, right-click on the
.ttfor.otffile. - To install multiple fonts at once, hold down the
Ctrlkey and click on each font file you want to install, or hold down theShiftkey to select a contiguous range of files. Then, right-click on any of the selected files.
- To install a single font, right-click on the
- Choose “Install”: From the context menu that appears, select the option that says “Install” or “Install for all users.”
- “Install” will typically install the font for your current user account.
- “Install for all users” requires administrator privileges and makes the font available to all user accounts on that computer. This is generally recommended if multiple people use the machine.
Windows will then automatically register the font with the system, and it will become available in your applications.
When to Use This Method: This method is ideal for quickly adding a few new fonts to your system without needing to delve into deeper system settings.
Method 2: Using the Windows Font Settings
This method provides a more visual interface and allows you to drag and drop fonts into a dedicated folder.
Steps:
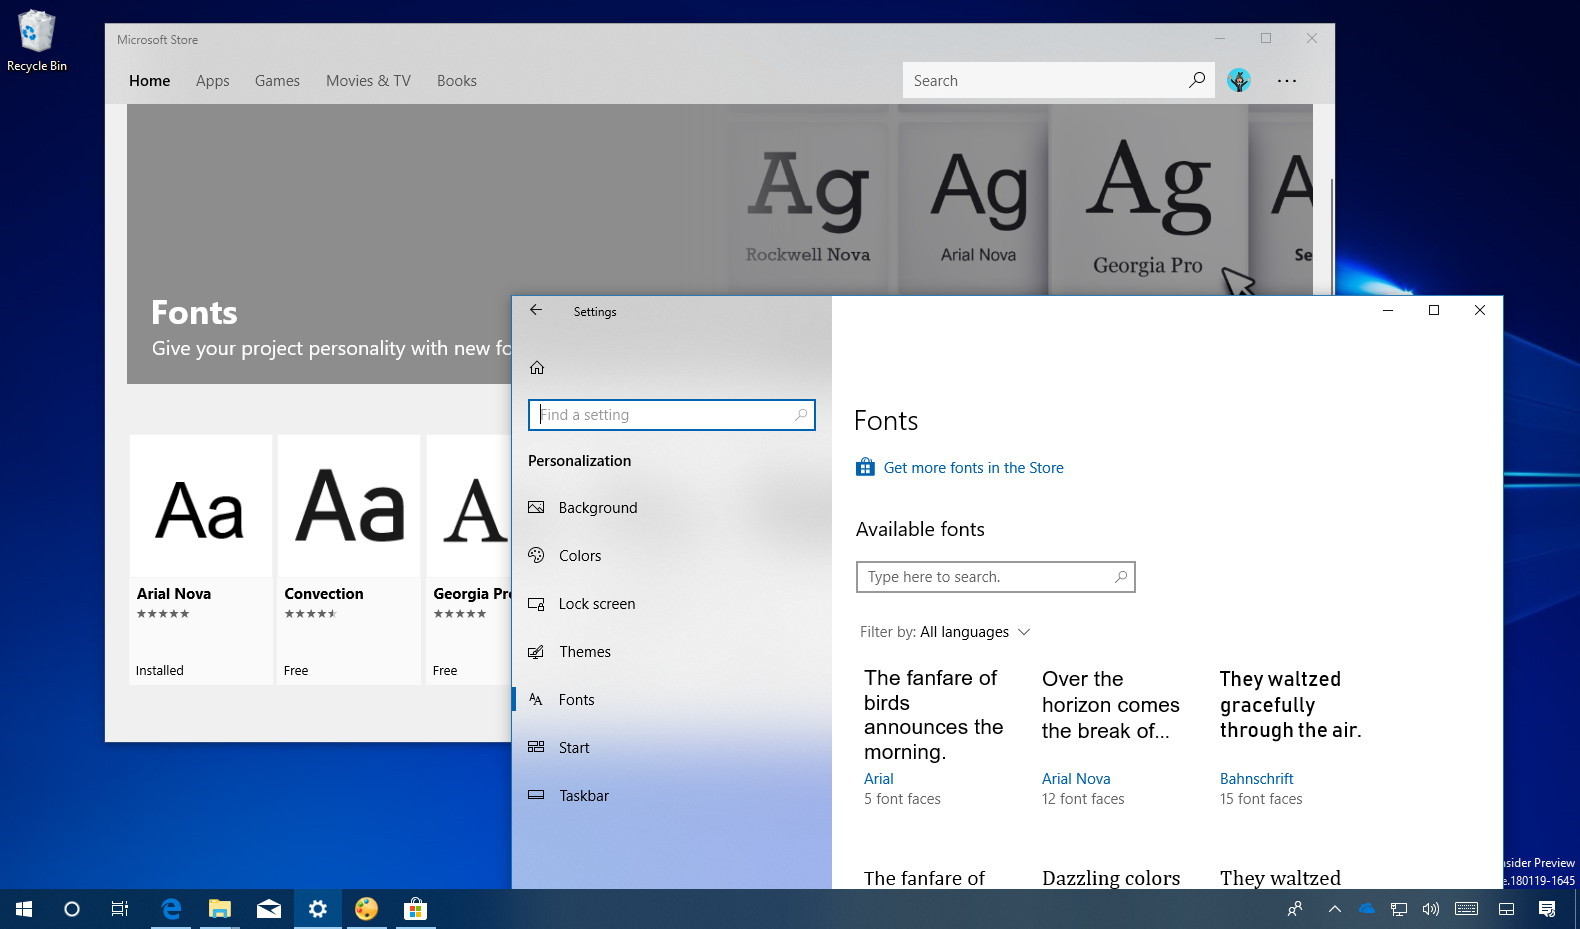
- Open Windows Settings: Click on the Start button and then click on the gear icon to open the Settings app. Alternatively, you can press
Windows key + I. - Navigate to Personalization: In the Settings app, click on “Personalization.”
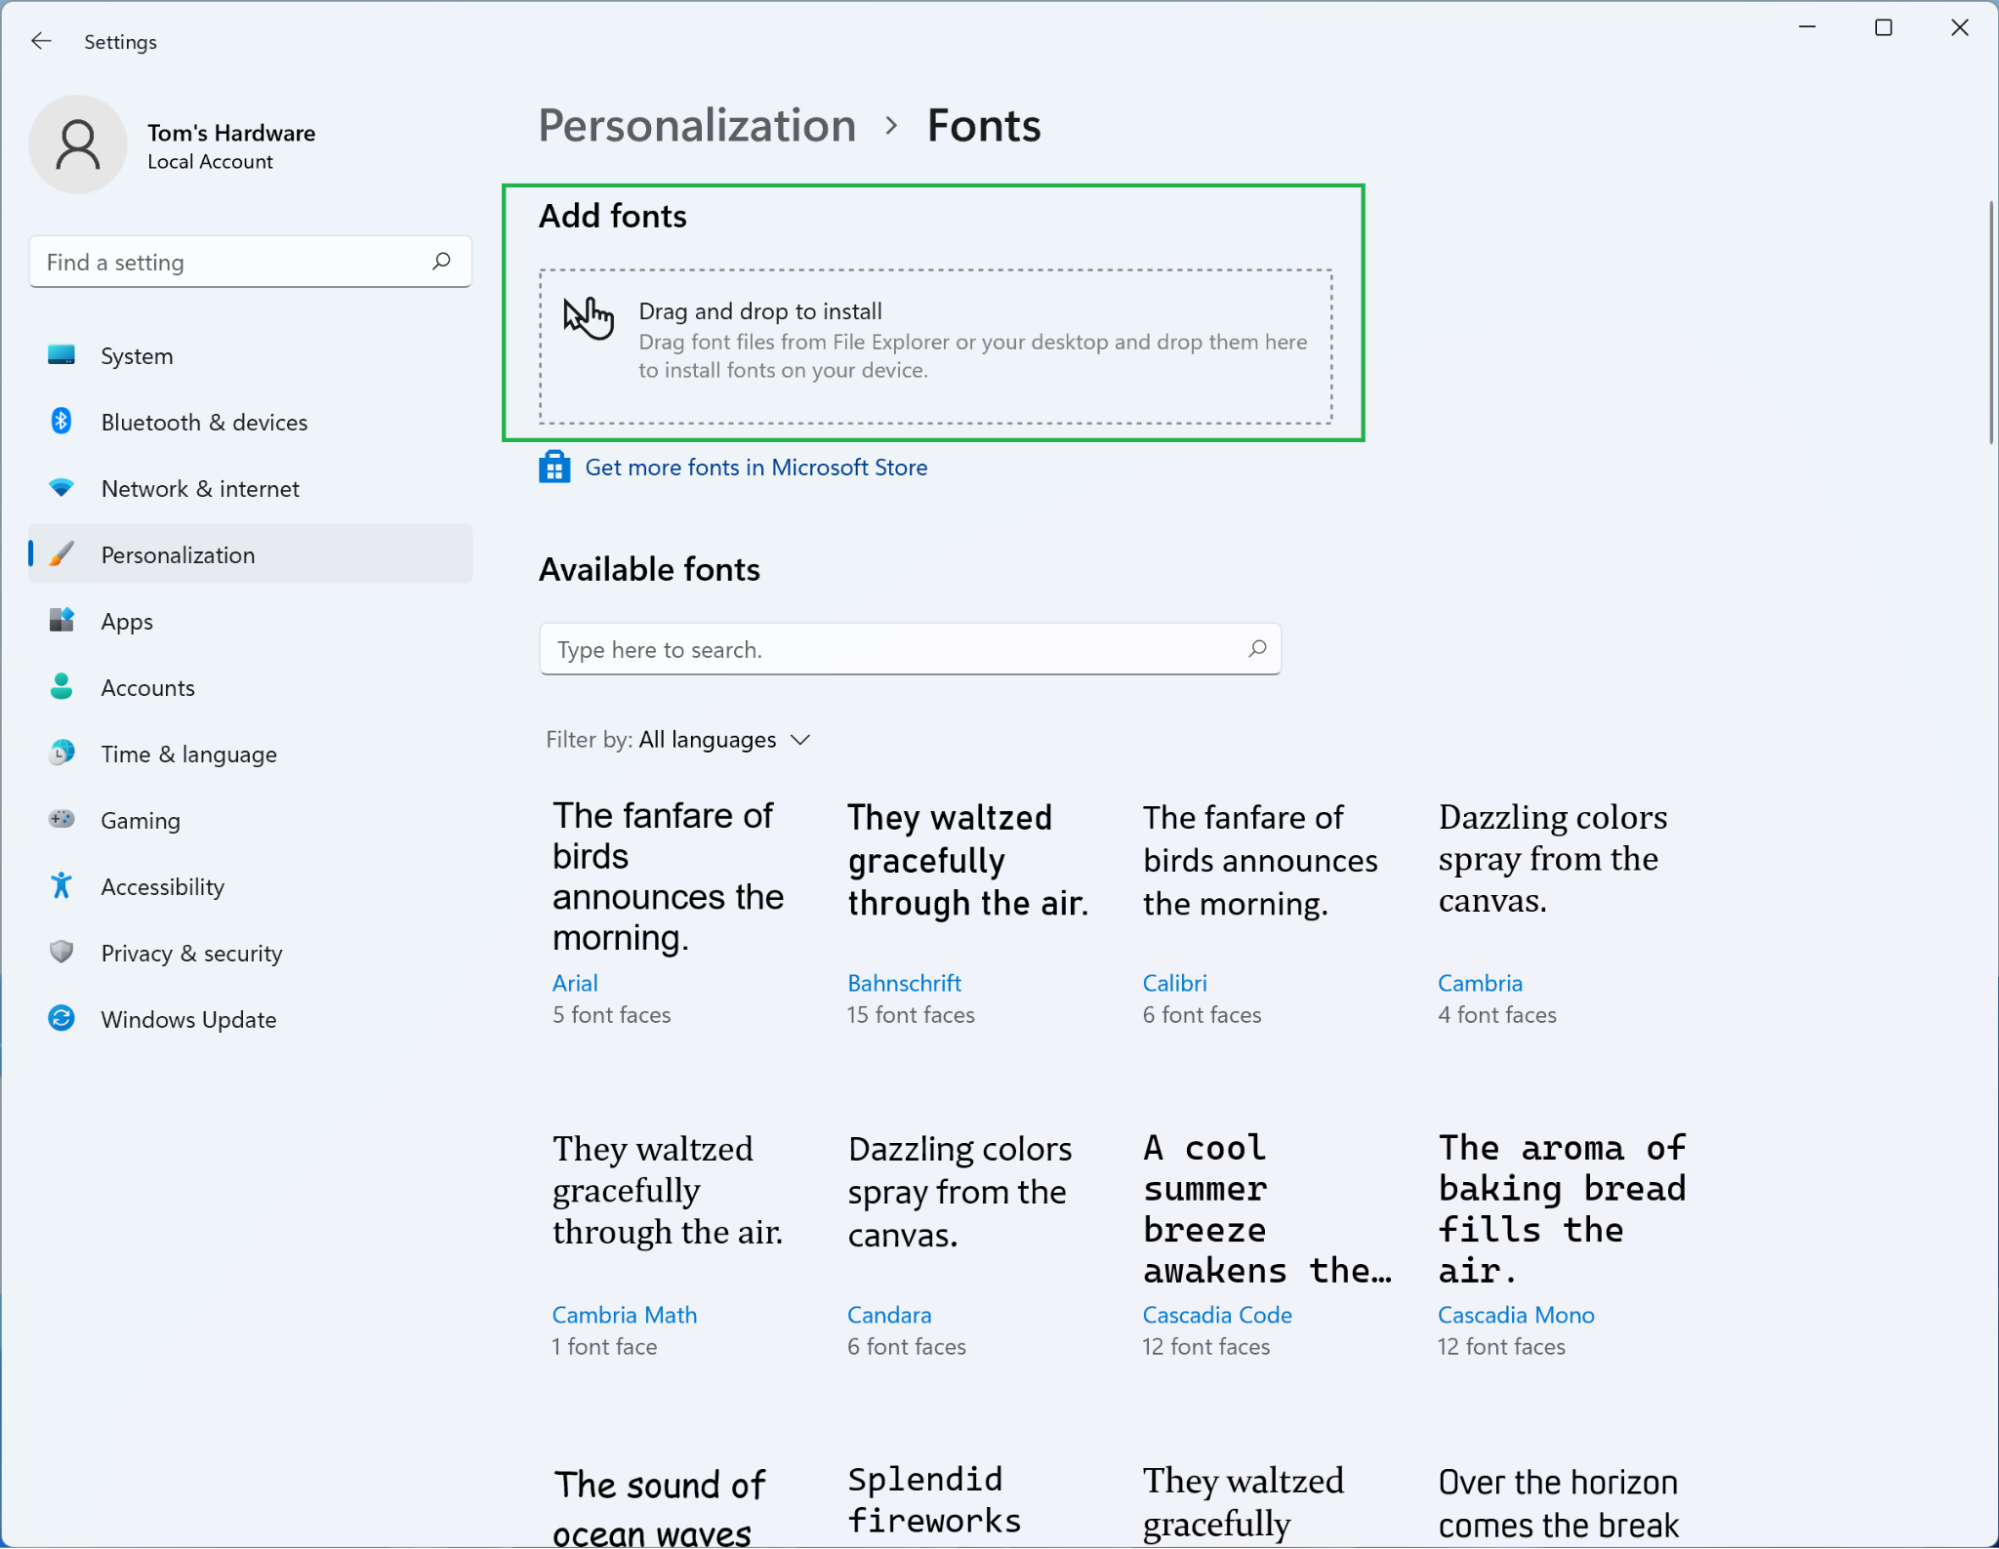
- Select “Fonts”: On the left-hand sidebar, click on “Fonts.”
- Drag and Drop or Browse: You will see a preview of your currently installed fonts.
- Drag and Drop: Open File Explorer, navigate to your downloaded font files, and then drag the
.ttfor.otffiles directly into the designated “Drag and drop to install” area within the Fonts settings window. - Browse: Alternatively, you can click the “Get more fonts in Microsoft Store” link (though this typically leads to paid options) or close the Settings window and use the “Right-Click and Install” method described above, as it’s often more direct for locally downloaded fonts.
- Drag and Drop: Open File Explorer, navigate to your downloaded font files, and then drag the

The fonts will be installed automatically once dropped into the area or after using the traditional installation process initiated from File Explorer.
When to Use This Method: This method is visually intuitive and can be useful if you prefer working within the Settings app interface. It also allows for a quick overview of your installed fonts.
Method 3: Copying Fonts to the Fonts Folder (Advanced)
This method involves manually placing font files into the Windows Fonts directory. It’s a more traditional approach and can be useful for understanding where fonts are stored.
Steps:
- Locate the Windows Fonts Folder:
- Open File Explorer.
- In the address bar, type
C:WindowsFontsand press Enter. - Alternatively, you can search for “Fonts” in the Windows search bar and open the Fonts folder from the search results.
- Locate Your Font Files: Open another File Explorer window and navigate to the folder containing your downloaded
.ttfor.otffont files. - Copy and Paste: Select the font files you wish to install, copy them (
Ctrl + C), and then paste them (Ctrl + V) into theC:WindowsFontsfolder.
Windows will automatically detect the new files and install them as fonts. You might see a progress bar indicating the installation.
When to Use This Method: This method is generally less recommended for everyday use as the other methods are more user-friendly. However, it can be helpful for troubleshooting or if you need to manage fonts at a system level. It also provides a good understanding of the underlying file structure.
Verifying and Managing Your Installed Fonts
Once you’ve installed your new fonts, it’s a good practice to verify their installation and know how to manage them.
Verifying Font Installation
The easiest way to verify that your fonts have been installed correctly is to check within an application that uses fonts.
- Open a Text Editor or Design Application: Launch a program like Microsoft Word, Paint, Notepad, or Adobe Photoshop.
- Look for Your Font: Select the text tool and try to find your newly installed font in the font selection dropdown menu. If it appears in the list and you can apply it to text, it’s installed correctly.
If you installed fonts using the Windows Font Settings (Method 2), you can also see them listed directly within that interface after a brief moment.
Managing Installed Fonts
Windows provides tools to manage your installed fonts, allowing you to preview, delete, and organize them.
Accessing Font Management
- Via Settings: Go to
Settings > Personalization > Fonts. Here you can see all installed fonts, preview them, and uninstall them by clicking on a font and then selecting “Uninstall.” - Via the Fonts Folder: Navigate to
C:WindowsFonts. You can see all installed fonts here. To uninstall, right-click on the font file you want to remove and select “Delete.” Be cautious when deleting fonts from this folder, as removing essential system fonts can cause issues.
Tips for Font Management
- Uninstall Unused Fonts: Over time, you might accumulate a large number of fonts. Uninstalling those you no longer use can help free up system resources and keep your font lists organized, especially in design applications.
- Organize Fonts: While Windows doesn’t offer direct font folder organization within the system, you can create your own subfolders on your hard drive to keep downloaded fonts neatly categorized before installation.
- Font Previews: Always preview fonts before installing to ensure they meet your needs. Many font websites and the Windows Font Settings offer previews.
The Impact of Fonts on Branding and Productivity
Beyond the technicality of installation, understanding fonts is crucial for their practical application.
Enhancing Brand Identity with Typography
In the realm of Brand, typography is a cornerstone of visual identity. A well-chosen font can:
- Convey Personality: A bold, sans-serif font might communicate modernity and efficiency, while an elegant serif font could evoke tradition and sophistication. A playful script font can suggest creativity and approachability.
- Improve Readability: Crucial for marketing materials, websites, and packaging, a legible font ensures your message is easily understood by your target audience.
- Ensure Consistency: Maintaining a consistent set of fonts across all your brand materials – from your logo and website to social media posts and business cards – builds recognition and reinforces your brand’s professionalism. This consistency is vital for building trust and a strong corporate identity.
- Differentiate from Competitors: A unique font choice can help your brand stand out in a crowded marketplace.
When you install a new font in Windows 10, you’re not just adding a decorative element; you’re potentially adding a powerful tool to your brand’s arsenal. For businesses, investing time in selecting and correctly implementing fonts is an investment in their overall brand strategy and market perception.
Boosting Productivity with the Right Typeface
From a Tech and Productivity standpoint, fonts can also influence how effectively you work.
- Readability and Eye Strain: For individuals who spend a lot of time reading or writing on a computer, choosing a font that is comfortable for extended viewing can significantly reduce eye strain and improve focus. Fonts with clear letterforms and good spacing are generally preferred.
- Clarity in Documentation: For financial reports, technical manuals, or any important document, a clear and professional font ensures that information is communicated accurately and without ambiguity. This can prevent costly misunderstandings.
- Software Compatibility: Understanding font formats (.ttf, .otf) ensures compatibility with the software you use daily, whether it’s for writing, coding, or graphic design.
By mastering the simple process of installing fonts, you empower yourself to control the visual narrative of your digital world, whether for personal expression, building a robust brand, or simply making your daily computing tasks more efficient and comfortable. The ability to install new fonts in Windows 10 is a small but significant step in personalizing and optimizing your digital experience.
aViewFromTheCave is a participant in the Amazon Services LLC Associates Program, an affiliate advertising program designed to provide a means for sites to earn advertising fees by advertising and linking to Amazon.com. Amazon, the Amazon logo, AmazonSupply, and the AmazonSupply logo are trademarks of Amazon.com, Inc. or its affiliates. As an Amazon Associate we earn affiliate commissions from qualifying purchases.