
In the rapidly evolving landscape of digital assets, understanding the intricacies of managing your cryptocurrency holdings is paramount. For users of Coinbase, one of the world’s leading cryptocurrency exchanges, distinguishing between a “Coinbase Account” and a “Coinbase Wallet” and knowing how to effectively integrate them is a fundamental technical skill. While both bear the Coinbase name, they serve distinct purposes within the broader crypto ecosystem. The Coinbase Account operates as a centralized exchange, facilitating buying, selling, and trading, while the Coinbase Wallet functions as a decentralized, self-custodial wallet, granting users full control over their private keys and assets.

This comprehensive guide delves into the technical process of connecting your Coinbase exchange account to your Coinbase Wallet. We’ll explore the rationale behind this integration, walk you through the precise steps to establish the link, and provide insights into managing your digital assets across both platforms. Our focus remains firmly on the technical implementation, software interaction, and digital security best practices required to navigate this essential aspect of crypto management effectively.
Understanding the Ecosystem: Coinbase Account vs. Coinbase Wallet
Before diving into the connection process, it’s crucial to grasp the fundamental differences between these two distinct yet complementary products. Misunderstanding their roles can lead to confusion and potential security vulnerabilities.
Coinbase Account: Your Centralized Crypto Hub
A Coinbase Account refers to your profile on the Coinbase exchange. This is where most users begin their crypto journey, as it provides an accessible platform to buy, sell, convert, and trade various cryptocurrencies using fiat currency (like USD, EUR, GBP). When you hold assets in your Coinbase Account, you are essentially entrusting Coinbase with the custody of your private keys. While Coinbase employs robust security measures, this model means you don’t have direct control over the private keys associated with your assets. It offers convenience, regulatory compliance, and features like recurring buys, staking, and easy withdrawals to traditional bank accounts. Think of it as a digital bank account for your cryptocurrencies, managed by a third party.
Coinbase Wallet: Your Decentralized Gateway
In contrast, the Coinbase Wallet is a self-custodial cryptocurrency wallet application. It can be downloaded as a mobile app or a browser extension. The defining characteristic of a self-custodial wallet is that you hold the private keys. This gives you absolute control over your funds and direct access to decentralized applications (dApps), NFTs, and various Web3 protocols. The Coinbase Wallet supports a vast array of cryptocurrencies and tokens across multiple blockchains, offering functionality far beyond what a typical exchange account provides. It allows users to store, send, and receive crypto, interact with dApps, and manage their NFTs without an intermediary. This complete control comes with the significant responsibility of securing your seed phrase, which is the master key to your wallet. Losing it means losing access to your funds, as there’s no central entity like Coinbase to recover them for you.
Why the Connection Matters: Bridging Centralized and Decentralized Crypto
The ability to connect your Coinbase Account to your Coinbase Wallet is a crucial feature that bridges the gap between centralized convenience and decentralized control. This technical linkage offers several practical advantages:
- Seamless Asset Transfers: The primary benefit is the streamlined transfer of cryptocurrencies between your exchange account and your self-custodial wallet. This is particularly useful when you want to move assets from the exchange (where you bought them) to your wallet for interaction with dApps, greater security control, or participation in DeFi protocols.
- Enhanced Security Management: By moving significant portions of your holdings from the exchange to your self-custodial wallet, you reduce reliance on third-party custodians for your core assets. This aligns with the “not your keys, not your crypto” philosophy, empowering you with greater sovereignty over your digital wealth.
- Simplified On-Ramping for Web3: For many, the Coinbase Account serves as the fiat on-ramp to crypto. Connecting it to the Coinbase Wallet makes it incredibly easy to acquire crypto on the exchange and then immediately transfer it to your self-custodial wallet to explore the broader Web3 ecosystem, including NFTs, gaming, and decentralized finance.
- Unified User Experience: While functionally distinct, the connection creates a more unified experience within the Coinbase ecosystem, making it easier to manage your entire digital asset portfolio from a familiar brand environment.
Step-by-Step Guide to Connecting Your Coinbase Account to Coinbase Wallet
The process of linking your Coinbase Account to your Coinbase Wallet is designed to be intuitive, especially through the Coinbase Wallet application. This tutorial will walk you through the technical steps.
Prerequisites and Initial Setup
Before you begin, ensure you have the following:
- A Verified Coinbase Account: You must have an active and fully verified Coinbase exchange account. This typically involves identity verification (KYC).
- Coinbase Wallet App (or Browser Extension): Download and install the Coinbase Wallet mobile app (available on iOS and Android) or the browser extension (for Chrome, Brave, Edge, etc.).
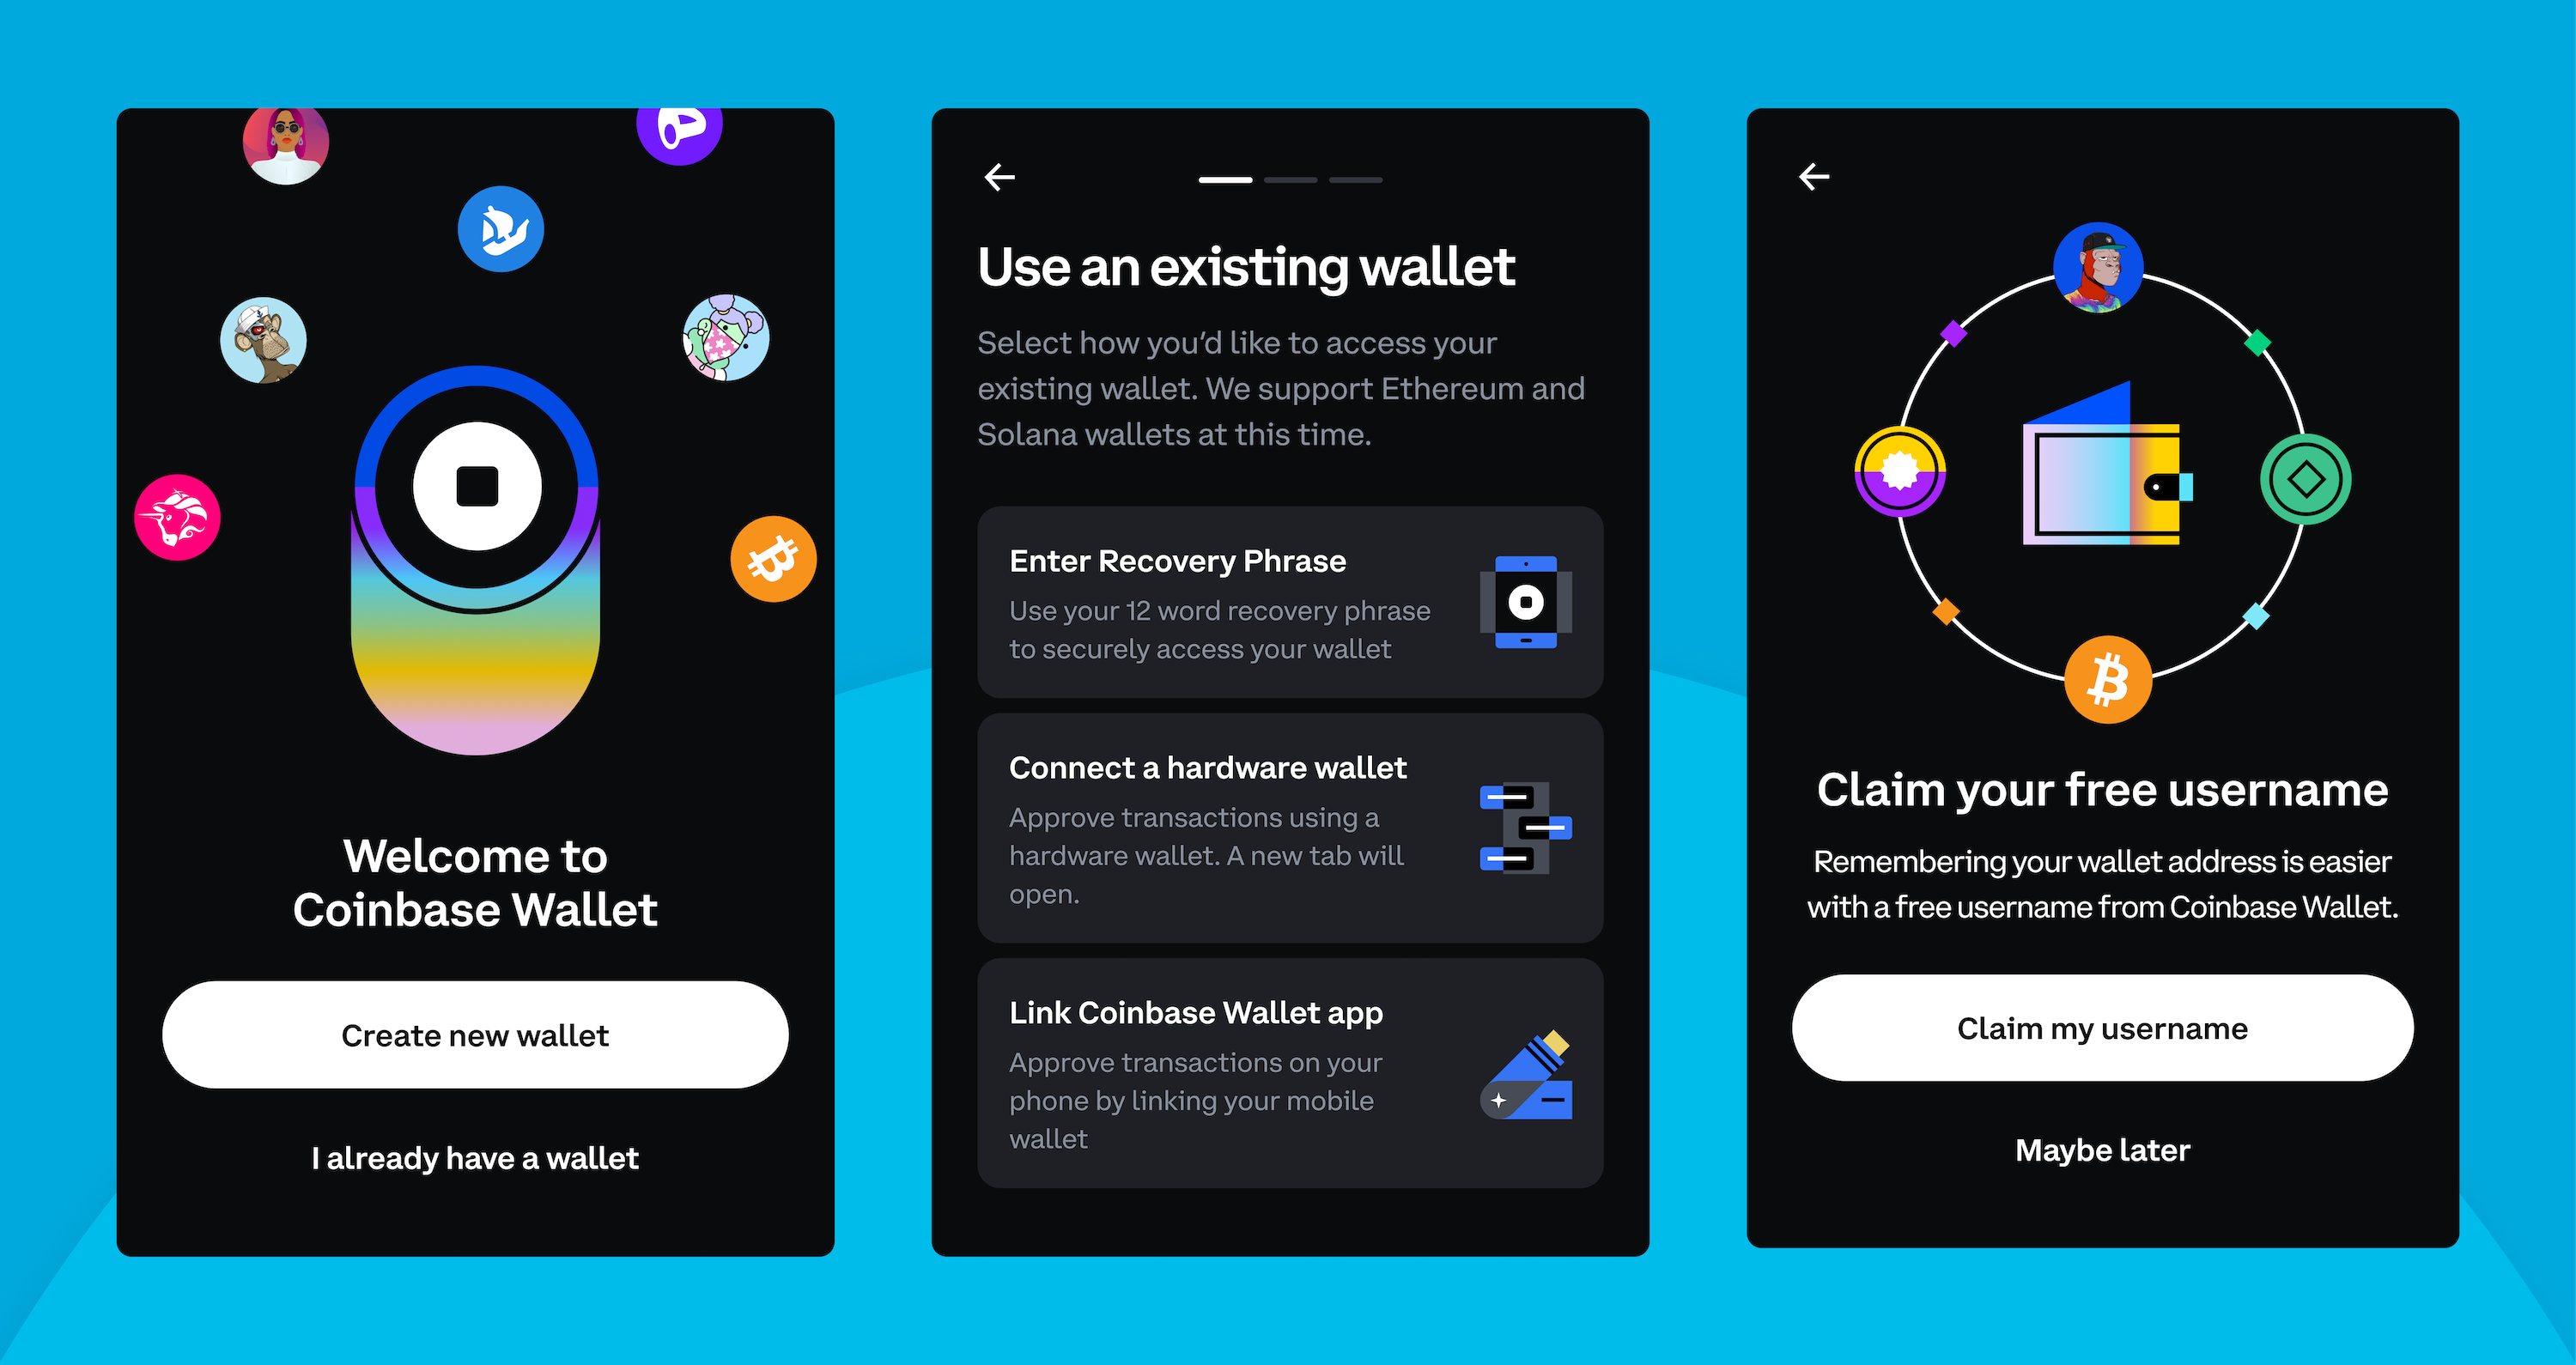
- Create or Restore a Wallet: If you’re a new Coinbase Wallet user, you’ll need to create a new wallet and securely back up your 12-word seed phrase. If you already have a wallet, ensure you have access to it and its seed phrase. Never share your seed phrase with anyone.
- Internet Connection: A stable internet connection is essential for the entire process.
Linking from the Coinbase Wallet App
The most common and straightforward method is initiating the connection from within the Coinbase Wallet application itself.
- Open Coinbase Wallet: Launch the Coinbase Wallet mobile app or open the browser extension.
- Navigate to Settings: On the mobile app, tap the “Settings” icon (often a gear or profile icon) in the bottom navigation bar. For the browser extension, click the extension icon and then usually a settings cog.
- Find “Connect to Coinbase”: Within the settings menu, look for an option like “Connect to Coinbase.com” or “Link Coinbase Account.” Tap on this option.
- Authorize Connection: The app will prompt you to sign in to your Coinbase exchange account. You will be redirected to the Coinbase website or prompted to open the Coinbase exchange app.
- If prompted to open the Coinbase app: Select “Open” or “Continue” to launch your Coinbase exchange app.
- If redirected to the website: Log in using your Coinbase exchange credentials (email and password). You may also be asked to complete a 2-factor authentication (2FA) challenge.
- Review Permissions: Coinbase will display a screen detailing the permissions you are granting. Typically, this includes permission for Coinbase Wallet to view your exchange balance and facilitate transfers. Carefully review these permissions.
- Confirm Connection: Once you’ve reviewed the permissions, confirm the connection. You’ll usually see a confirmation message, and the Coinbase Wallet app will indicate that your Coinbase Account is now linked.
Verifying the Connection
After completing the steps above, you can verify the connection:
- In Coinbase Wallet: Go back to the “Settings” menu in your Coinbase Wallet. You should now see an indication that your Coinbase Account is linked, often displaying your linked account email or a status like “Connected.”
- Transfer Funds Test (Optional but Recommended): The ultimate verification is to attempt a small transfer from your Coinbase Account to your Coinbase Wallet (or vice-versa). Start with a minimal amount to ensure the pathway is fully functional.
Navigating Your Connected Crypto Assets
Once your Coinbase Account and Coinbase Wallet are linked, you gain enhanced capabilities for managing your digital assets. It’s important to understand how to move funds and the implications of where your assets reside.

Transferring Assets Between Your Account and Wallet
The primary utility of this connection is the ability to easily move cryptocurrencies.
- From Coinbase Account to Coinbase Wallet:
- Open your Coinbase Wallet and navigate to your “Trade” or “Receive” section.
- Select the cryptocurrency you wish to transfer.
- Choose the option to “Receive from Coinbase.com” or “Transfer from Coinbase.”
- You’ll be prompted to enter the amount and confirm the transaction. Since the accounts are linked, this transfer is often free and nearly instantaneous for supported assets, as it occurs within the Coinbase ecosystem before hitting the public blockchain (if applicable).
- From Coinbase Wallet to Coinbase Account:
- Open your Coinbase Wallet.
- Select the cryptocurrency you wish to send.
- Choose the “Send” option.
- Instead of entering an external wallet address, you should see an option to “Send to Coinbase.com” or select your linked Coinbase Account.
- Enter the amount and confirm. Be aware that sending from your self-custodial wallet to the exchange might incur network fees (gas fees) depending on the blockchain (e.g., Ethereum transactions always have gas fees). These fees are not charged by Coinbase but by the underlying blockchain network.
Key Differences in Asset Management
It’s crucial to remember that even when linked, assets in your Coinbase Account and Coinbase Wallet are managed differently:
- Custody: Assets in your Coinbase Account are under Coinbase’s custody. Assets in your Coinbase Wallet are under your custody (via your seed phrase).
- Network Fees: Transfers between a linked Coinbase Account and Coinbase Wallet for many assets may not incur blockchain network fees, as they might be processed internally by Coinbase. However, transfers out of your Coinbase Wallet to any other external address, or sometimes into your Coinbase Wallet from the exchange, will incur blockchain network fees.
- Functionality: Assets in your Coinbase Account are primarily for trading and holding within the exchange. Assets in your Coinbase Wallet are for interacting with dApps, staking on-chain, participating in DeFi, and full self-custody.
Enhancing Security and Best Practices
While the connection simplifies asset management, it also underscores the importance of robust digital security practices. When dealing with self-custodial wallets, responsibility for security rests entirely with the user.
Understanding Seed Phrases and Private Keys
The 12-word seed phrase (or recovery phrase) is the master key to your Coinbase Wallet. It is a human-readable representation of your private keys.
- Never share it: Anyone with your seed phrase has full access to your funds. Coinbase support will never ask for it.
- Back it up securely: Write it down on paper and store it in multiple secure, offline locations (e.g., a safe, a safety deposit box). Do not store it digitally on your computer, phone, or cloud storage, as these are vulnerable to hacks.
- Test your backup: Ideally, after backing up, perform a test restore on a different device (or a wiped wallet app) with a small amount of crypto to ensure your backup is correct and readable.
Implementing Two-Factor Authentication (2FA)
Strong 2FA is essential for both your Coinbase Account and any other accounts you use related to crypto.
- Hardware 2FA (e.g., YubiKey): This is the most secure method for your Coinbase exchange account.
- Authenticator Apps (e.g., Google Authenticator, Authy): A good alternative to SMS-based 2FA, which is vulnerable to SIM-swap attacks.
- SMS 2FA: While better than nothing, it’s the least secure form of 2FA for crypto due to potential SIM-swap vulnerabilities. Use it only if no other option is available, and consider upgrading.
Regular Security Audits and Updates
Maintaining digital security is an ongoing process:
- Software Updates: Keep your Coinbase Wallet app, Coinbase app, operating system, and browser extensions updated. Updates often include critical security patches.
- Phishing Awareness: Be extremely wary of phishing attempts. Always double-check URLs, email senders, and app authenticity. Coinbase will never ask for your private keys or seed phrase.
- Strong, Unique Passwords: Use complex, unique passwords for all your crypto-related accounts, and consider using a password manager.
- Hardware Wallet Integration (Advanced): For maximum security of significant holdings, consider integrating a hardware wallet (like a Ledger or Trezor) with your Coinbase Wallet (if supported for specific assets). This adds an extra layer of physical security for transaction signing.
Troubleshooting Common Connection Issues
Despite the streamlined process, users might occasionally encounter issues when attempting to hook up their Coinbase Account to Coinbase Wallet. Here are some common problems and their technical solutions.
Connection Errors and What They Mean
- “Connection Failed” or “Authorization Error”:
- Solution: This often indicates an issue with authentication.
- Verify Credentials: Double-check that you are using the correct login credentials for your Coinbase exchange account.
- 2FA Issues: Ensure your 2FA method is correctly configured and you are entering the correct code. Sync your phone’s time with network time, as 2FA codes are time-sensitive.
- Browser/App Cache: Clear your browser’s cache and cookies, or clear the app data for the Coinbase Wallet and Coinbase apps. Then try again.
- Internet Connectivity: Ensure you have a stable and strong internet connection.
- Solution: This often indicates an issue with authentication.
- “Account Not Found” or “Invalid Account”:
- Solution: This suggests the system isn’t recognizing your Coinbase exchange account.
- Account Verification: Ensure your Coinbase exchange account is fully verified. Unverified accounts may have limitations on linking.
- Regional Restrictions: Confirm that both Coinbase exchange and Coinbase Wallet services are fully available in your region.
- Correct Account: Ensure you are trying to connect the correct Coinbase exchange account if you manage multiple.
- Solution: This suggests the system isn’t recognizing your Coinbase exchange account.
Account Verification Challenges
If your Coinbase exchange account is not fully verified, you might face issues:
- Incomplete KYC: Log into your Coinbase exchange account and check your profile or settings for any pending verification steps (e.g., ID upload, address verification). Complete these steps.
- Verification Pending: If verification is pending, you’ll need to wait for Coinbase to process your documents. This can sometimes take a few days.
- Document Issues: Ensure the documents you provided are clear, valid, and match the information on your account.
When to Contact Support
If you’ve exhausted the common troubleshooting steps and are still unable to connect your accounts, it’s time to reach out for direct assistance.
- Coinbase Support: Contact Coinbase support directly through their official website. Provide them with detailed information about the issue, including error messages, steps you’ve already taken, and the specific apps/devices you are using.
- Avoid Third-Party “Support”: Be extremely cautious of anyone claiming to be Coinbase support on social media, forums, or unsolicited emails. Always use the official channels provided on Coinbase’s website.
- Never Share Sensitive Information: As a reminder, legitimate support will never ask for your seed phrase, private keys, or passwords.
By following this technical guide, you should be well-equipped to successfully hook up your Coinbase Account to your Coinbase Wallet, bridging the gap between centralized exchange functionality and decentralized self-custody with confidence and enhanced security.
aViewFromTheCave is a participant in the Amazon Services LLC Associates Program, an affiliate advertising program designed to provide a means for sites to earn advertising fees by advertising and linking to Amazon.com. Amazon, the Amazon logo, AmazonSupply, and the AmazonSupply logo are trademarks of Amazon.com, Inc. or its affiliates. As an Amazon Associate we earn affiliate commissions from qualifying purchases.