Upgrading or performing a clean installation of macOS is a pivotal process for any Mac user, offering a gateway to enhanced performance, cutting-edge features, and crucial security updates. Whether you’re aiming to revitalize an aging system with a fresh start, unlock the latest productivity tools, or simply ensure your digital security is up to par, mastering the art of macOS installation is an invaluable skill. This guide will walk you through every essential step, from initial preparations to post-installation fine-tuning, ensuring a smooth and successful transition to your desired macOS version.
Before You Begin: Essential Preparations
The foundation of a successful macOS installation lies in thorough preparation. Skipping these crucial preliminary steps can lead to data loss, compatibility issues, or a frustratingly stalled process. Think of this as laying the groundwork for a robust and efficient digital environment.
Check Mac Compatibility
Not every Mac can run every version of macOS. Apple regularly retires support for older hardware, meaning your Mac might not be compatible with the very latest operating system. This is a critical first check to prevent wasted time and effort.
To determine your Mac’s compatibility:
- Click the Apple menu () in the top-left corner of your screen.
- Select “About This Mac.”
- Note your Mac’s model and year (e.g., “MacBook Pro (Retina, 13-inch, Mid 2014)”).
- Visit Apple’s official support website or search online for the compatibility list of the specific macOS version you intend to install (e.g., “macOS Sonoma compatibility,” “macOS Ventura compatibility”). Apple provides clear lists detailing which Mac models are supported by each operating system release. If your Mac isn’t on the list, you’ll need to install an older, compatible macOS version instead.
Back Up Your Data (Crucial Step!)
This cannot be stressed enough: Always back up your data before attempting any major operating system installation or upgrade. While an in-place upgrade is generally designed to preserve your files, unforeseen errors or power outages can lead to irreparable data loss. A clean install, by its very nature, will erase everything on your primary drive. Protect your irreplaceable photos, documents, projects, and settings by creating a robust backup.
The most common and recommended method is using Apple’s built-in Time Machine:
- Connect an external hard drive to your Mac that has sufficient storage capacity (at least as much as your Mac’s internal drive, ideally more).
- Open System Settings (or System Preferences on older macOS versions) and navigate to “Time Machine.”
- Select your external drive as the backup disk and follow the prompts to initiate a full backup. Ensure the backup completes successfully before proceeding.
Alternatively, consider cloud-based solutions like iCloud, Dropbox, Google Drive, or professional backup services for critical files. For absolute peace of mind, a redundant backup (e.g., Time Machine plus a cloud service) is ideal.
Ensure Adequate Storage and Power
macOS installations require a significant amount of free storage space – typically 15-20 GB for the installer itself, plus additional space for the operating system once installed and for temporary files during the process. An installation can easily consume 40-50 GB or more of total disk space, depending on the version.
To check your available storage:
- Click the Apple menu () > “About This Mac” > “Storage” tab.
- If you’re low on space, consider deleting unnecessary files, emptying your Trash, or offloading large media files to an external drive. macOS also offers tools under “Storage Management” (accessible via the “Manage” button in the Storage tab) to help you identify and remove large or rarely used files.
Furthermore, ensure your Mac is connected to a reliable power source throughout the entire download and installation process. A power interruption during installation can corrupt your operating system, rendering your Mac unbootable. For MacBooks, make sure your battery is fully charged and remain plugged in.
Stable Internet Connection
Downloading the macOS installer can be a large file (12 GB or more). A stable and relatively fast internet connection is essential to prevent corrupted downloads or excessively long download times. If possible, use a wired Ethernet connection for maximum stability, especially for critical large downloads. If using Wi-Fi, ensure you are close to your router and have a strong signal.
Acquiring the macOS Installer
With preparations complete, the next step is to obtain the macOS installer. The method depends primarily on whether you want the latest version or an older, specific release.
Downloading from the App Store
For the latest version of macOS (e.g., macOS Sonoma, Ventura, Monterey), the Apple App Store is your primary gateway.
- Open the App Store application on your Mac.
- Search for “macOS Sonoma” (or the name of the latest macOS version).
- Click “Get” or “Download.” The installer will begin downloading to your Applications folder. This can take anywhere from a few minutes to several hours, depending on your internet speed.
- Once the download is complete, the installer application will typically launch automatically. Do not proceed with the installation yet if you plan a clean install or want to create a bootable USB. Simply quit the installer (Cmd + Q). The installer file, usually named “Install macOS [Version Name],” will remain in your Applications folder.
Accessing Older macOS Versions
If your Mac is incompatible with the latest macOS, or if you need to install a specific older version for software compatibility or testing, Apple provides direct download links. These are usually found on Apple’s support pages.
- Visit Apple’s support website and search for “How to download older versions of macOS” or directly search for “Download macOS [Version Name]” (e.g., “Download macOS Catalina”).
- Apple typically provides links that open directly in the App Store or download a
.dmgfile. For App Store links, follow the same procedure as above. For.dmgfiles, open the disk image and drag the installer application to your Applications folder.
Important Note: Make sure you download legitimate installers directly from Apple or trusted sources. Avoid third-party websites offering macOS installers, as they may be modified or contain malware.
Choosing Your Installation Method
There are generally three ways to install macOS, each suited to different scenarios. Understanding the pros and cons will help you choose the right path.
Upgrading macOS (In-Place Installation)
This is the most common and simplest method for most users. An in-place upgrade replaces your existing macOS version with a newer one while attempting to preserve all your user accounts, files, applications, and settings.
When to use it:
- You want the latest features and security updates without reconfiguring your entire system.
- Your current macOS installation is stable and performing well.
- You’re simply moving from one major version to the next (e.g., Monterey to Ventura).
Pros:
- Convenience: All your data and settings remain intact.
- Speed: Generally faster than a clean install as it doesn’t involve re-creating user profiles or reinstalling apps.
Cons:
- Carries over baggage: Any underlying system issues, corrupted files, or performance bottlenecks from your old OS might be carried over.
- Less “fresh”: Doesn’t provide the same performance boost or clean slate feel as a clean install.
Performing a Clean Installation (Erase and Install)
A clean installation involves completely erasing your Mac’s startup disk and installing a fresh copy of macOS from scratch. This is akin to formatting a computer and starting anew.
When to use it:
- Your Mac is experiencing persistent performance issues, frequent crashes, or unexplainable bugs.
- You’re selling or giving away your Mac and want to wipe all your personal data.
- You’re downgrading to an older macOS version (though this often requires a bootable USB).
- You simply want the freshest possible start, free from accumulated system clutter.
Pros:
- Optimal Performance: Eliminates old system files, temporary data, and potential software conflicts, often resulting in a noticeable performance improvement.
- Troubleshooting: Can resolve deep-seated software issues that regular troubleshooting can’t fix.
- Clean Slate: Provides a completely fresh operating system environment.
Cons:
- Time-Consuming: Requires reinstalling all your applications, reconfiguring settings, and restoring your personal data from a backup.
- Data Loss Risk: If your backup isn’t complete or successful, you risk losing irreplaceable data.
Creating a Bootable macOS USB Installer (for Clean Installs or Multiple Macs)
A bootable USB drive containing the macOS installer is a powerful tool, particularly for performing clean installations or installing macOS on multiple Macs without re-downloading the installer each time. It’s also essential if your Mac’s recovery partition is corrupted or unavailable.
When to use it:
- You plan to perform a clean installation.
- You need to install macOS on several Macs.
- Your Mac is unable to start up normally or access macOS Recovery.
- You want to install an older macOS version not readily available through internet recovery.
Pros:
- Versatility: Can install macOS even without an internet connection (after initial creation).
- Recovery Tool: Acts as a rescue disk for troubleshooting or reinstalling macOS on a non-booting Mac.
- Efficiency: Avoids re-downloading the large installer for multiple installations.
Cons:
- Technical: Requires using Terminal commands, which can be intimidating for novice users.
- Extra Hardware: Needs a USB flash drive (16GB or larger is recommended).
Steps to Create a Bootable USB Installer:
-
Prepare a USB Drive: Obtain a USB flash drive (16GB or larger) and connect it to your Mac. This process will erase the USB drive, so ensure it contains no important data.
-
Format the USB Drive:
- Open “Disk Utility” (found in Applications/Utilities).
- Select your USB drive from the sidebar.
- Click “Erase.”
- For “Format,” choose “Mac OS Extended (Journaled).”
- For “Scheme,” choose “GUID Partition Map.”
- Name the drive something simple, like
MyInstaller(this name is important for the Terminal command). - Click “Erase” and then “Done.”
-
Ensure Installer is in Applications: Make sure the “Install macOS [Version Name]” application is located in your Applications folder.
-
Open Terminal: Open “Terminal” (found in Applications/Utilities).
-
Run the Command: Copy and paste the appropriate command for your macOS version into Terminal. Replace
MyInstallerwith the actual name you gave your USB drive.- For macOS Sonoma:
sudo /Applications/Install macOS Sonoma.app/Contents/Resources/createinstallmedia --volume /Volumes/MyInstaller - For macOS Ventura:
sudo /Applications/Install macOS Ventura.app/Contents/Resources/createinstallmedia --volume /Volumes/MyInstaller - For macOS Monterey:
sudo /Applications/Install macOS Monterey.app/Contents/Resources/createinstallmedia --volume /Volumes/MyInstaller - For macOS Big Sur:
sudo /Applications/Install macOS Big Sur.app/Contents/Resources/createinstallmedia --volume /Volumes/MyInstaller - For macOS Catalina:
sudo /Applications/Install macOS Catalina.app/Contents/Resources/createinstallmedia --volume /Volumes/MyInstaller
- For macOS Sonoma:
-
Execute the Command: Press Enter. Terminal will ask for your administrator password. Type it (it won’t show characters on screen) and press Enter again.
-
Confirm Erase: Terminal will warn you that the volume will be erased. Type
Yand press Enter to confirm. -
Wait: The process can take 20-30 minutes or longer, depending on your Mac and USB drive speed. Do not unplug the drive or close Terminal until you see “Install media now available” or “Copy complete.”
-
Quit Terminal: Once complete, you can close Terminal. Your bootable USB installer is now ready.
The Installation Process Explained
With your installer ready and your method chosen, it’s time to initiate the installation.
Starting an In-Place Upgrade
- Locate the Installer: Go to your Applications folder and find “Install macOS [Version Name].app.”
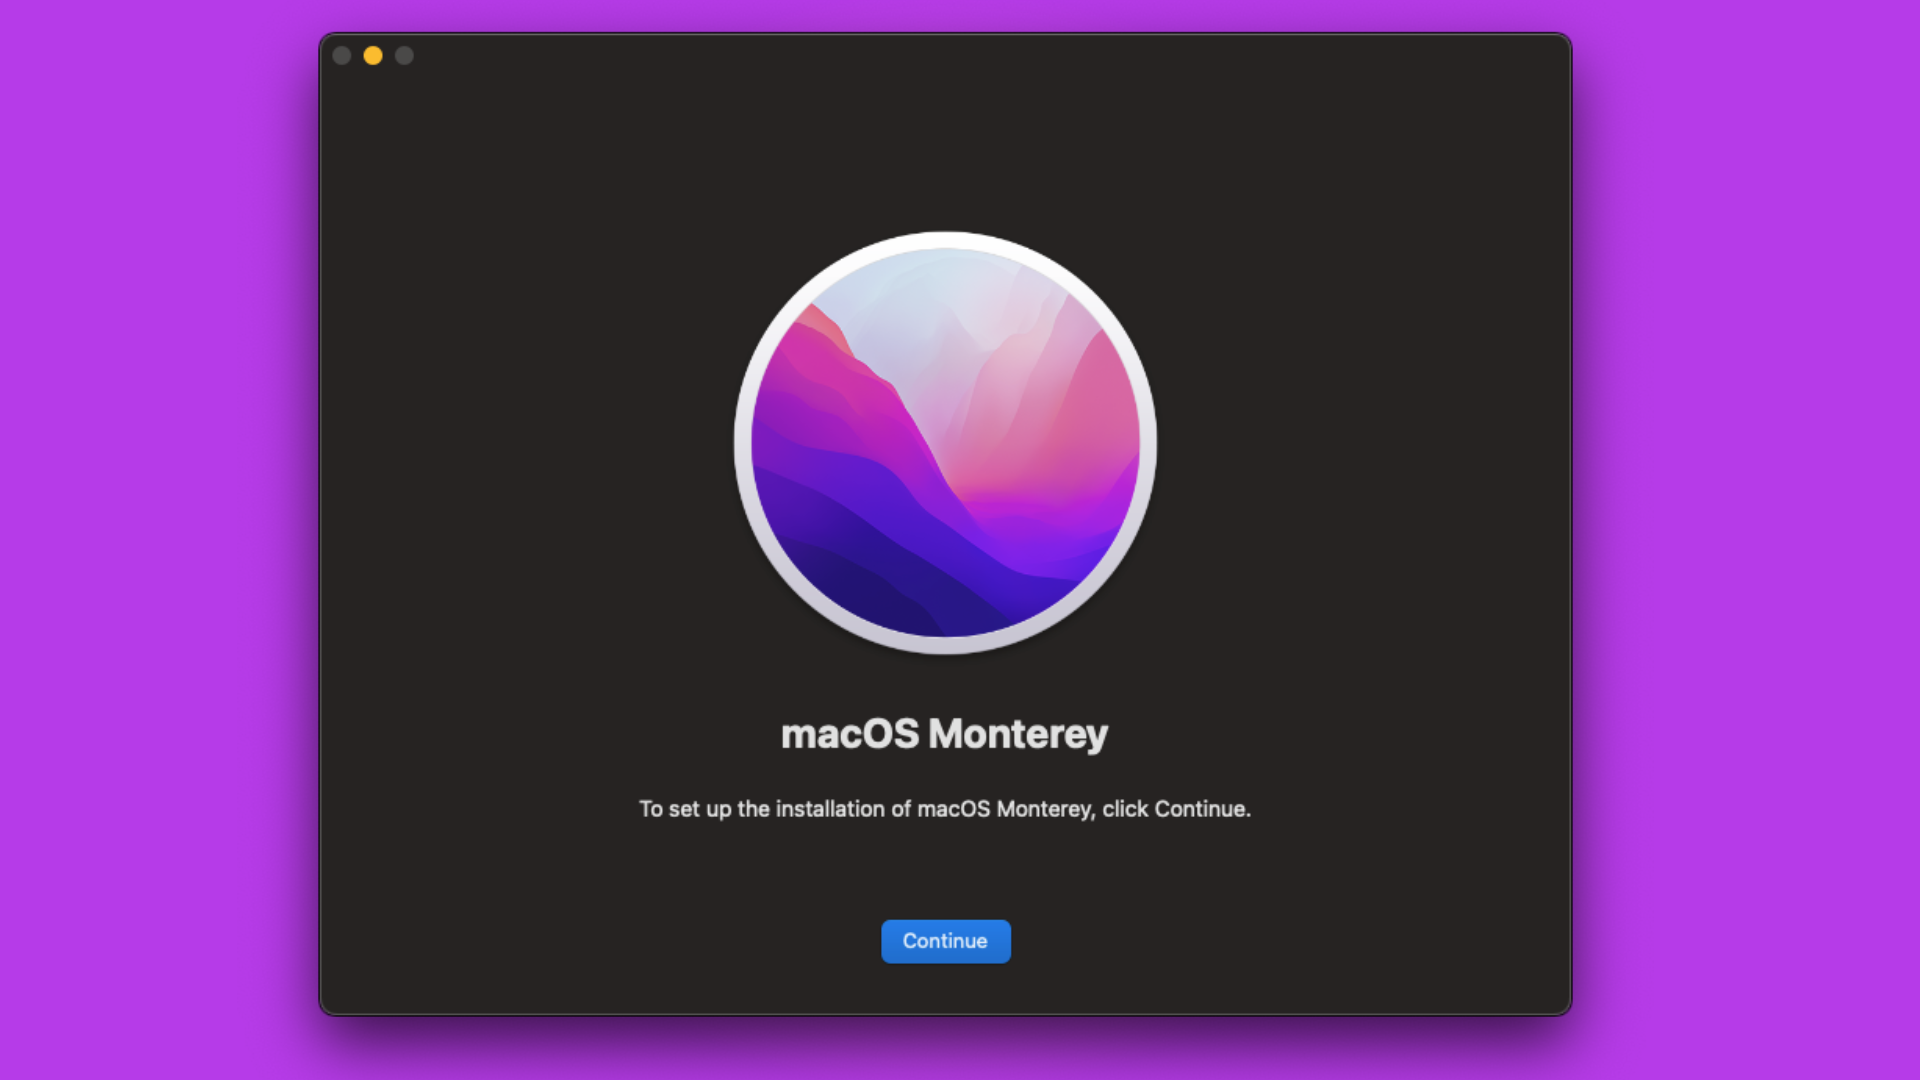
- Launch the Installer: Double-click the installer application.
- Follow Prompts: The macOS installer will launch. Click “Continue” and agree to the software license agreement.
- Select Destination: Ensure your Mac’s main startup disk is selected as the destination for the installation. Click “Install.”
- Enter Password: If prompted, enter your administrator password.
- Restart and Install: Your Mac will restart multiple times during the installation process. This is normal. Do not force restart or unplug your Mac. The entire process can take anywhere from 30 minutes to several hours.
- Login: Once complete, your Mac will boot into the new macOS version, and you’ll be presented with your familiar login screen.
Initiating a Clean Install
A clean install is more involved and requires booting from either the macOS Recovery environment or a bootable USB drive.
Method 1: Clean Install via macOS Recovery (No USB needed)
This method uses your Mac’s built-in recovery system to erase the disk and then download and install a fresh copy of macOS. It requires an internet connection.
- Restart into Recovery:
- Intel Macs: Restart your Mac and immediately press and hold
Cmd + Runtil you see the Apple logo or a spinning globe. - Apple Silicon Macs (M1, M2, etc.): Shut down your Mac. Press and hold the power button until you see “Loading startup options.” Click “Options” then “Continue.”
- Intel Macs: Restart your Mac and immediately press and hold
- Connect to Wi-Fi: If prompted, select your Wi-Fi network and enter the password.
- Open Disk Utility: From the Utilities window, select “Disk Utility” and click “Continue.”
- Erase Your Drive:
- In Disk Utility, select your main internal drive (usually named “Macintosh HD” or “Apple SSD” at the top level, not a volume underneath it).
- Click “Erase.”
- Name: “Macintosh HD” (or your preferred name).
- Format: APFS (recommended for macOS High Sierra and later) or Mac OS Extended (Journaled) for older macOS versions.
- Scheme: GUID Partition Map.
- Click “Erase” and confirm. This will wipe all data on the selected drive.
- Quit Disk Utility: Once the erase is complete, close Disk Utility.
- Reinstall macOS: Back in the Utilities window, select “Reinstall macOS [Version Name]” and click “Continue.”
- Follow Prompts: Follow the on-screen instructions, select your newly erased “Macintosh HD” as the destination, and proceed with the installation. Your Mac will download the necessary files and then install macOS, restarting multiple times.
Method 2: Clean Install via Bootable USB Installer
This method is similar but uses your pre-prepared USB drive, which can be faster and doesn’t rely on internet recovery.
- Connect USB: Plug your bootable macOS USB installer into your Mac.
- Restart into Startup Options:
- Intel Macs: Restart your Mac and immediately press and hold the
Option(Alt) key. Release when you see the Startup Manager. - Apple Silicon Macs (M1, M2, etc.): Shut down your Mac. Press and hold the power button until you see “Loading startup options.”
- Intel Macs: Restart your Mac and immediately press and hold the
- Select USB Drive: In the Startup Manager/Options, select your bootable USB drive (usually named “Install macOS [Version Name]”).
- Open Disk Utility: Once the Mac boots from the USB drive into macOS Utilities, select “Disk Utility” and click “Continue.”
- Erase Your Drive: (Same as Method 1, step 4) Erase your main internal drive, ensuring to use APFS for recent macOS versions and GUID Partition Map.
- Quit Disk Utility: Close Disk Utility.
- Install macOS: Select “Install macOS [Version Name]” from the Utilities window and click “Continue.”
- Follow Prompts: Follow the on-screen instructions, selecting your newly erased “Macintosh HD” as the destination. The installation will proceed, restarting your Mac as needed.
Post-Installation: What Comes Next?
Congratulations, macOS is installed! But the journey isn’t quite over. A few final steps will get your Mac fully operational and personalized.
Completing the Setup Assistant
After the installation completes, your Mac will boot into the Setup Assistant. This guides you through initial configurations:
- Select Your Region: Choose your country or region.
- Accessibility Options: Set up any accessibility features you need.
- Wi-Fi Network: Connect to your Wi-Fi network.
- Data & Privacy: Review Apple’s privacy policy.
- Migration Assistant (Crucial for Clean Installs): This is where you can restore your data from your Time Machine backup or another Mac.
- If you did a clean install, select “From a Mac, Time Machine backup, or startup disk” and connect your backup drive. Follow the prompts to restore your user accounts, applications, and files. This can take a significant amount of time.
- If you did an in-place upgrade, you likely won’t need this step unless something went wrong.
- Apple ID: Sign in with your Apple ID to enable iCloud, App Store, and other Apple services.
- Screen Time, Siri, Touch ID/Face ID (if applicable), Analytics: Configure these settings as desired.
- Appearance: Choose your light or dark mode preference.
Restoring Your Data and Applications
If you performed a clean install and used Migration Assistant, your data should already be restored. If you chose to skip it or need to restore specific items:
- Time Machine Restore: You can manually browse your Time Machine backup to restore individual files or folders.
- Reinstall Applications: Re-download your essential applications from the App Store or the developers’ websites. Remember to have your license keys handy for paid software.
- Settings and Preferences: Reconfigure system settings, personalize your desktop, dock, and other preferences.
Essential Software Updates
Even after installing a fresh copy of macOS, there might be minor updates or patches available.
- Open System Settings (or System Preferences).
- Go to “General” > “Software Update.”
- Install any pending macOS updates, as these often include critical security fixes and performance enhancements.
- Also, check the App Store for updates to your downloaded applications. Keeping your software updated is crucial for both security and functionality, aligning perfectly with digital security best practices.
Common Troubleshooting Tips
While the process is generally smooth, you might encounter a few hiccups. Here’s how to address some common issues:
“Not Enough Space” Error
- Before Install: Ensure you have at least 25-30 GB free before starting. Use “About This Mac” > “Storage” > “Manage” to free up space.
- During Install: If this error occurs during the installation itself, it means the system couldn’t allocate enough temporary space. You might need to restart, free up more space, and try again, or consider a clean install if your disk is severely cluttered.
Installation Stuck or Failed
- Patience: Installations can appear frozen for long periods (e.g., “Remaining time calculating…”). Give it plenty of time, sometimes hours.
- Force Restart (Last Resort): If it’s truly stuck for an unreasonable amount of time (e.g., half a day), force restart your Mac by holding down the power button. Then, try restarting into macOS Recovery (Cmd+R or power button for Apple Silicon) and attempt to reinstall macOS from there. If you have a bootable USB, try installing from that.
- Check Hardware: A failing hard drive or RAM can cause installation failures. Run Disk Utility’s First Aid feature in Recovery Mode to check your disk.

Wi-Fi Issues After Installation
- Sometimes, after an upgrade, Wi-Fi drivers might need a refresh.
- Go to System Settings > Wi-Fi. Try turning Wi-Fi off and on again.
- Delete your Wi-Fi network from the list (“Forget This Network”) and then reconnect.
- If problems persist, search online for known Wi-Fi issues with your specific Mac model and new macOS version.
Conclusion
Successfully downloading and installing macOS is a rewarding experience that rejuvenates your Mac and connects you to the latest advancements in Apple’s ecosystem. By meticulously following these steps – from crucial backups and compatibility checks to choosing the right installation method and performing post-install optimizations – you’ll ensure a seamless transition. Embrace the fresh capabilities and enhanced security that a new macOS version brings, empowering your productivity and digital experience on the cutting edge of technology.
aViewFromTheCave is a participant in the Amazon Services LLC Associates Program, an affiliate advertising program designed to provide a means for sites to earn advertising fees by advertising and linking to Amazon.com. Amazon, the Amazon logo, AmazonSupply, and the AmazonSupply logo are trademarks of Amazon.com, Inc. or its affiliates. As an Amazon Associate we earn affiliate commissions from qualifying purchases.